by Kenneth Lieblich
Welcome to another instalment of my Pipe Incident Reports. The idea, in general, is to provide a brief write-up – focusing on a particular pipe-restoration-related issue – rather than an entire restoration story. Today’s story is on the resolution of a very specific pipe repair, with some added challenges. I hope this blog post will be useful for those undertaking a similar repair.
 Every once in a while, my cousin-in-law sends me a pipe to repair. He hunts for pipes at antique shops and fairs, etc., and when he finds one that’s especially tricky to repair, he sends it my way! When he sent this particular pipe to me, he described it as a “crazy guy project”. Ahem. Well, crazy or not, I’m taking on the challenge.
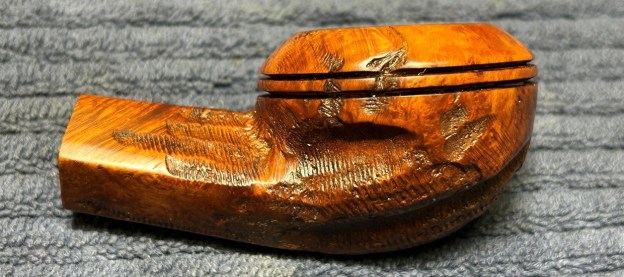
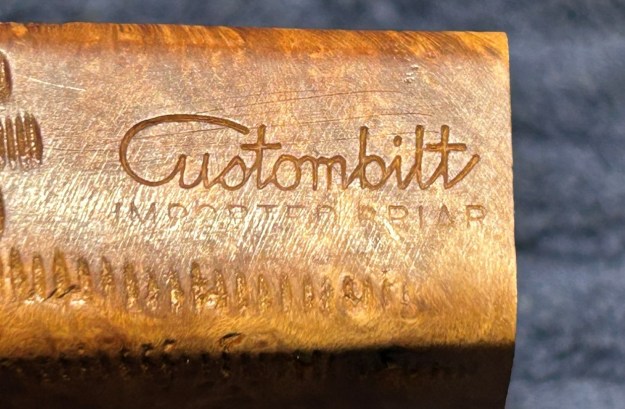 As you can see, it’s a handsome and rugged Custombilt bulldog, from the 1970s or ‘80s. My cousin-in-law did most of the cleaning already and did some restoration work on the stem, so I will be tackling the stummel only. For the most part, the pipe is in decent shape, but there are two major gouges on the side of the bowl. These gouges are going to be tricky to repair for four reasons:
-
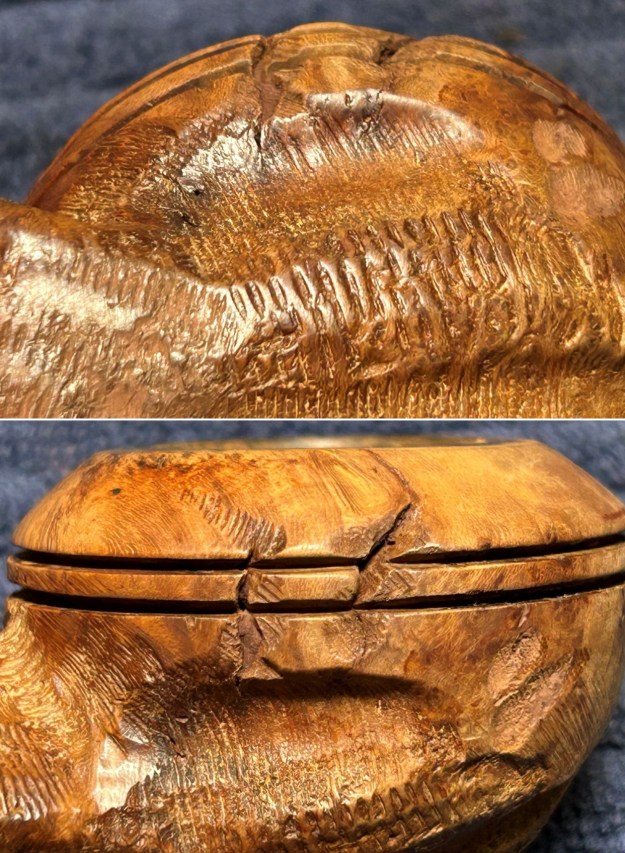
- the gouges occur in spots where there was already some of the signature Custombilt rustication. So I have to fill them and make them look good while maintaining the original rustication and not filling it in.
- the gouges run transverse to the two pre-existing rings that run around the bowl. Again, I will have to repair these without negatively impacting those ring grooves.
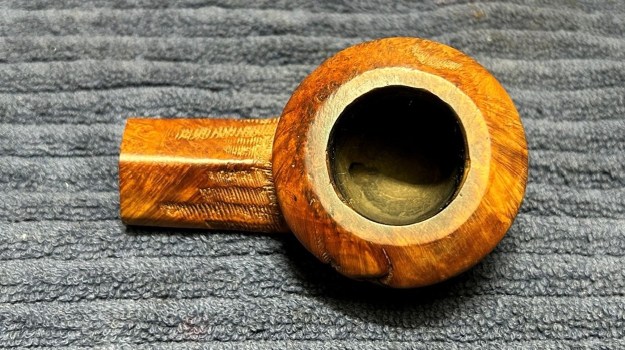
- the gouges actually penetrate all the way through the bowl to the inside. I will need to ensure that they are sound on the outside and on the inside.
- the gouges also come with very fine cracks that extend in a ‘southerly’ direction, into some further rustication.
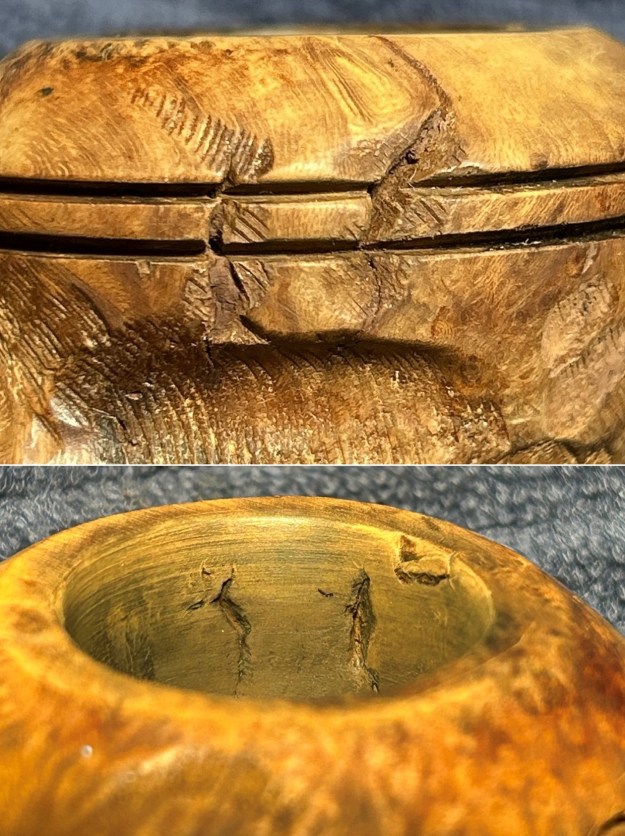
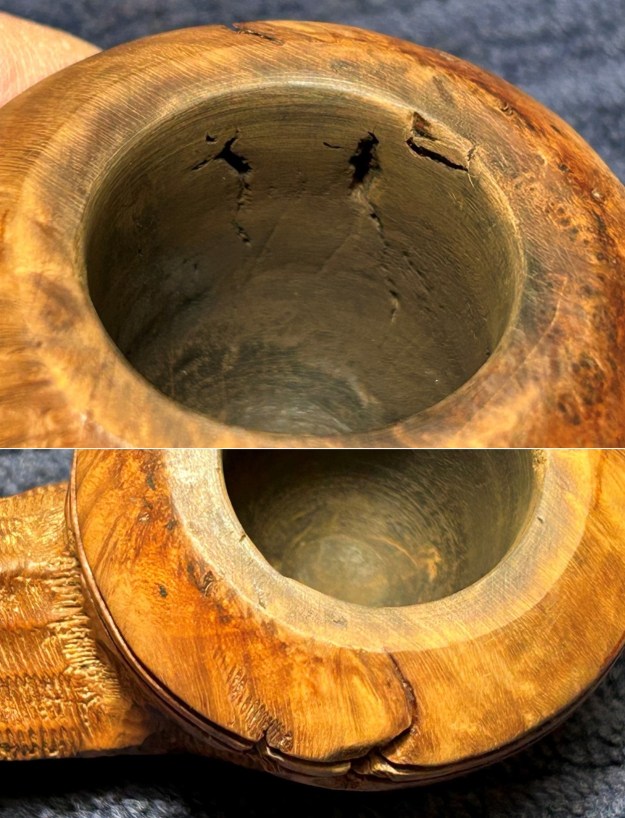
 I haven’t even yet mentioned that there are a couple of chips missing from the bowl, on the opposite side of the gouges – and some dents on the rim. So, I’ve got my hands full – time to get started.
 As I mentioned, my cousin-in-law already did the vast majority of the cleaning – Deo gratias. To finish tiding up the briar, I wiped down the outside with some oil soap on cotton rounds (and a toothbrush). This does a good job of cleaning any latent dirt on the surface of the briar. I then scoured the inside of the stummel with some soap and tube brushes.
 Having completed that, I was able to address the dents on the rim. I dug out my iron and a damp cotton cloth. By laying the cloth over the affected areas and applying the iron to it, the hot and moist steam can often cause the wood to swell slightly and return to shape. There was some improvement – not a lot, but it was better than doing nothing.
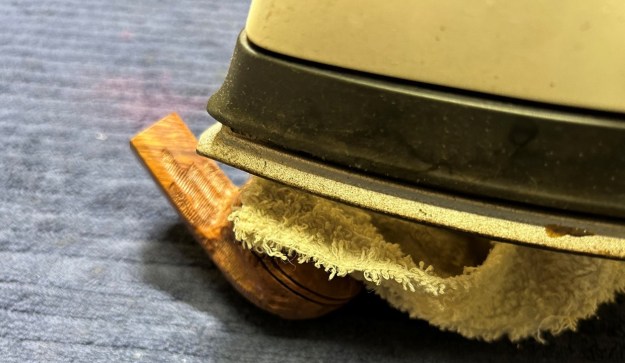 I decided to repair the tiny cracks in the briar next. Before anything else, it’s imperative that I ensure that the cracks do not continue to creep after I repair them. To that end, I took a micro-drill bit, inserted it in my rotary tool, and very carefully drilled a hole right through the wall of the bowl. That hole will stop the crack from progressing. As you can see, the drill bit is incredibly thin and quite prone to snapping if care isn’t taken.
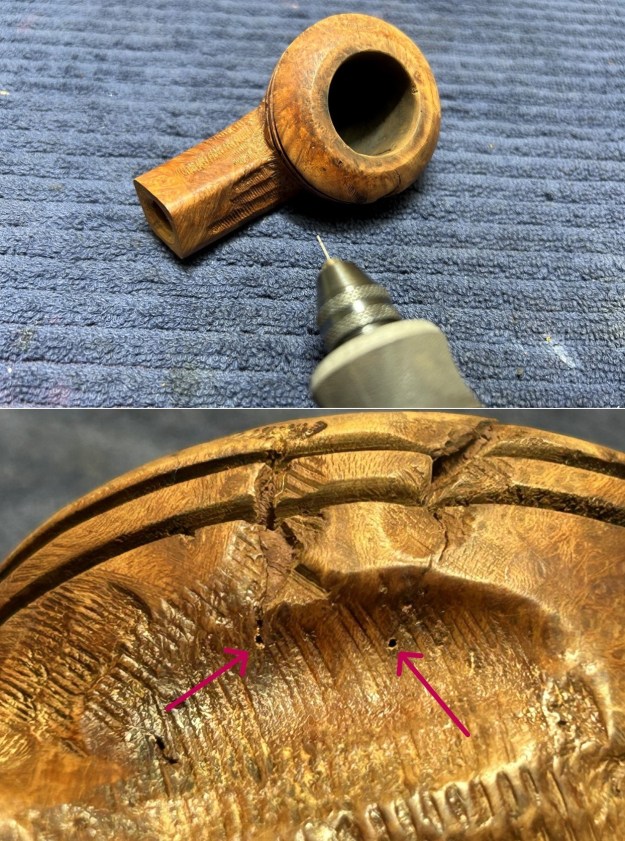 Now, I lined those cracks – and the gouges – with clear cyanoacrylate adhesive. Because of the intricacy of this work, I used a tiny awl to apply the adhesive. I needed to be precise and not smear it all over the place. I wish I had taken more photos of this procedure, but you’ll just have to take my word for it.
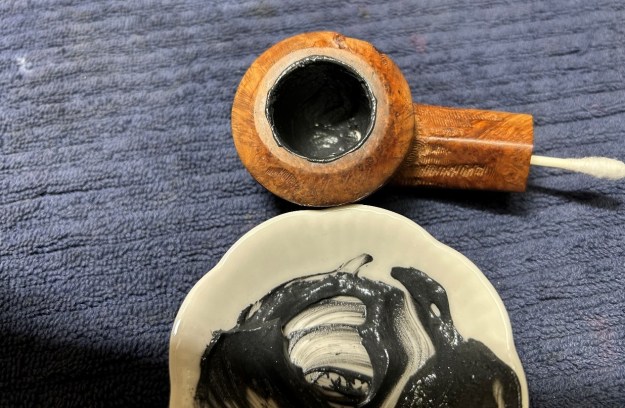
 Moving on to the matching holes on the inside of the bowl… I used an epoxy adhesive that is extremely hard, resistant to high temperatures, and completely inert when cured. It works superbly. I filled the affected area with the epoxy and let it cure for a full 24 hours. I took this step after applying the cyanoacrylate adhesive, so that the epoxy would not ooze out of the gouges. The next day, I roughened up the epoxy’s surface for the next step. I thinly coated the inside of the bowl with a mixture of my wife’s homemade yogurt and activated charcoal. Once hardened, this provided a good, faintly rough surface for a new cake to build.
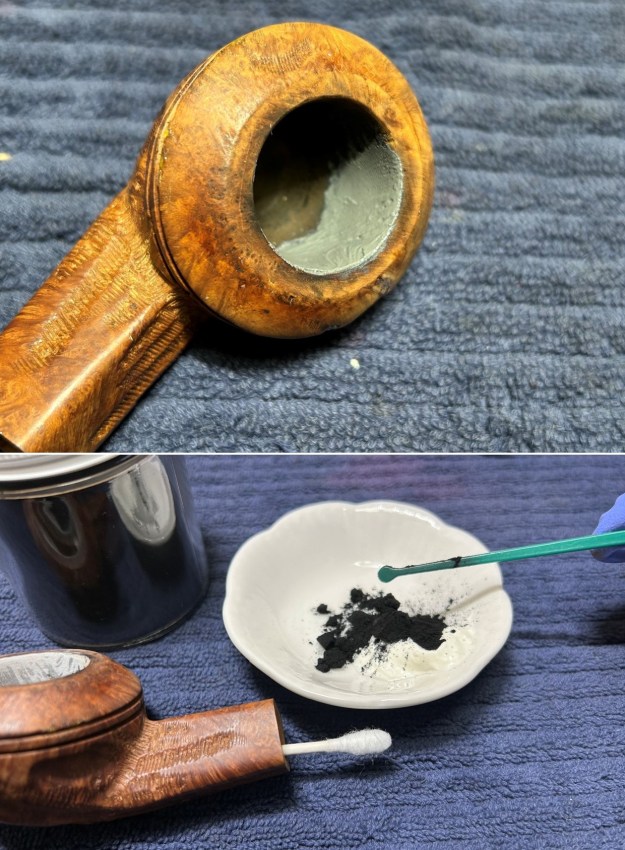
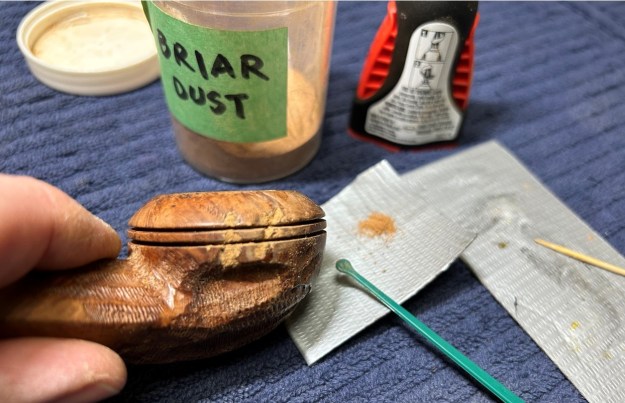
 Now I needed to go back to the gouges and finish them off. I delicately and precisely added a mixture of clear cyanoacrylate adhesive and briar dust. This gives an incredibly hard and wood-like appearance to the repairs. I did the same to the chips I mentioned on the opposite side of the bowl.
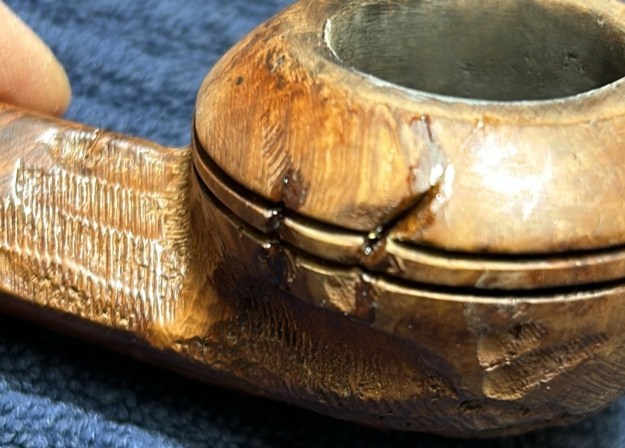
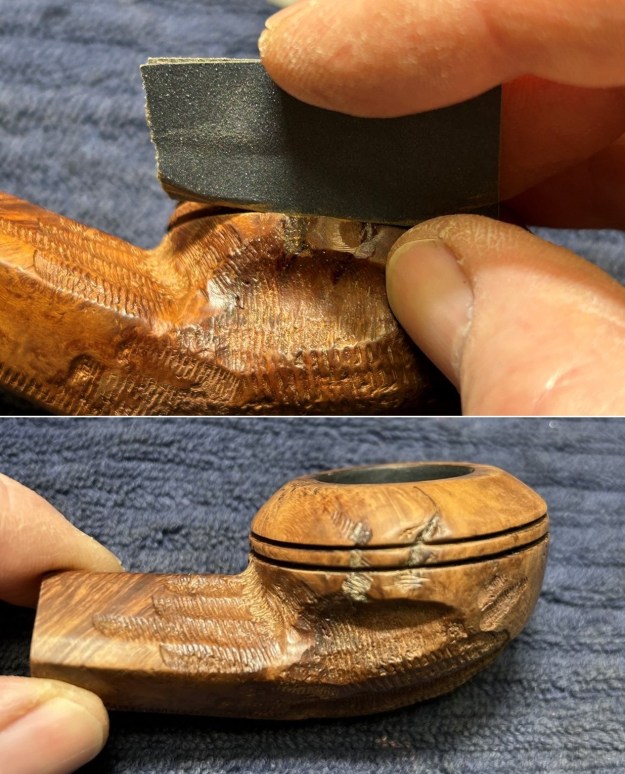
 Most of the rest of the work was sanding. I used my dental tools, needle files and some fine sandpaper to sculpt the pipe back into shape. This was very tricky and took considerable patience – a virtue I have in short supply.
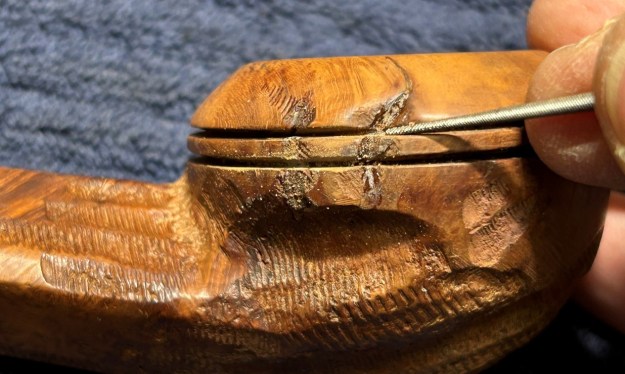
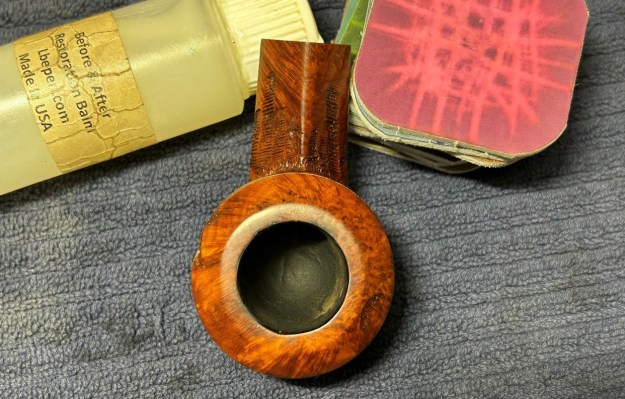
 Once done, I used all nine micromesh pads (1,500 through 12,000 grit) on the smooth parts of the stummel to finish it off. This sanding minimizes flaws in the briar and provides a beautiful smoothness to the wood. I rubbed some Before & After Restoration Balm into the briar and let it sit for 20 minutes or so. The balm moisturizes the wood and gives a beautiful depth to the briar. I then buffed it with a microfibre cloth.
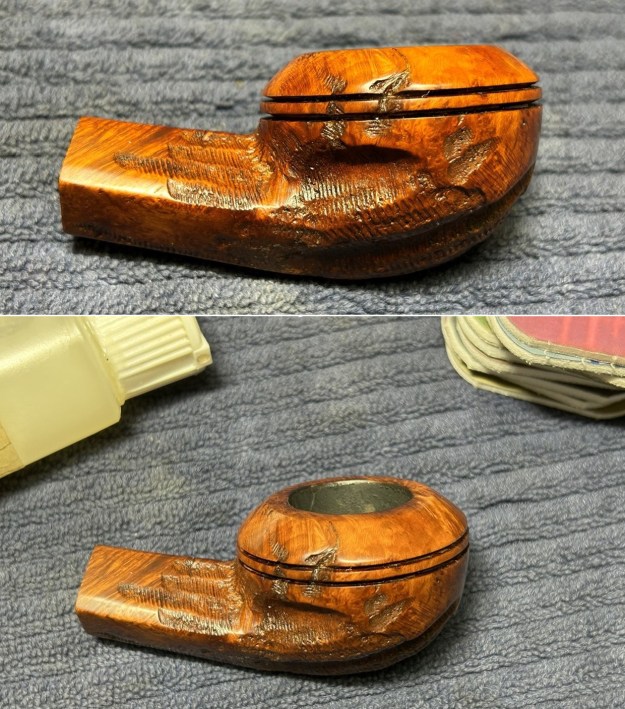

 The Custombilt bulldog is much improved and I hope my cousin-in-law will like it. This was a complex repair – the results are not ideal, but they are as good as I can manage. I hope you enjoyed reading the story of this pipe’s restoration as much as I enjoyed restoring it. If you are interested in more of my work, please follow me here on Steve’s website or email me directly at kenneth@knightsofthepipe.com. Thank you very much for reading and, as always, I welcome and encourage your comments.
