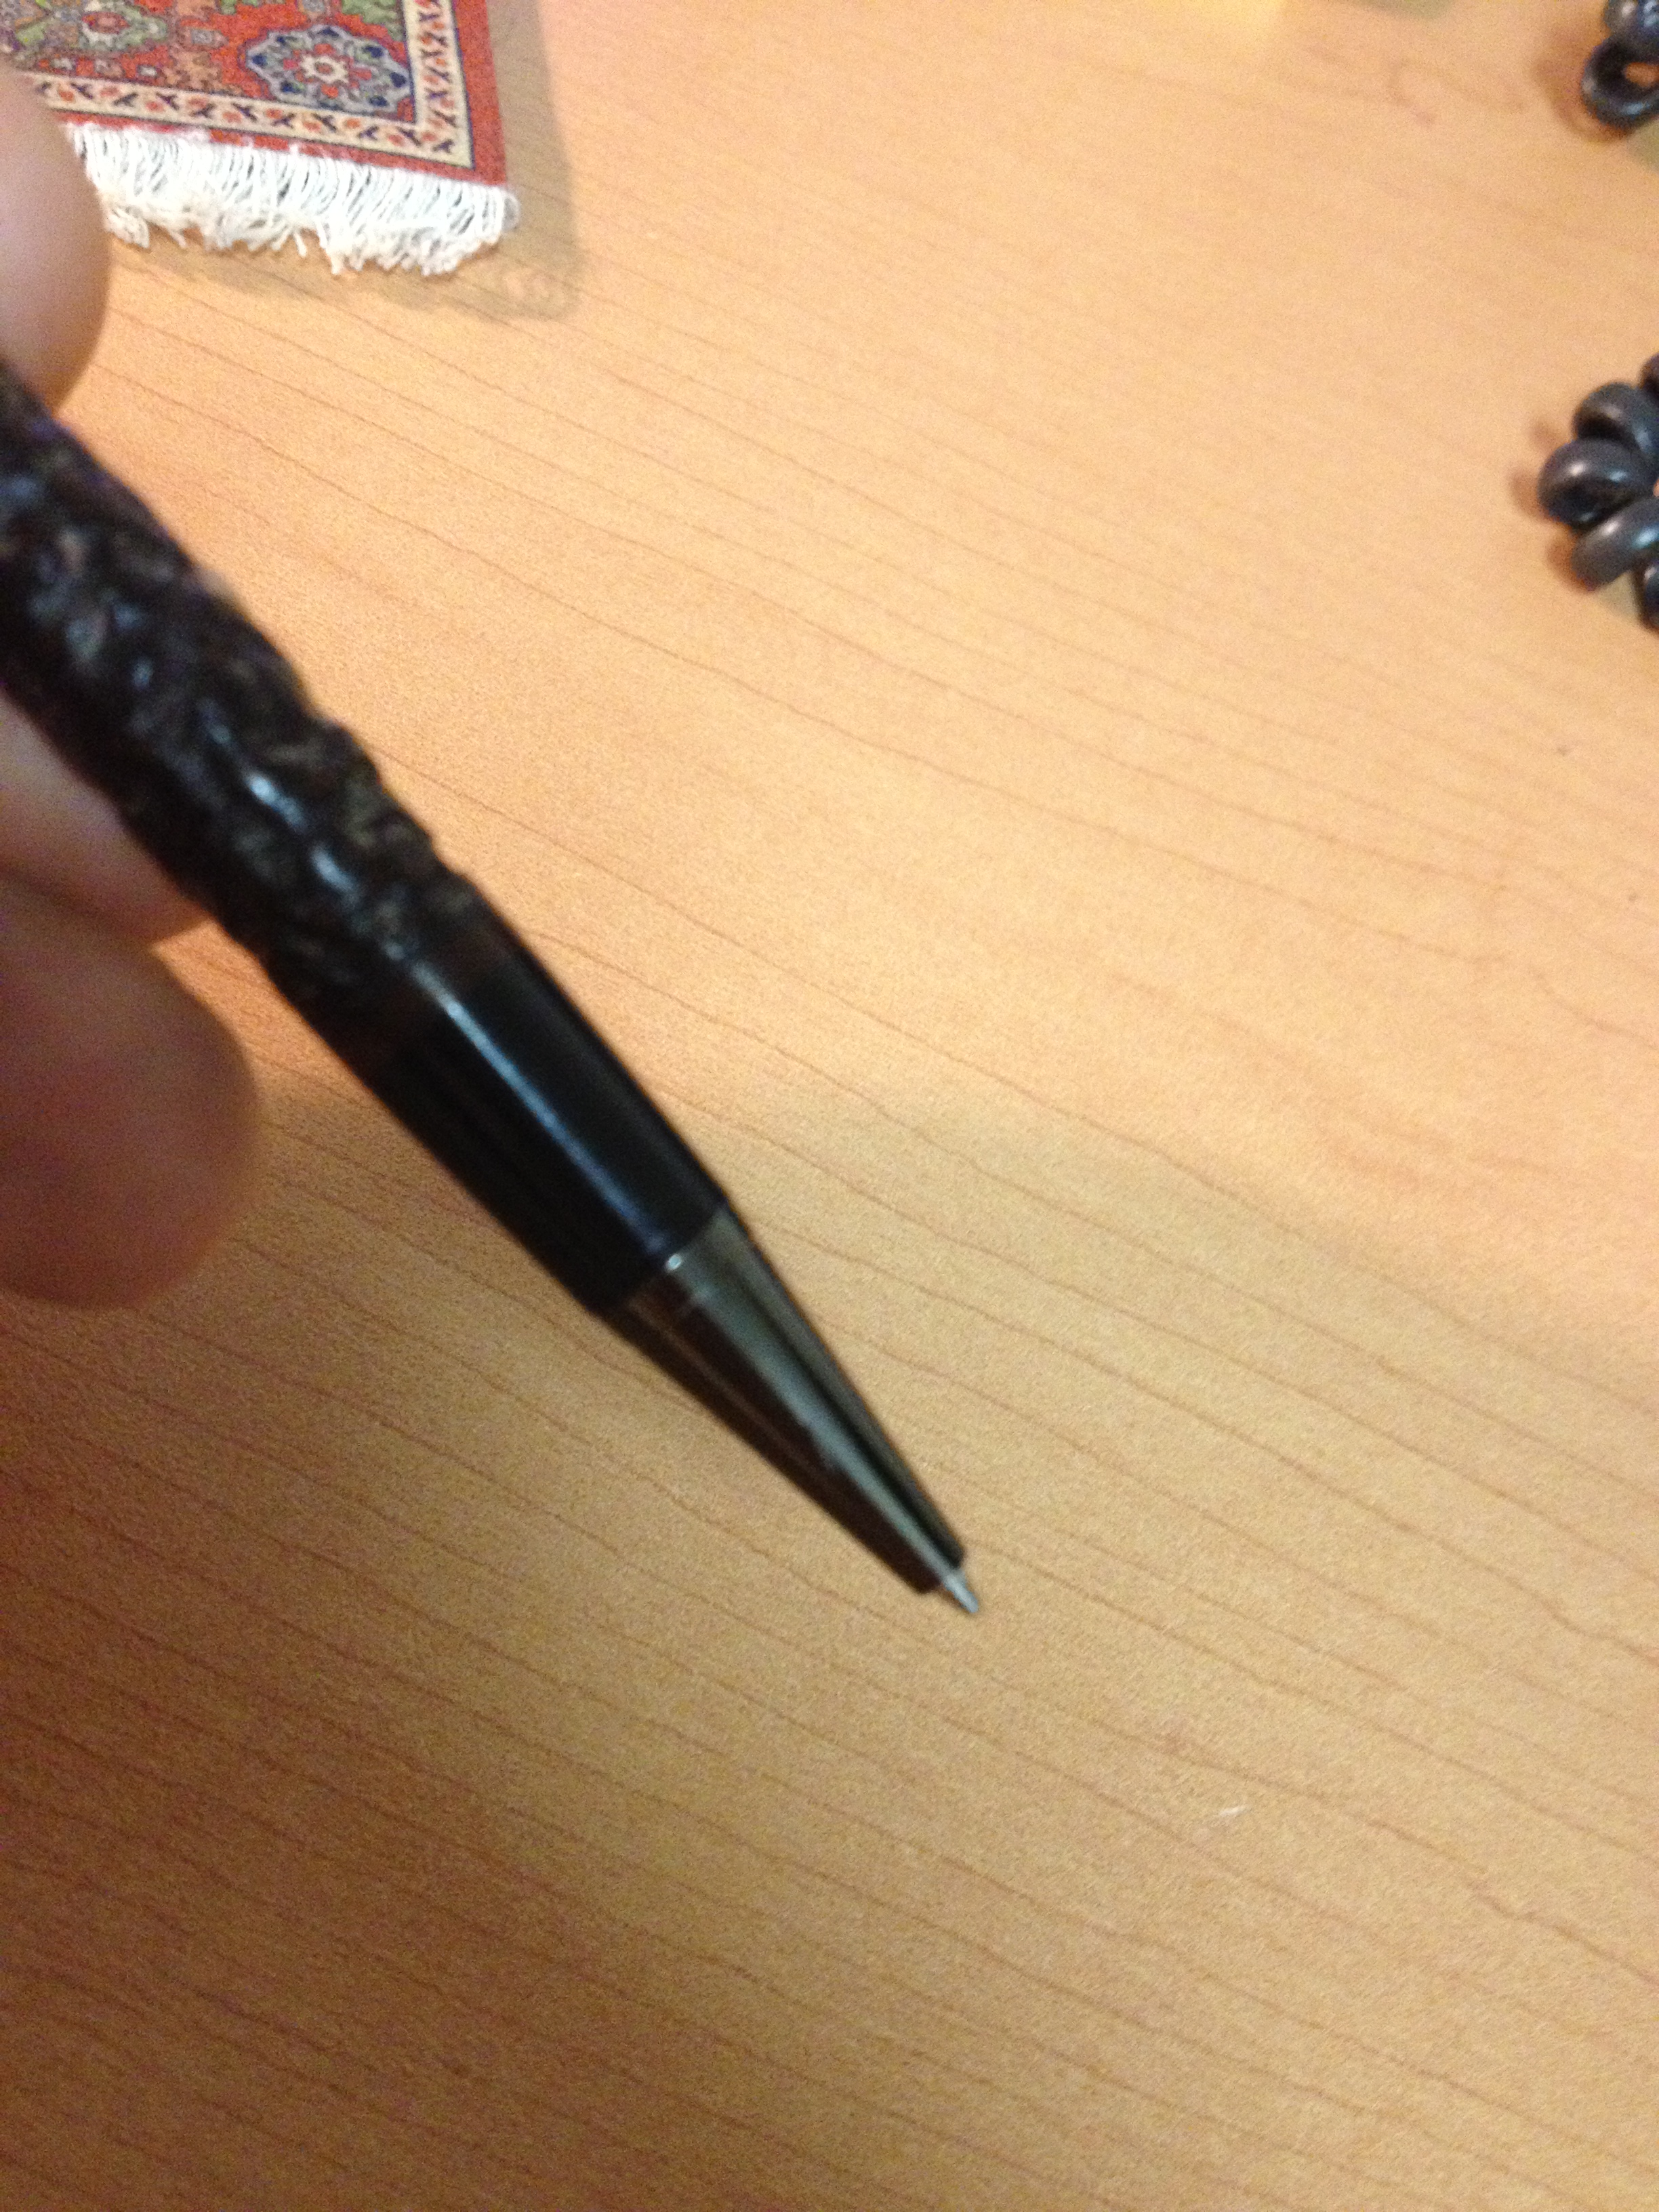
I have been reading over the years about different people’s pipe collecting habits and what they look for in buying pipes. It is always a pleasure to read about their finds and purchases and to enjoy the photos of their pipes. I have seen folks beset with what has jokingly been dubbed, PAD (pipe acquisition disorder) who purchase all kinds of stuff seemingly indiscriminately. (I have to admit that when I first discovered Ebay that is pretty much what I did). It has literally taken me years to purge my collection of many of the ones I bid on and won. I have to say that I am glad to say that the majority of them have passed out of my hands either through trades or sales. Since then I am becoming much more selective. I now have focused my pipe purchases, whether on Ebay or through carvers, to 4 different groups. These groups have very different focuses and also very different purposes. By virtue of purpose they also can stay with me for longer or shorter periods of time.
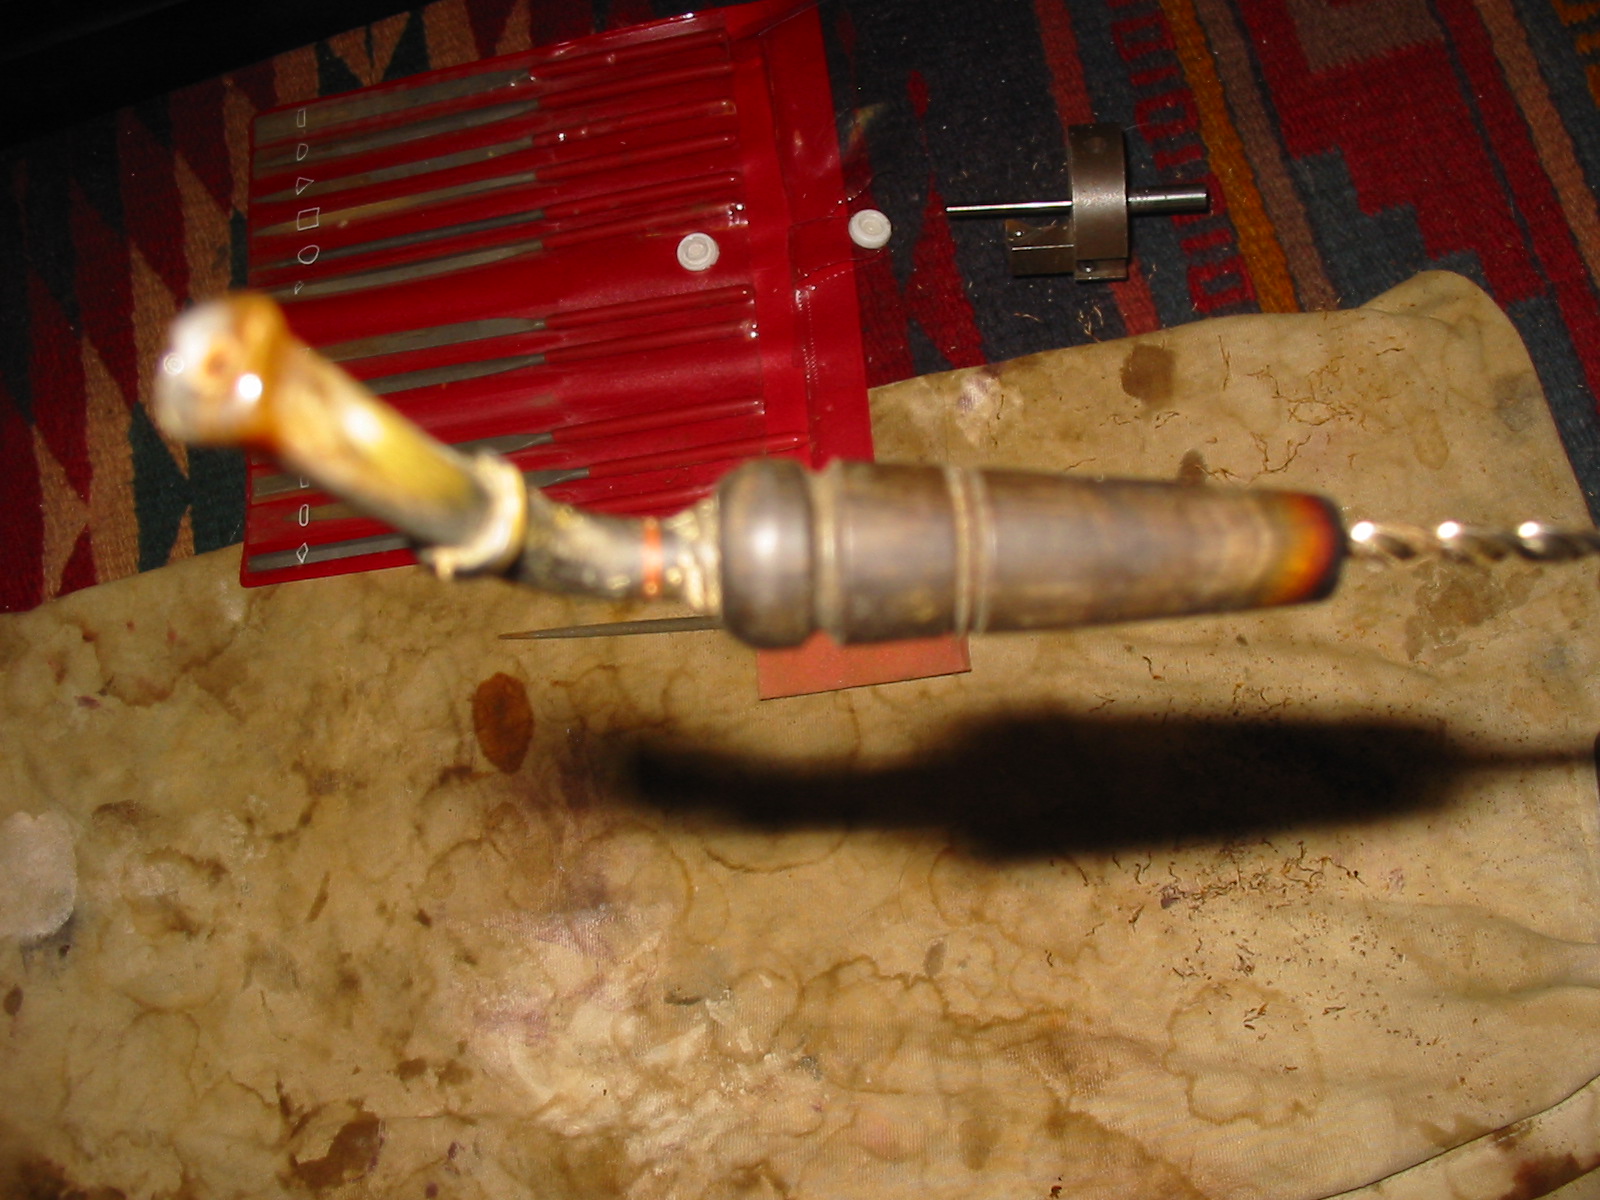
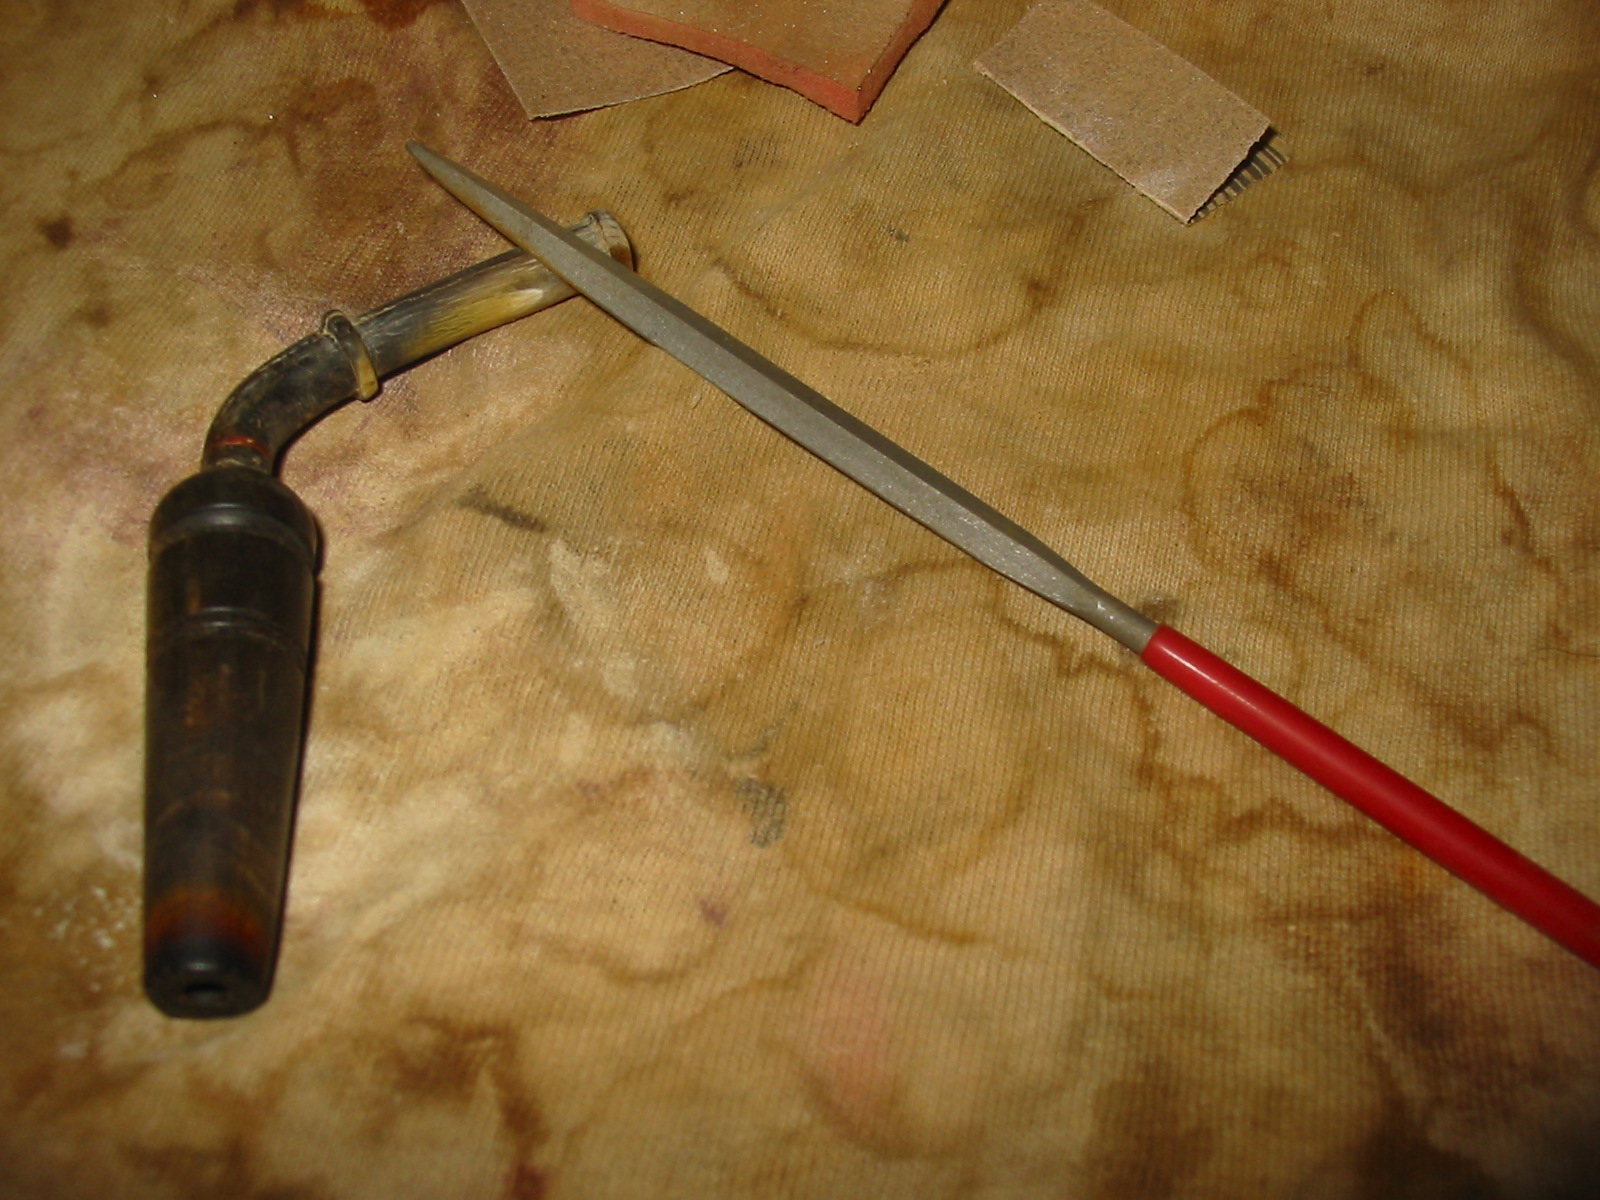
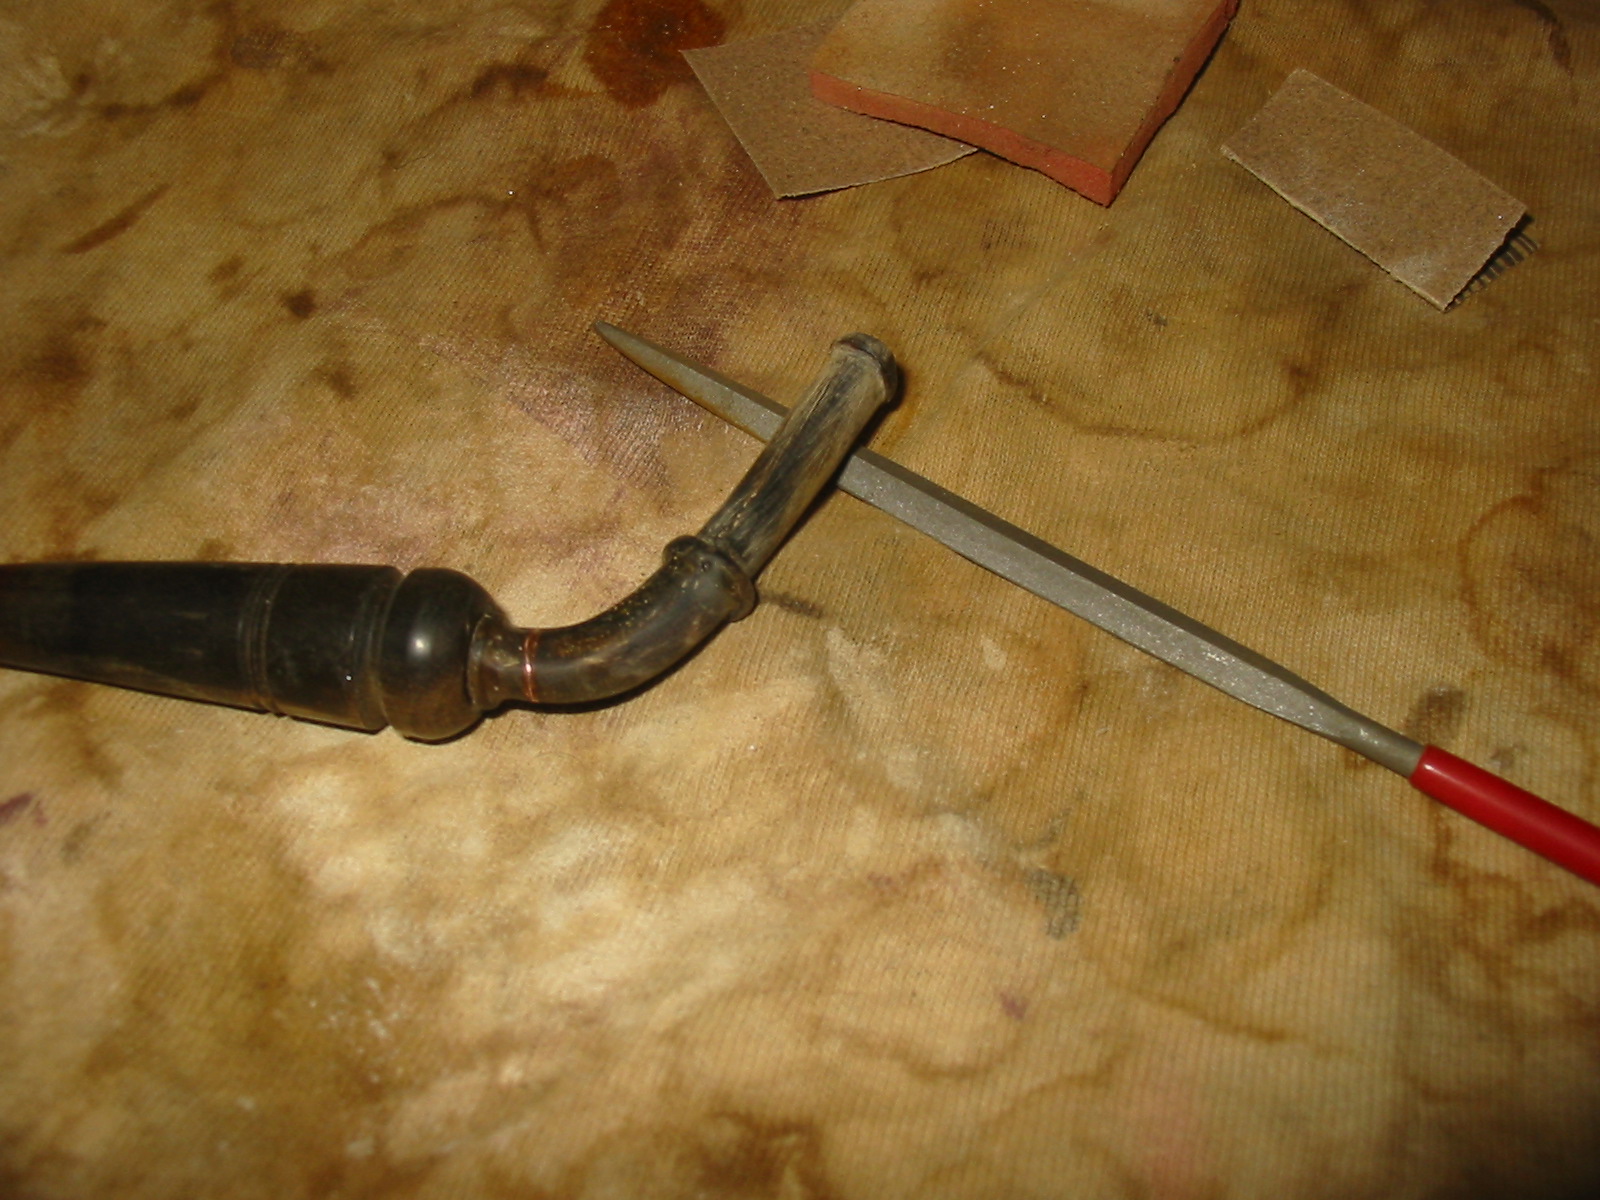
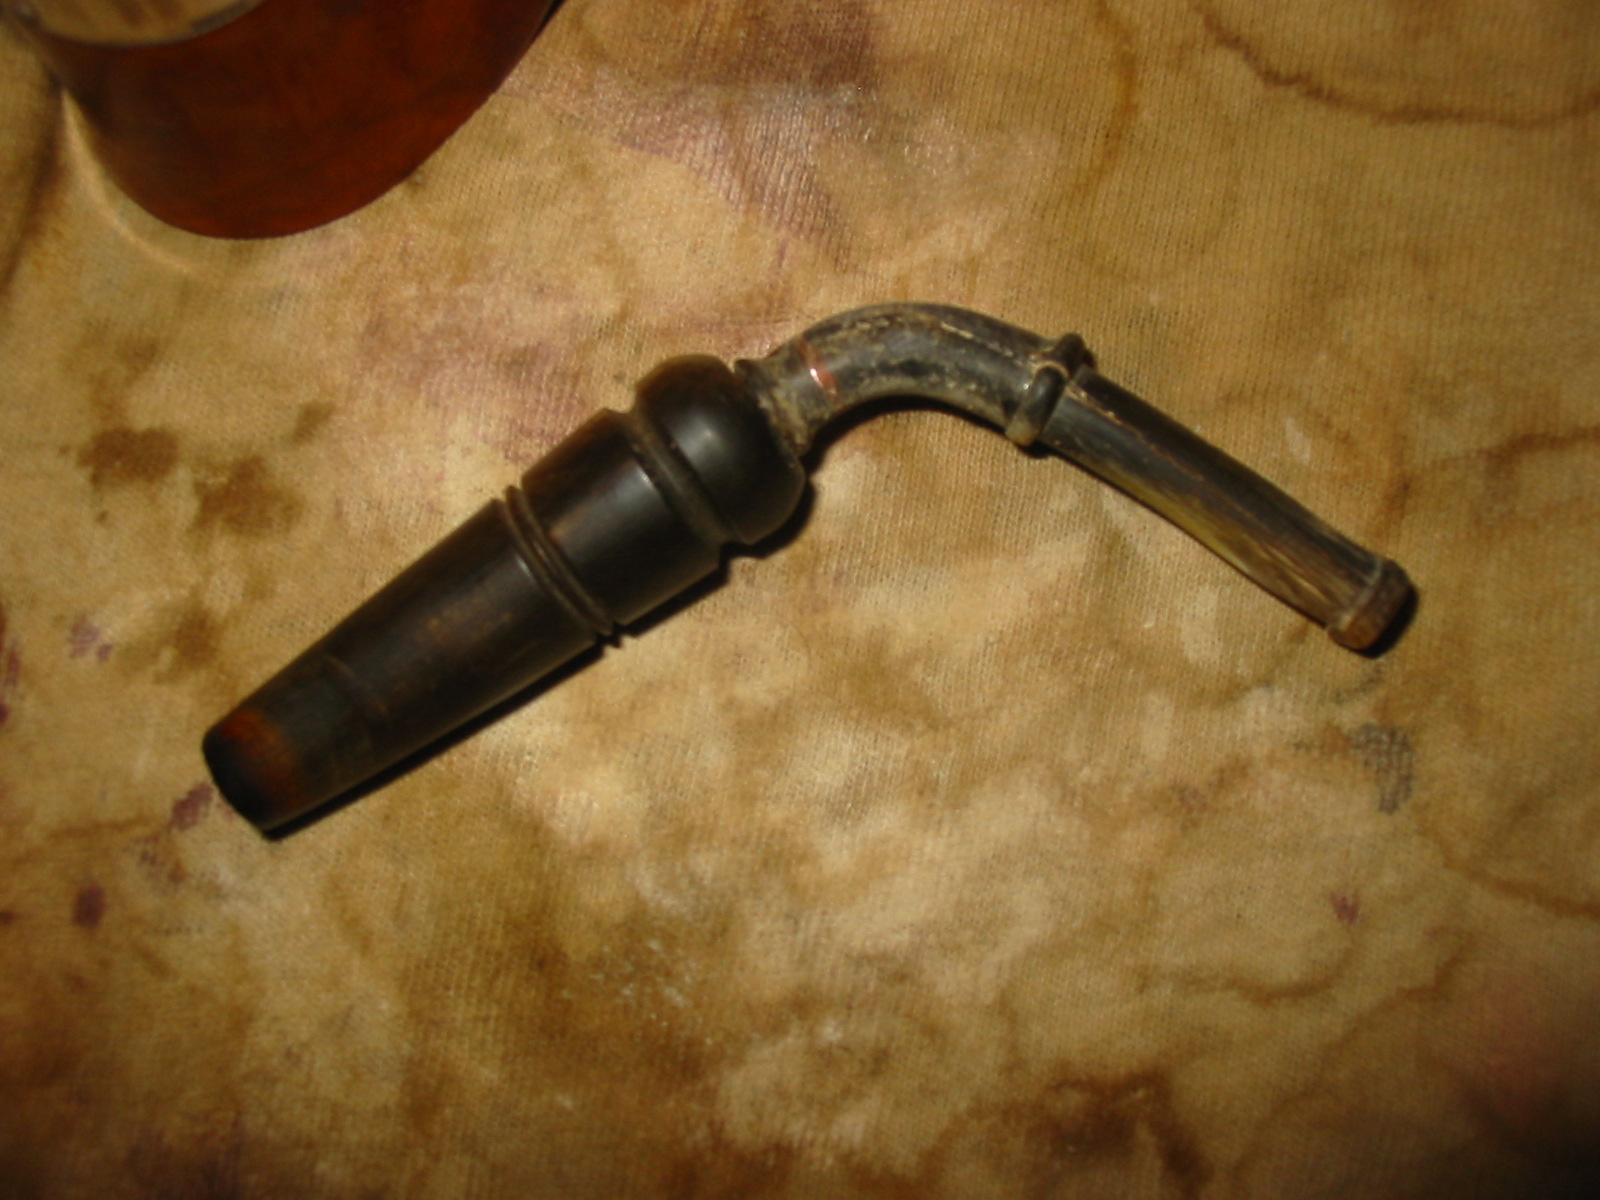
Group 1: Pipes for refurbishing

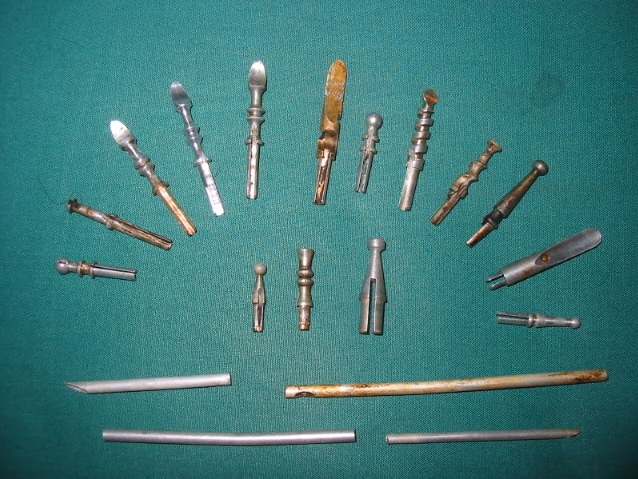
Figure 1 Assorted pipe bowls for restemming
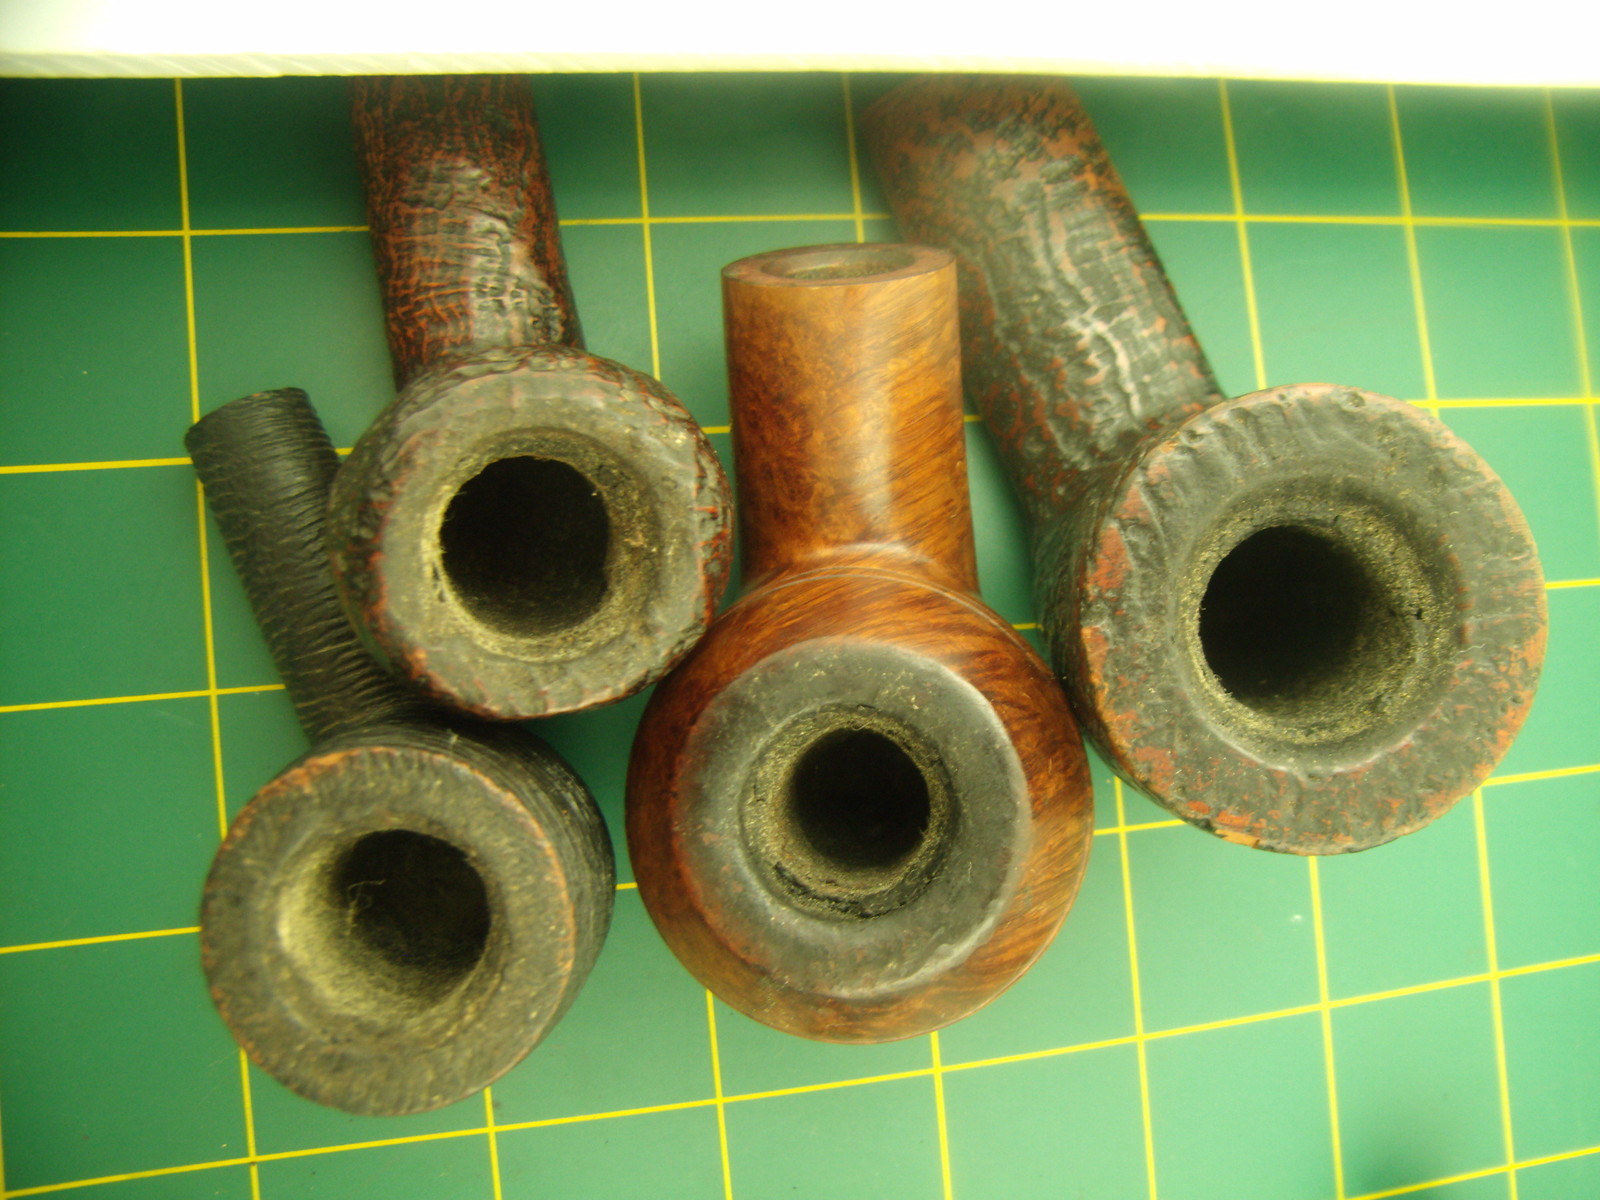
Figure 2 Assorted bowls for restemming
This is probably the largest portion of pipe buying that I do. In fact I would say that most of the pipes I purchase from thrift shop, antique malls, rummage shops while on the prowl looking for pipes fall into this category. I periodically get emails or personal messages from people who wonder if I keep all the pipes I purchase or if I sell them. To be honest I think my wife and daughters have the same question. But the answer for me is that any pipe is always open to be sold or traded (with very few exceptions). Over the years I have sold, traded and given away hundreds of pipes. As far as I can predict with any certainty that will always be true as long as I am in the hobby. The joy of the hunt and the process of finding and restoring pipes are a large part of the hobby for me.
But truly buying these lots and pipes is an investment for me. So far I have not, nor is it likely that I ever will make a lot of money on these pipes. But that is not the point of the investment. I do not collect pipes like I invest for the future. It is an investment in terms of my education and skill development. Every pipe I purchase that crosses my refurbishing bench is part of my ongoing development as a pipe refurbisher. I love the process of bringing an old pipe back to life but even that is part of learning methodologies and become adept with tools. It is all about becoming skilled and proficient at something I love to do. And if there is no other reason that satisfies at least it gives me a justification for a part of the hobby that I really love.
With that in mind you will better understand that whatever I plan to work on in my skill set is determines to some degree what I purchase.This is somewhat arbitrary and determined by what I find but nonetheless it governs what I buy and work on. But even with that there are layers at work. For example I collected bowls that needed restemming over the past months because I wanted to work on honing my ability to restem and shape stems for a good fit to the shank.I wanted to learn to work with round, saddle, diamond and oval shanked pipes to be able to cut, fit and shape the new stem. Because that was my purpose the brand etc. of the pipe was utterly irrelevant to me. I just wanted a variety of shapes, styles and challenges. It is always a bonus if there is crossover with some of the other part of my collection but the primary purpose is skill training.
I have purchased pipes over the years for the purpose of learning about staining and finishes on bowls. I wanted to learn about application of stains, mixes and blends and even multi layered stains. I wanted to learn to make the grain stand out and how to make the flaws less visible. I wanted to learn how to replace fills and repair dents and damages to the finish of bowls. Because of this purpose I looked for rough-looking pipes that needed TLC to make them shine again. This included bowls that needed topping, finishes that were peeling, bowls that were scratched and dented. Again the purpose was educational rather than building pipes into my permanent collection. If that happens, again it is a bonus.
I have also purchased pipes knowing full well that they had broken shanks for the sole reason of having the opportunity to learn how to repair shanks and fit bands. This involved learning how to repair a cracked shank from within and without, how to repair a shank with a band and without using a band. The point was to learn methods and skills so the purchase of pipes to some degree was a search for those that needed this kind of work.
You get the point of what I am saying, I am sure. For me this aspect of my collecting will be a permanent feature. From it I will sell, trade or gift the majority of the pipes I have repaired or refurbished. All have been learning opportunities. This will also help explain why I take on what often seem to be impossible refurbs – I do it for the challenge and I will definitely build my skill set in the process.
But this is not the sole focus of my pipe collection. It is not the only kind of pipes I purchase. In fact this first group is where I carry on my education for the purpose of refurbishing pipes that will end up in my second group.
Group 2: Pipes from an Early Era
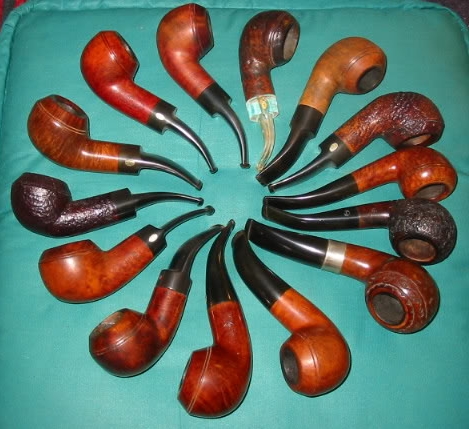
Figure 3 Some of my GBD 9438 pipes and others
This aspect of my pipe collecting is one that I enjoy and which has some definite overlap with Group 1 pipes. I am constantly on the lookout for old-time pipes or just pipe bowls. I work to restem them with an age appropriate stems and bring them back to life. It is something that is relaxing and therapeutic for me in an otherwise busy time of my life. I find that I can unwind and relax while my hands are busy rehabilitating an old pipe. I can listen to books on disk, sermons, music, lectures whatever while I work away at the minute tasks of refurbishing. These pipes often become a part of my permanent collection.
This part of the collection is made up of two larger subsets of pipes – English and North American pipes from days gone by. In both subsets I look for pieces that represent the shapes that I appreciate and are in excellent condition or can be returned to that condition. This means that in both subsets there will be turnover as I find better examples in the course of my refurbishing and in the course of the hunt. This portion of my collection represents about half of my entire collection. It is pretty much equally divided between English and North American. In both I am not looking for newer pipes I am looking for pipes from the late 1800s through the early to mid-1900s. I am looking for signature pieces from that time period made by companies that in many cases have either disappeared with time or have been bought out by others. The briar in these old pipes is generally very good.
In terms of brands that I collect they are as follows. In the English line I collect GBD, BBB, Orlik, Loewe, Simms,Weingott, Barlings, Sasieni, Parker, Friborg&Treyer,Charatan, Comoy’s, Bewlay, older Dunhill, and others. In the North American line I collect old CPF, GFB, WDC, KBB, Kaywoodies, Yello Bole, Dr. Grabow, Barclay Rex, Custom Bilt, Custombilt, Tracy Mincer,Malaga, Blatter and Blatter, Brigham and others.
When I am in the antique shops and malls in the states and in Canada I have an eye out for these kinds of pipes. It is amazing where they turn up and the condition I find them in. I have become picky if they are intended to be keepers for me so I select hard, unless of course, they fit a learning/skill objective that I have set for myself. Even then I choose according to what I want to work on and leave behind some that just do not fit the collection or the objectives.
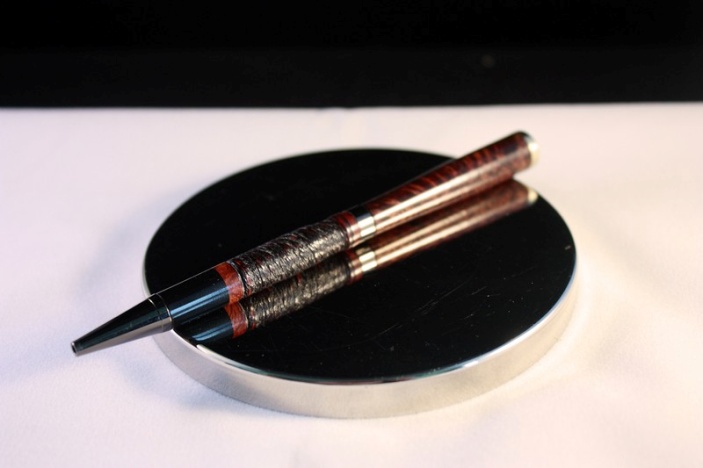
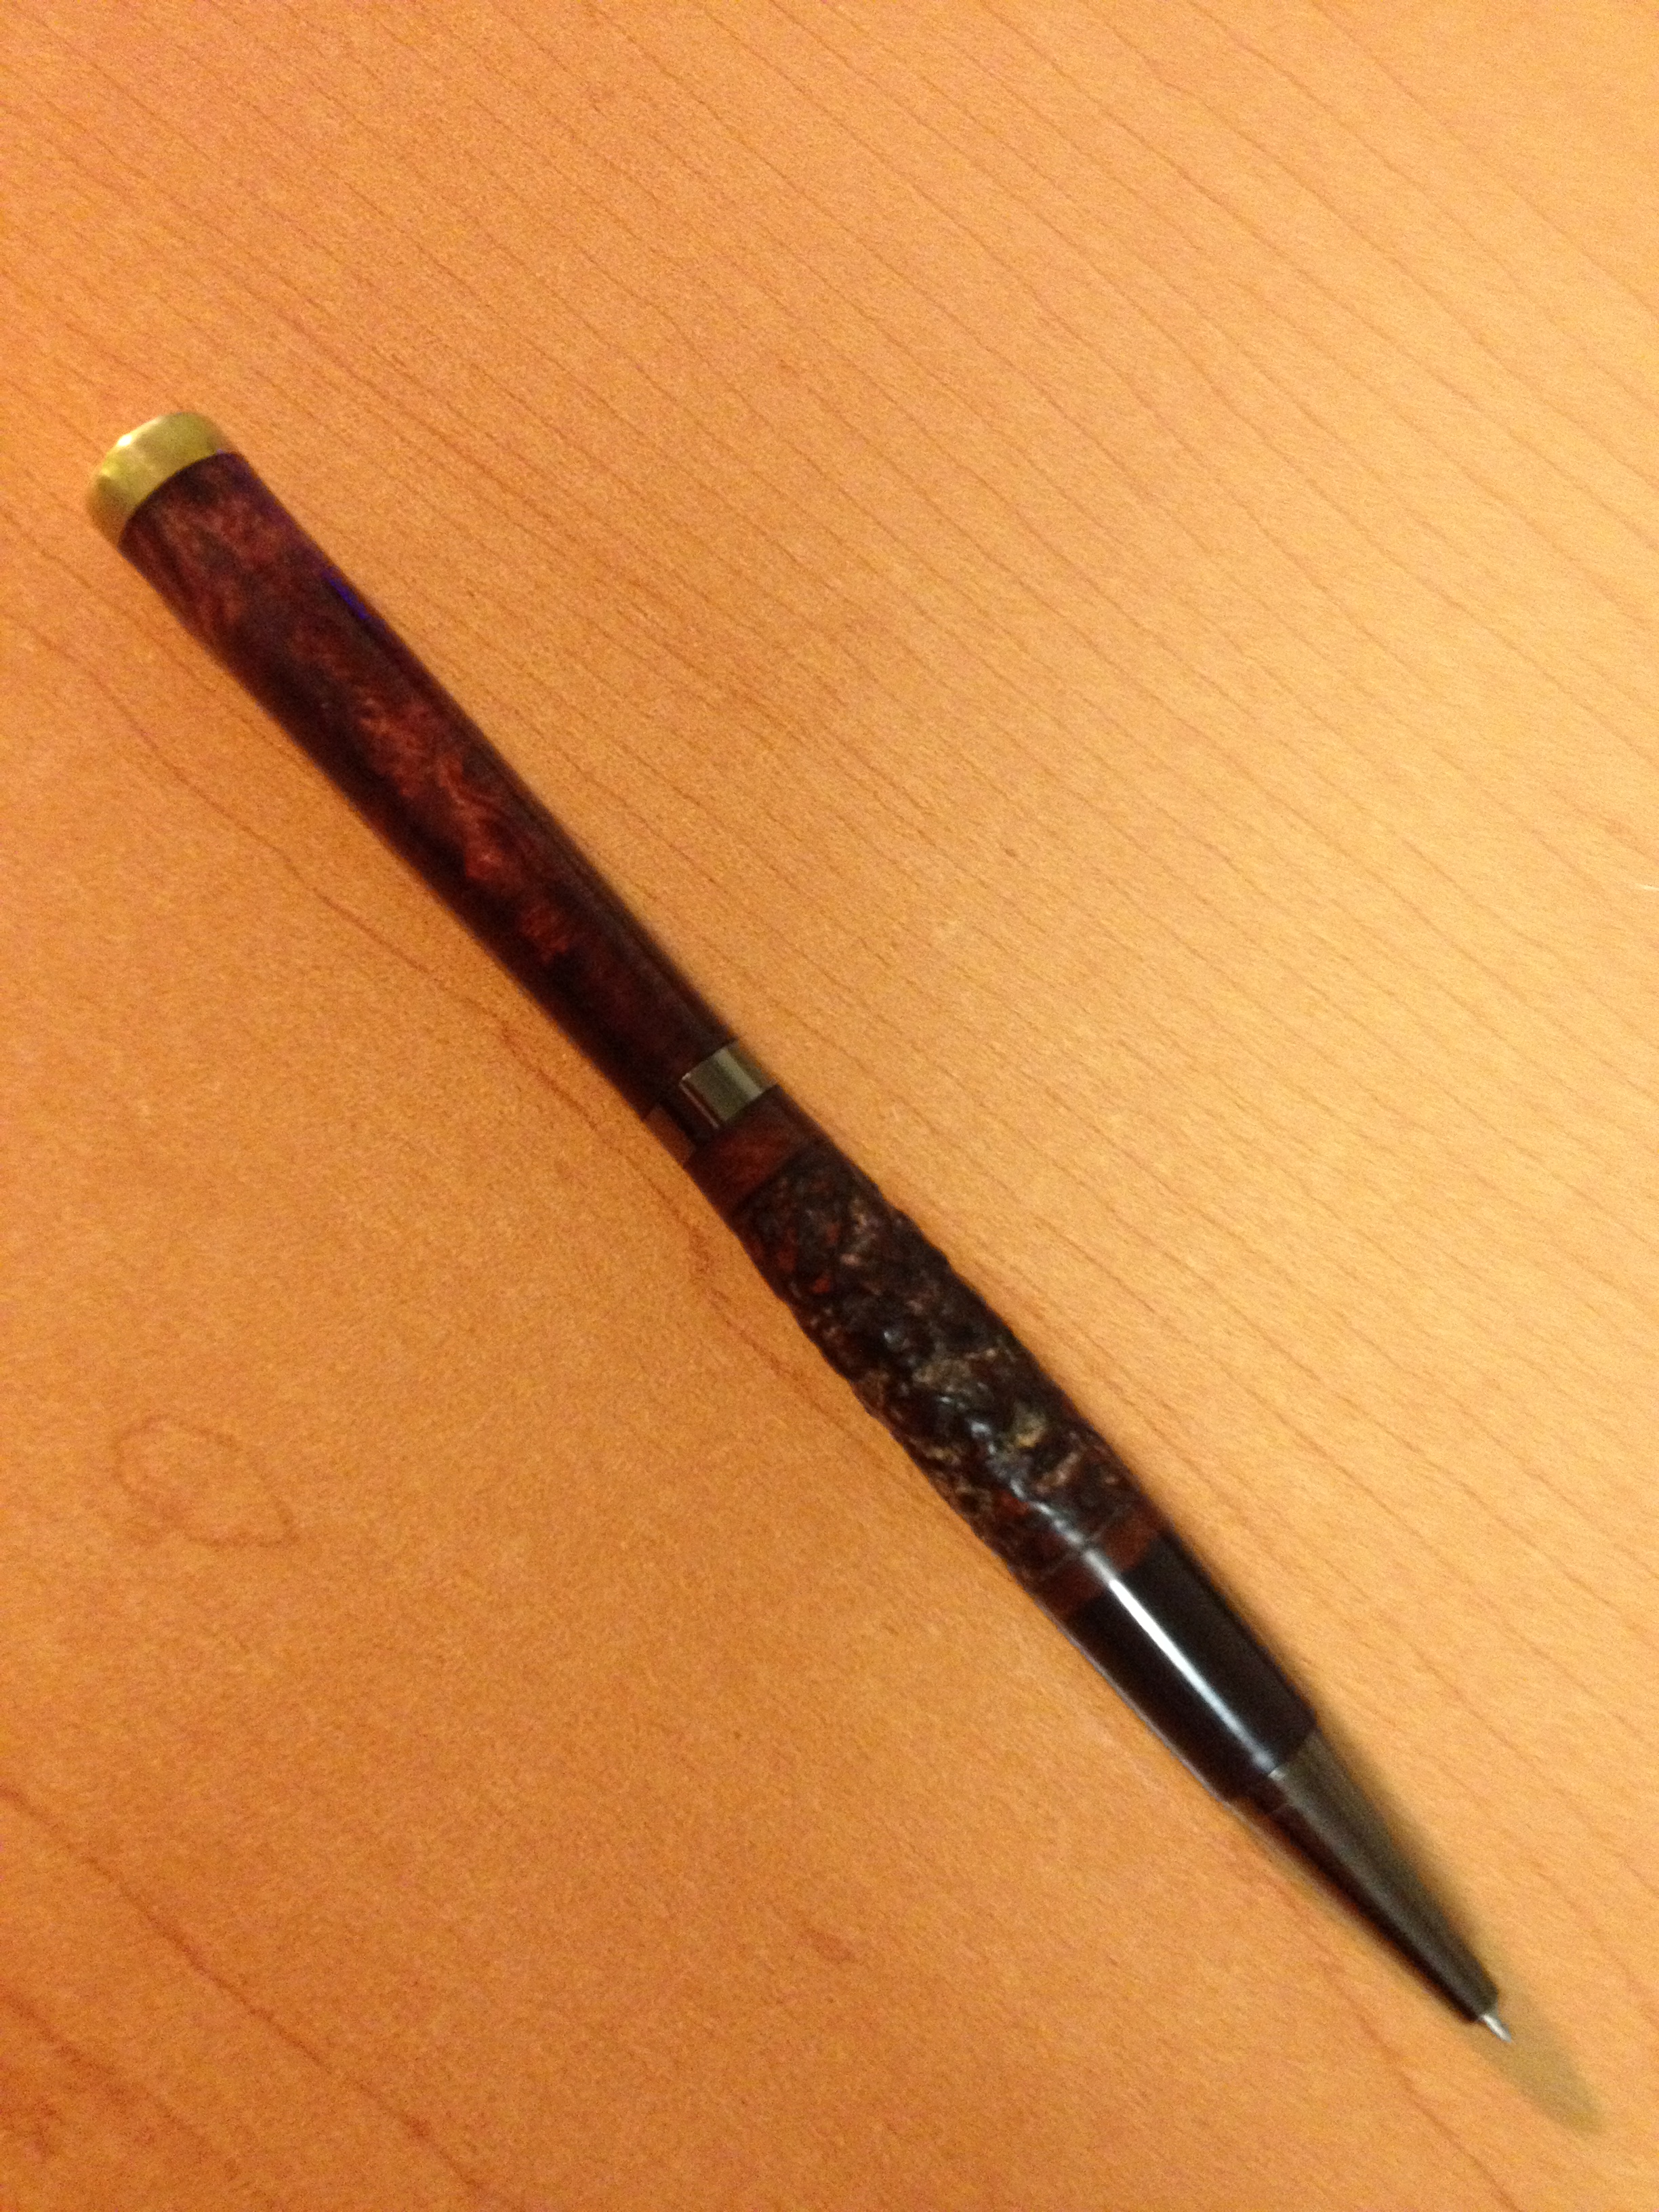
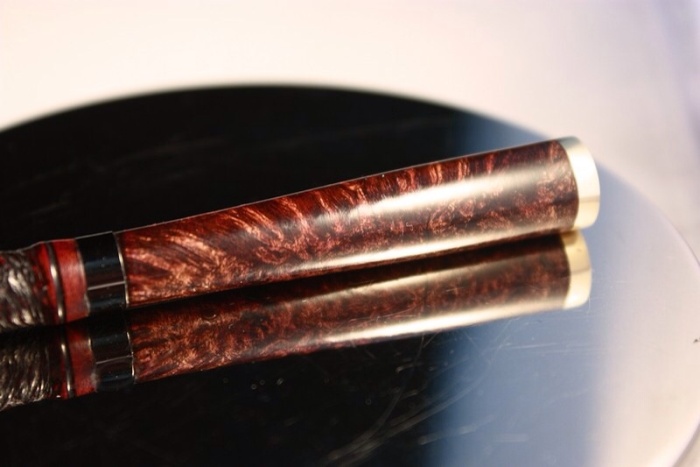
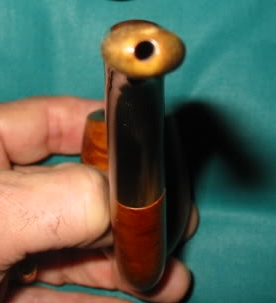
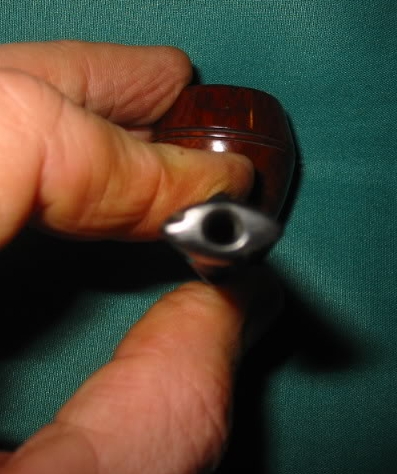
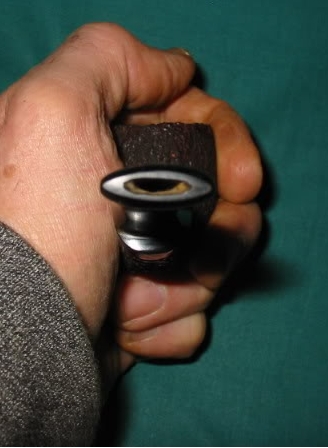
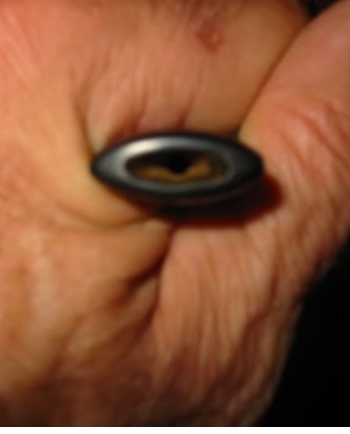
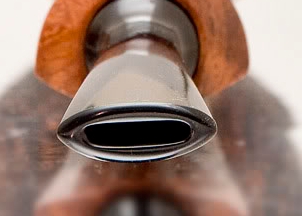
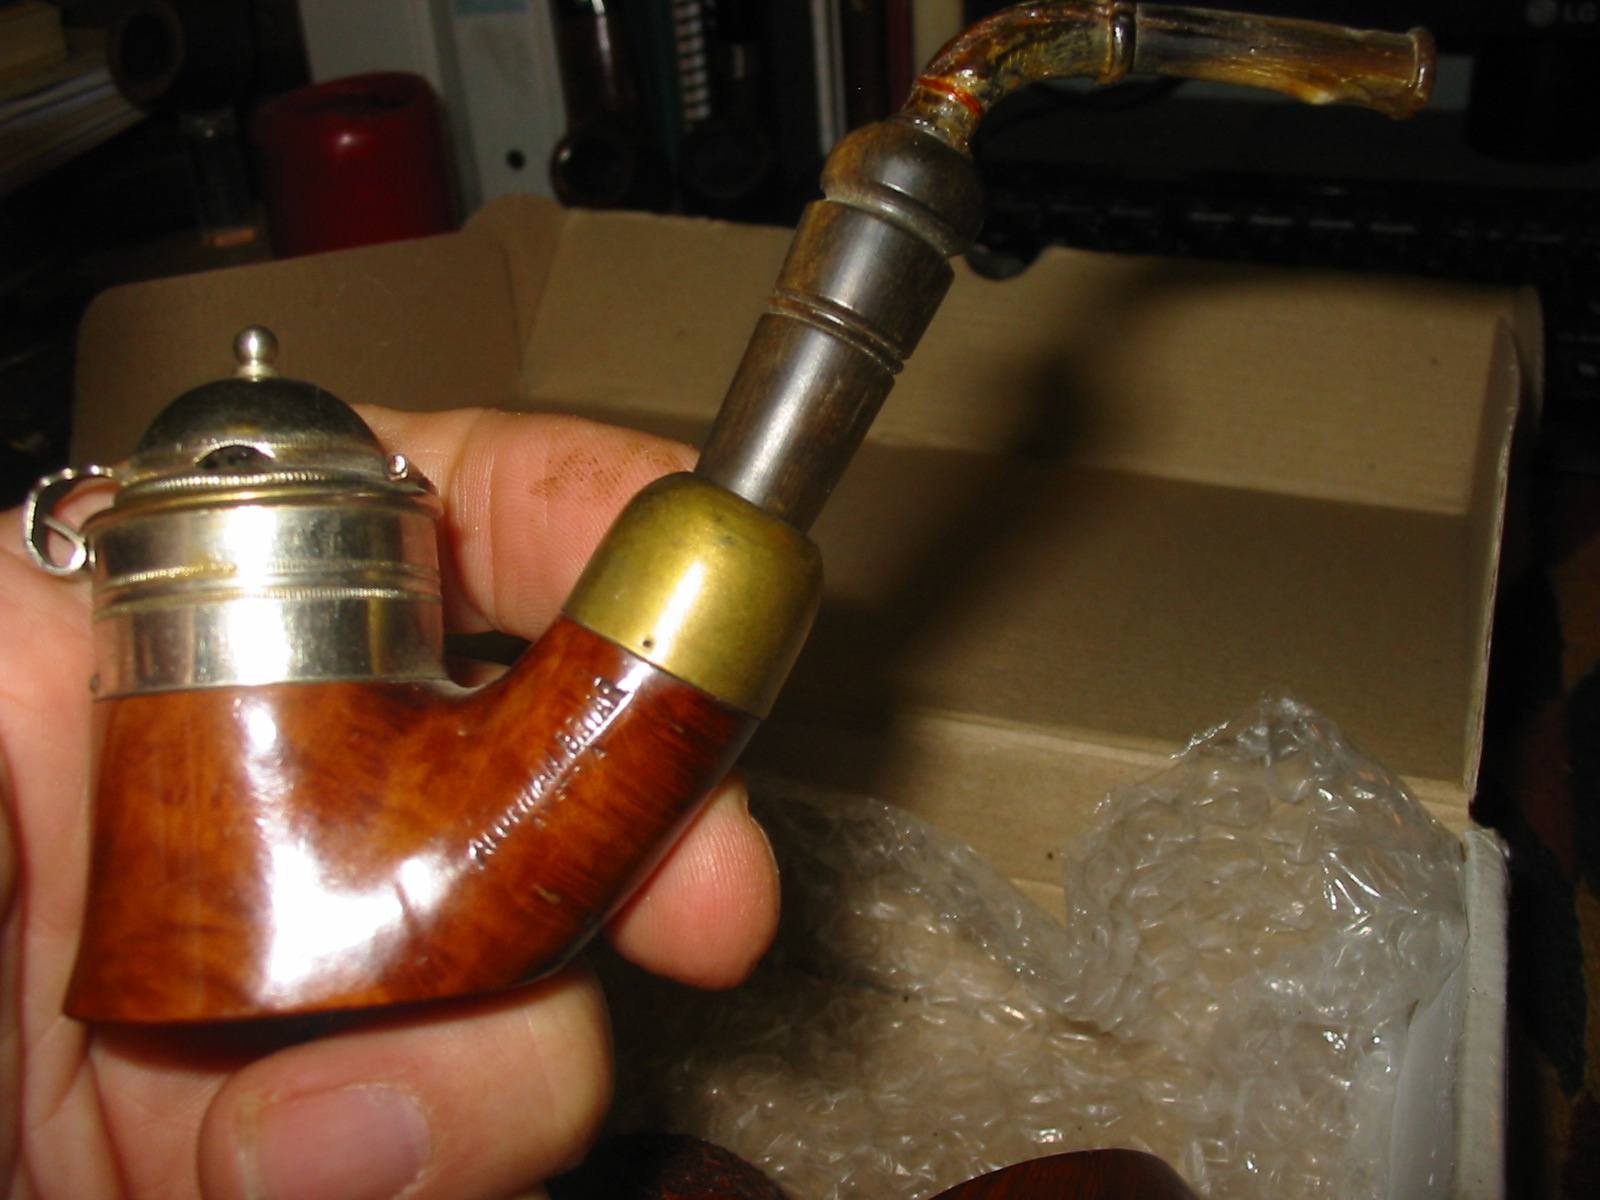
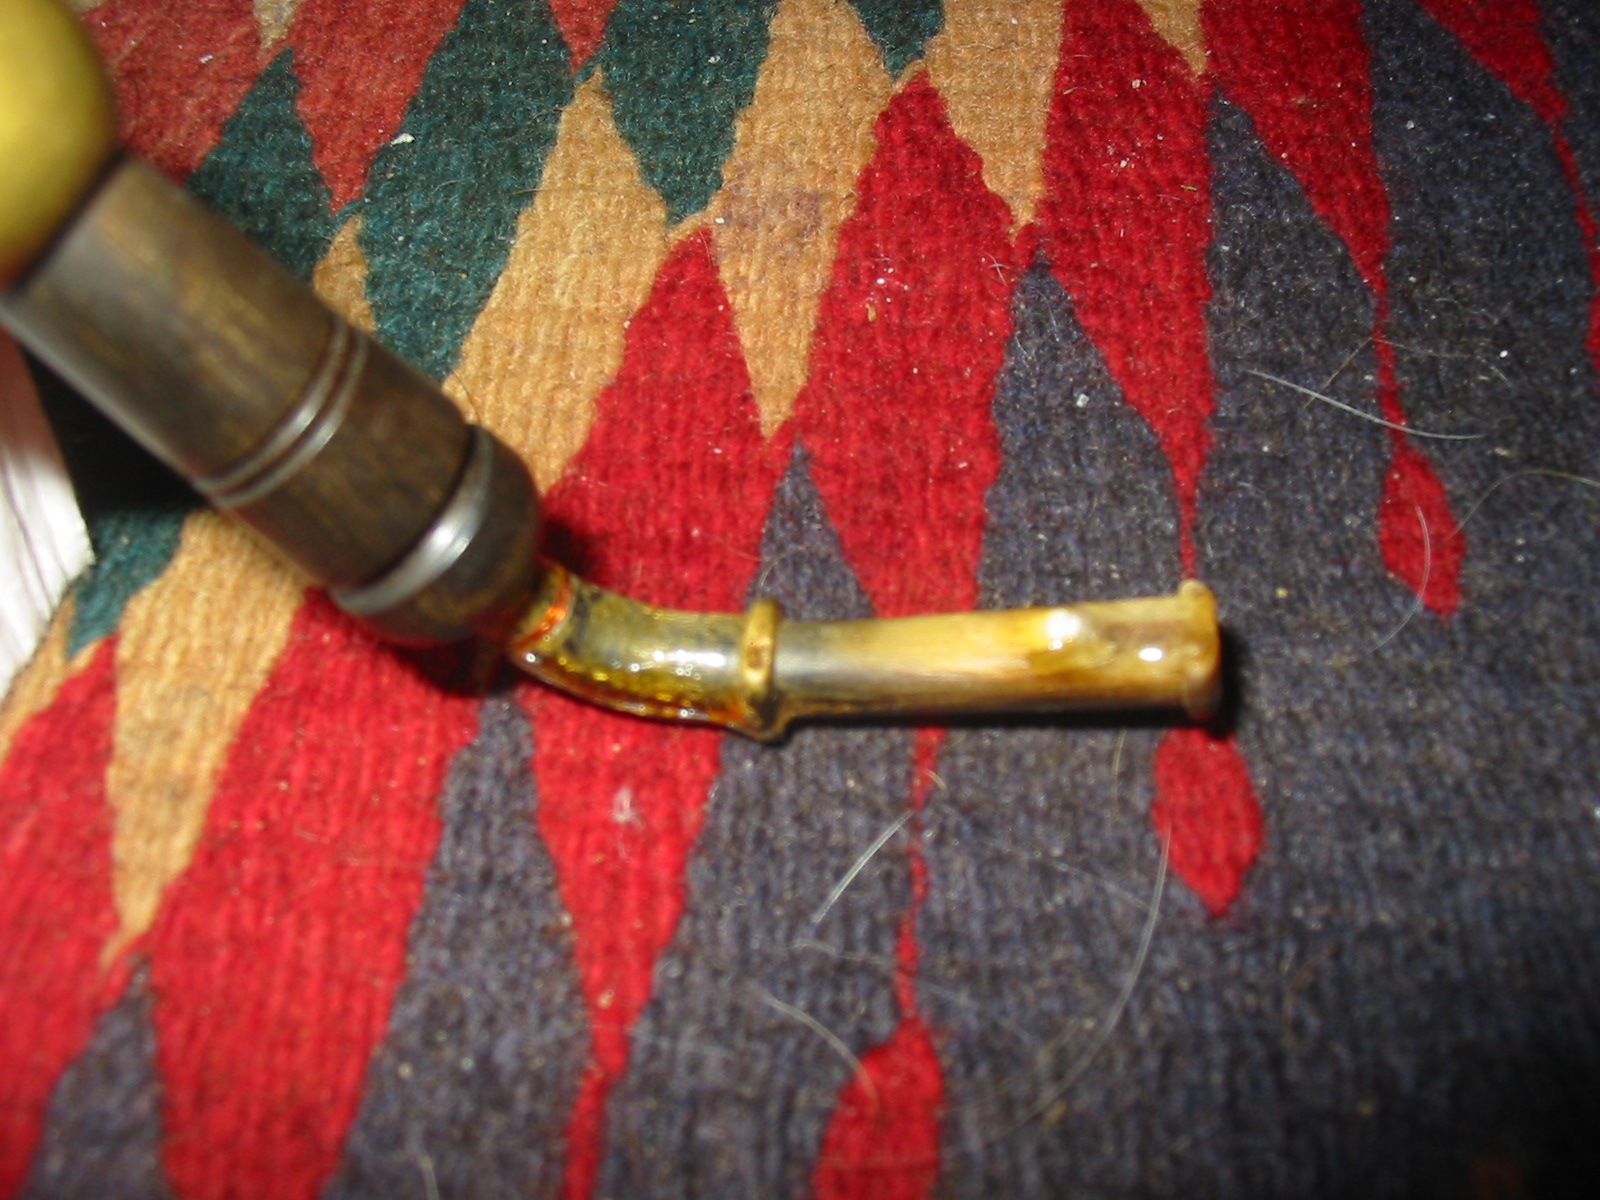
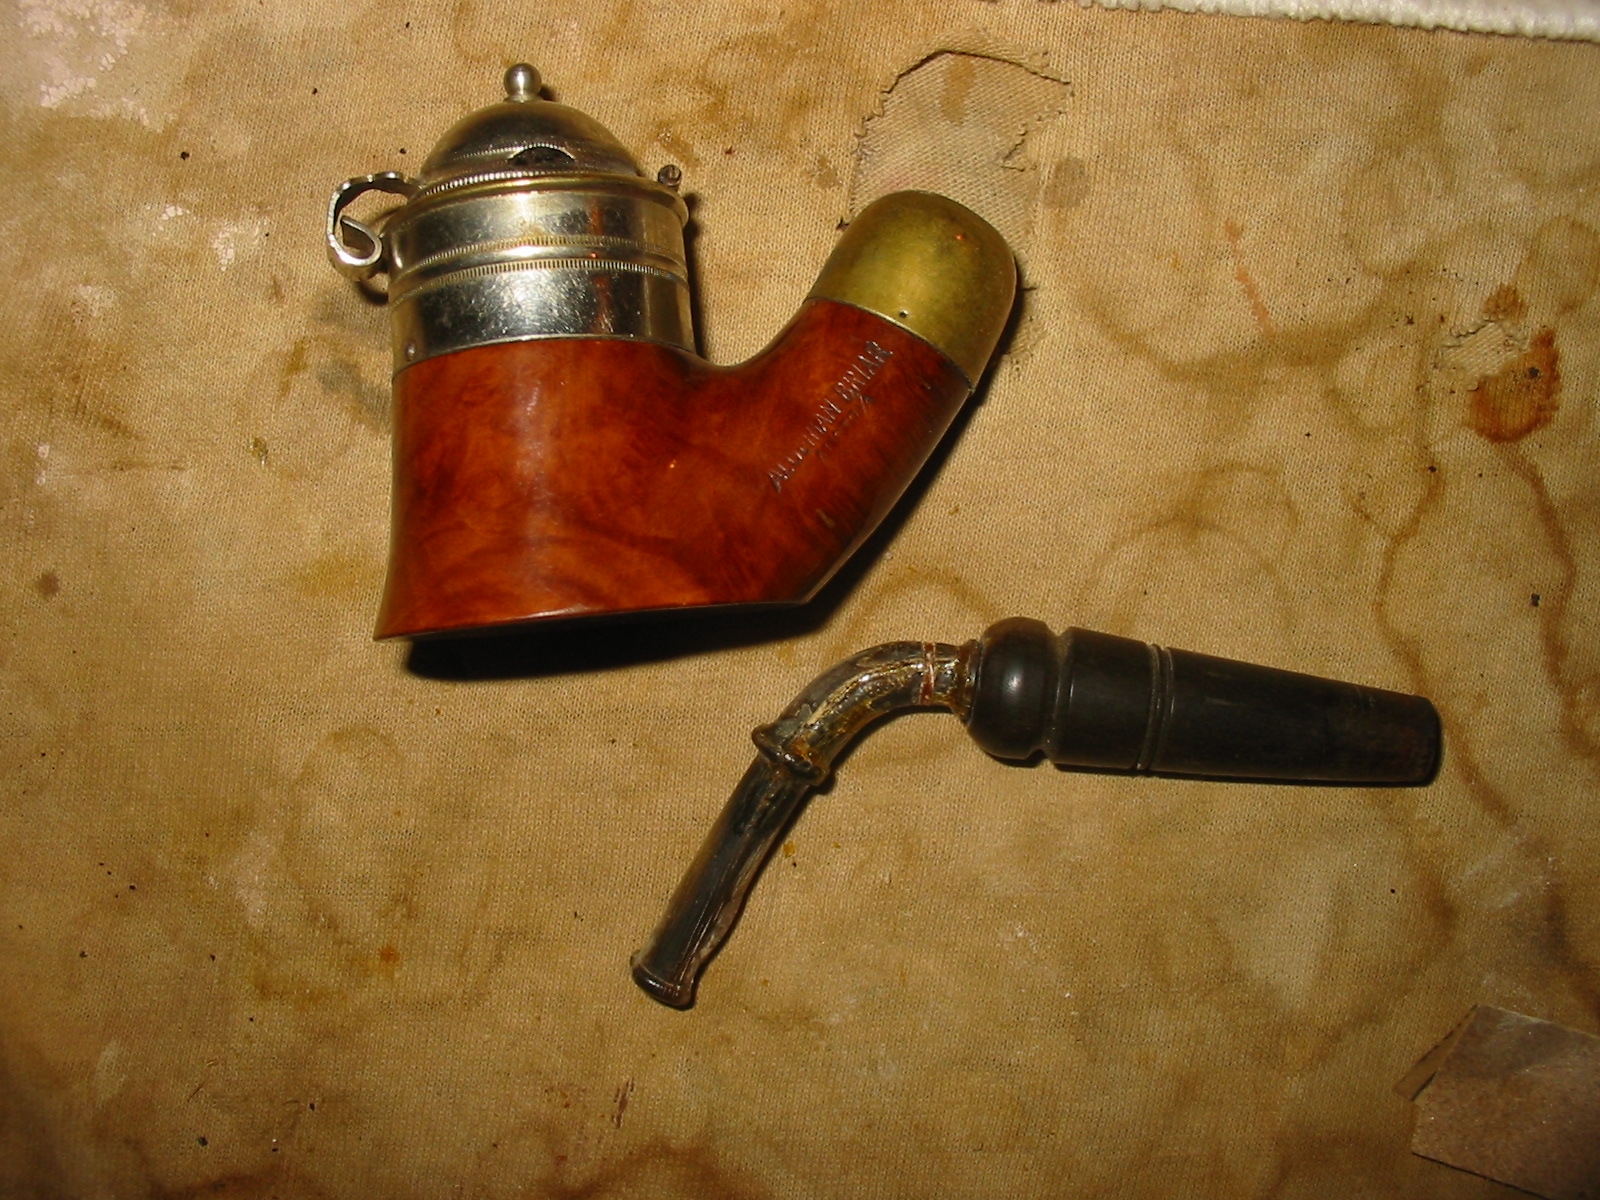
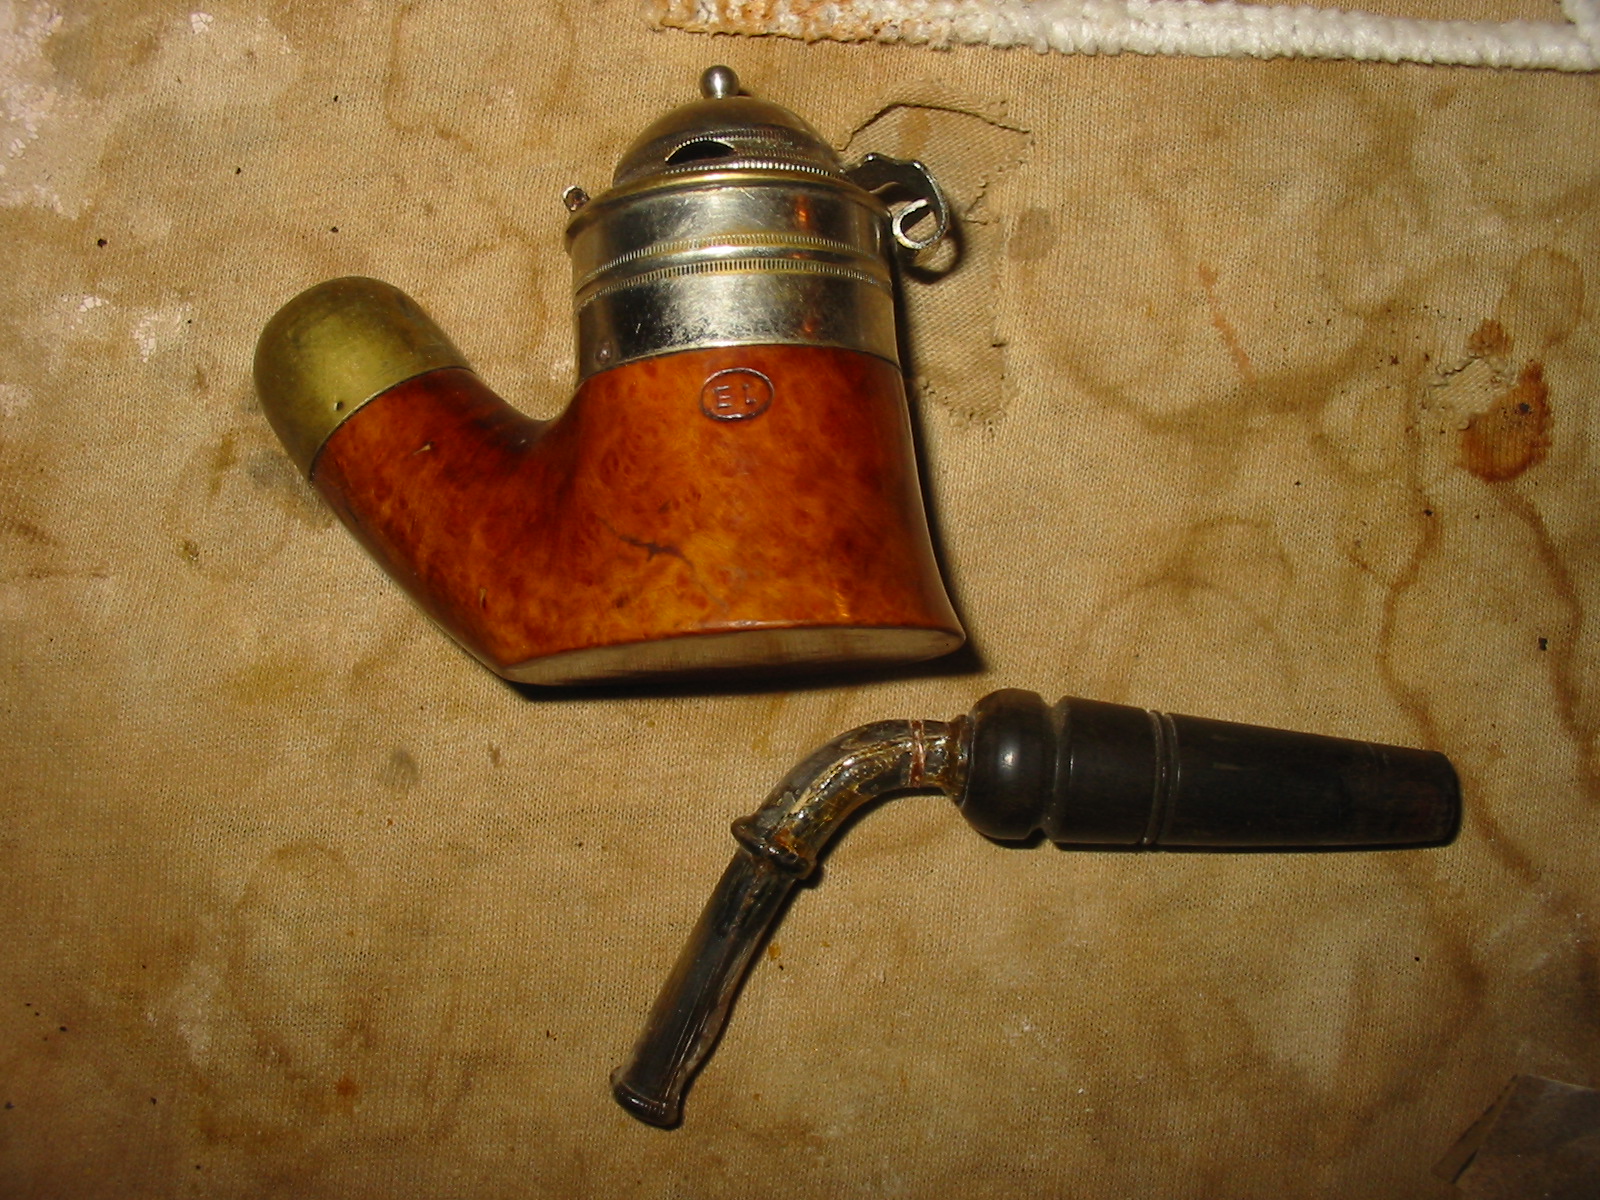
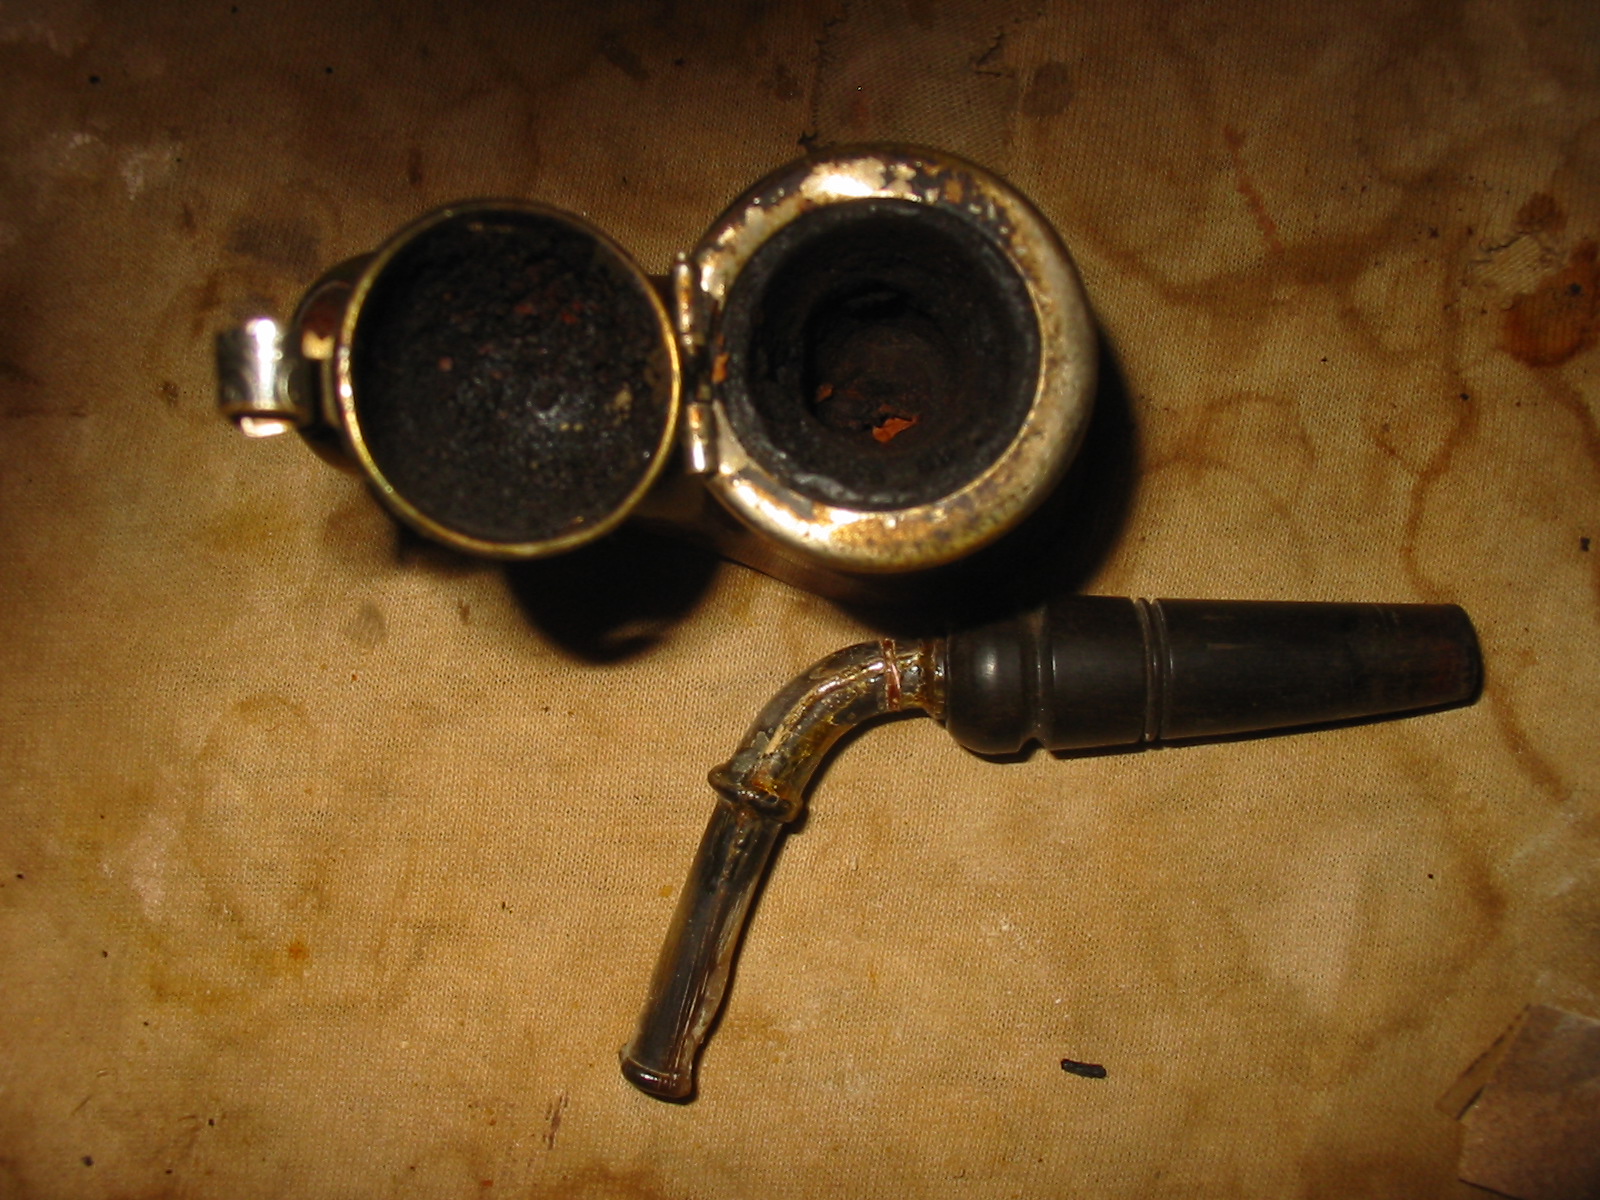
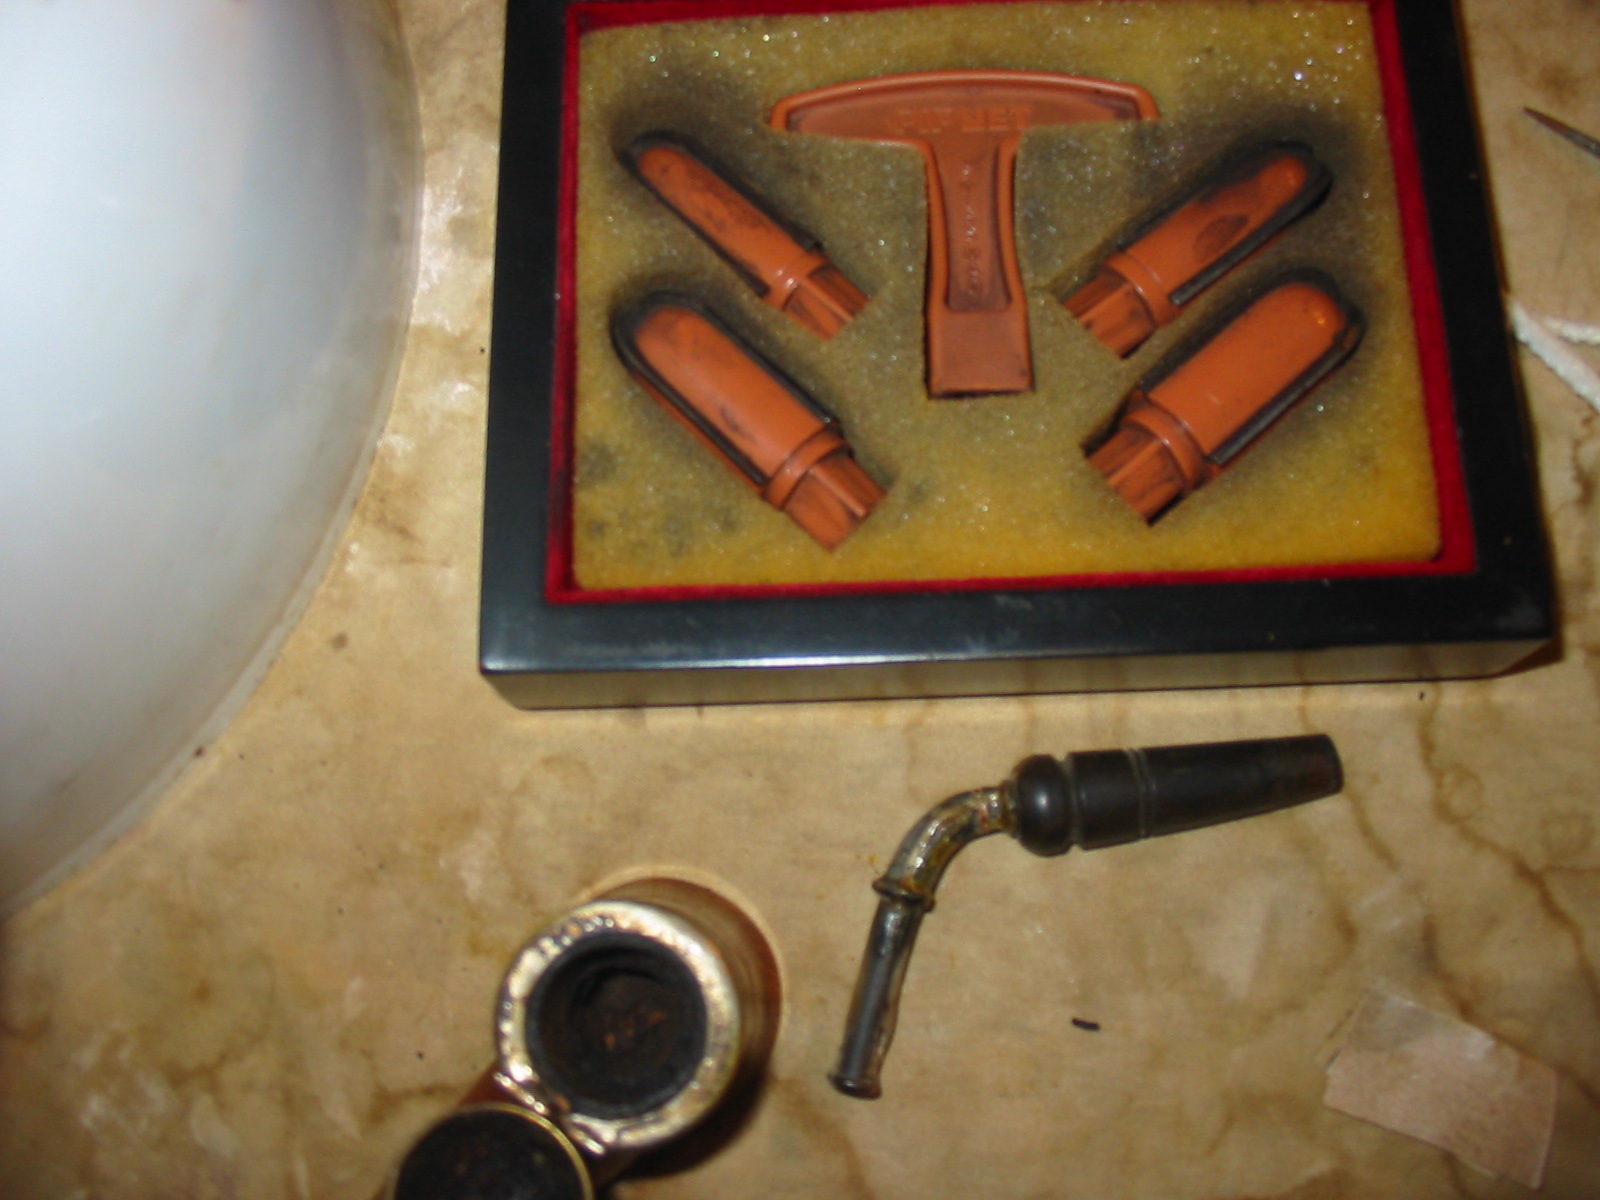
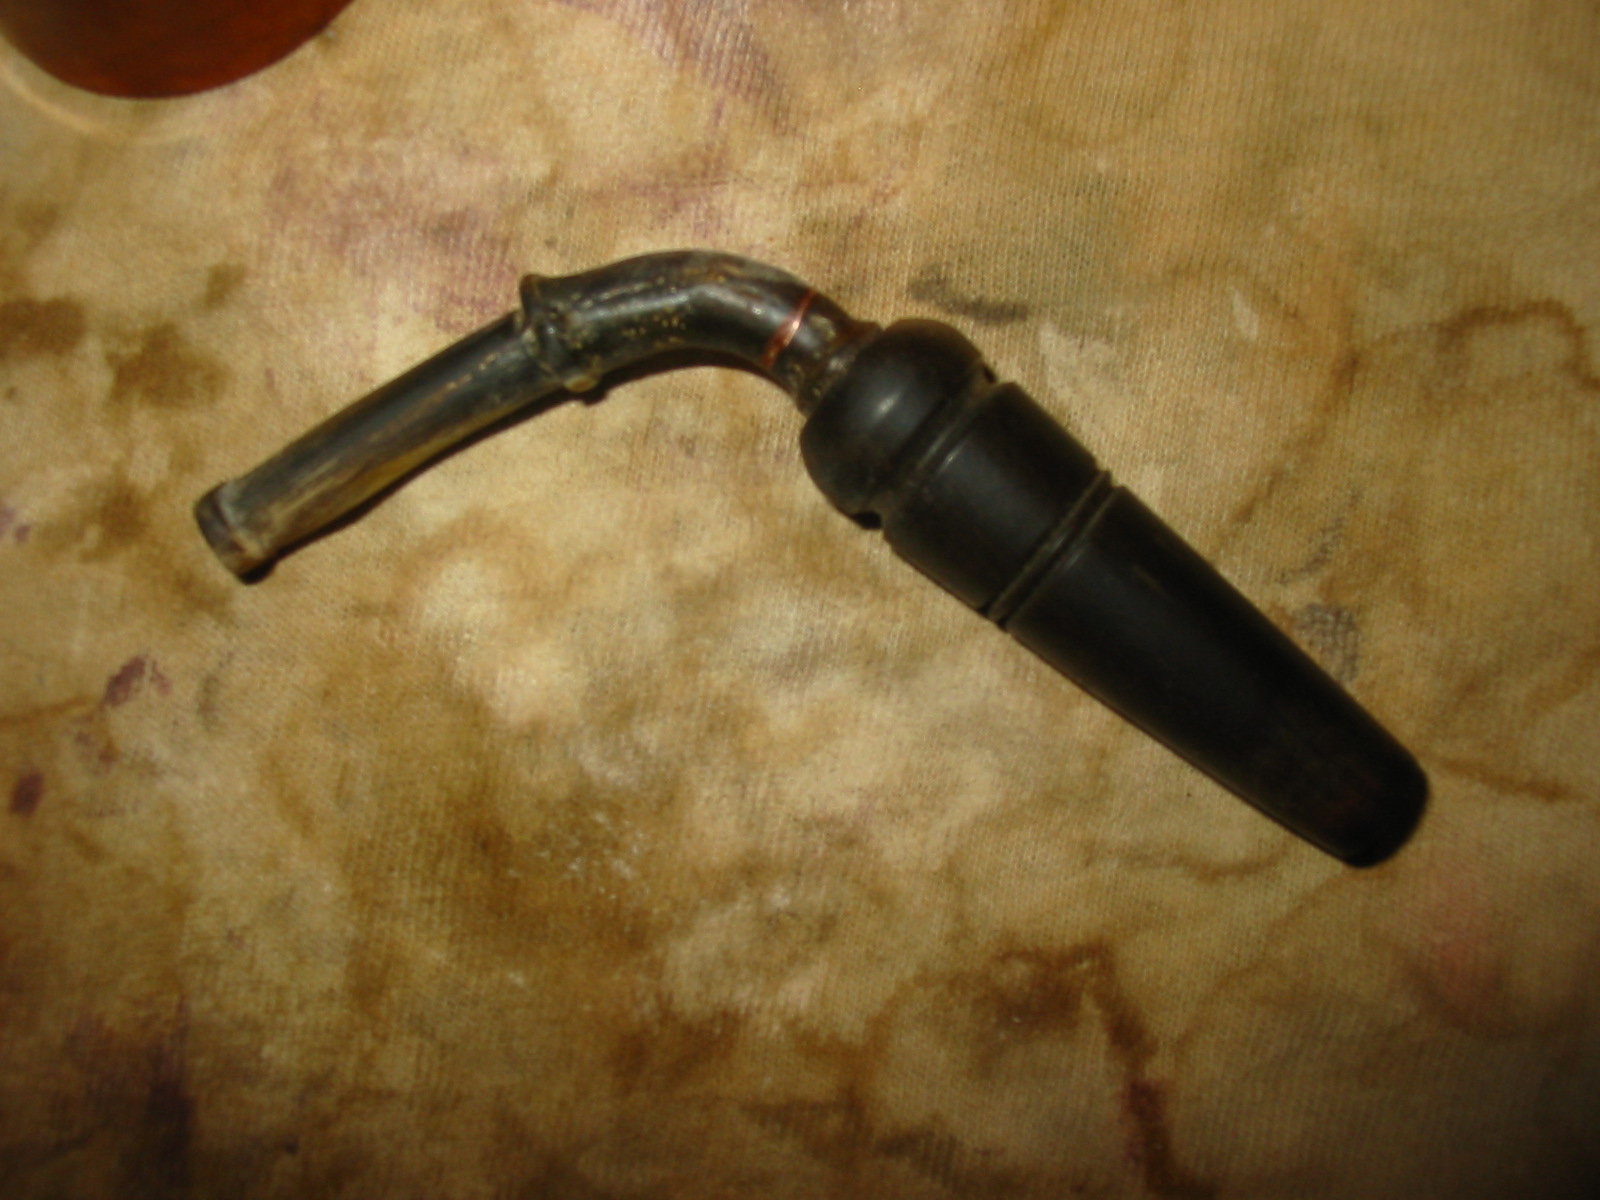
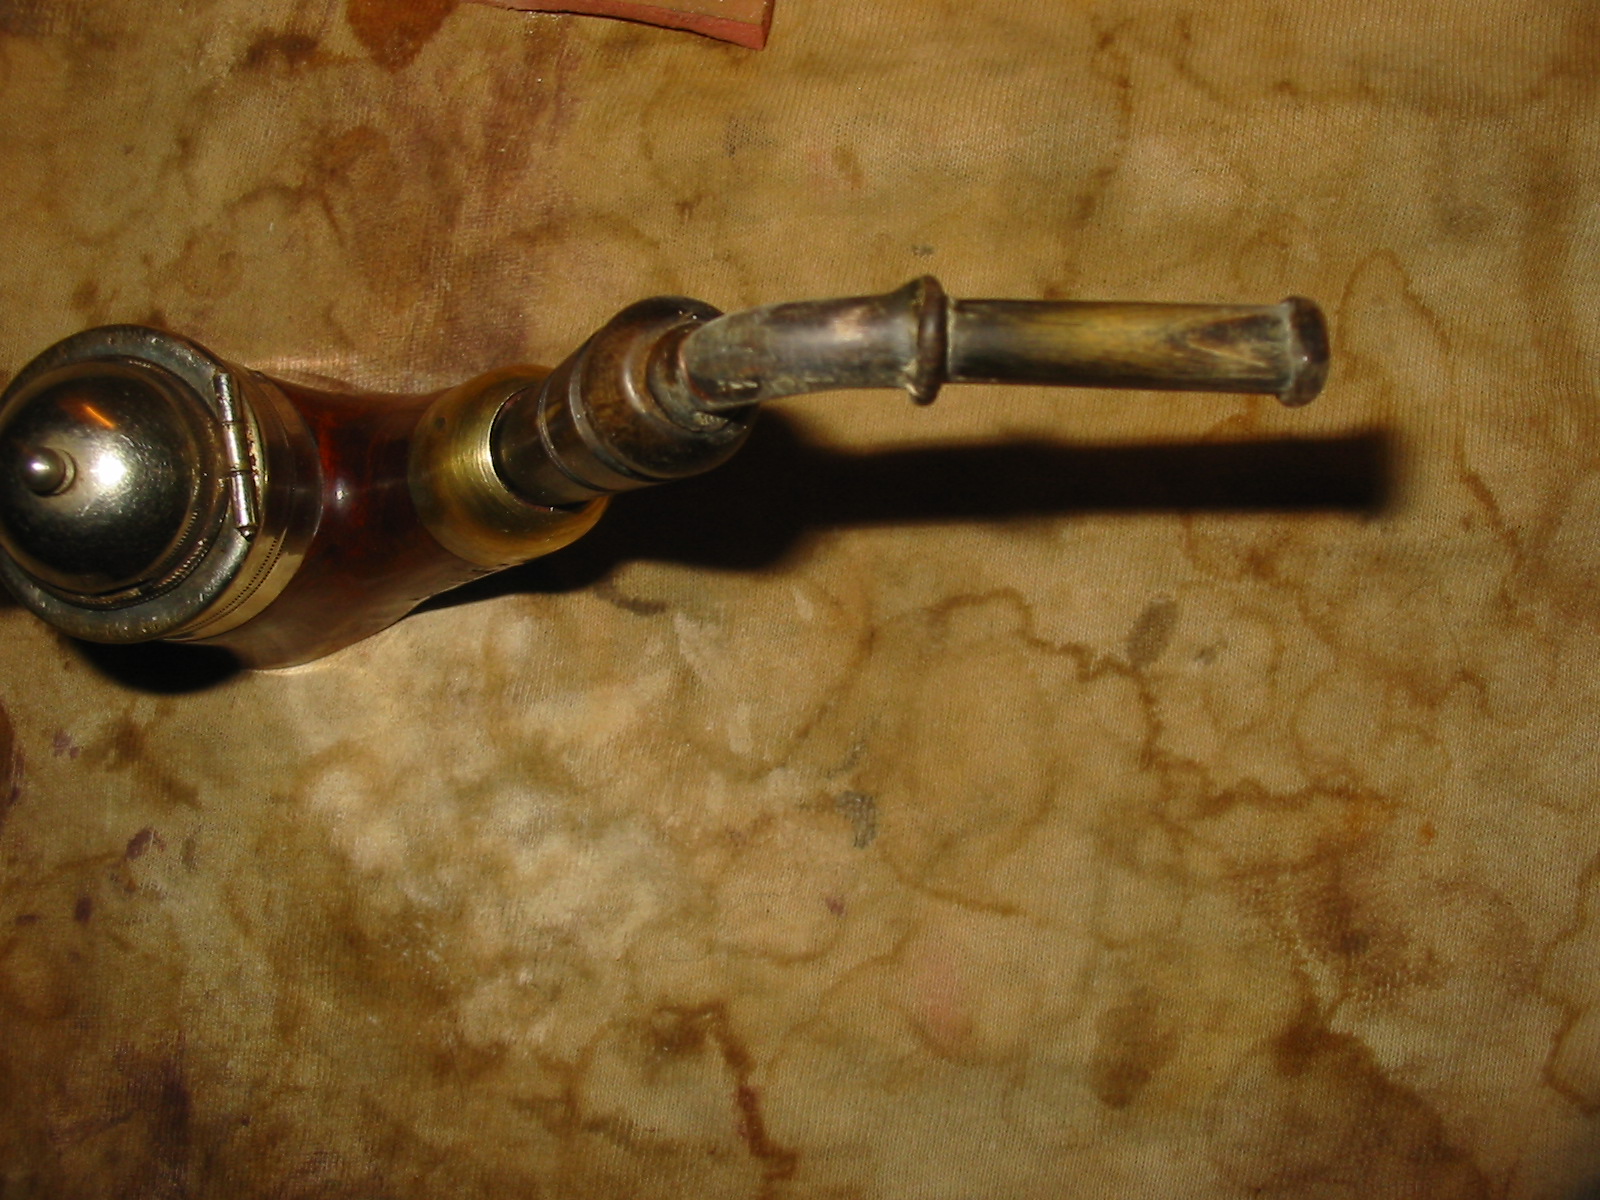
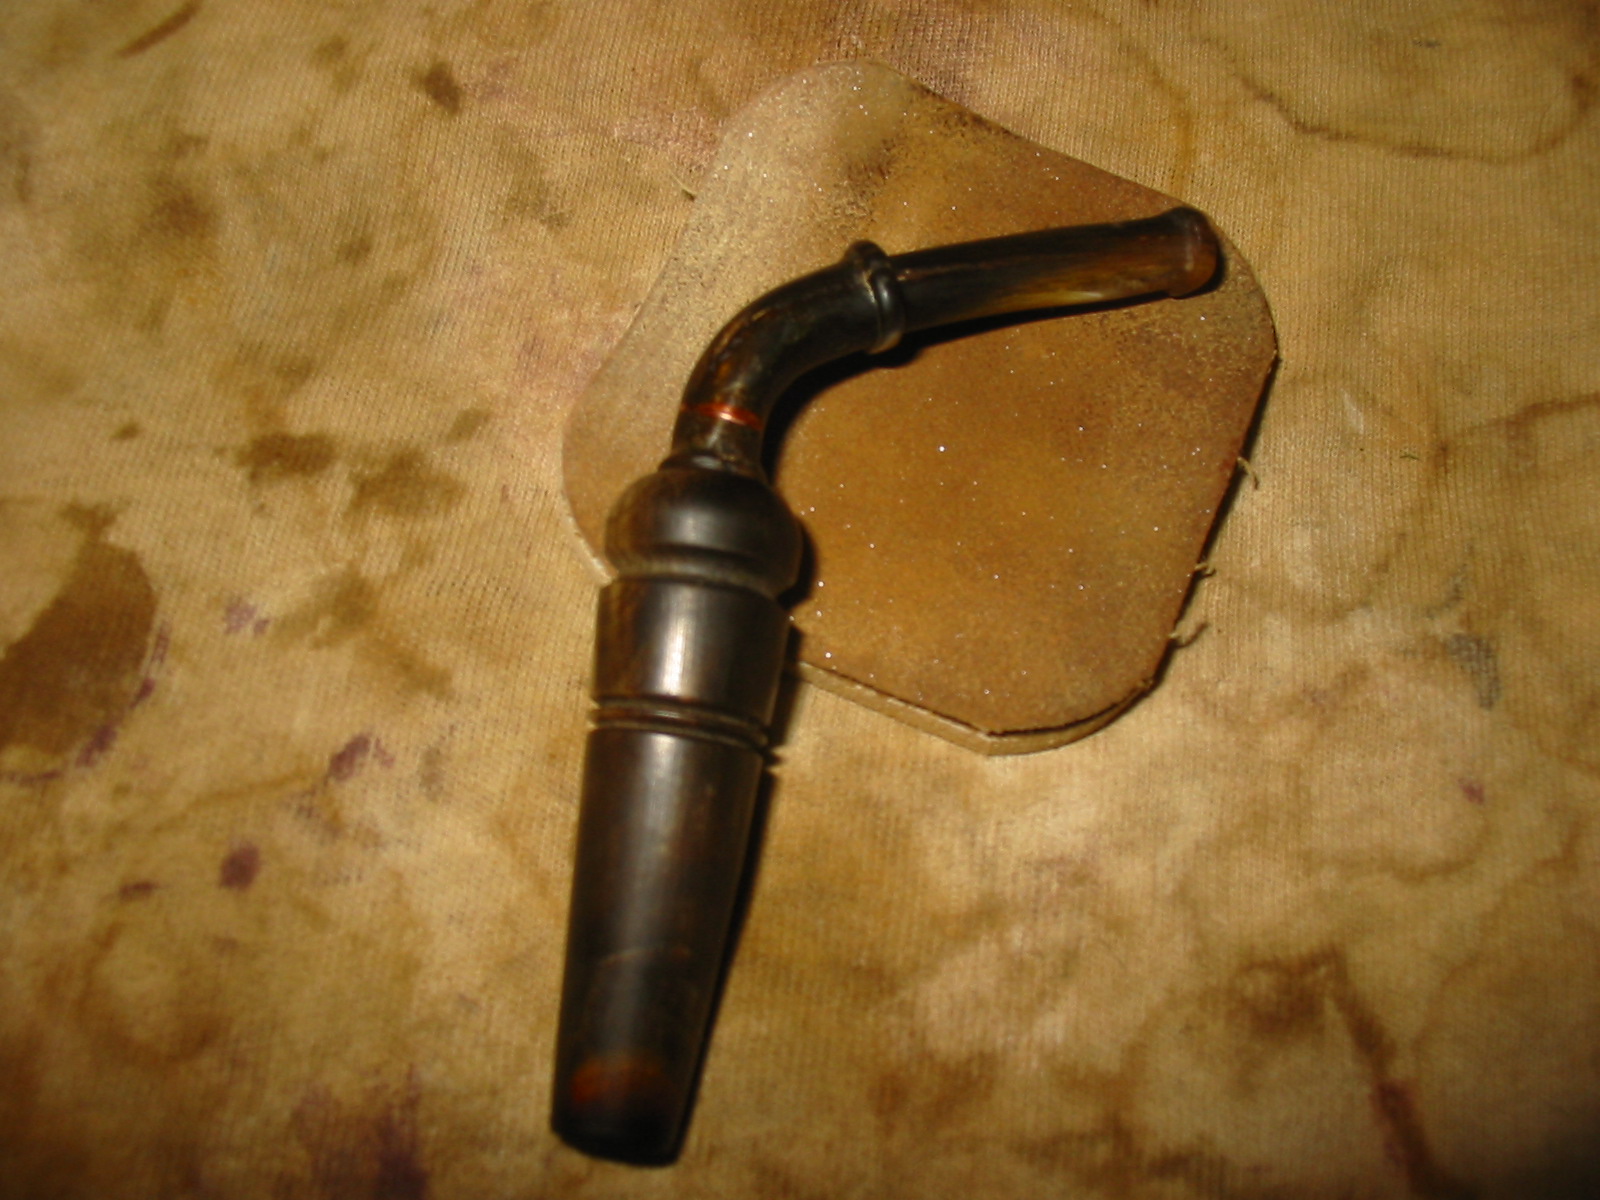
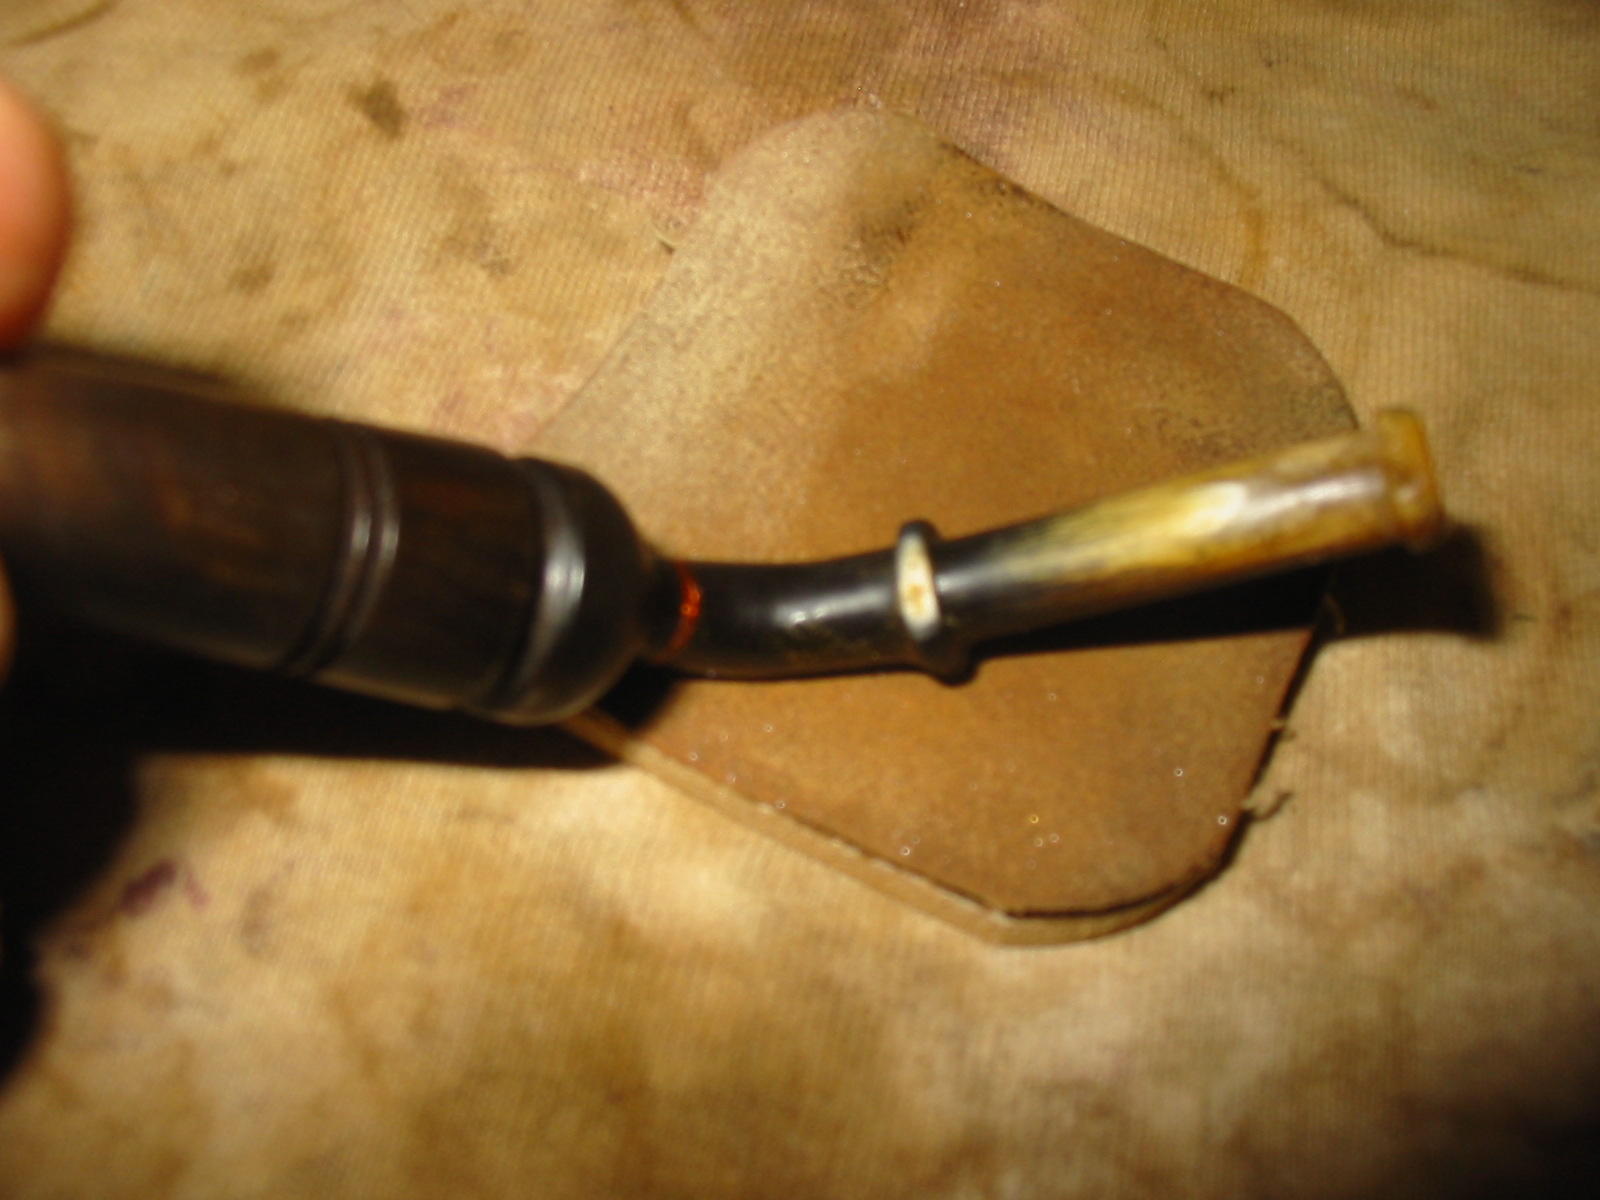
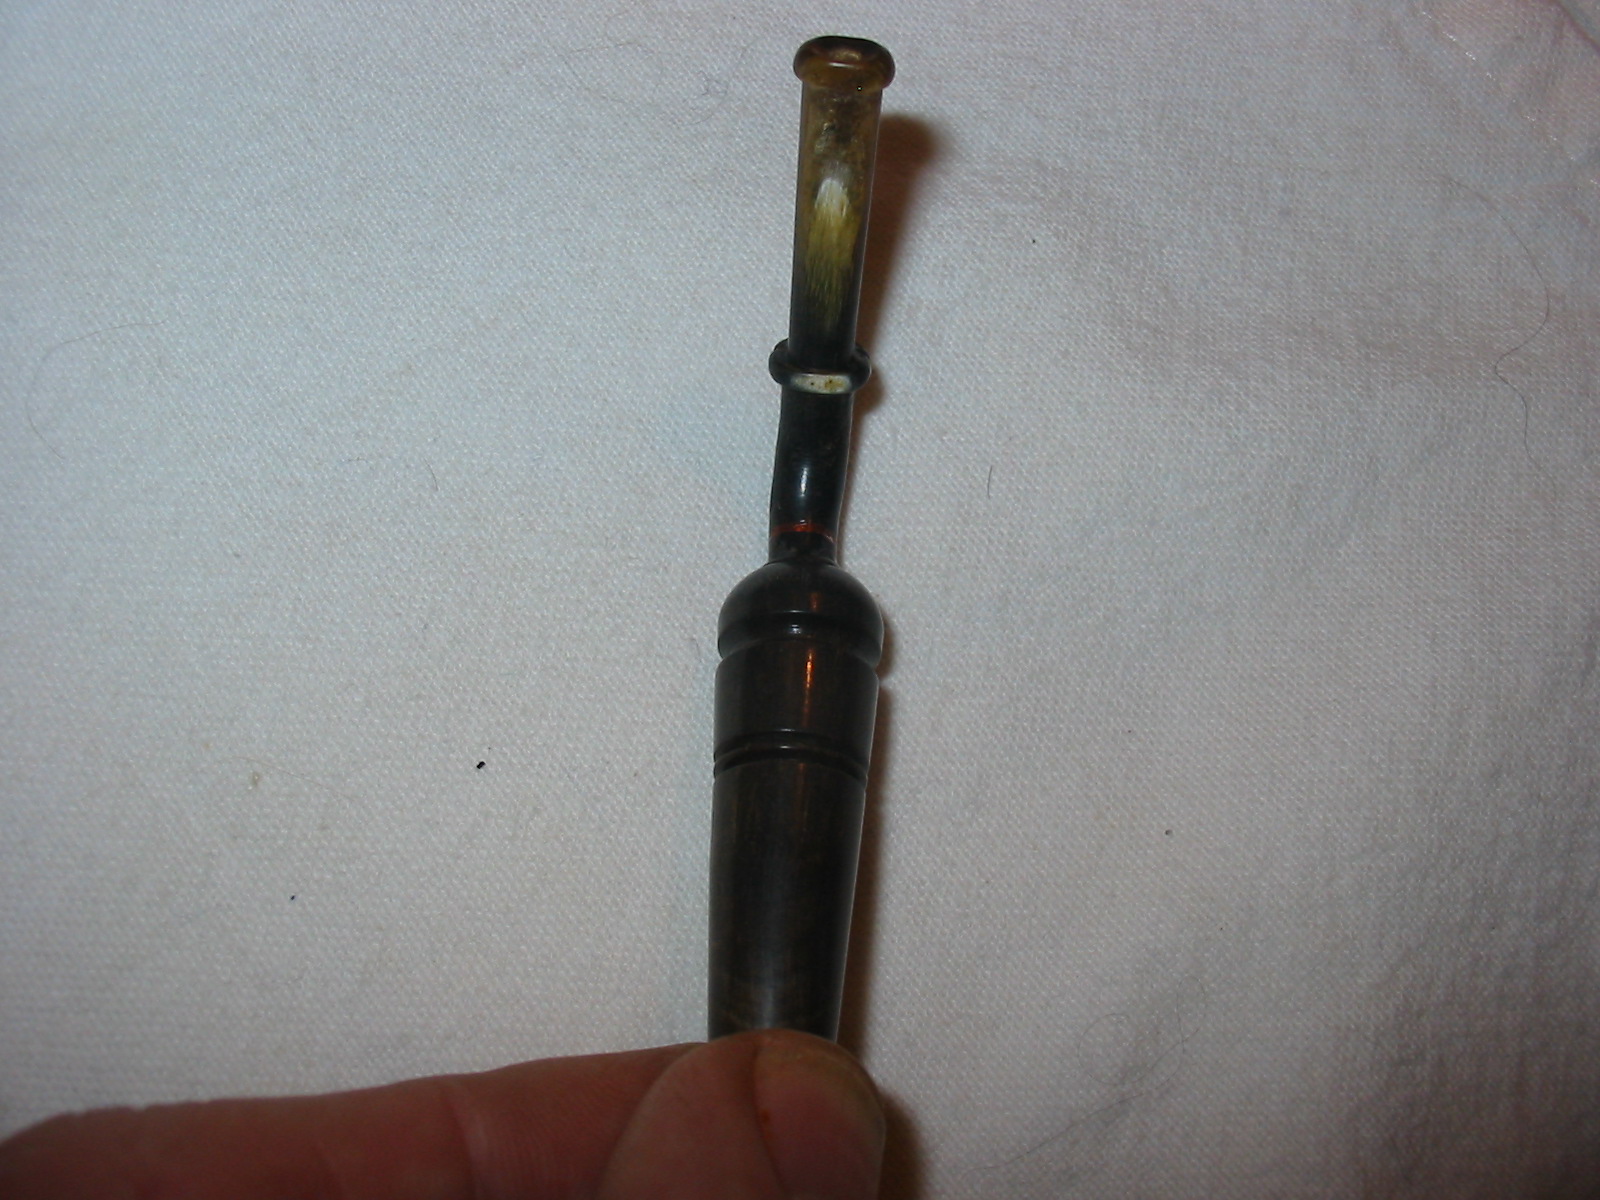
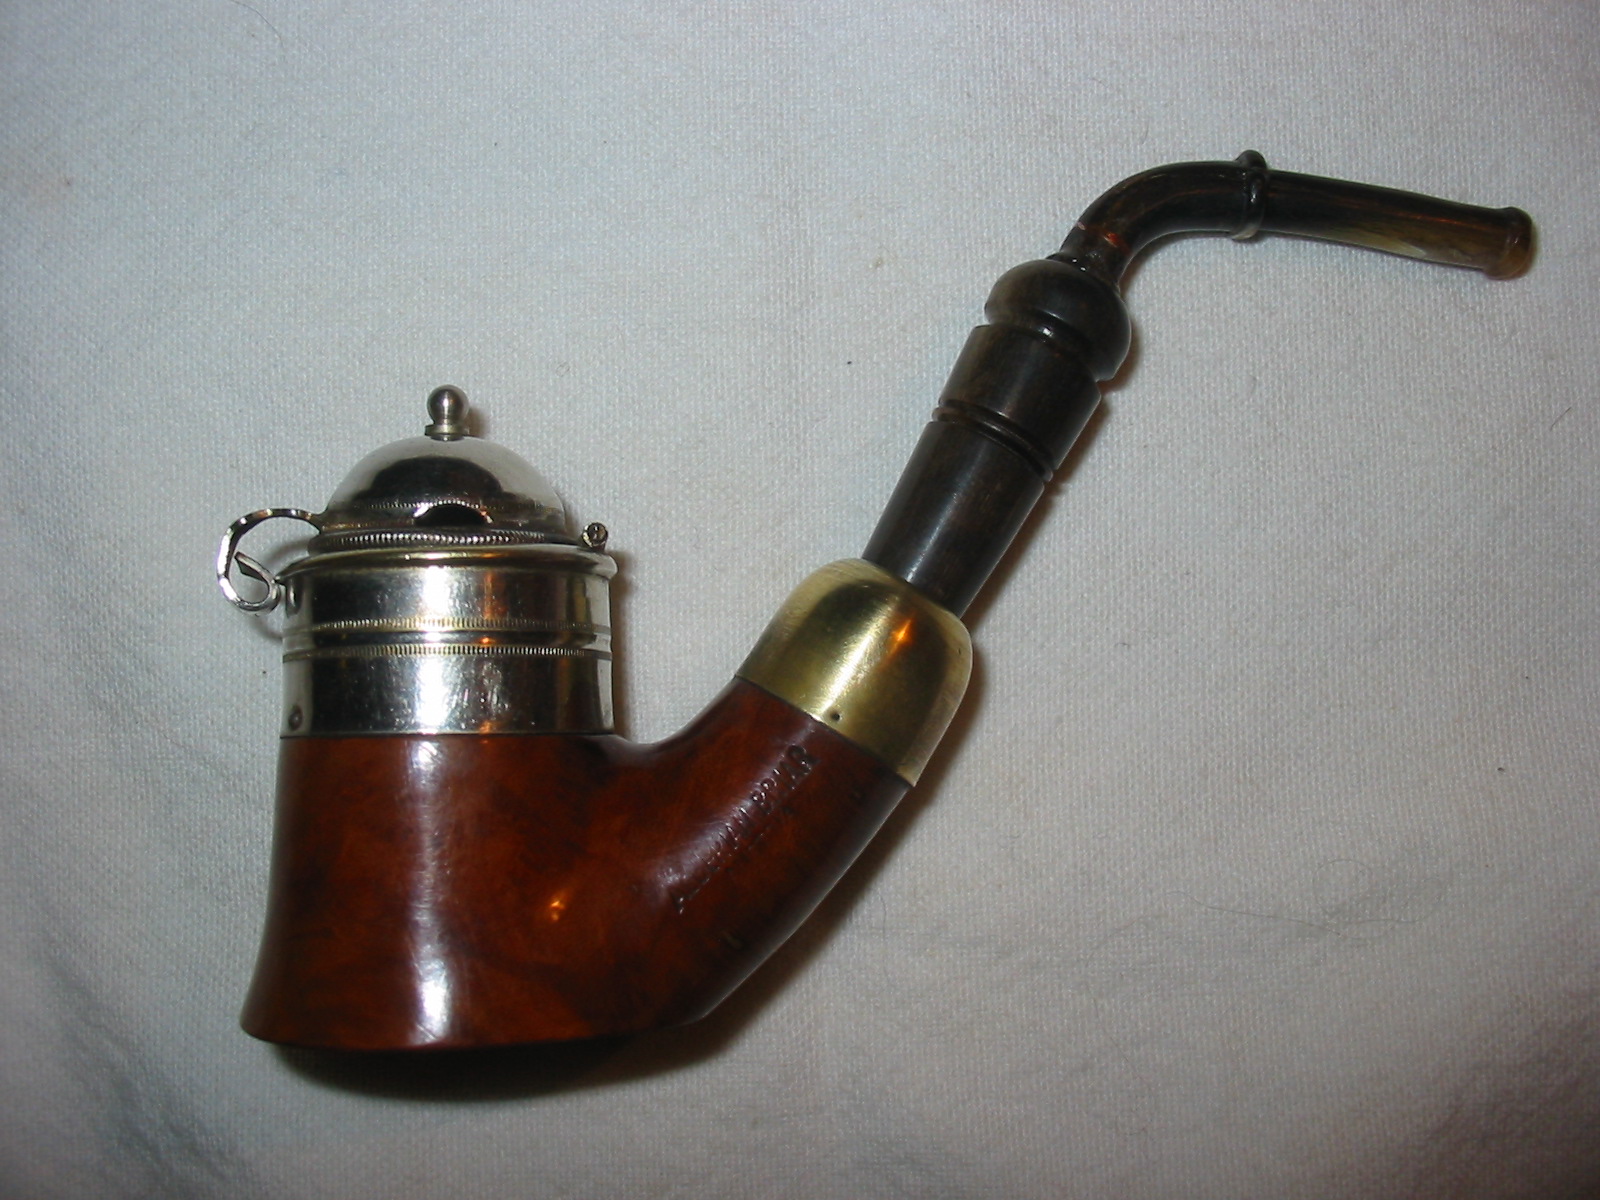
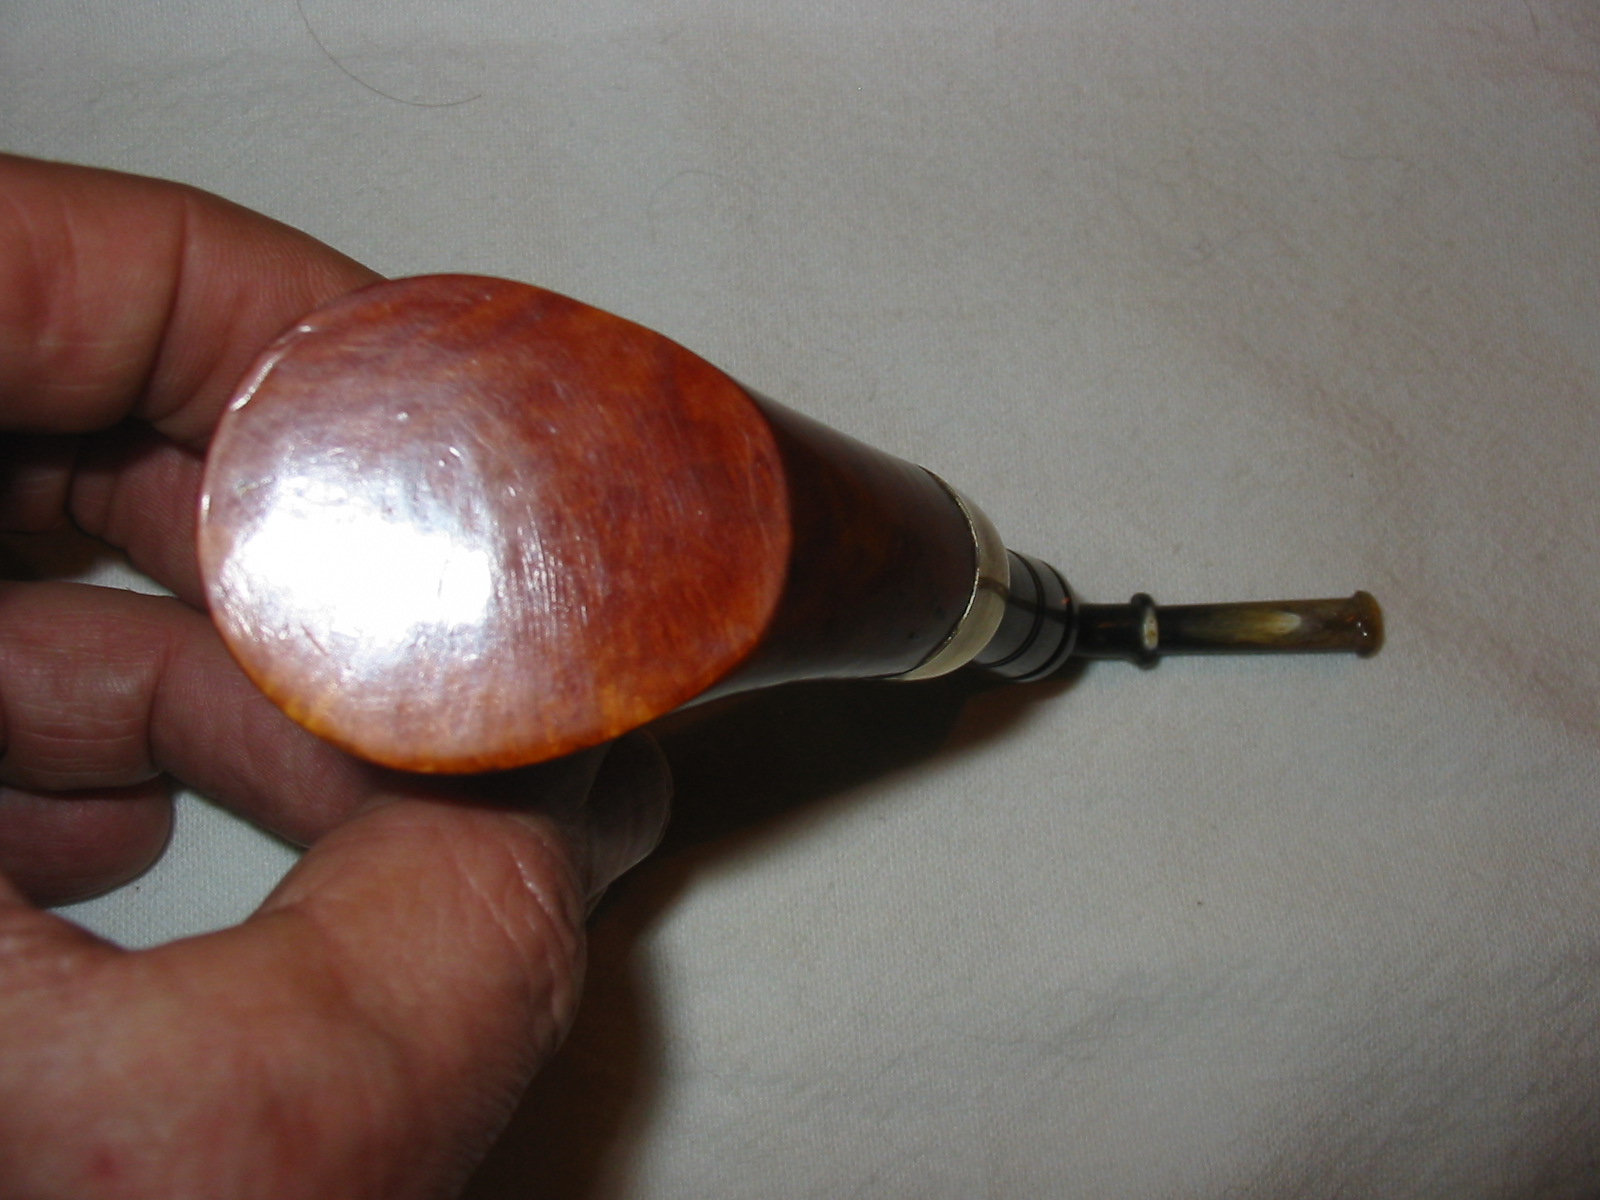
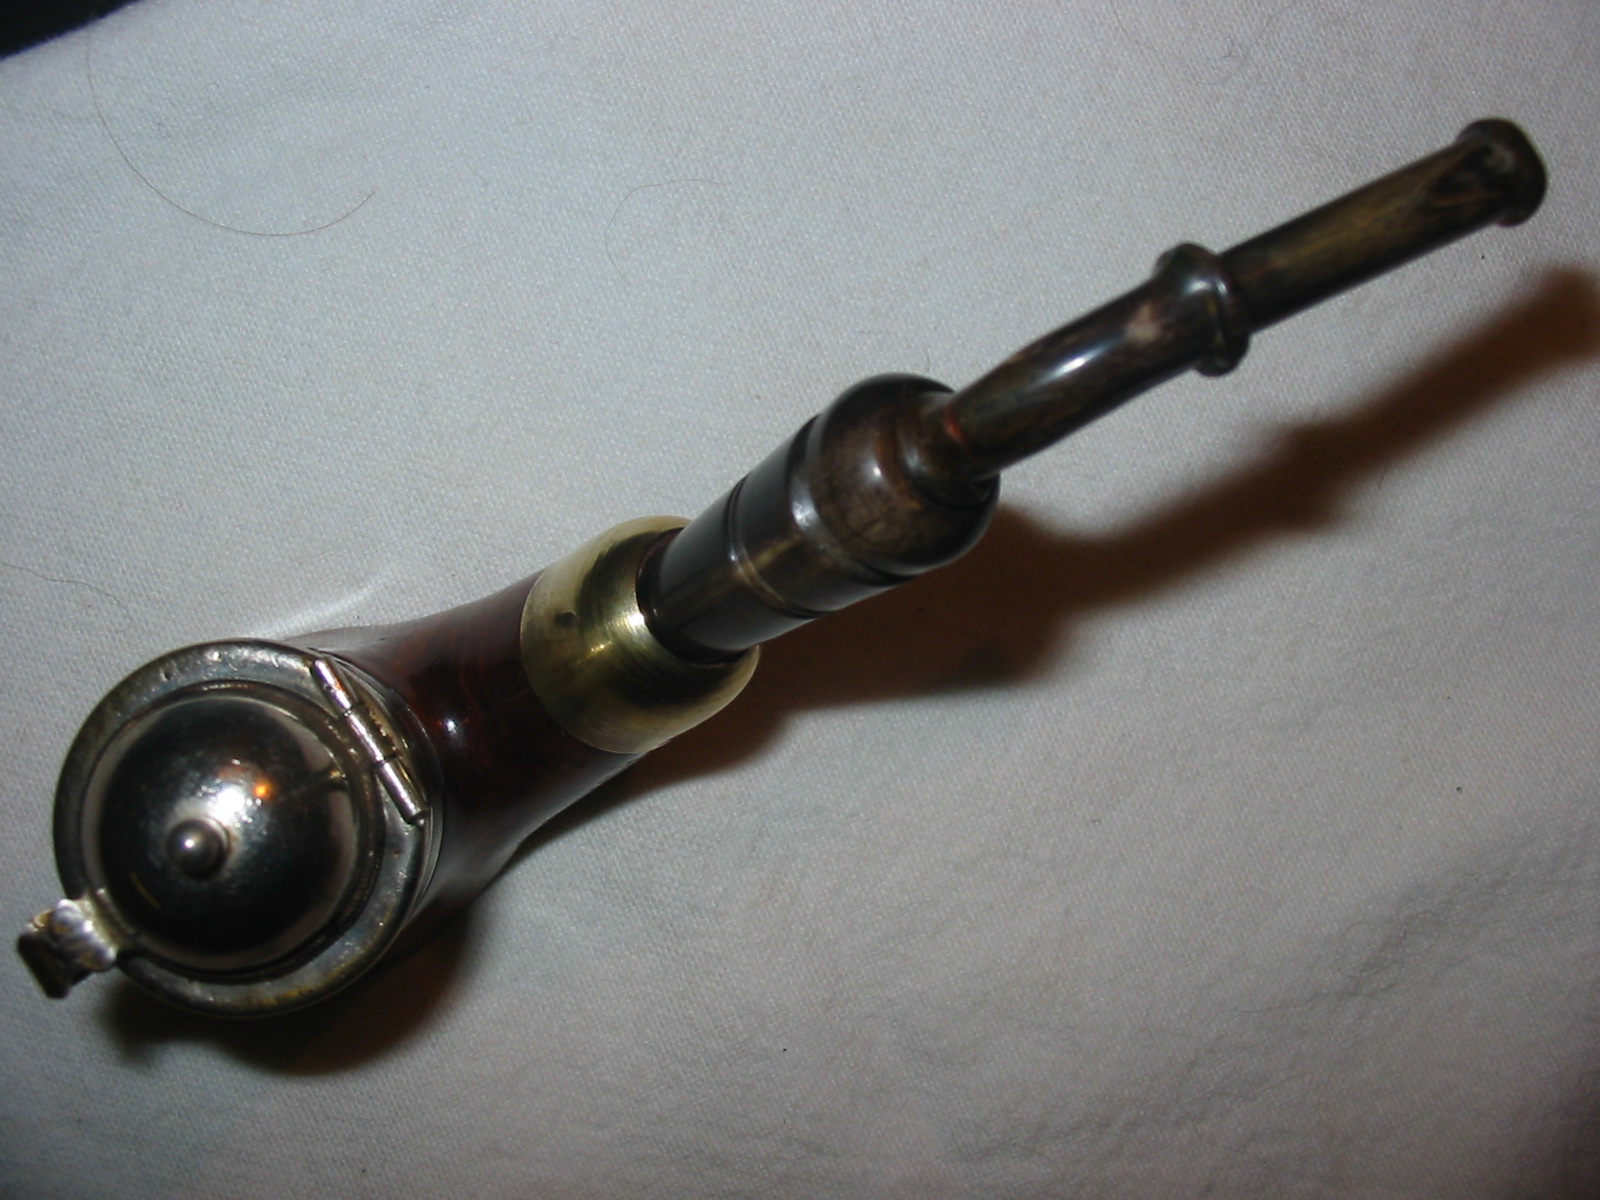
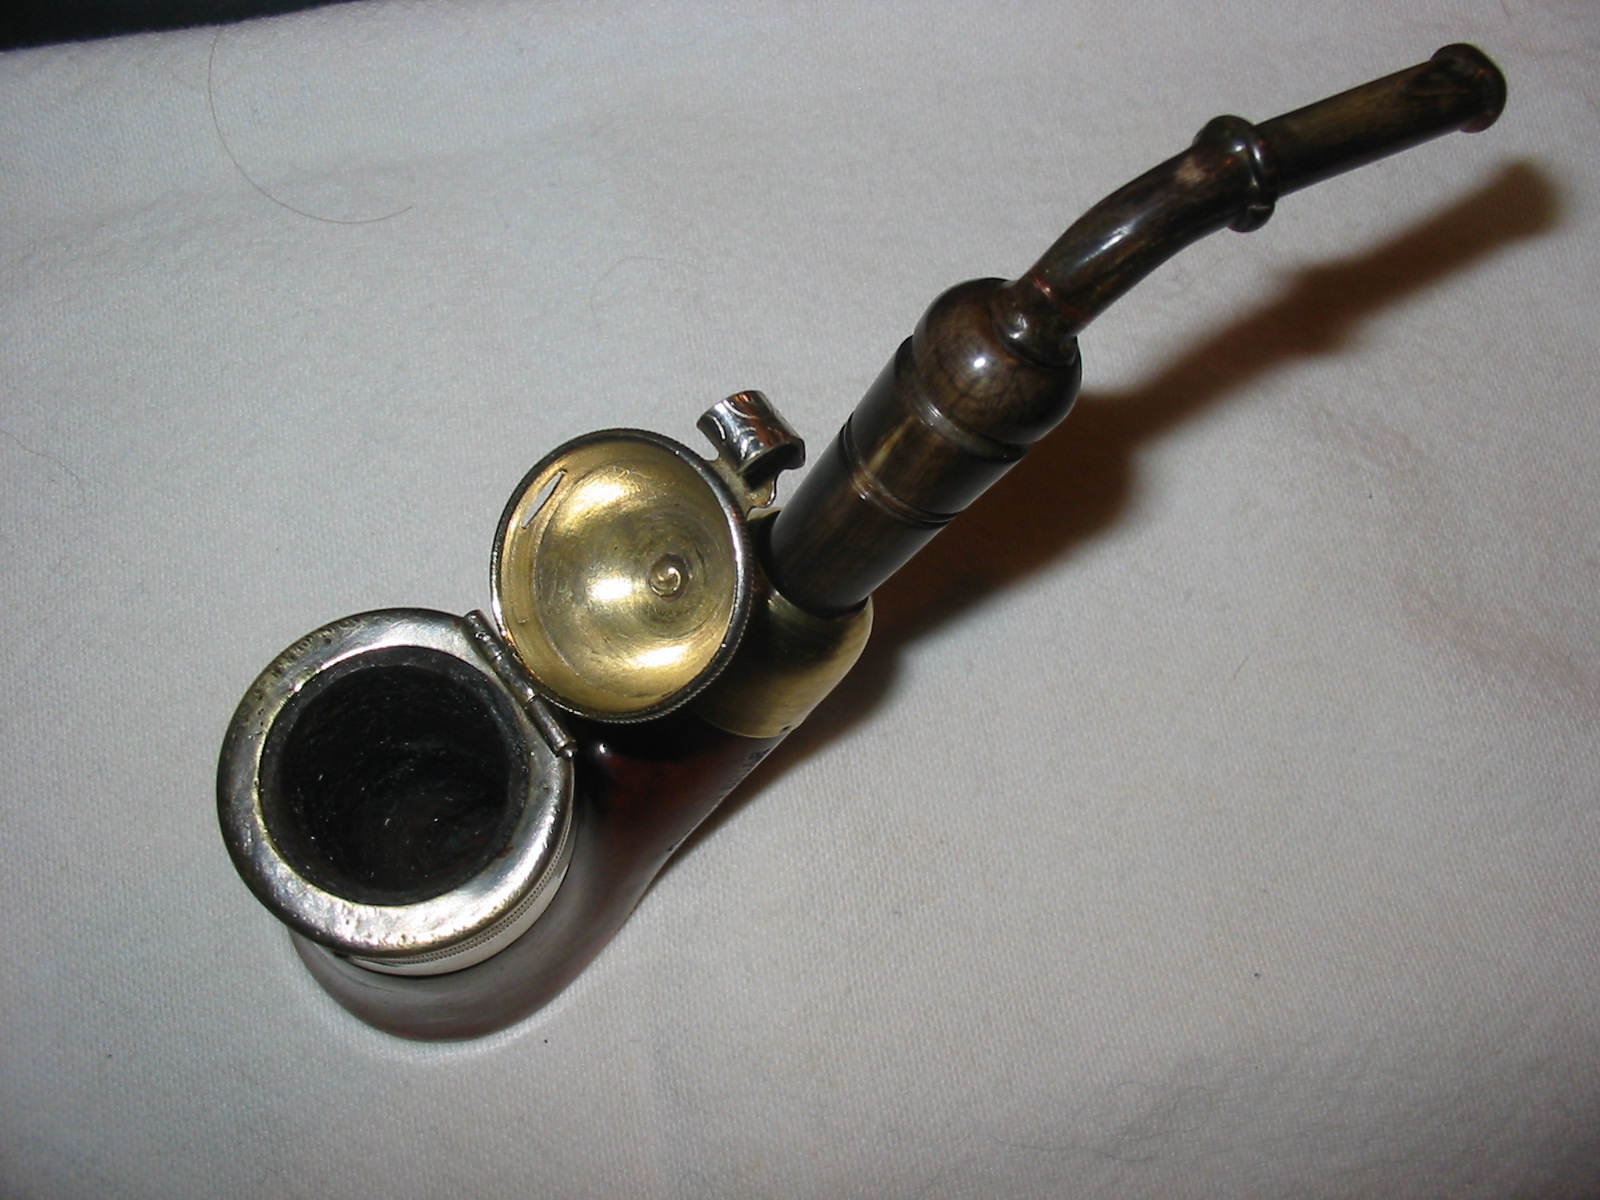
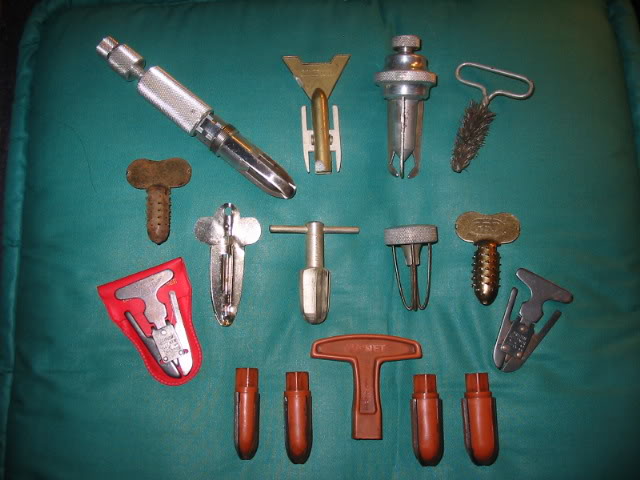
Group 3: Pipes that are Oddities
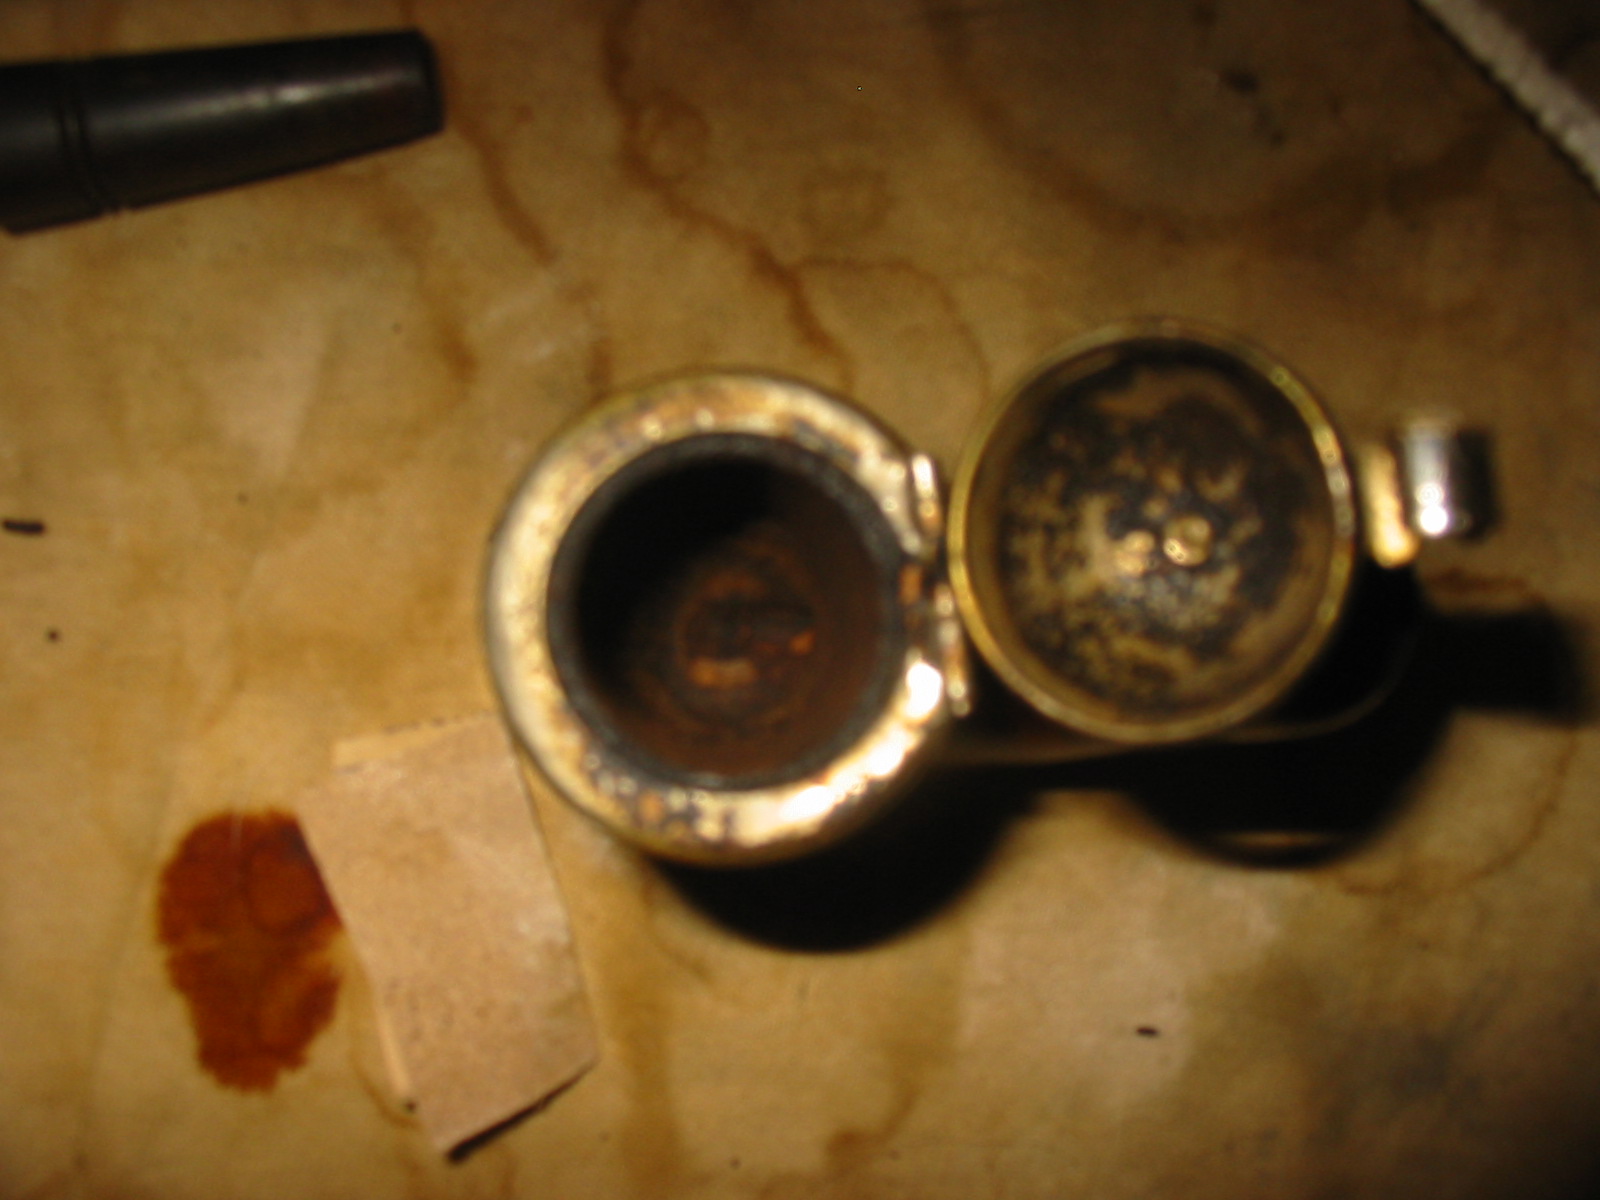
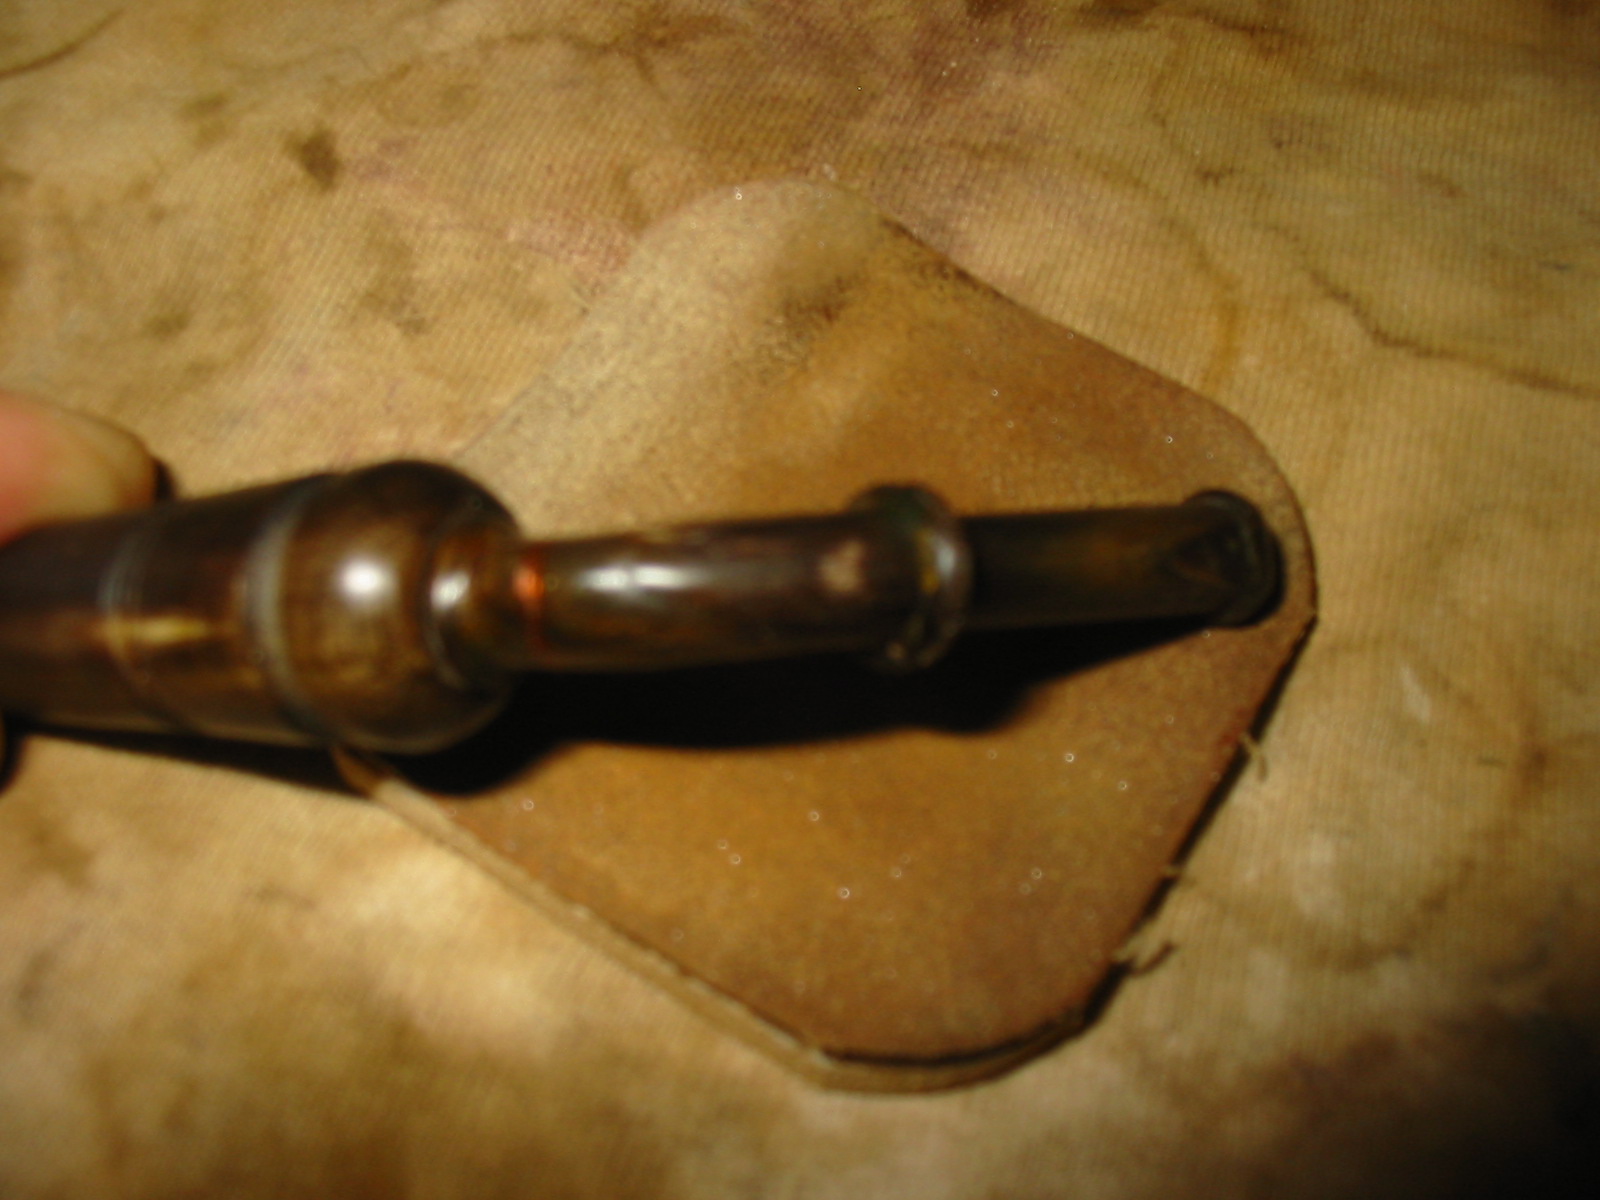
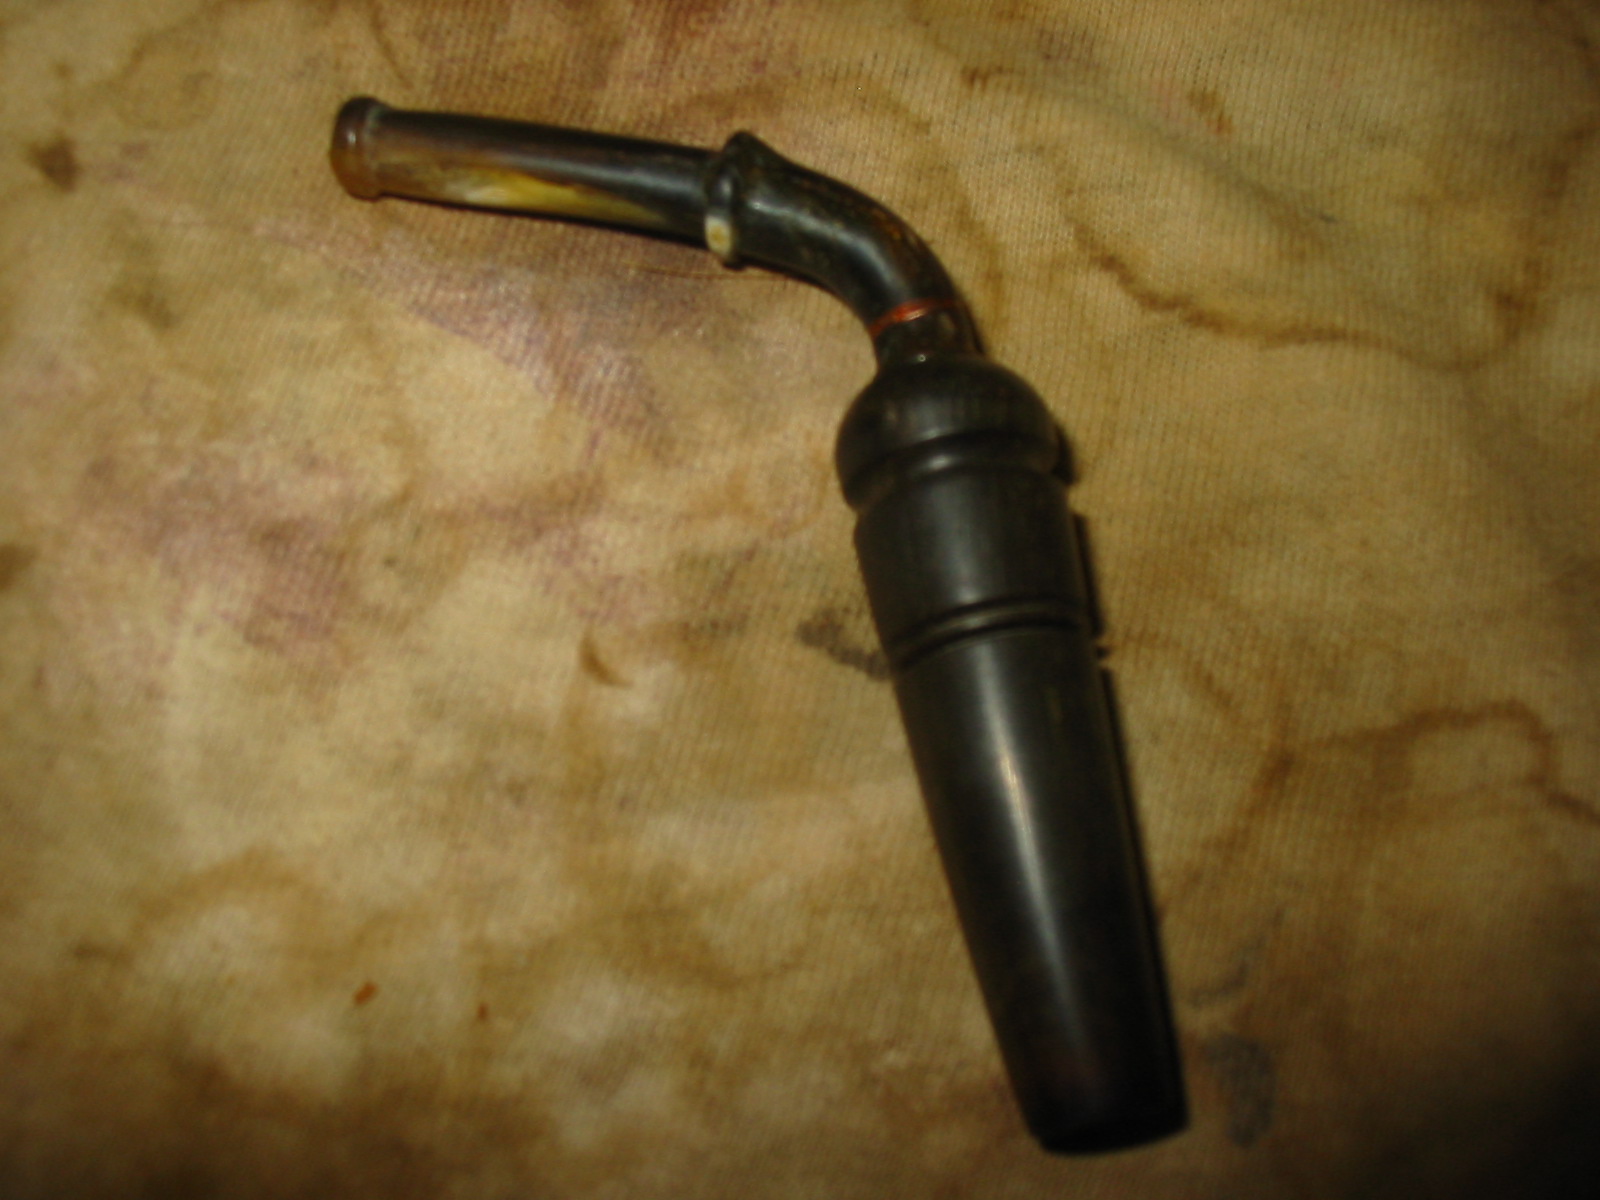
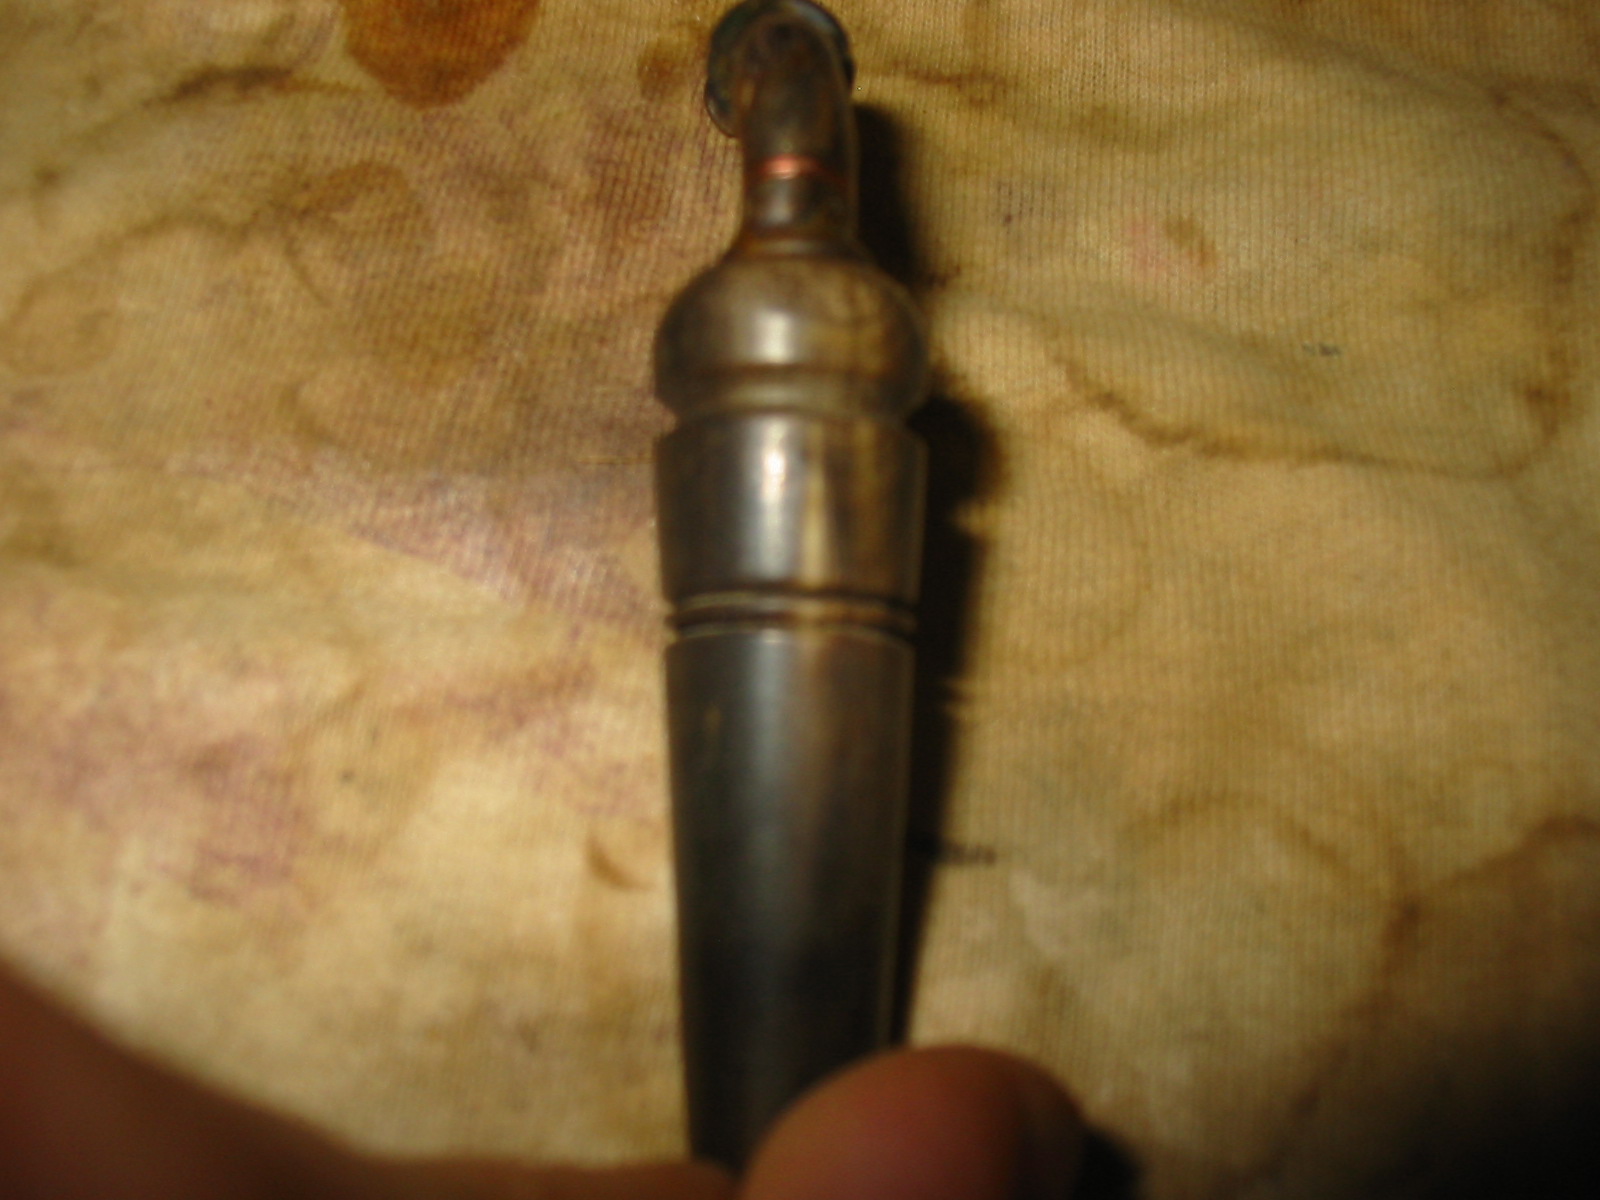
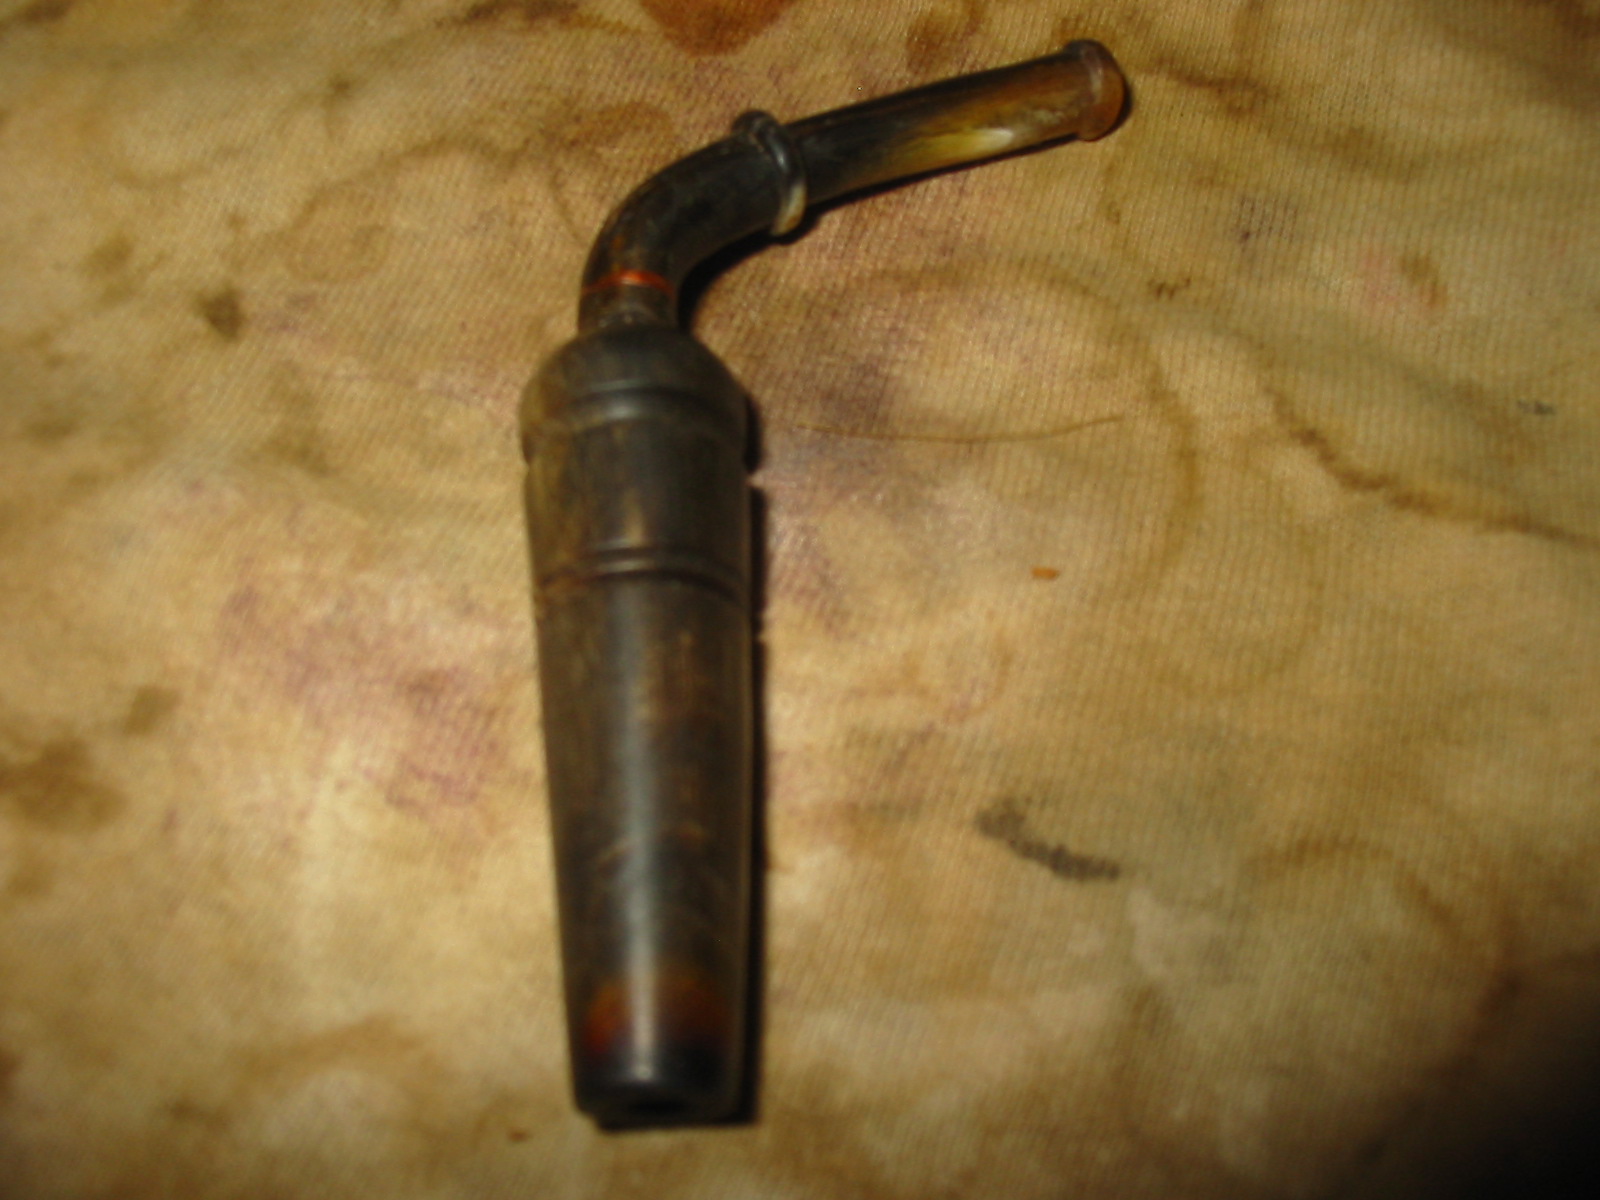
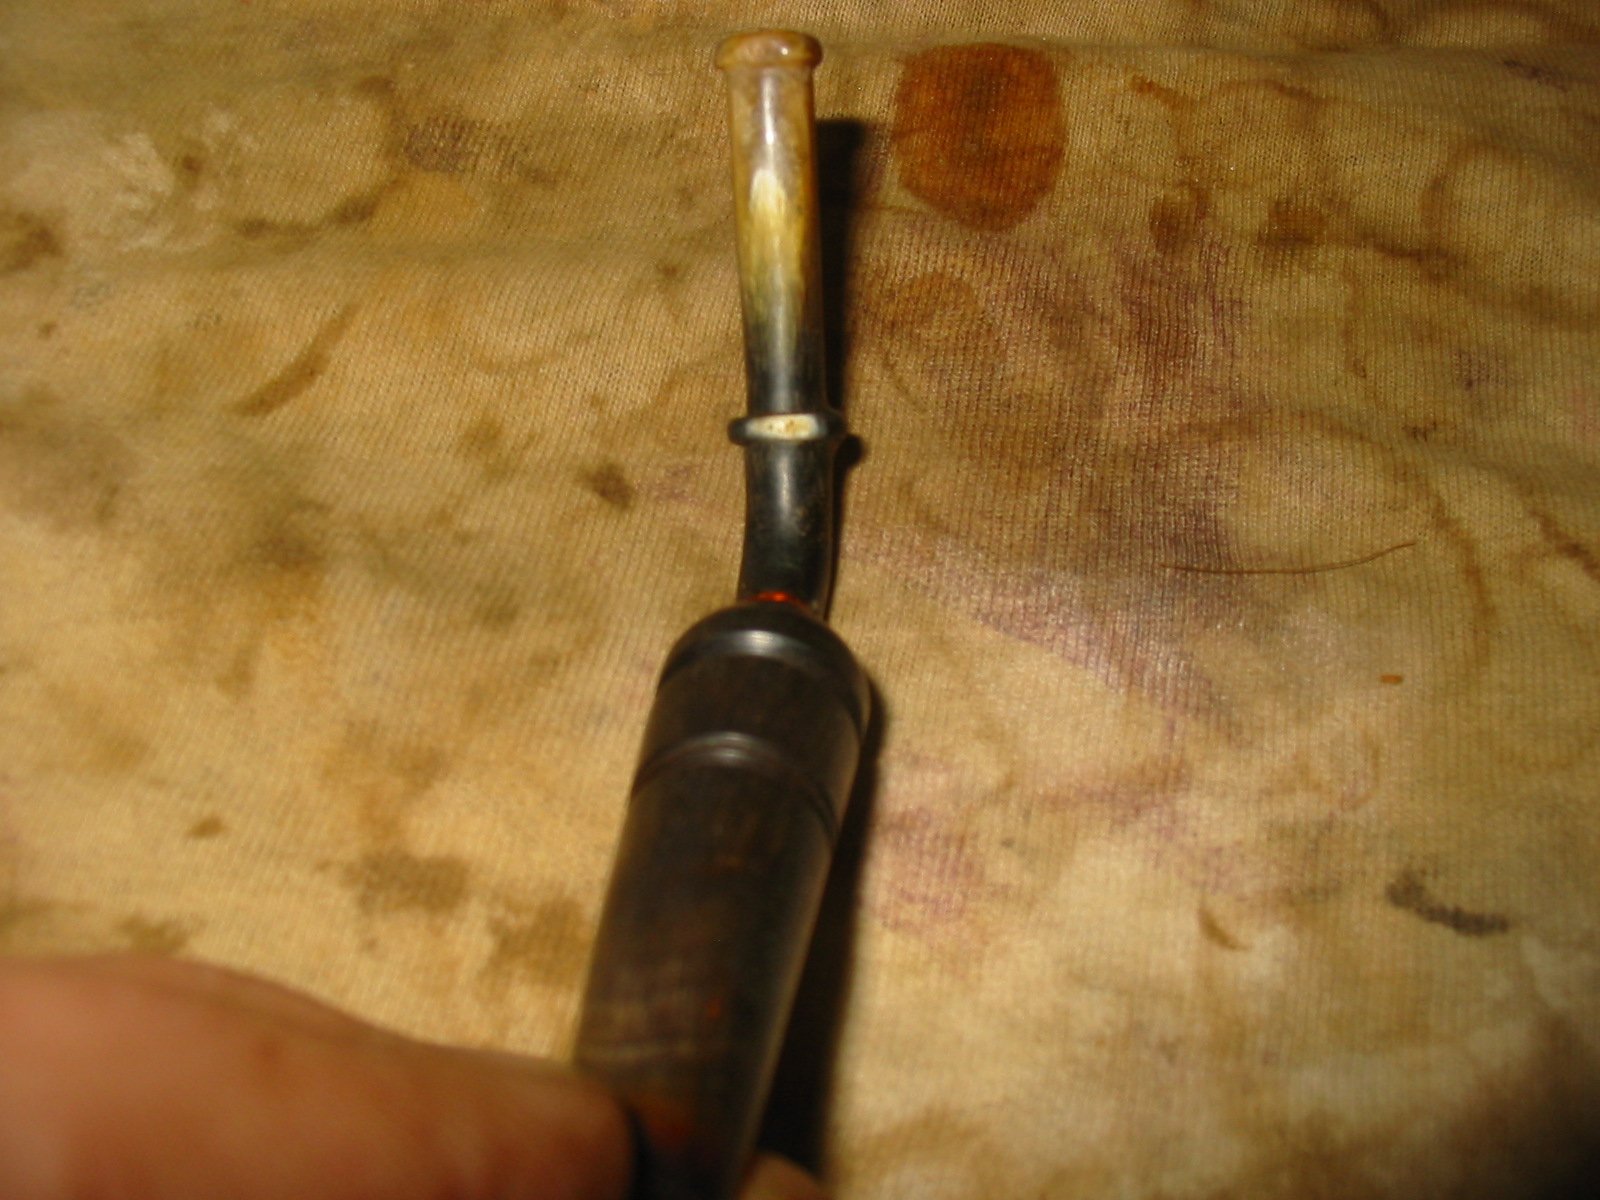
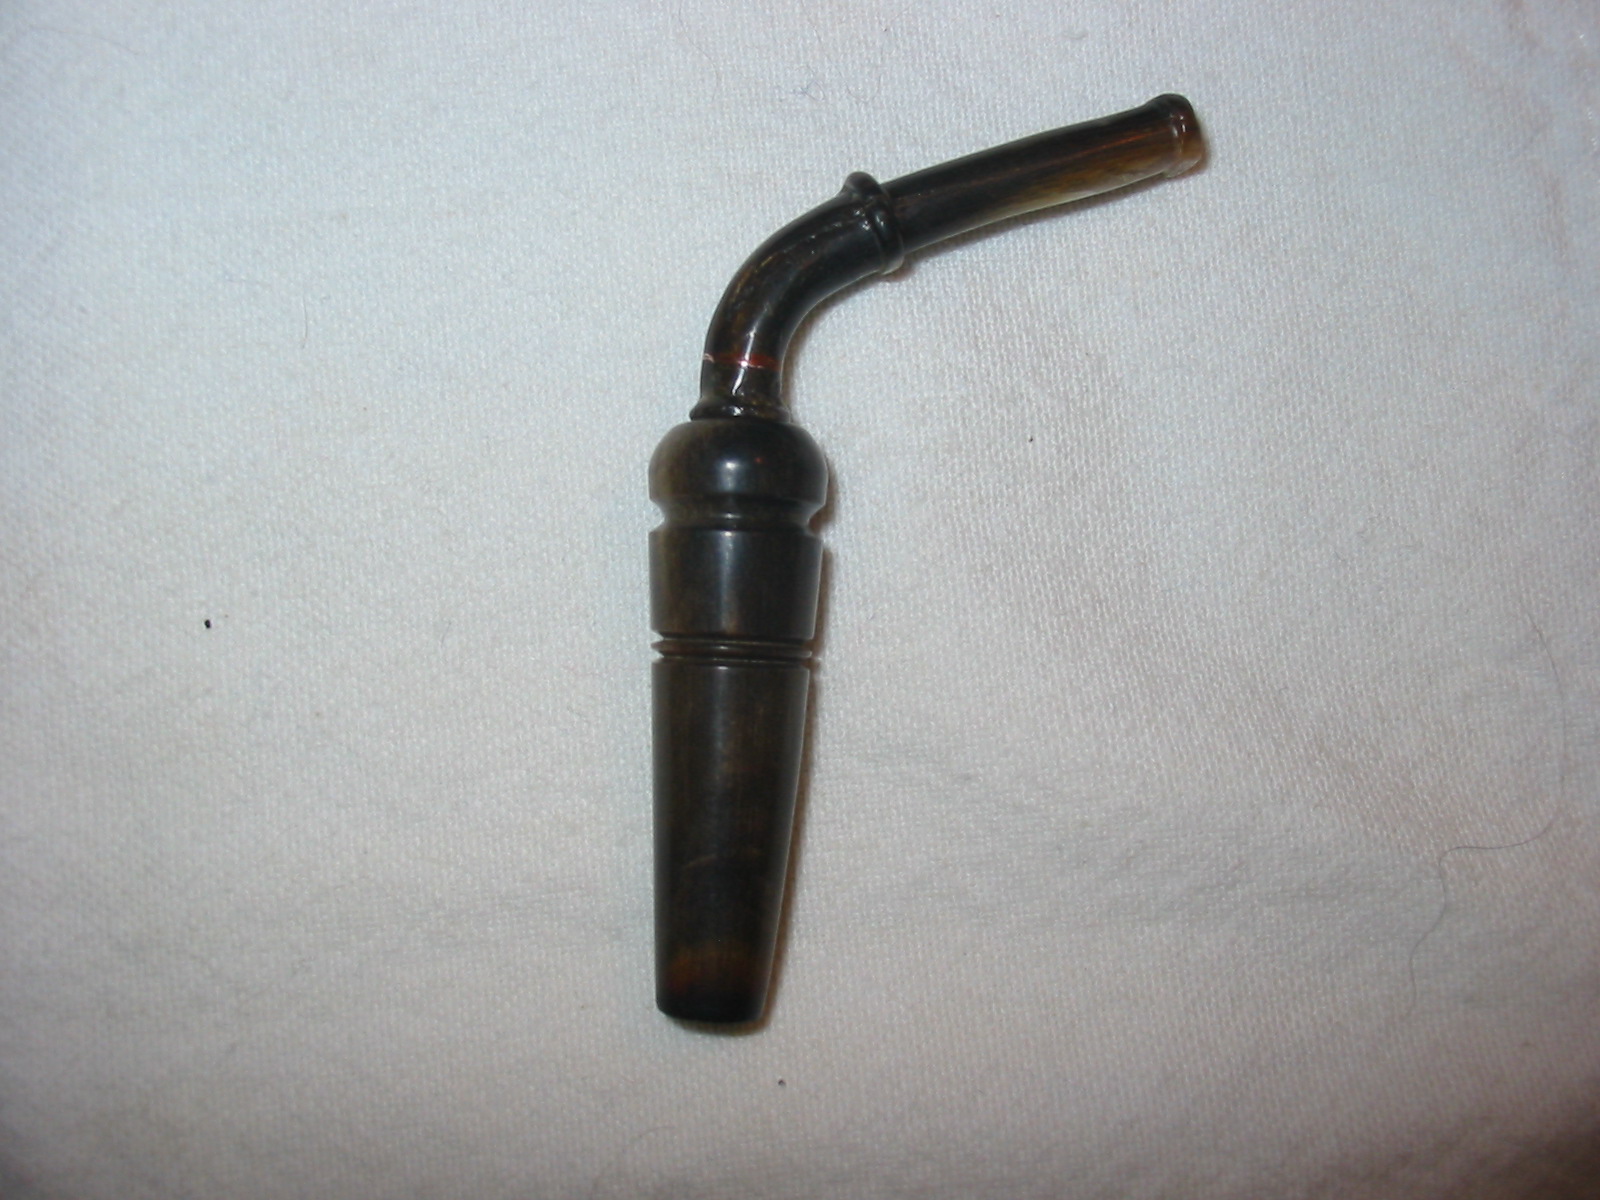
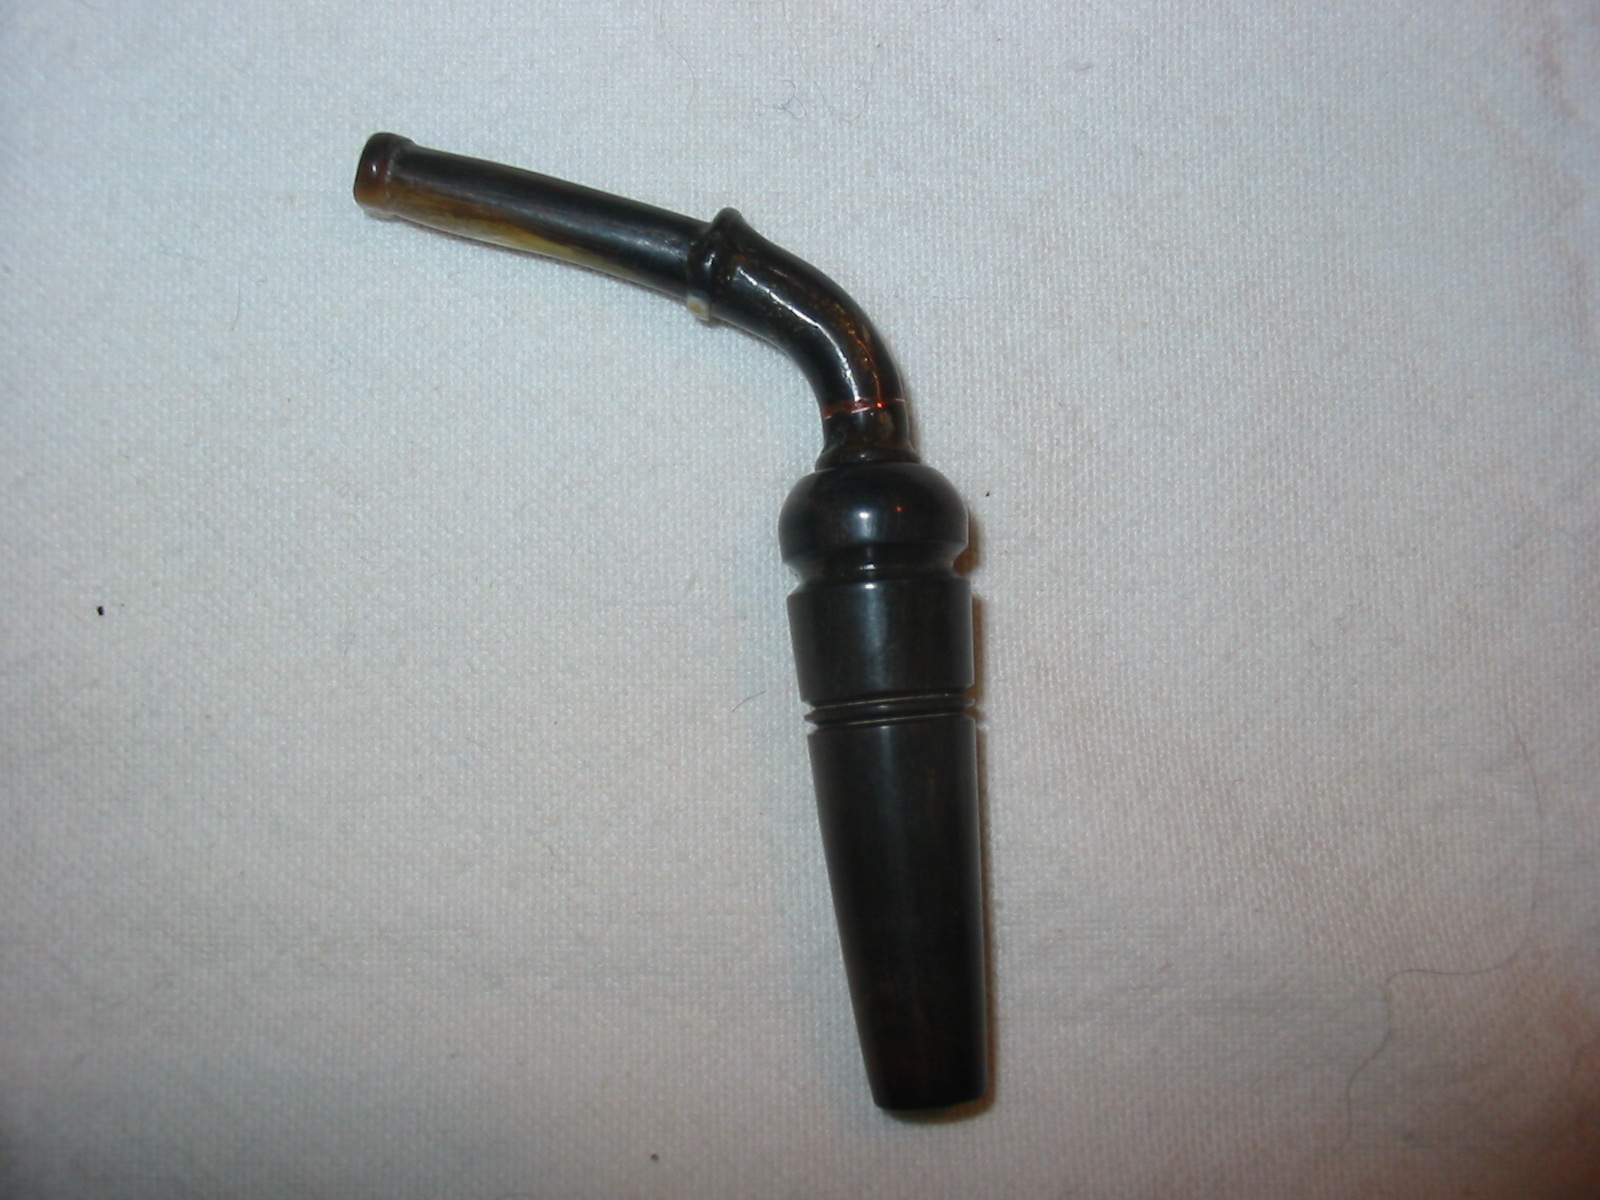
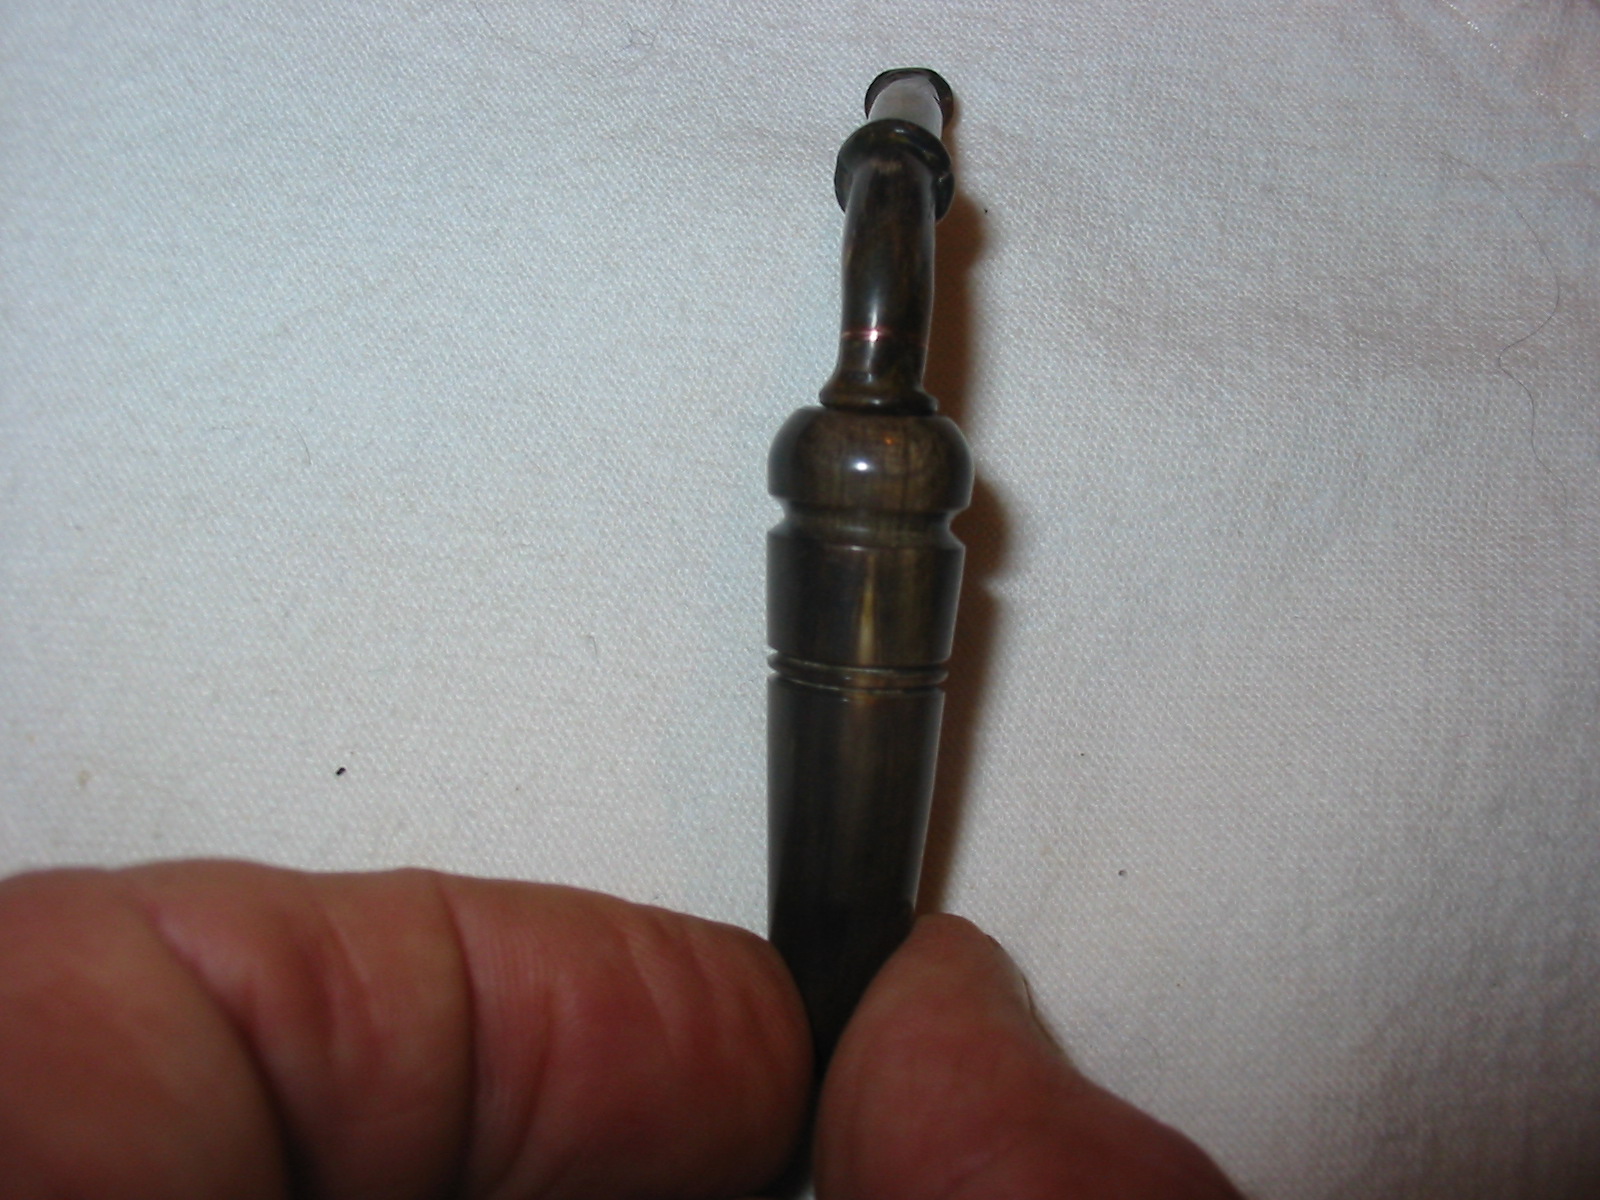
Figure 4 Odd Pipe 1 – a British Buttner Bakelite pipe bowl with a clay insert
Figure 5 Odd Pipe 1 – a British Buttner Bakelite pipe bowl with a clay insert
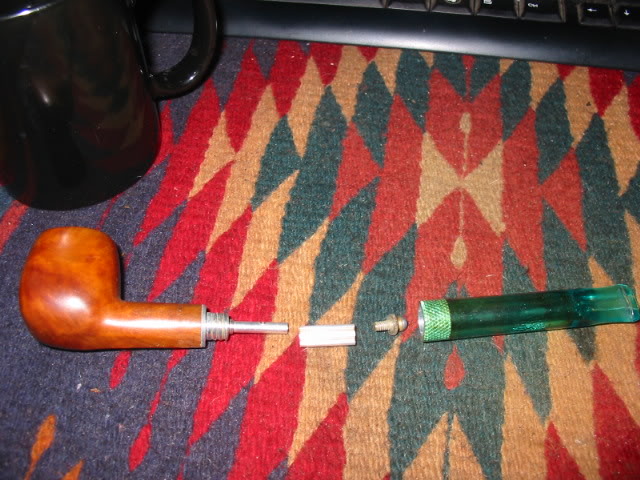
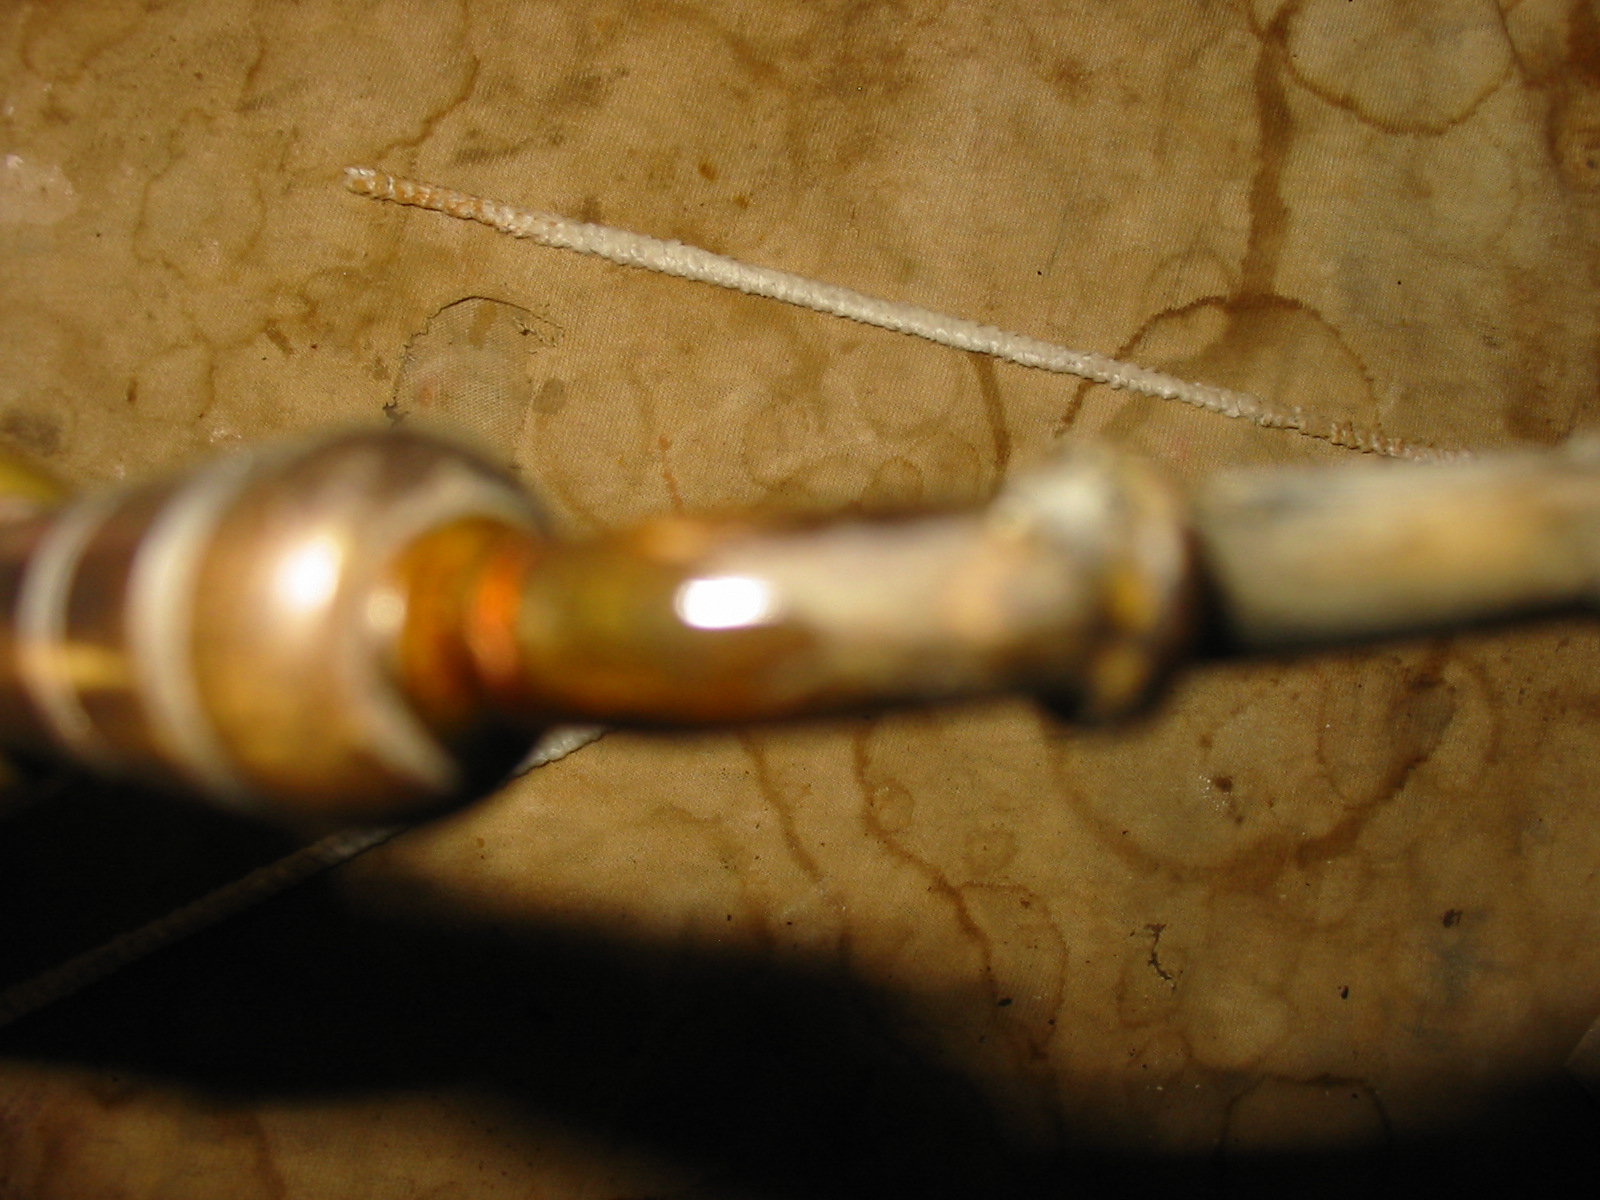
Figure 6 Odd Pipe 2 An LHS system pipe
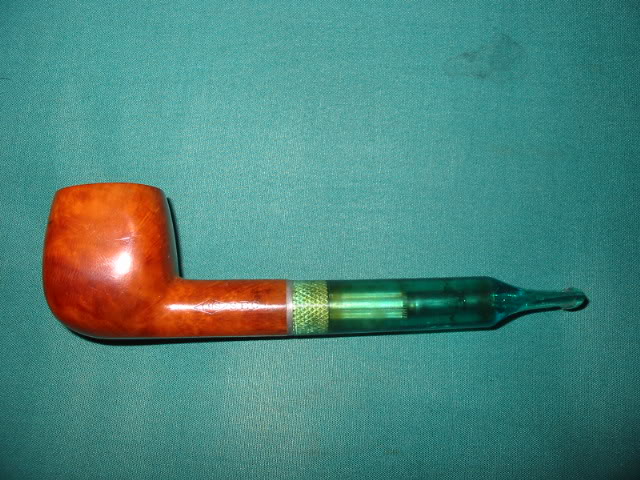
Figure 7 Odd Pipe 2 An LHS system pipe
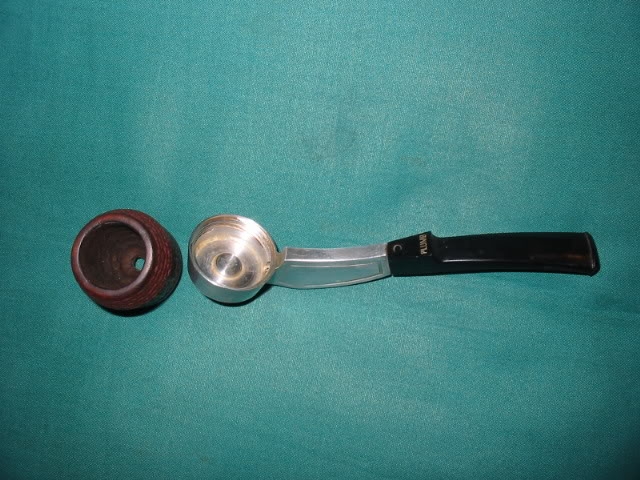
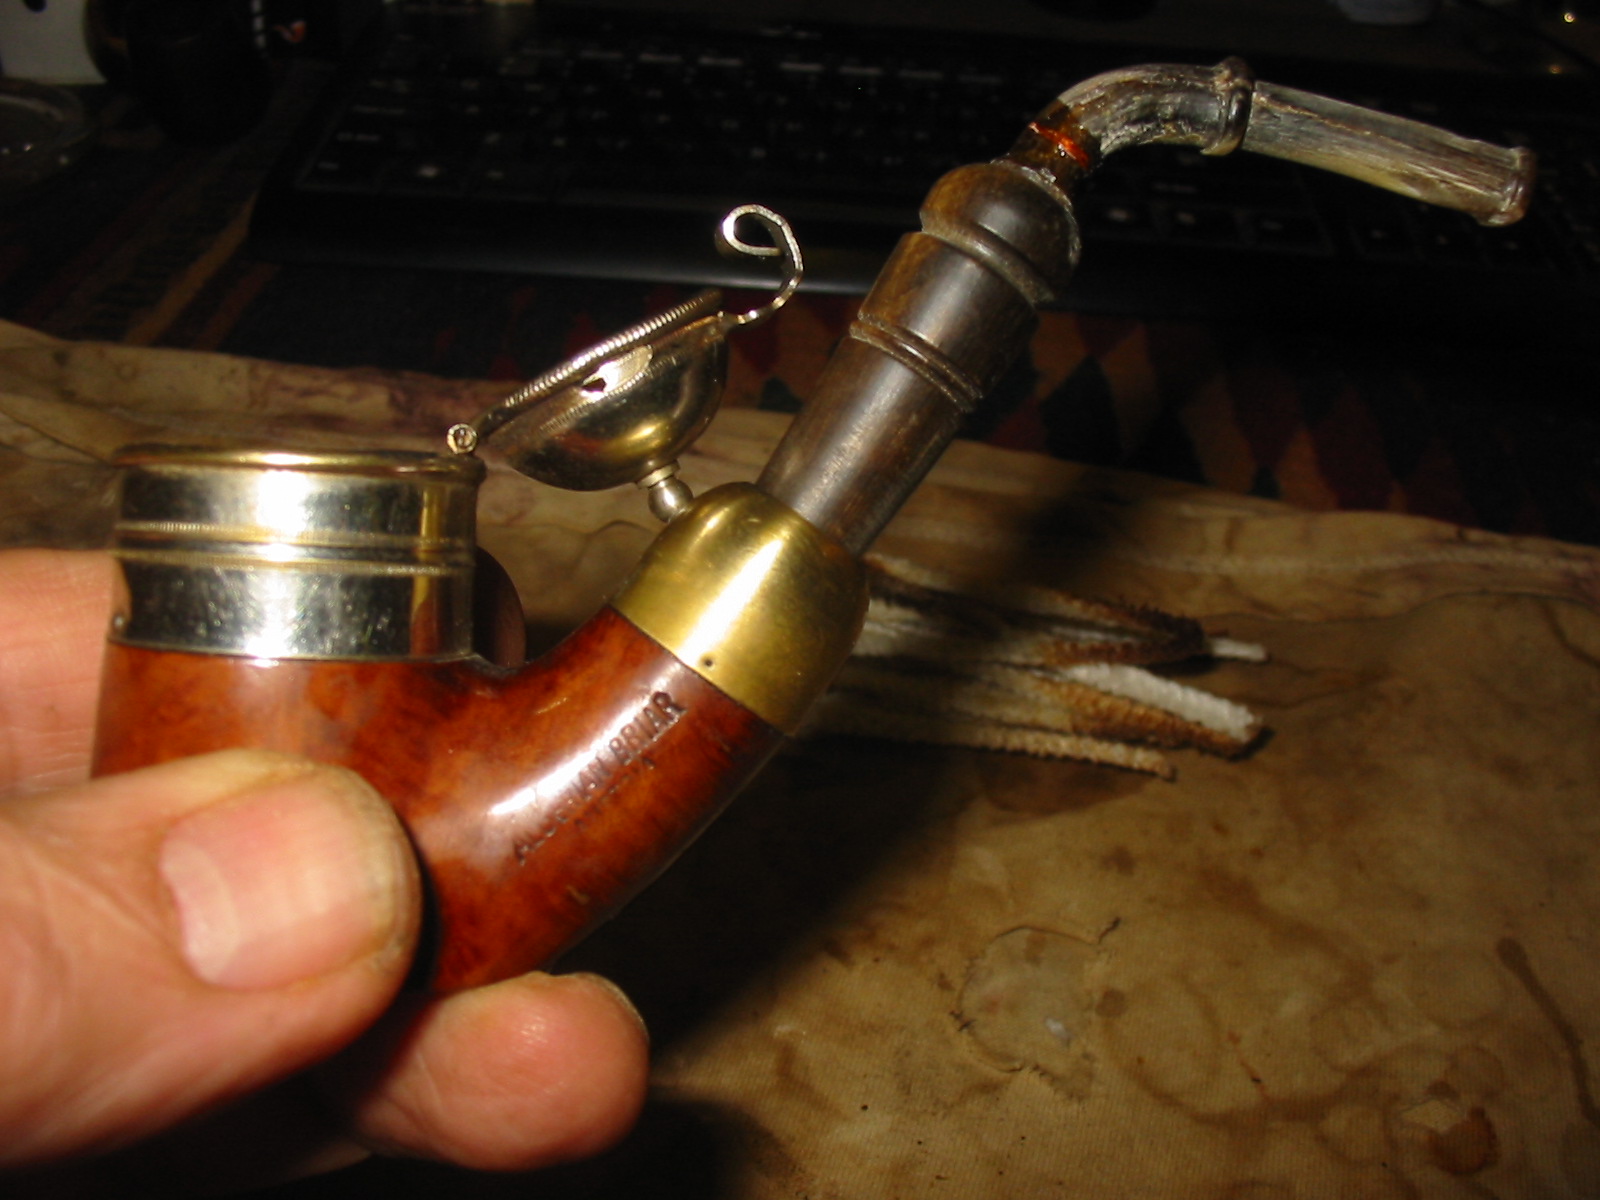
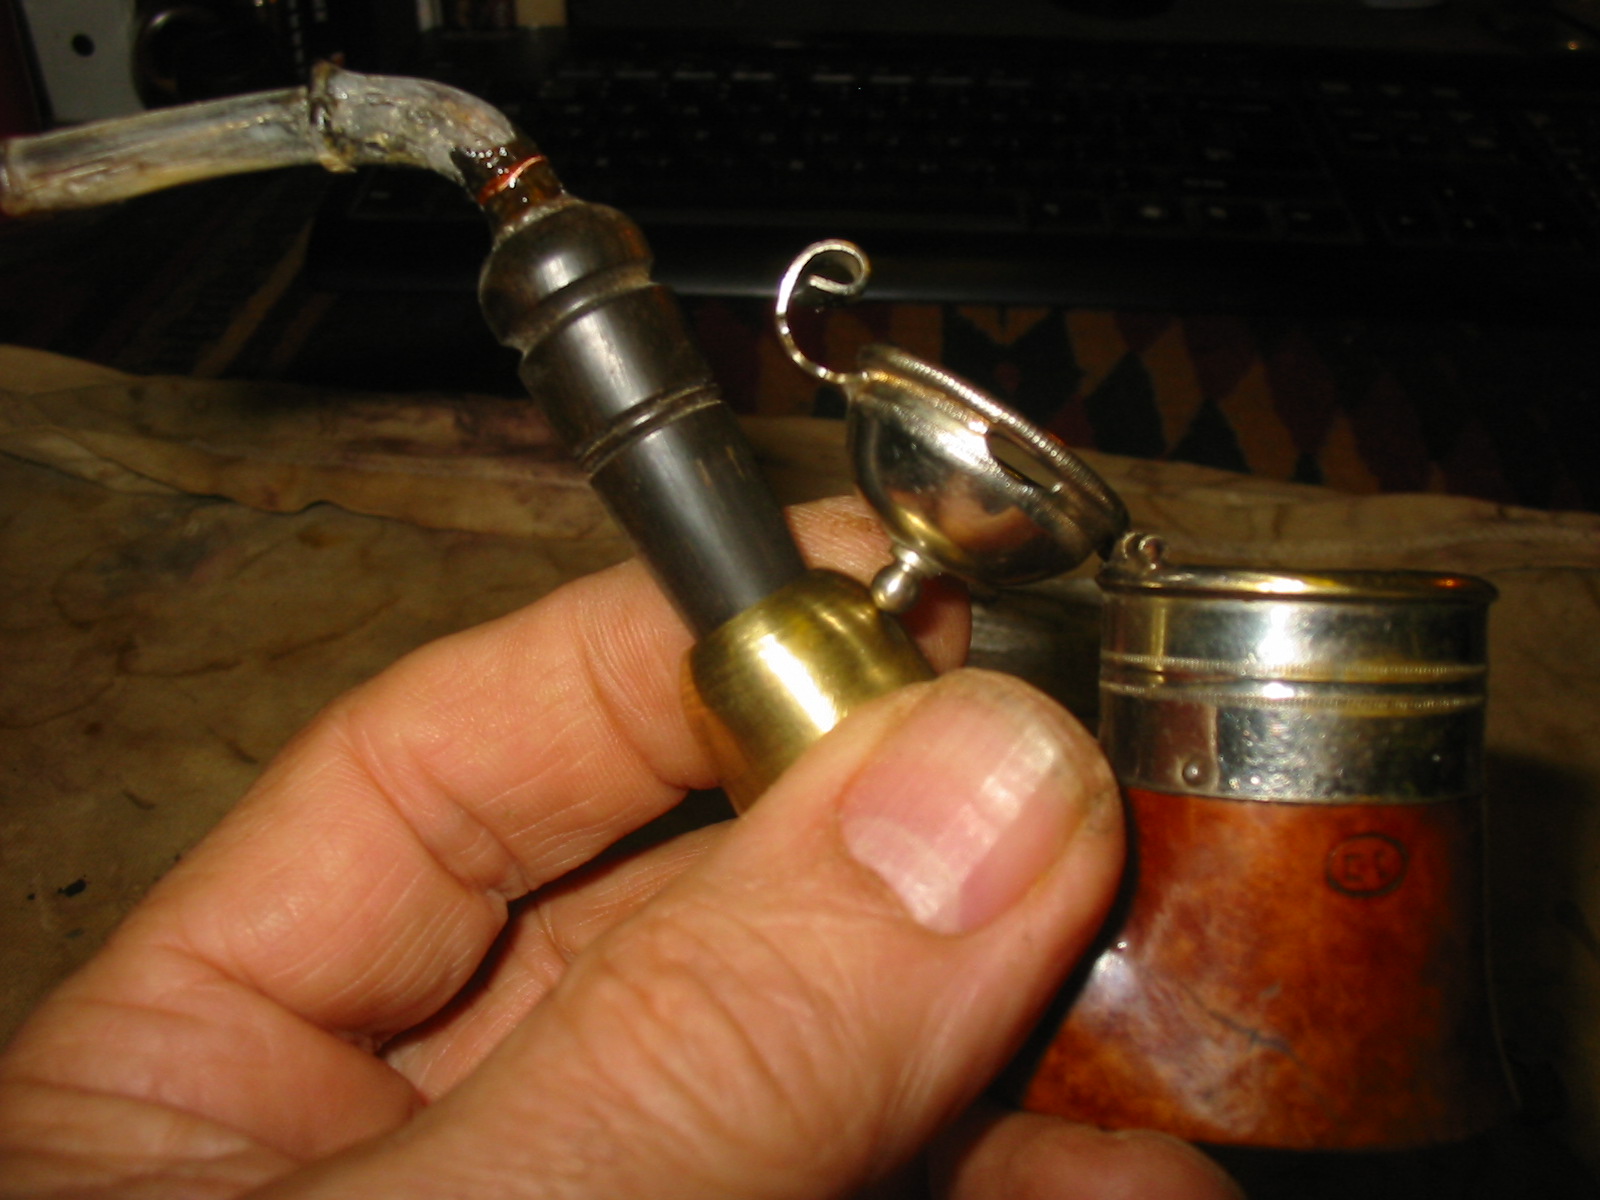
Figure 8 Odd pipe 3 a Dr. Plumb Metal

Figure 9 Odd pipe 3 a Dr. Plumb Metal
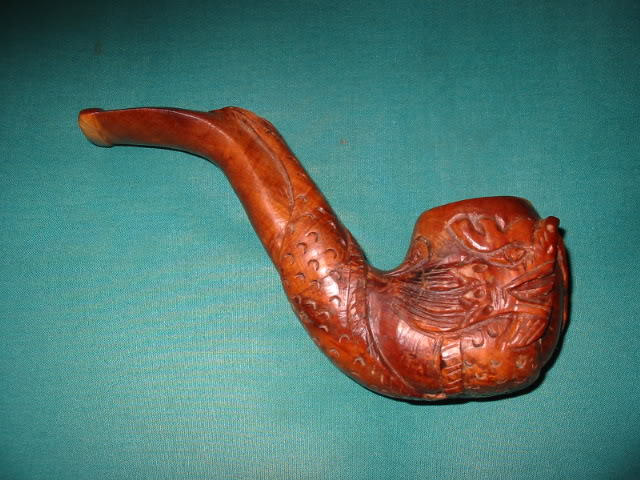
Figure 10 Odd pipe 4 a Chinese Chicken Wood Dragon
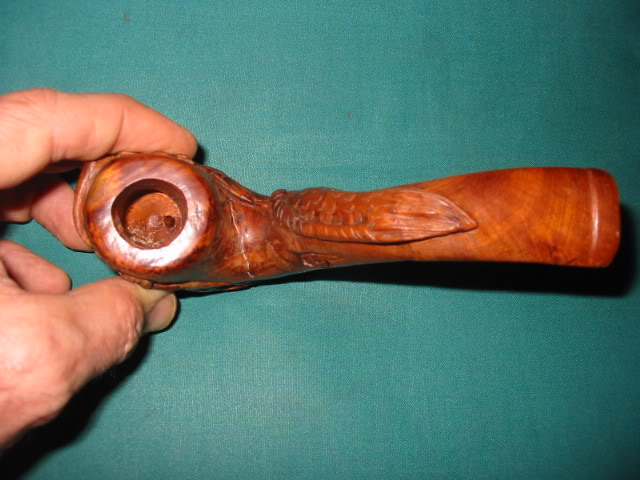
Figure 11 Odd pipe 4 a Chinese Chicken Wood Dragon
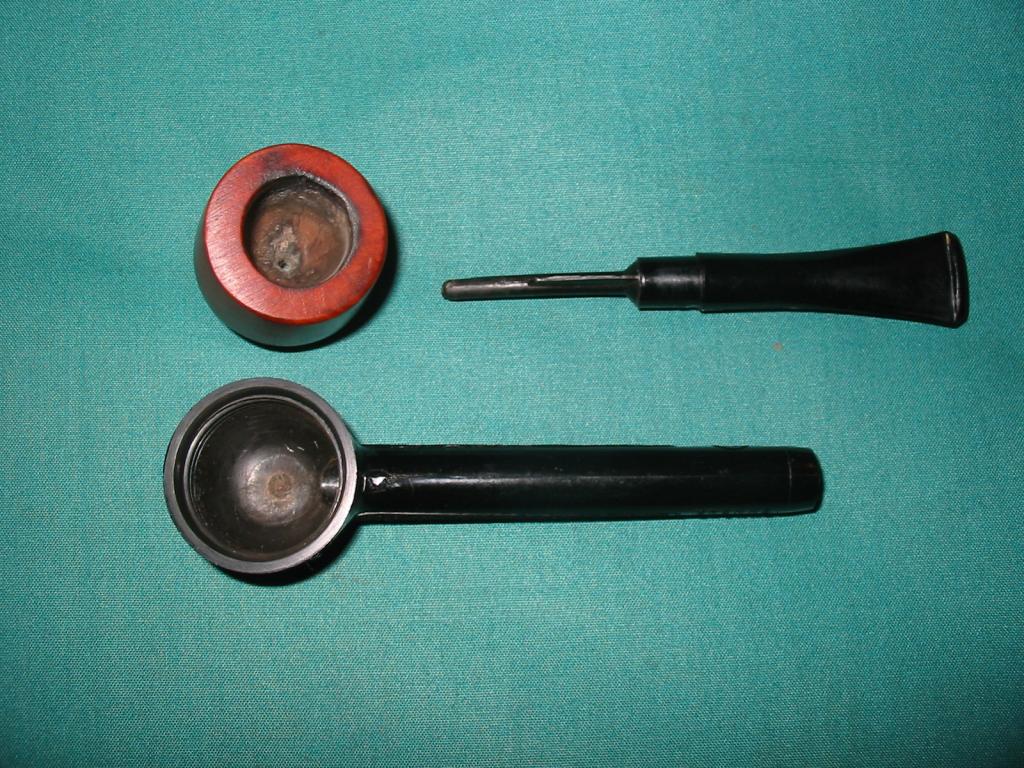
Figure 12 Odd pipe 5 a Swedish Broma Nylon Pipe with screw on briar bowl
A third category of pipes that I collect is more accidental than by choice. It is made up of uniques and oddities. For some reason I am drawn to odd pipes that were attempts at finding and ensuring the perfect smoke. The variety of creativity and experimenting intrigues me and I like taking these apart and cleaning them up. They are often more of a collection of historical pieces and are not in the regular rotation. The collection itself is quite indiscriminate and in many ways strange. They are misshapen, built with internal gizmos and gadgets for trapping moisture, made out of alternative woods, metals, Bakelite or other unique materials. But all of them have in common inventive designs that caught my attention. This part of my collection is actually quite small and broad in scope. It contains pipes from England, Scotland, North America, South Africa, Canada, France, Holland, Hungary, China, Nepal, Vietnam, and other places. The oddity of the pipe is what catches me. Again this group is somewhat transient as I look for better examples of the various types of pipes some of the original pieces are sold or given away to make room for better examples. I am always looking to upgrade the pieces that I have so that I can have the best examples that I can find for this group of pipes.
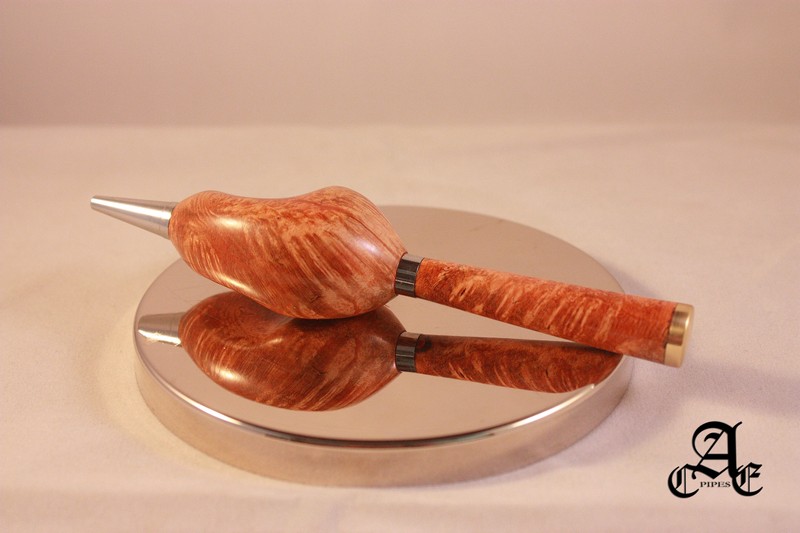
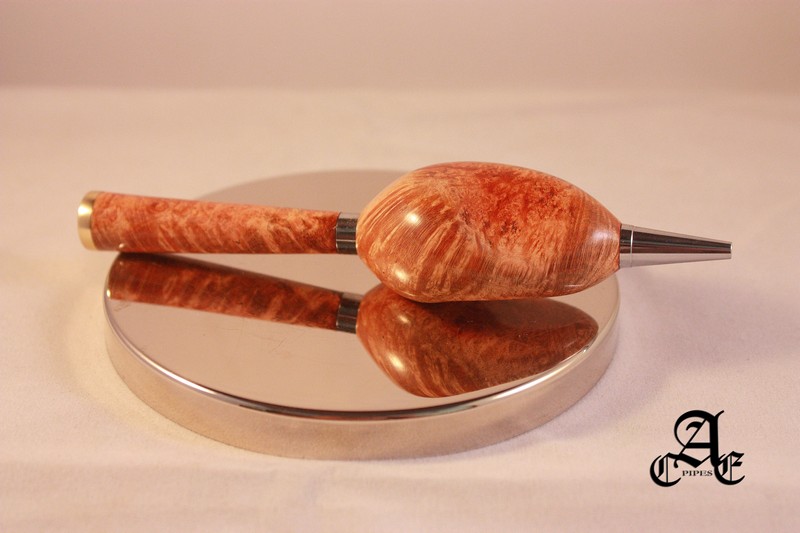
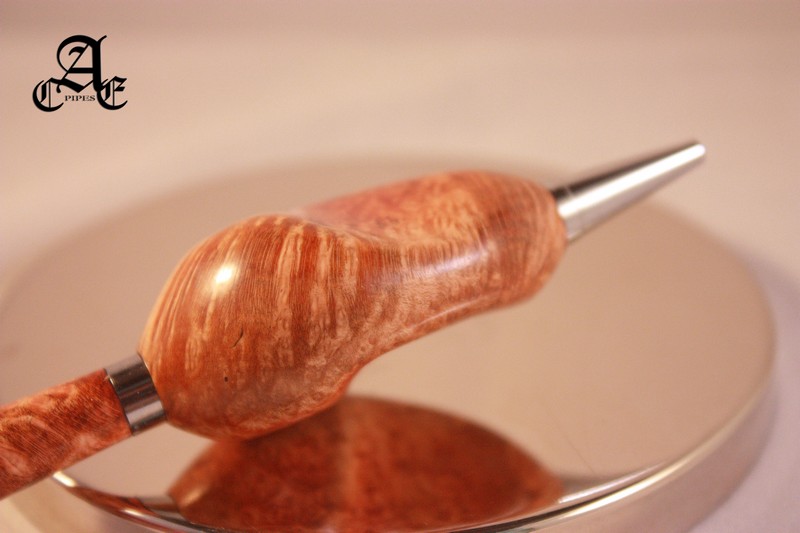
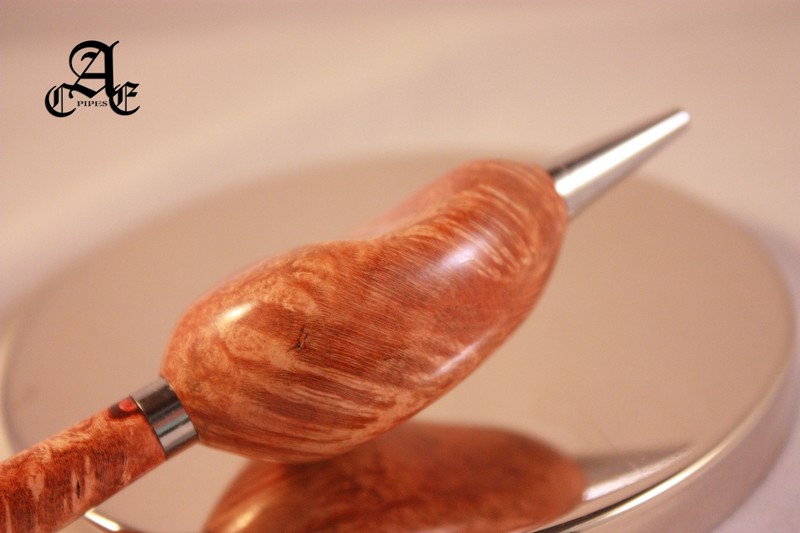
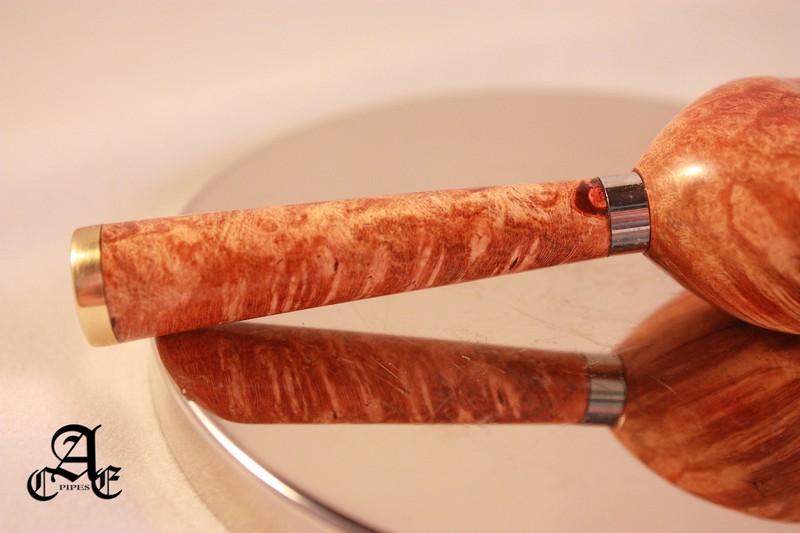
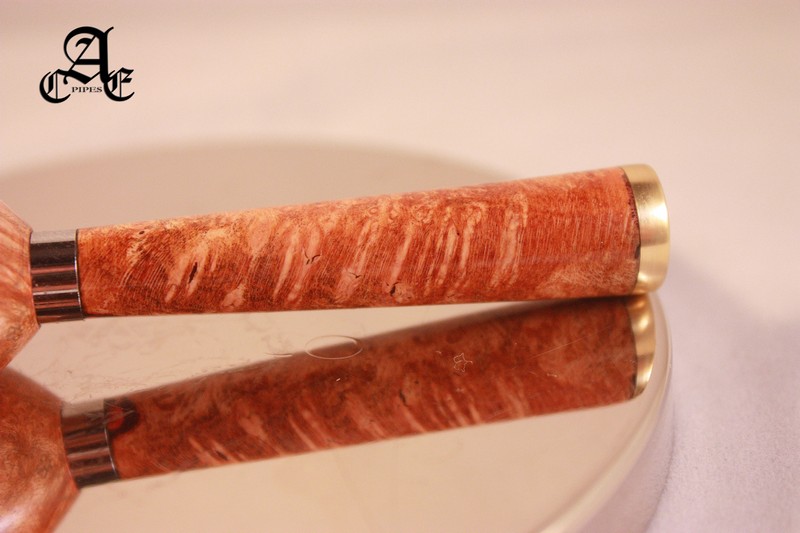
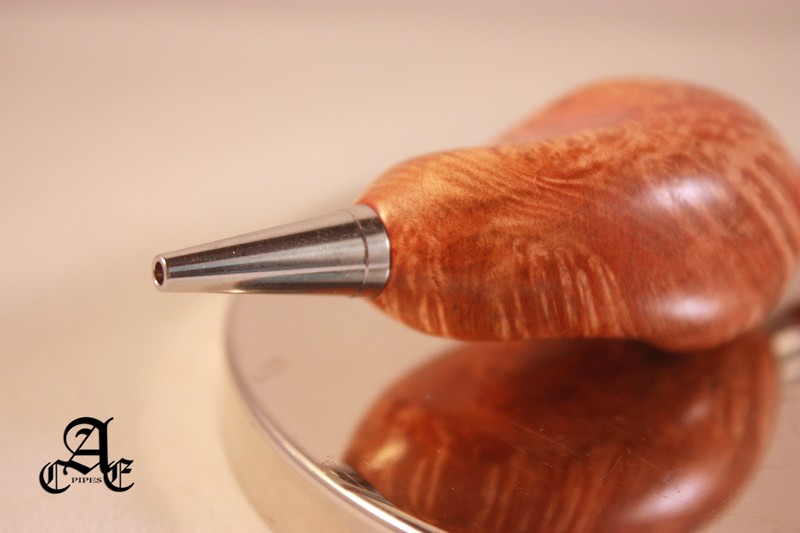
Group 4: Artisan Pipes
This part of my collection is specialized to some degree. I love beautiful hand carved pipes with hand cut stems. In this part of my collection there are pipes from a variety of countries and a variety of artisans. I enjoy having some of them commissioned for me personally and being part of their creation. I also enjoy purchasing some of them directly from the craftsman. In both cases the point for me is to have works of art/hand craft that I enjoy looking at and smoking. In this group are pipes by Stephen Downie, Rad Davis, Oliver Camphausen, Larry Roush, Michael Parks, Tony Fillenwarth, Frank Axmacher, Brad Pohlmann, Paul Bonaquisti, Peter Heeschen, Peter Matzhold, Steve Morrisette, Dan Cheblove, Jack Howell, Trevor Talbert, James Gilliam, Mark Tinsky, John Calich, Blatter Brothers and Jeff Gracik of J. Alan Pipes are just some of the ones that I have examples of in my collection. This is an aspect of collecting that I take seriously and have built up slowly and consistently over the years as I could afford their pipes. It continues to grow and develop as pipes from Group 1 provide the funds for expansion.
As I finish writing this piece, I am struck by the breadth and variety of the pipes in my pipe cupboard. There are many but only a few of them hold places that are at least semi-permanent. I have one simple rule in my collecting – pipes are always for sale for the right price and the right reason. That reason for me is to upgrade and fill out places in the collection.