Blog by Steve Laug
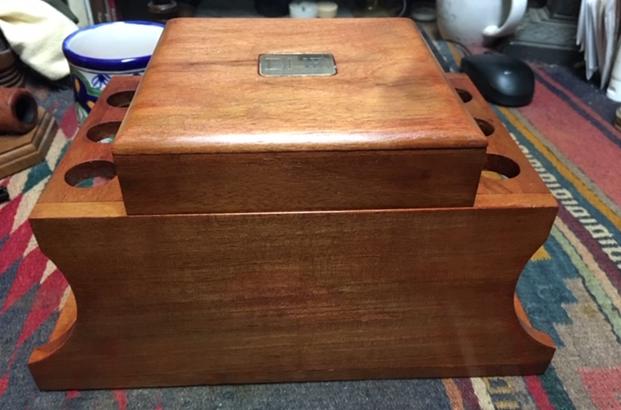
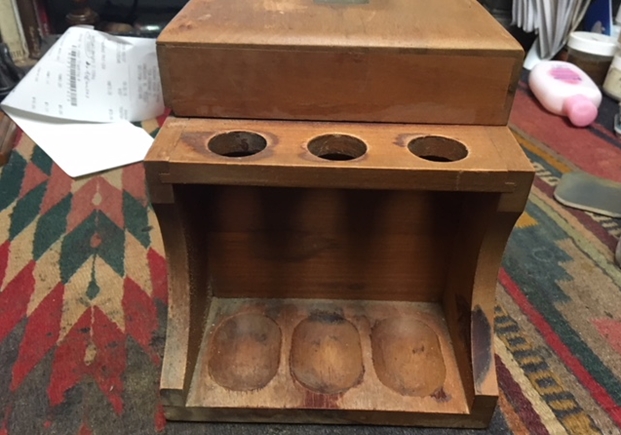
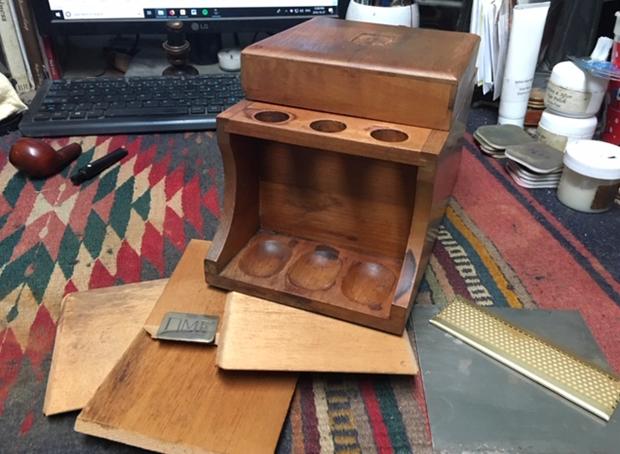
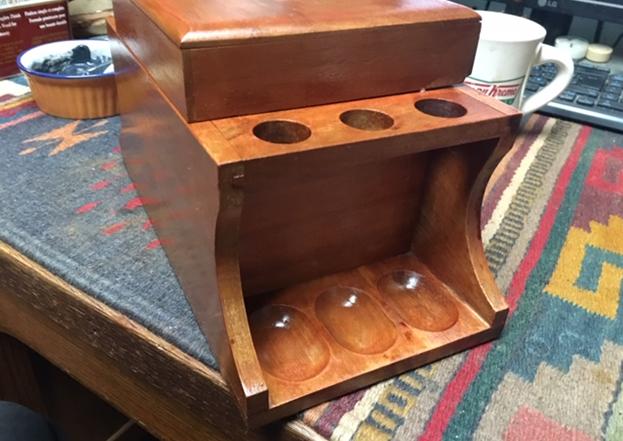
In the past months I have restored eight of Anthony’s father’s pipes. He had written me regarding the restoration work; “I have a few pipes (8 or so) that haven’t been smoked in 15 years. They were my dad’s. I would like to get someone to restore them”. We chatted back and forth via email and the long and short of the story is that I restored all eight of his Dad’s pipes. The photo below shows the mixture of pipes that he sent me. There were some interesting shapes and most are very dirty and have very little if any of the original finish left on the briar. All have an overflow of carbon on the rim top and all have chewed, damaged stems and buttons. Anthony remembers his Dad smoking them throughout the years he was growing up so they went from regular use to being boxed and stored. They needed a lot of TLC to bring life back to them but it was fun to work on them. 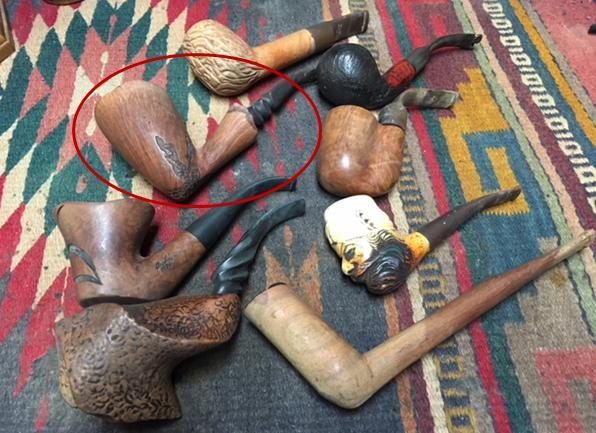 When he received the pipes back in his home he contacted me about a rack that he believes his father made. While I am not sure of that (it is very much like the box humidor 6 pipe racks I have seen in the past) it certainly needed a lot of work. I don’t usually work on pipe racks but I thought this would be a worthy exception. When it arrived it had a tarnished brass plate on the top of the lid with his father’s initials engraved in it. There were water stains/damage marks on the top, front and sides of the rack. The finish was gone and the condition of the outside was very rough. The base that held the pipes also was worn and water damaged. The inside of the box had a metal base held in the box by removal cedar panels. I could slide out the sides and remove the metal base. The pictures below show what it looked like when I unpacked it and had removed the dust and debris on exterior. All totaled it was a mess. The water damage had left some deep stain marks and I had no idea if I could minimize them.
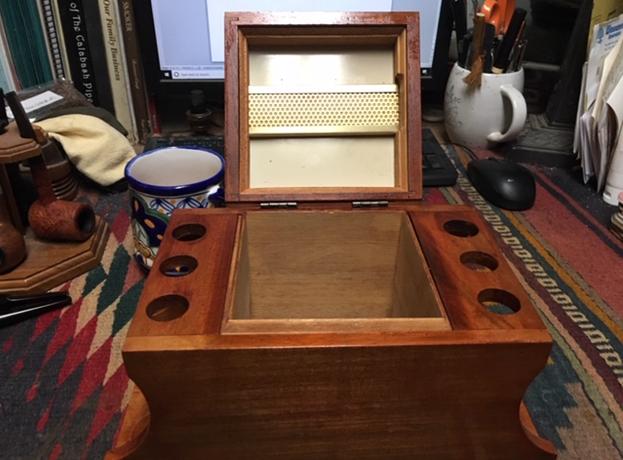
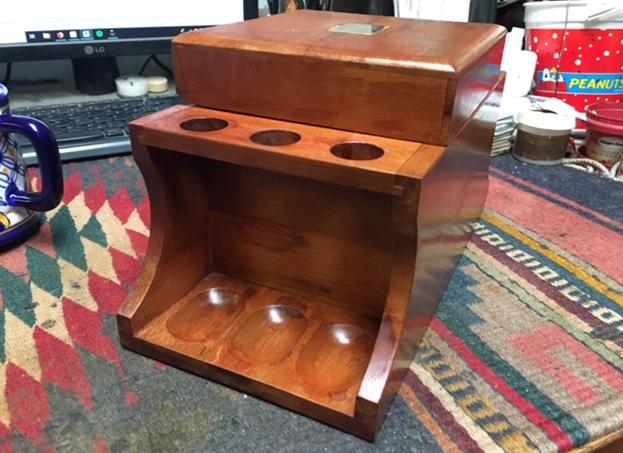
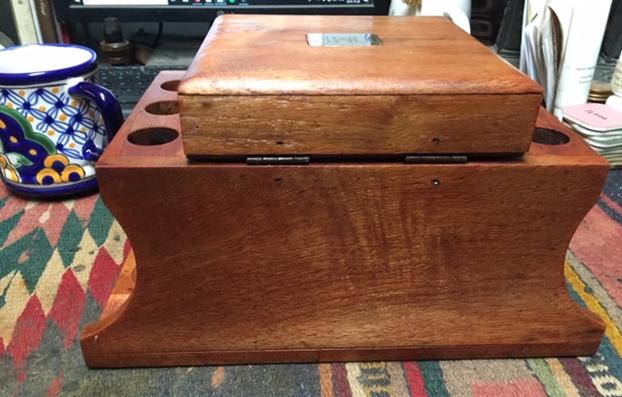
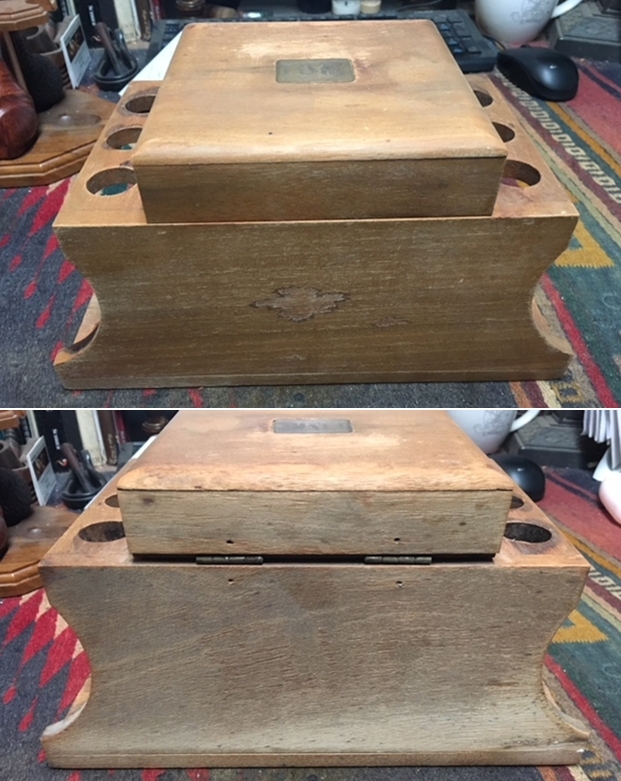
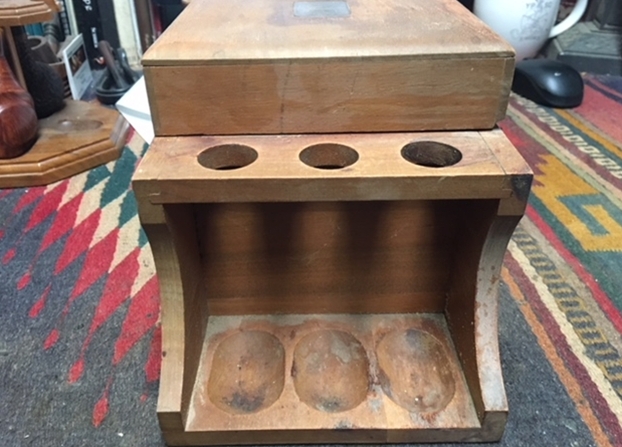
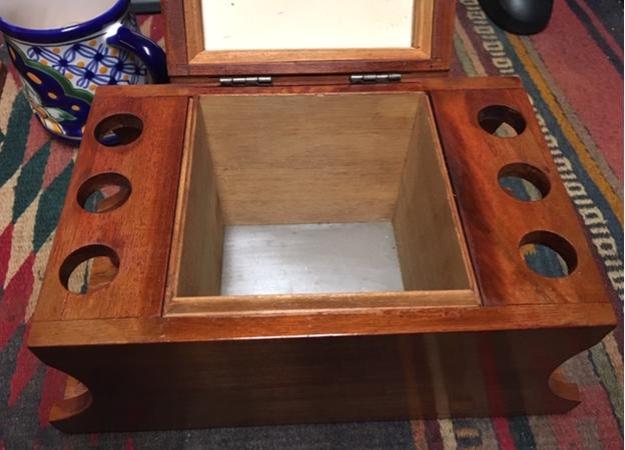
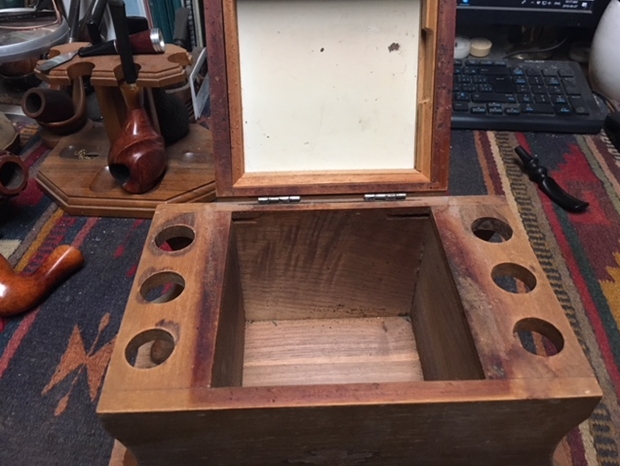
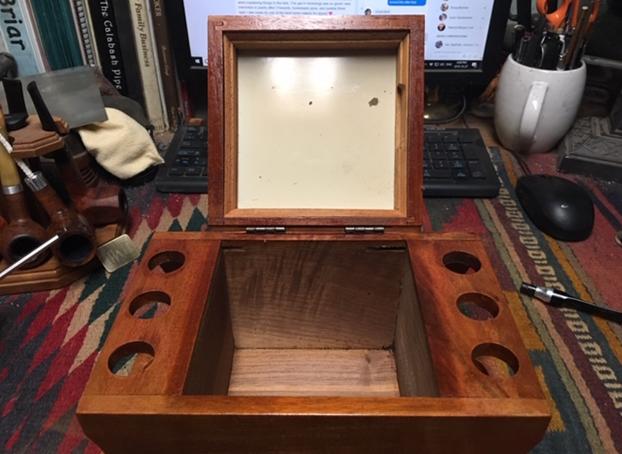
 I took the cedar plates out of the box, removed the metal plate from the bottom of the box. I also took out the humidor disk from the lid and took pictures of the parts and their condition. Note the rust on the metal base. The second photo below shows the box with the lining removed.
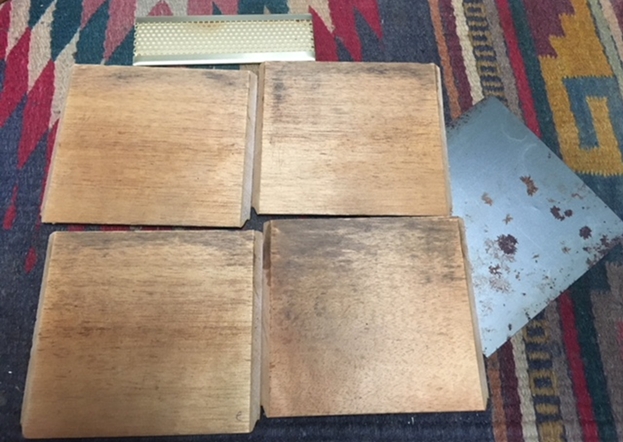
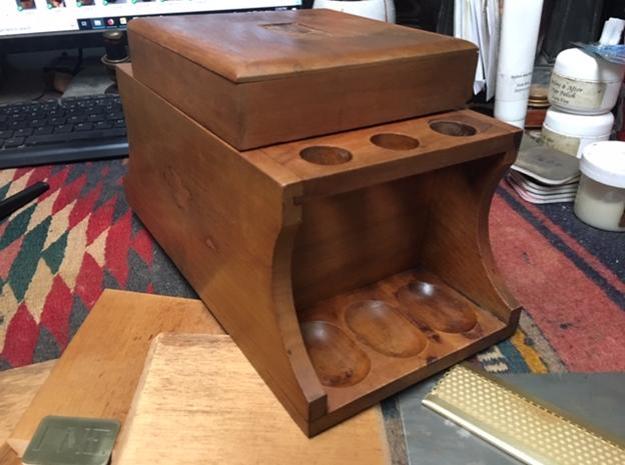
 I left it sitting in pieces for a week or more and an email from Anthony spurred me to do some more work on it. I cleaned all of the parts with Murphy’s Oils Soap and rinsed the box and parts down with warm water and a damp cloth. I took photos of the box at this point to show progress. I lifted the brass plate off the lid so I could polish it as well. The cleaned rack sat in this dismantled condition for several months. I just did not have time to work on it at all and to be honest I also did not have the desire.
 Fast forward to last week. My father was visiting and wanted to help me with some of the work I was doing on pipes. I looked at the rack and I thought why not it would be a great Father/son project. So we tackled it together and began the restoration of this rack. Dad worked on it quite a bit, sanding and working on the divots and the stains trying to remove the damage. We were having very little success. Then I remembered the oxalic acid could be used to remove water stains so I ordered some from our local pharmacist. I picked up 500 grams of the crystals and my father mixed it with water and began to scrub the exterior of the rack. He worked on the water damaged spots and scrubbed the entire rack with the acid mixture. It took repeated scrubbing but the water damage began to fade and in some places it disappeared entirely. Even where it did not all disappear it was lightened significantly and looked far better.
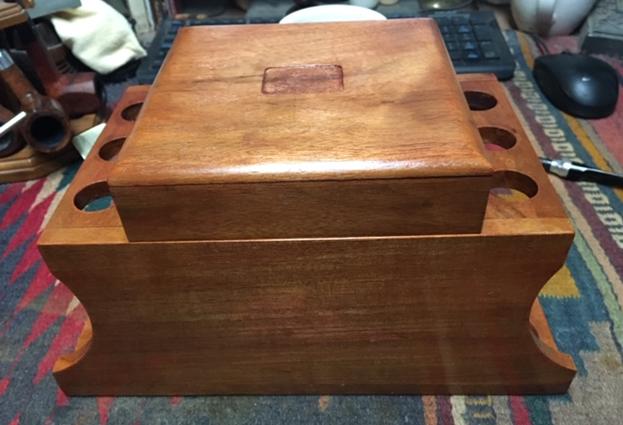


 After the acid wash, Dad sanded the entire rack down with a medium and a fine grit sanding sponge to smooth out the grain in preparation for staining. We stained the rack with Danish Oil Cherry stain. We rubbed it into the finish and wiped it off with a cloth. We repeated the process four times to get good coverage and a smoother look to the rack. Between each coat of stain we sanded it with a fine grit sanding sponge to remove and bubbles or roughness. While Dad was working on that I polished the brass monogram plate on the buffing wheel and with 6000-12000 grit micromesh sanding pads. I put some white glue on the underside of the plate and reinserted it in the space on the cover. It too is not flawless but it looks better.
Once we had finished the staining and polishing we put the internal cedar panels and metal base plate back in place in the box. We reinserted the humidor plate in the cover. The water stains on the front were gone, the ones in the pipe rack were greatly minimized and the rack looked better. My Dad and I had a great time working on this project together. I normally do no work on racks at all. I like working on pipes not racks! But I am glad I made this exception. It was a Father- Son project working on a Father’s Pipe Rack for his son. Now I need to pack it up and get it in the mail so Anthony has his Father’s pipe rack to hold his Father’s pipes.