Blog by Steve Laug
I wrote about the refurbishing and repair of a Savinelli de Luxe Milano 431 recently on the blog. I had to trim back the broken stem and refinish the bowl. One part of that repair that was not planned on came about when I dropped the pipe and the stem snapped off with the tenon stuck in the shank. At that point I had a decision to make – restem the pipe or figure out some way to repair the one in hand. I could have drilled out the broken end of the tenon in the stem and then tapped it and fitted it with a threaded Delrin tenon. I have done a lot of those repairs but wanted to try something different with this one. I wanted to see if I could figure out a way to repair the broken tenon and reuse it. It would be an experiment for sure – would a repair to the tenon hold up to removing and putting the stem back in the shank repeatedly? Would the twist and pull on the stem make a repair unreliable and not durable? What could I do to try to mitigate the lack of integrity in the repaired stem? This particular stem came with an aluminum tube in the end of the tenon – an inner tube like Dunhill used for a time. This one was short. When the tenon broke off in the shank I used a dental pick to push the inner tube out of the broken tenon and into the shank so that I could have the room in the airway to thread in a screw. I keep a couple of drywall screws in a cup on my work table so that when I run into a broken tenon in a shank I can use it to pull the tenon. I twist the screw into the tenon by hand and then use a Philips screwdriver to push it in the last couple of turns. I want it to have a good bite in the tenon so that I can use it to pull the broken part. I then use a pair of pliers to wiggle the broken tenon out of the shank. I then tipped the inner tube out of the shank. At this point I had an idea. I had no clue whether it would work long term or not but it was worth trying. The idea was to open the airway in the tenon piece and in the stem so that I could insert the tube. The tube would go into the stem with the sharp end in first. I would press it in and then glue it. I would slide the broken tenon piece over the tube and glue the tube and the broken end of the tenon to the end of the stem.
 I used a round needle file to open up the airway in the tenon and the stem. It did not take too long to open it enough for the tenon to slide over the tube. I still needed to open the airway in the stem in order to fit the tube.
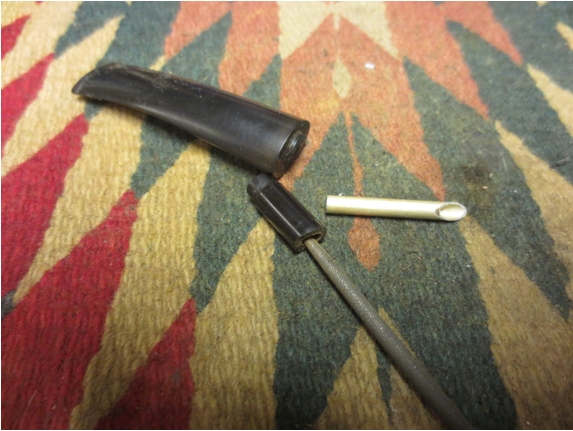 I used a drill bit slightly larger in diameter as the tube. I set up the drill on my worktable and then hand turned the stem onto the drill bit. I did not want to use power as it could potentially go too far into the stem. I measured the length of the tube so that the length leftover after the broken tenon was slid over the top would extend into the stem.
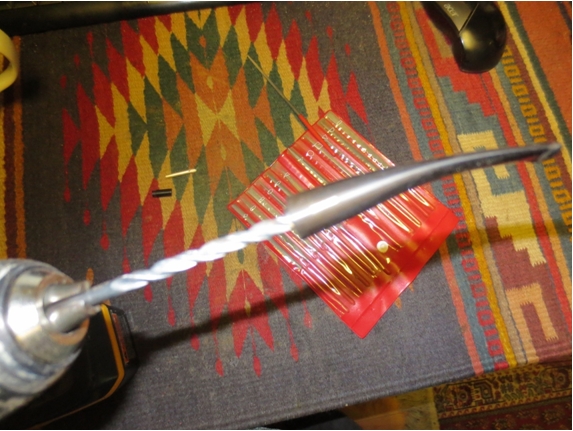 I used the round needle file to clean up the airway and smooth out the slight ledge left behind by the drill. Once the tube was in place I did not want it to have a lip that a pipe cleaner would get caught on or cause a whistle when air was sucked through it.
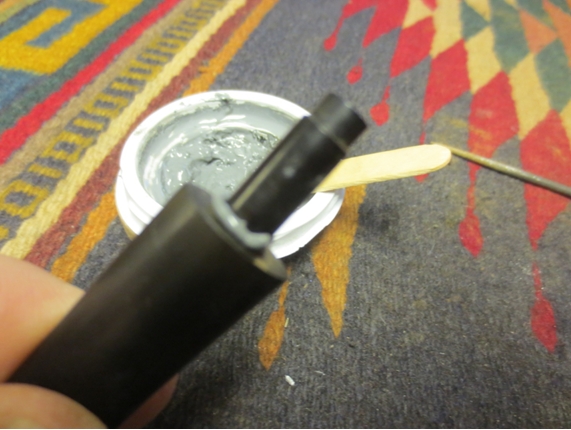
 I used a flat needle file to score the surface of the metal tube. I wanted a rough surface for the glue to bind the tube to the vulcanite. I mixed a two part epoxy and coated the end of the tube that was going into the stem portion of the break. I inserted the tube and pressed the epoxy into the airway around the tube with a needle file. I tamped it down and made sure that the tube was straight up and down. To assure that it was I slid the broken tenon over the tube and aligned the broken ends. I set the stem portion aside until the epoxy set. It would still need to cure but the glue sets quite quickly to touch.
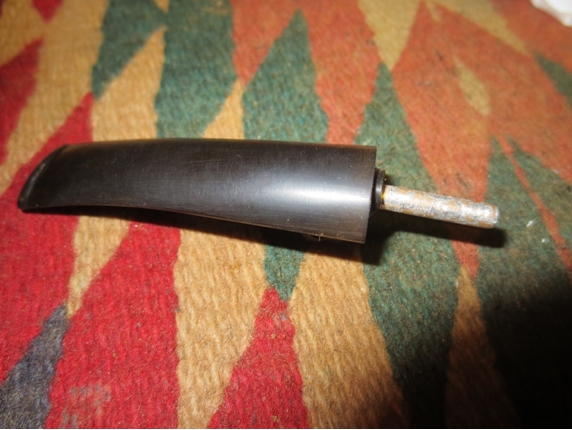 When the glue had set to touch I coated the tube with epoxy and the broken ends on both the stem side and the tenon side of the stem. I slid the tenon onto the tube over the glue and pressed it in place. In retrospect I should have let the glue in the stem cure for several days before sliding the tenon piece over the tube. I would regret that in the days ahead.
 I pressed the tenon in place until the excess glue squeezed out. I let it set so that I could scrape off the excess once it had hardened.
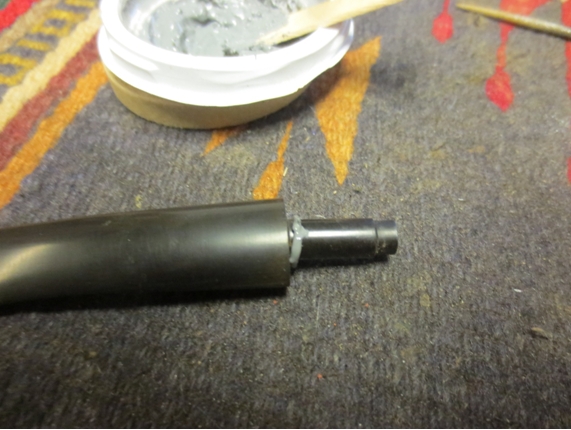
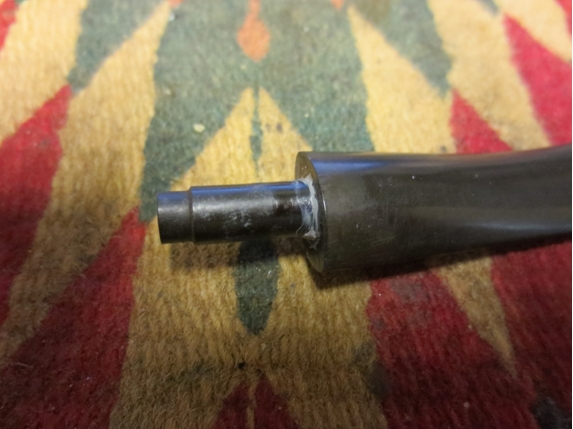
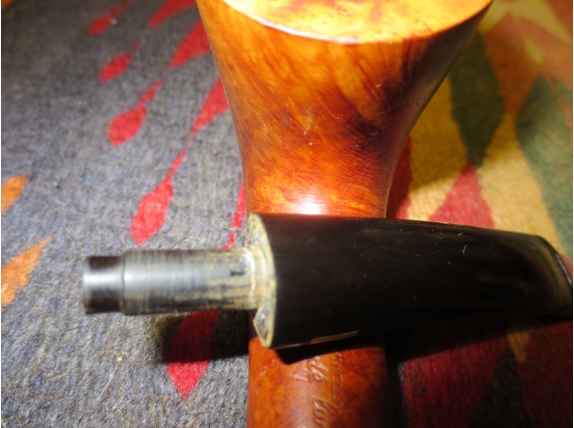
 I took the next photo to show how the tube was set in the end of the tenon. I wanted it far enough down into the tenon that I would be able to chamfer the end of the tenon if I needed to do so.
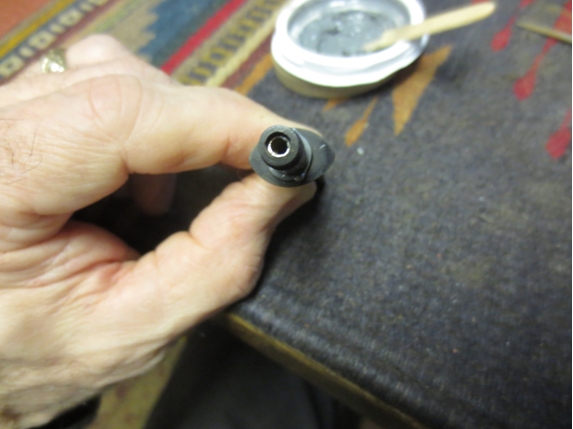 As the glue hardened I used a dental pick to peel away the excess glue. It took time to do it carefully and slowly so as not to damage the repair and peel glue out of the crack. When I had finished cleaning it up I checked the tenon and low and behold it came out of the stem portion. The glue had not cured. I had not let it sit long enough before working with it. I had to reglue the tenon on the stem.
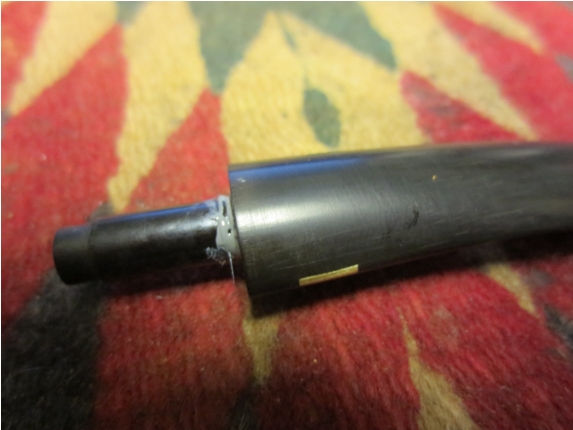
 This time I let the stem dry and cure for another week. Then I carefully used the sharp blade of a knife to clean up the glue around the crack and to smooth out the surface of the repair. I sanded the surface of the tenon with 220 grit sandpaper to remove what the knife did not take way. I was careful to not change the shape of the tenon.
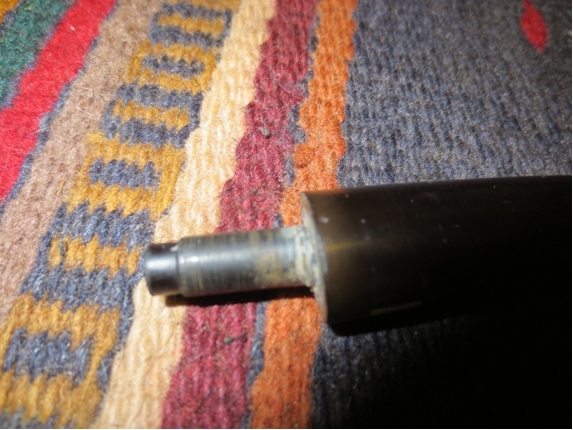
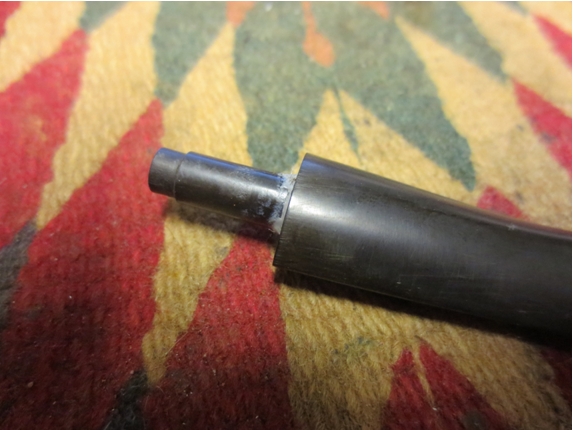
 I polished the stem with micromesh sanding pads. I wet sanded with 1500-2400 grit pads and dry sanded with 3200-12,000 grit pads.
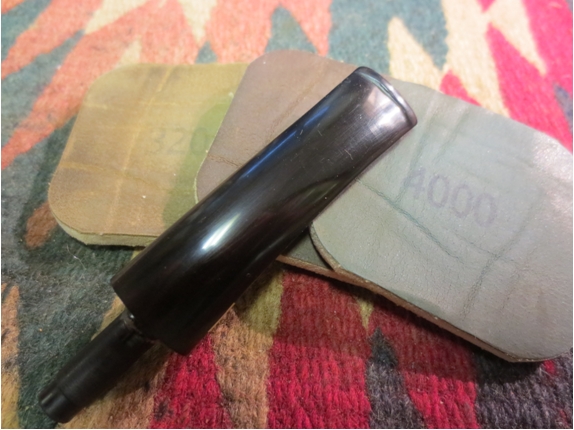 I set aside the stem and let the tenon repair cure for two days and then checked it. The glue in the tenon part was solid. The line around the crack was also solid. I worried about the glue inside the airway of the stem portion. With no air movement around the tube and glue I wondered if it would set properly. I let the repair sit for another seven days to ensure that it cured and dried.
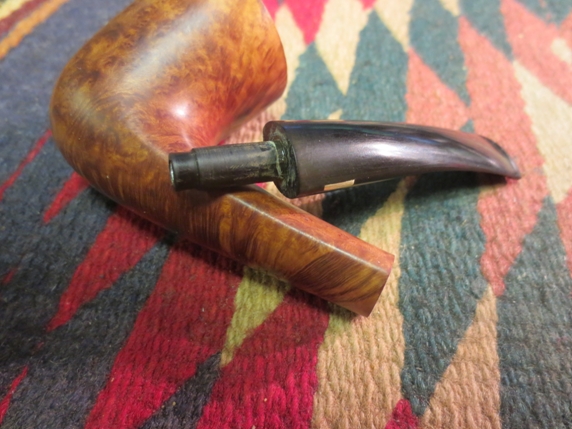
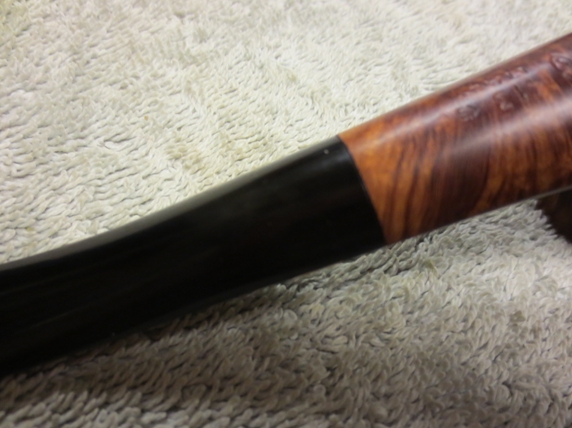
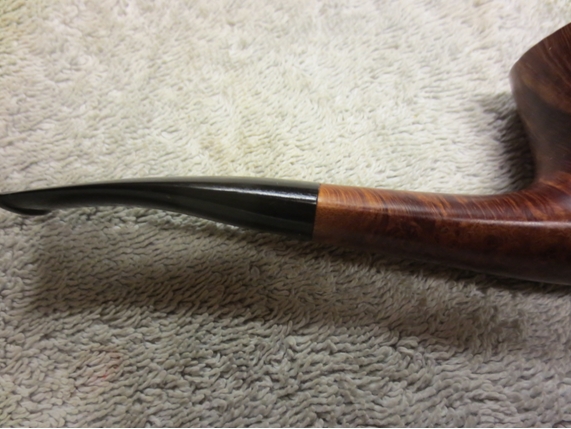
 Once it had dried I gingerly inserted it into the shank of the pipe. I pushed it slowly into place, careful not to twist and turn it yet. It fit well. I would need to make some adjustments to the top and bottom sides of the stem but it would work.
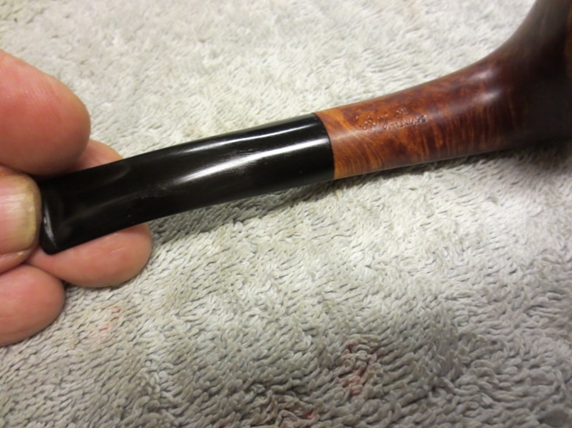
 I pushed it in place and finished polishing the stem with micromesh. The repair had been sitting for a week and the glue seemed to be cured. I decided to let it sit for another week before smoking the pipe. It seemed that the repair was working well and the tenon would hold. Time would tell but it looked to me that the tube insert gave the stem and tenon stability that would keep it in action. The stem is easily removed and can even be twisted in and out of the shank without loosening the repair. I will keep you posted on the longevity of this repair but if it works it will save quite a few of the tenon repairs I am doing. In the meantime it would be great if a few of you gave it a try with pipes you are working on and let us know what you think.