Guest Blog by Robert M. Boughton
Member, North American Society of Pipe Collectors
http://www.roadrunnerpipes.com
http://about.me/boughtonrobert
Photos © the Author
“Simple can be harder than complex: You have to work hard to get your thinking clean to make it simple. But it’s worth it in the end because once you get there, you can move mountains.”
— Steve Jobs (1955-2011), U.S. inventor, entrepreneur and marketer and co-founder, chairman and CEO of Apple, Inc.
INTRODUCTION
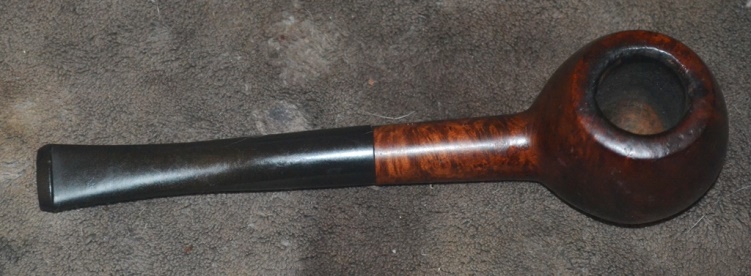
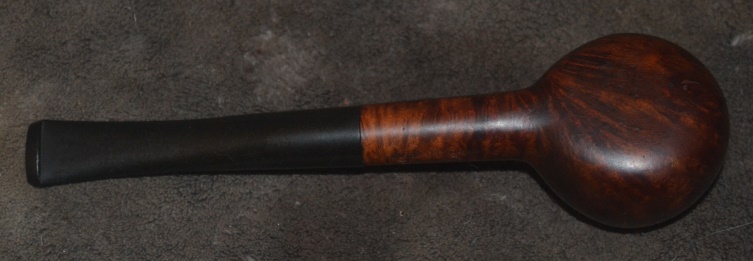
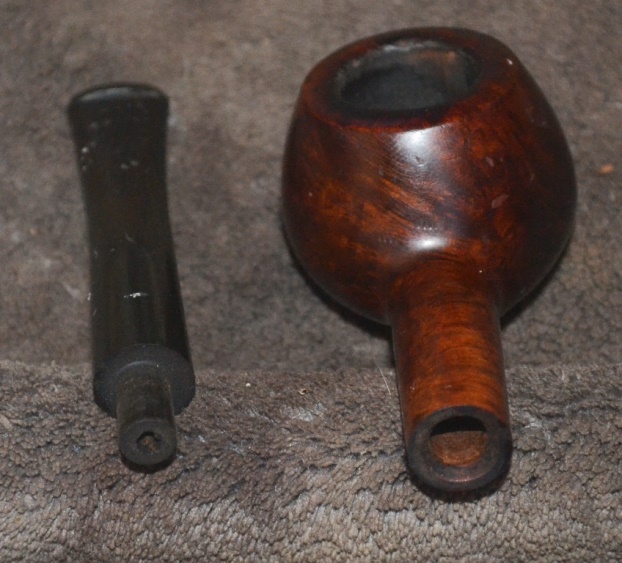
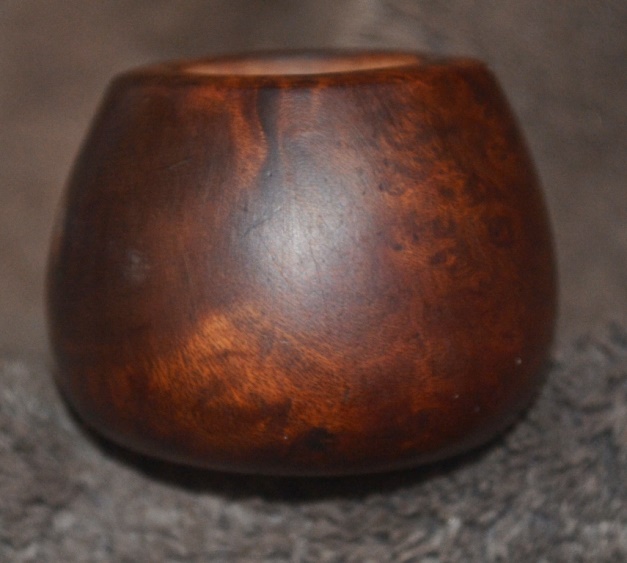
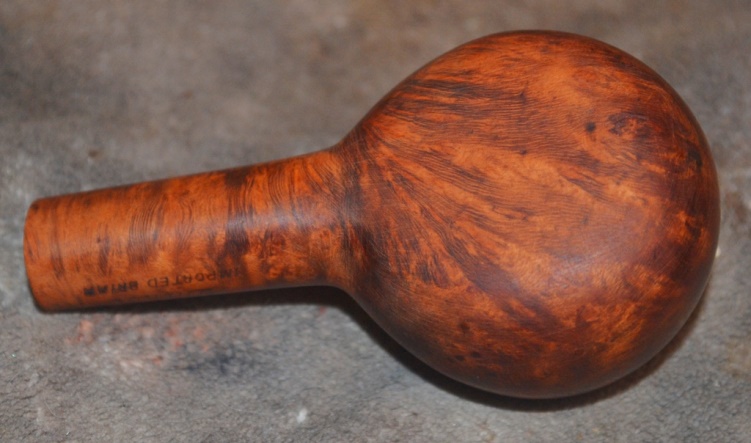
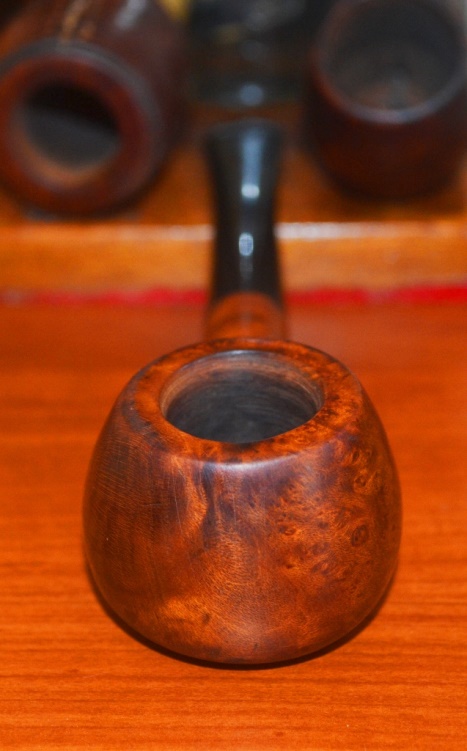
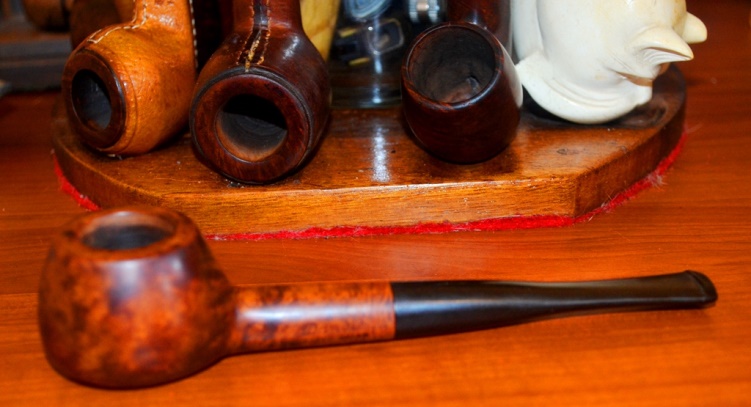
Once again I found myself with an estate pipe that looked, without close inspection, ready to clean and sanitize and offer for sale. The squat Danco brand Diplomat sitter, which looks like the offspring of an apple that mated with a tomato (in terms of pipe shapes), had dark brown stain I suspected might hide fills or other flaws, and so, in particular given the shine and apparent smoothness of the finish, I saw no reason to mess with that. The stem was in the best condition I have ever encountered, and the bowl, at least, was already partly cleaned.
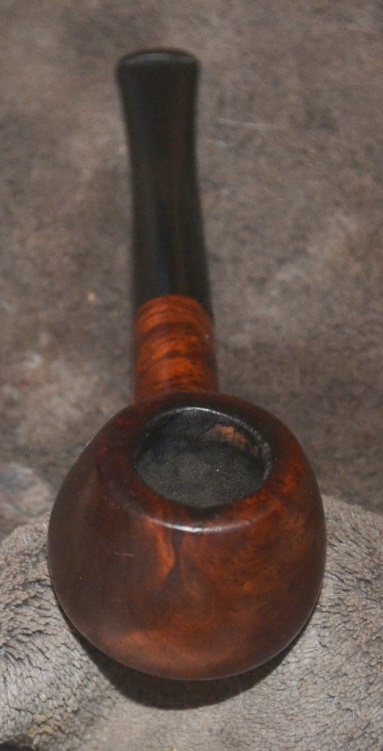
Then I put my dollar store 3x glasses on and took a closer look. I observed clear, deep lines all around the rim that I supposed were caused by uncouth tamping of smoked tobacco from the chamber and also found small but numerous scratches and dings all over the bowl and shank that would in all likelihood require more than micromesh to remove. Therefore, re-staining in patches might be necessary.
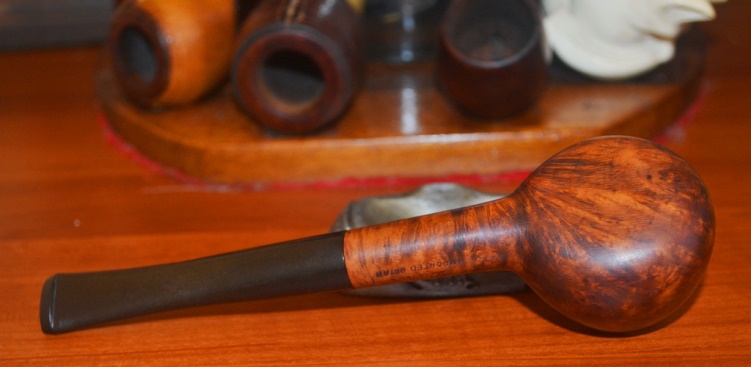
Information online about the Danco brand was sparse, but I did learn that the pipes were manufactured in Belgium, Italy and the U.S. Those stamped “Imported Briar,” as is this squat Diplomat sitter, are believed to have been made and distributed in the U.S. Also, the brand dates at least to 1946:
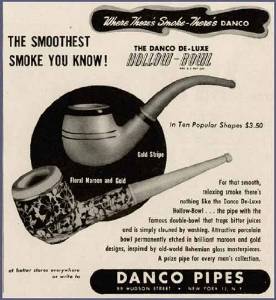
Courtesy of the Web
RESTORATION
While the necessity of taking a restoration a step at a time is obvious, choosing the order is the trick.


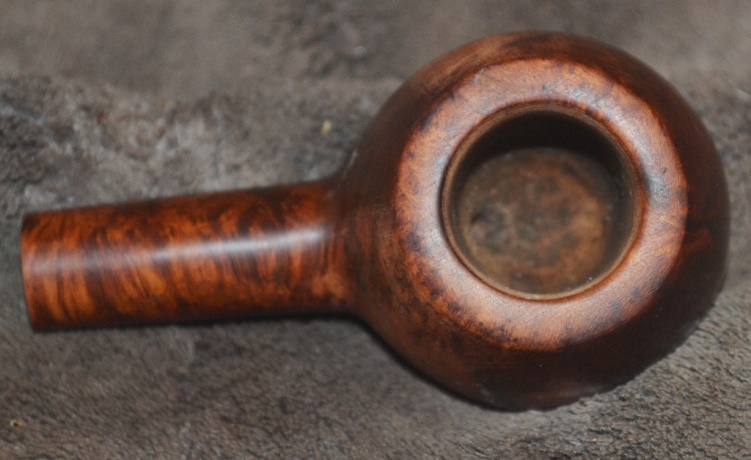
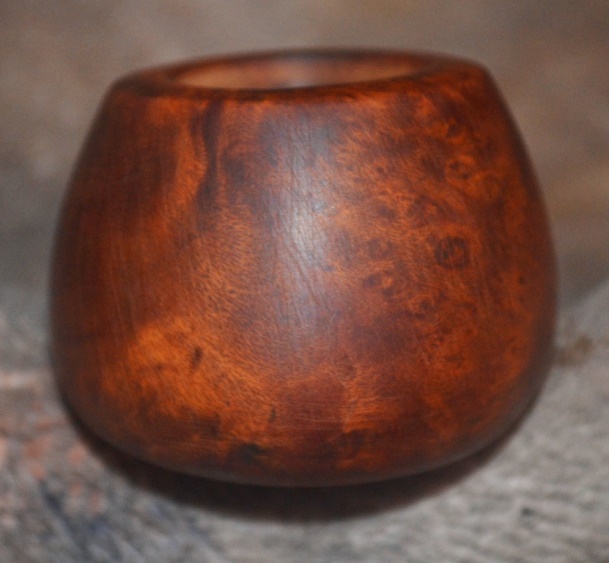
 This time, as I did with my WDC Full Bent Billiard, I decided to begin with the rim, which seemed to require little attention. The lack of blackening made it easier, but the crags called for sanding that would leave it even.
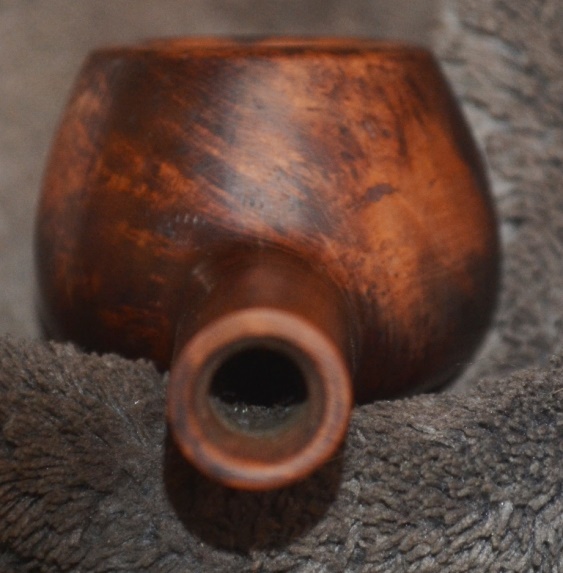
320-grit followed by 1500 micromesh made a fast, clean job of it. Venturing into the chamber, I switched to 150-grit to break through what I found to be more carbon than had at first appeared to be the case and was very rough to the touch. When the sandpaper proved to be insufficient for the job, I turned to my reamer and all but finished with the chamber in short order. The last step was to do an alcohol flush, which I let sit for about a half-hour.
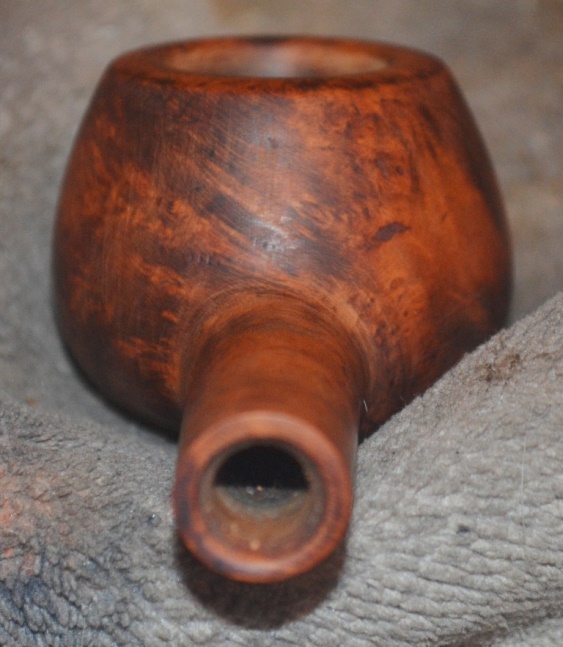
While the chamber was clean down to faint briar showing through somewhat all the way down, the shank was still filthy. I used up about 10 bristly cleaners soaked in alcohol before the last one came out white.
Next, with a small piece of super fine steel wool, I rubbed clean the small round opening of the shank where the stem fits and put on my dollar glasses again for close scrutiny to plan a course of action for mending the bowl and shank.
Hoping against hope to avoid even a spotty re-stain, I started with 1500 micromesh, which in fact removed one or two shallow scratches, then 1000 and even 800, all of them with the effect of wet toilet paper.
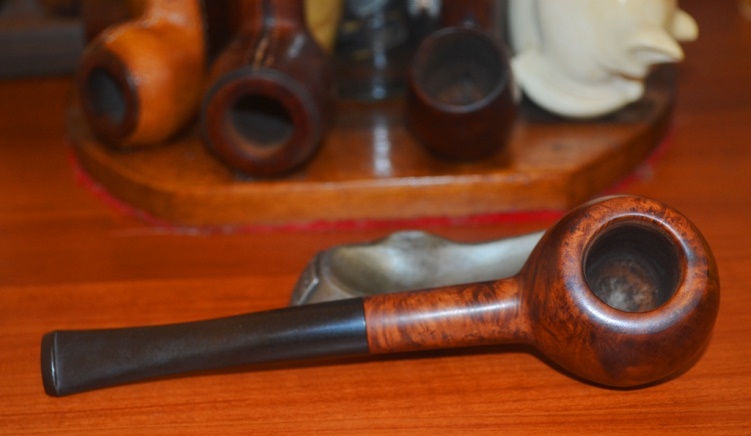
I decided to notch it up (or down) to the limit I trusted would get out all but a few of the scratches and pits – 400-grit. I was not surprised that the coarser paper worked as I expected but that the resulting lighter color was more pleasing to the eye and also uncovered no blemishes. I buffed the wood with 1500 micromesh to eliminate the sanding marks and give it some shine.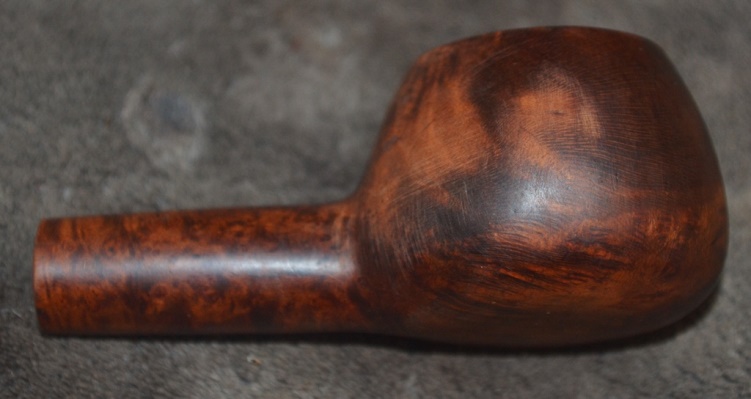
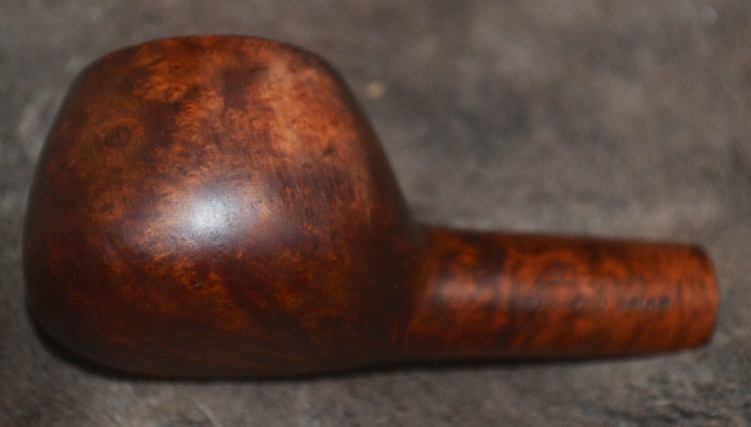
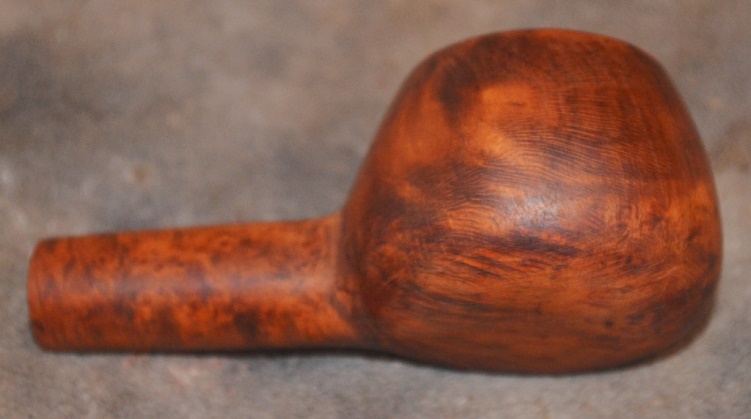
 And so, taking a chance I knew I could correct if necessary, I removed the rest of the original waxes and stain to the same degree. Astonished to find not a single fill or other blemish that needed repair, but even more so at the apparent sloppy over-application of stain in some areas where it was so thick the wood looked black, I forthwith took off all of the offensive misuse of stain with more 400-grit and buffed the entire surface with 1500 micromesh.
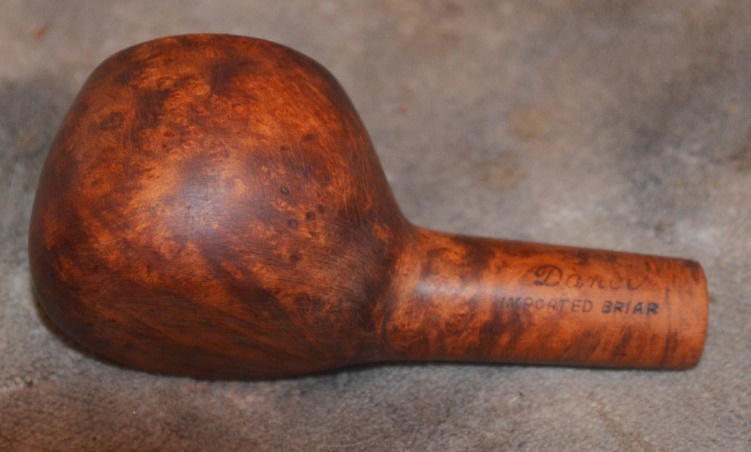

 I mentioned earlier that the stem was almost perfect as I received it, and so the minor sanding of the lip and micro-meshing of the rest was easy.
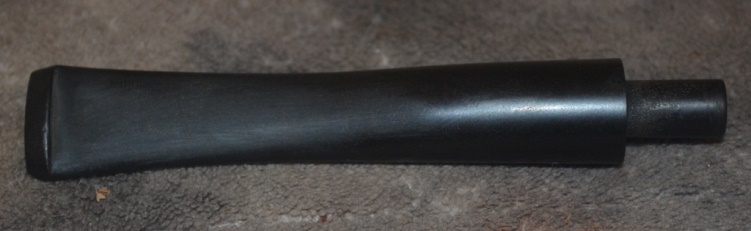
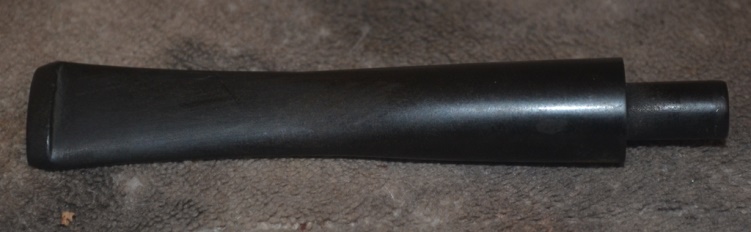 And then, the moment had come to put the prepped vulcanite and briar to the electric buffers. As usual, I used red Tripoli and White Diamond on the stem, and white Tripoli, White Diamond and carnauba on the wood.
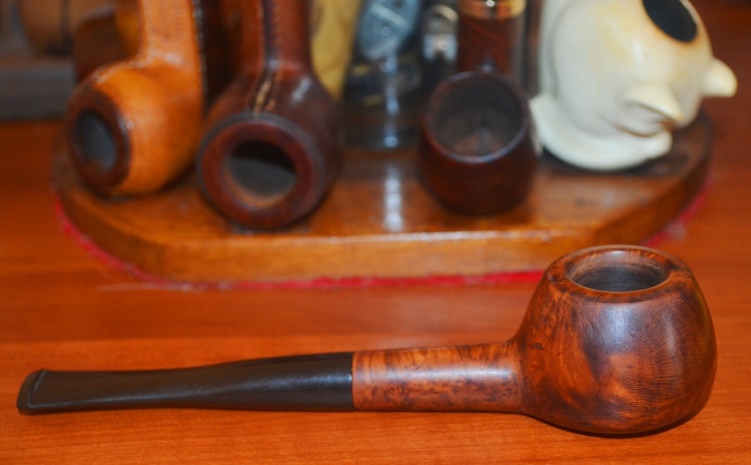
 CONCLUSION
At the risk of repeating myself, I took on this project thinking it would be fast and easy. I will either give it to a pipe club friend who has a penchant for apples and whom I think might also like this shape, or donate it to the club’s raffle, one of which contingencies will happen this coming Thursday. Several times, I have restored three or even four pipes from start to finish in a single evening, but this was not one of those occasions. I ended up spending more time on this one “simple” pipe.
I have often heard that there is no such thing as common sense, which requires complex cognitive abilities beyond some humans. By the same token, to paraphrase Steve Jobs, simple ideas often, if not always, require hard work to formulate.
WEBSITES TO VISIT
Here are some of the sources of information I gleaned on the Danco brand:
https://www.etsy.com/listing/167017038/vintage-danco-hollow-bowl-tobacco-pipe?ref=shop_home_active&favorite_listing_id=167017038&show_panel=true Scroll down
http://www.smokingpipes.com/pipes/estate/united-states/moreinfo.cfm?product_id=35071
