Blog by Greg Wolford
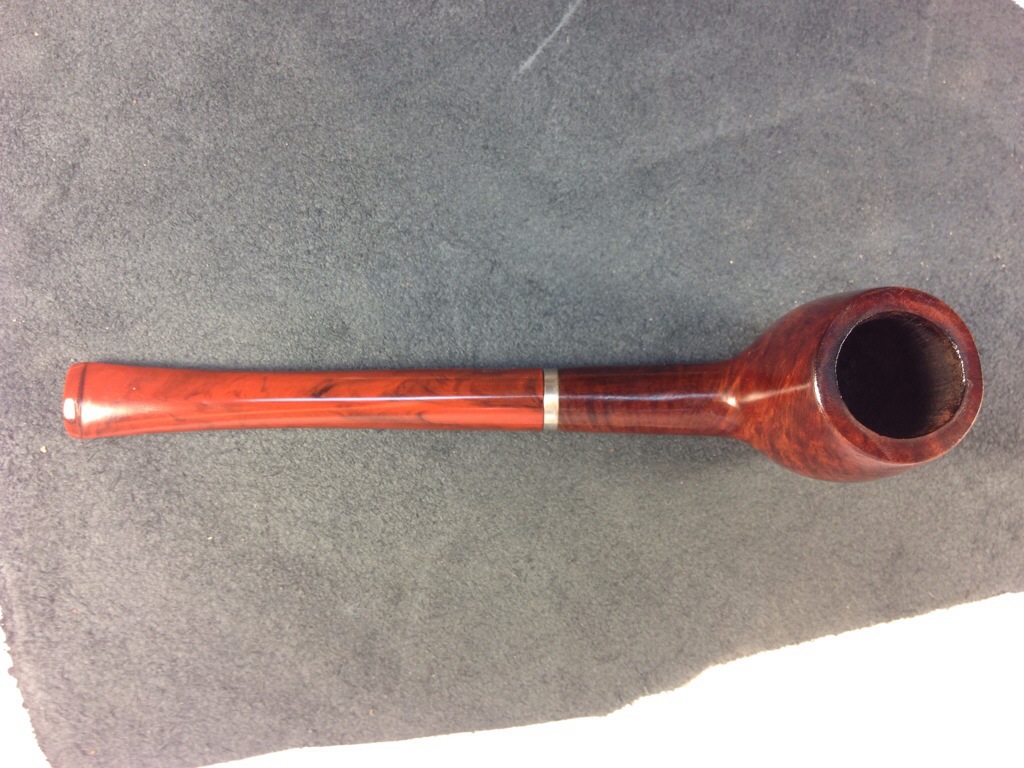
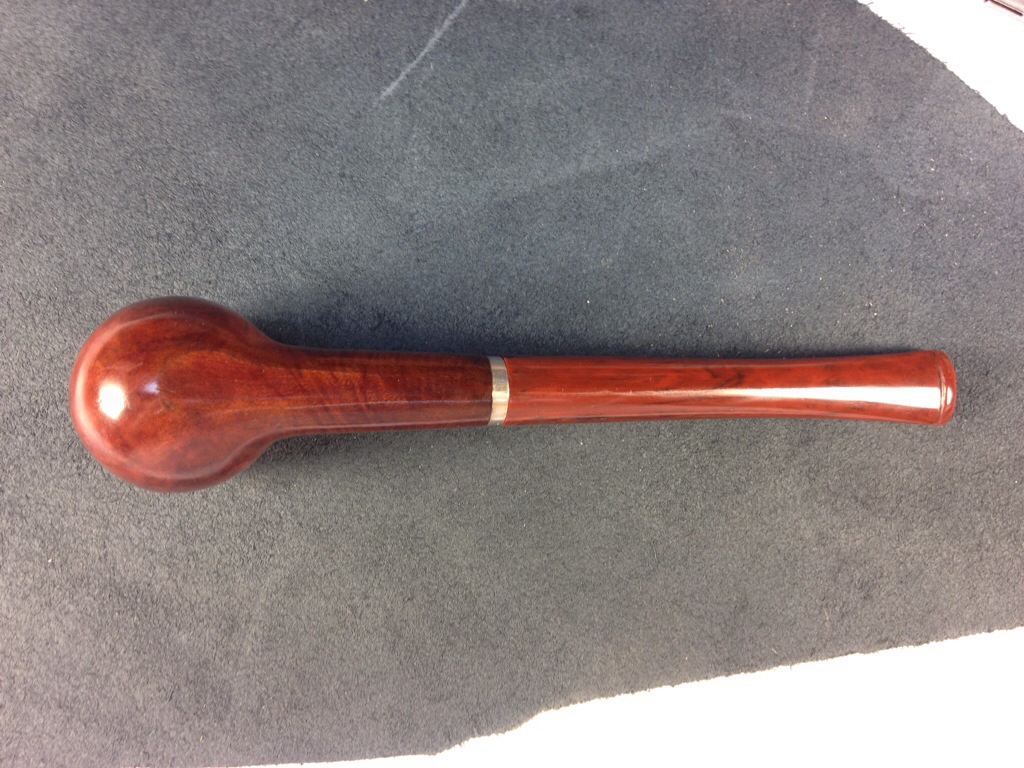
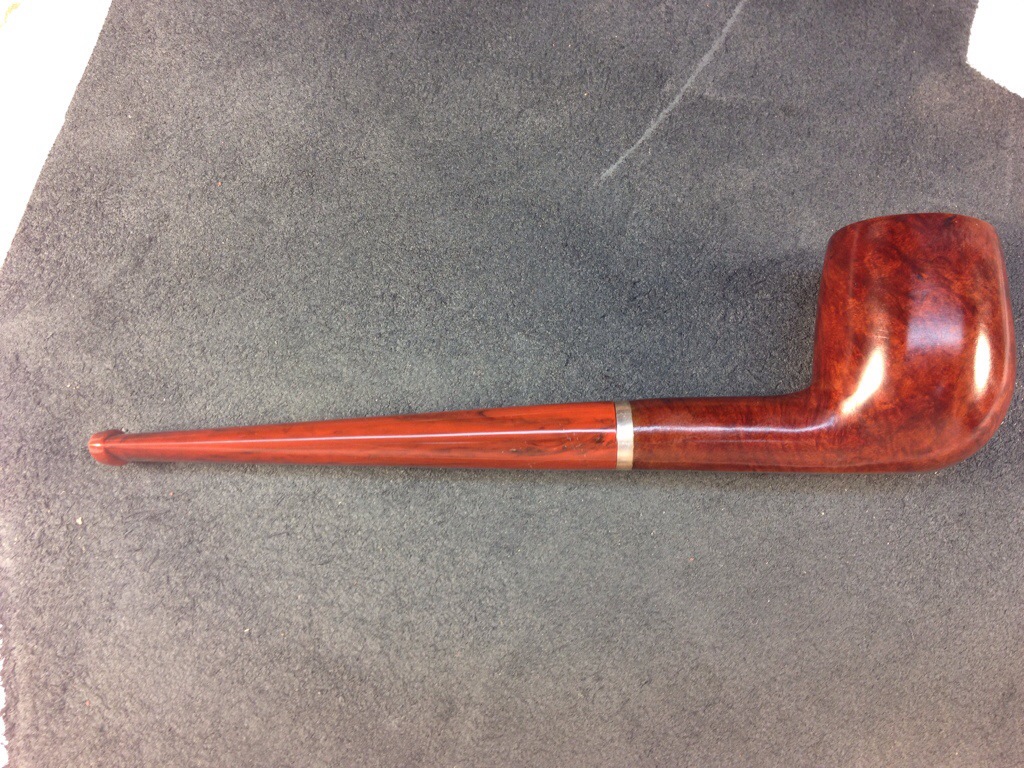
I have this German acorn basket pipe that I love; it was a gift from my son. I really like everything about it: the shape, the feel, everything except the gurgle. This morning I decided it was time to “open her up” a little and remembered to take a few photos of the process (finally) to share what I generally do and generally works really well for me.
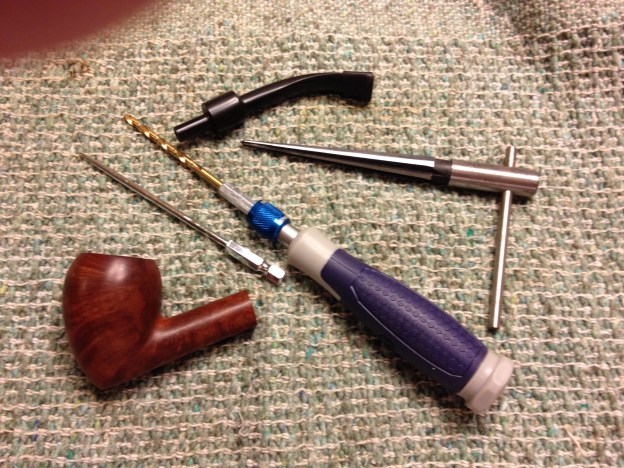
This process takes only a few tools and a few minutes to do. But you can spend a lot more time and effort and use more tools to get better, more precise results if you so desire. The tools I used:
- a round needle file
- a straight “pick”
- 5’32” drill bit
- reamer (bought from Harbor Freight)
- a quick change handle (all of the rest of the tools are Kobalt from Lowe’s)
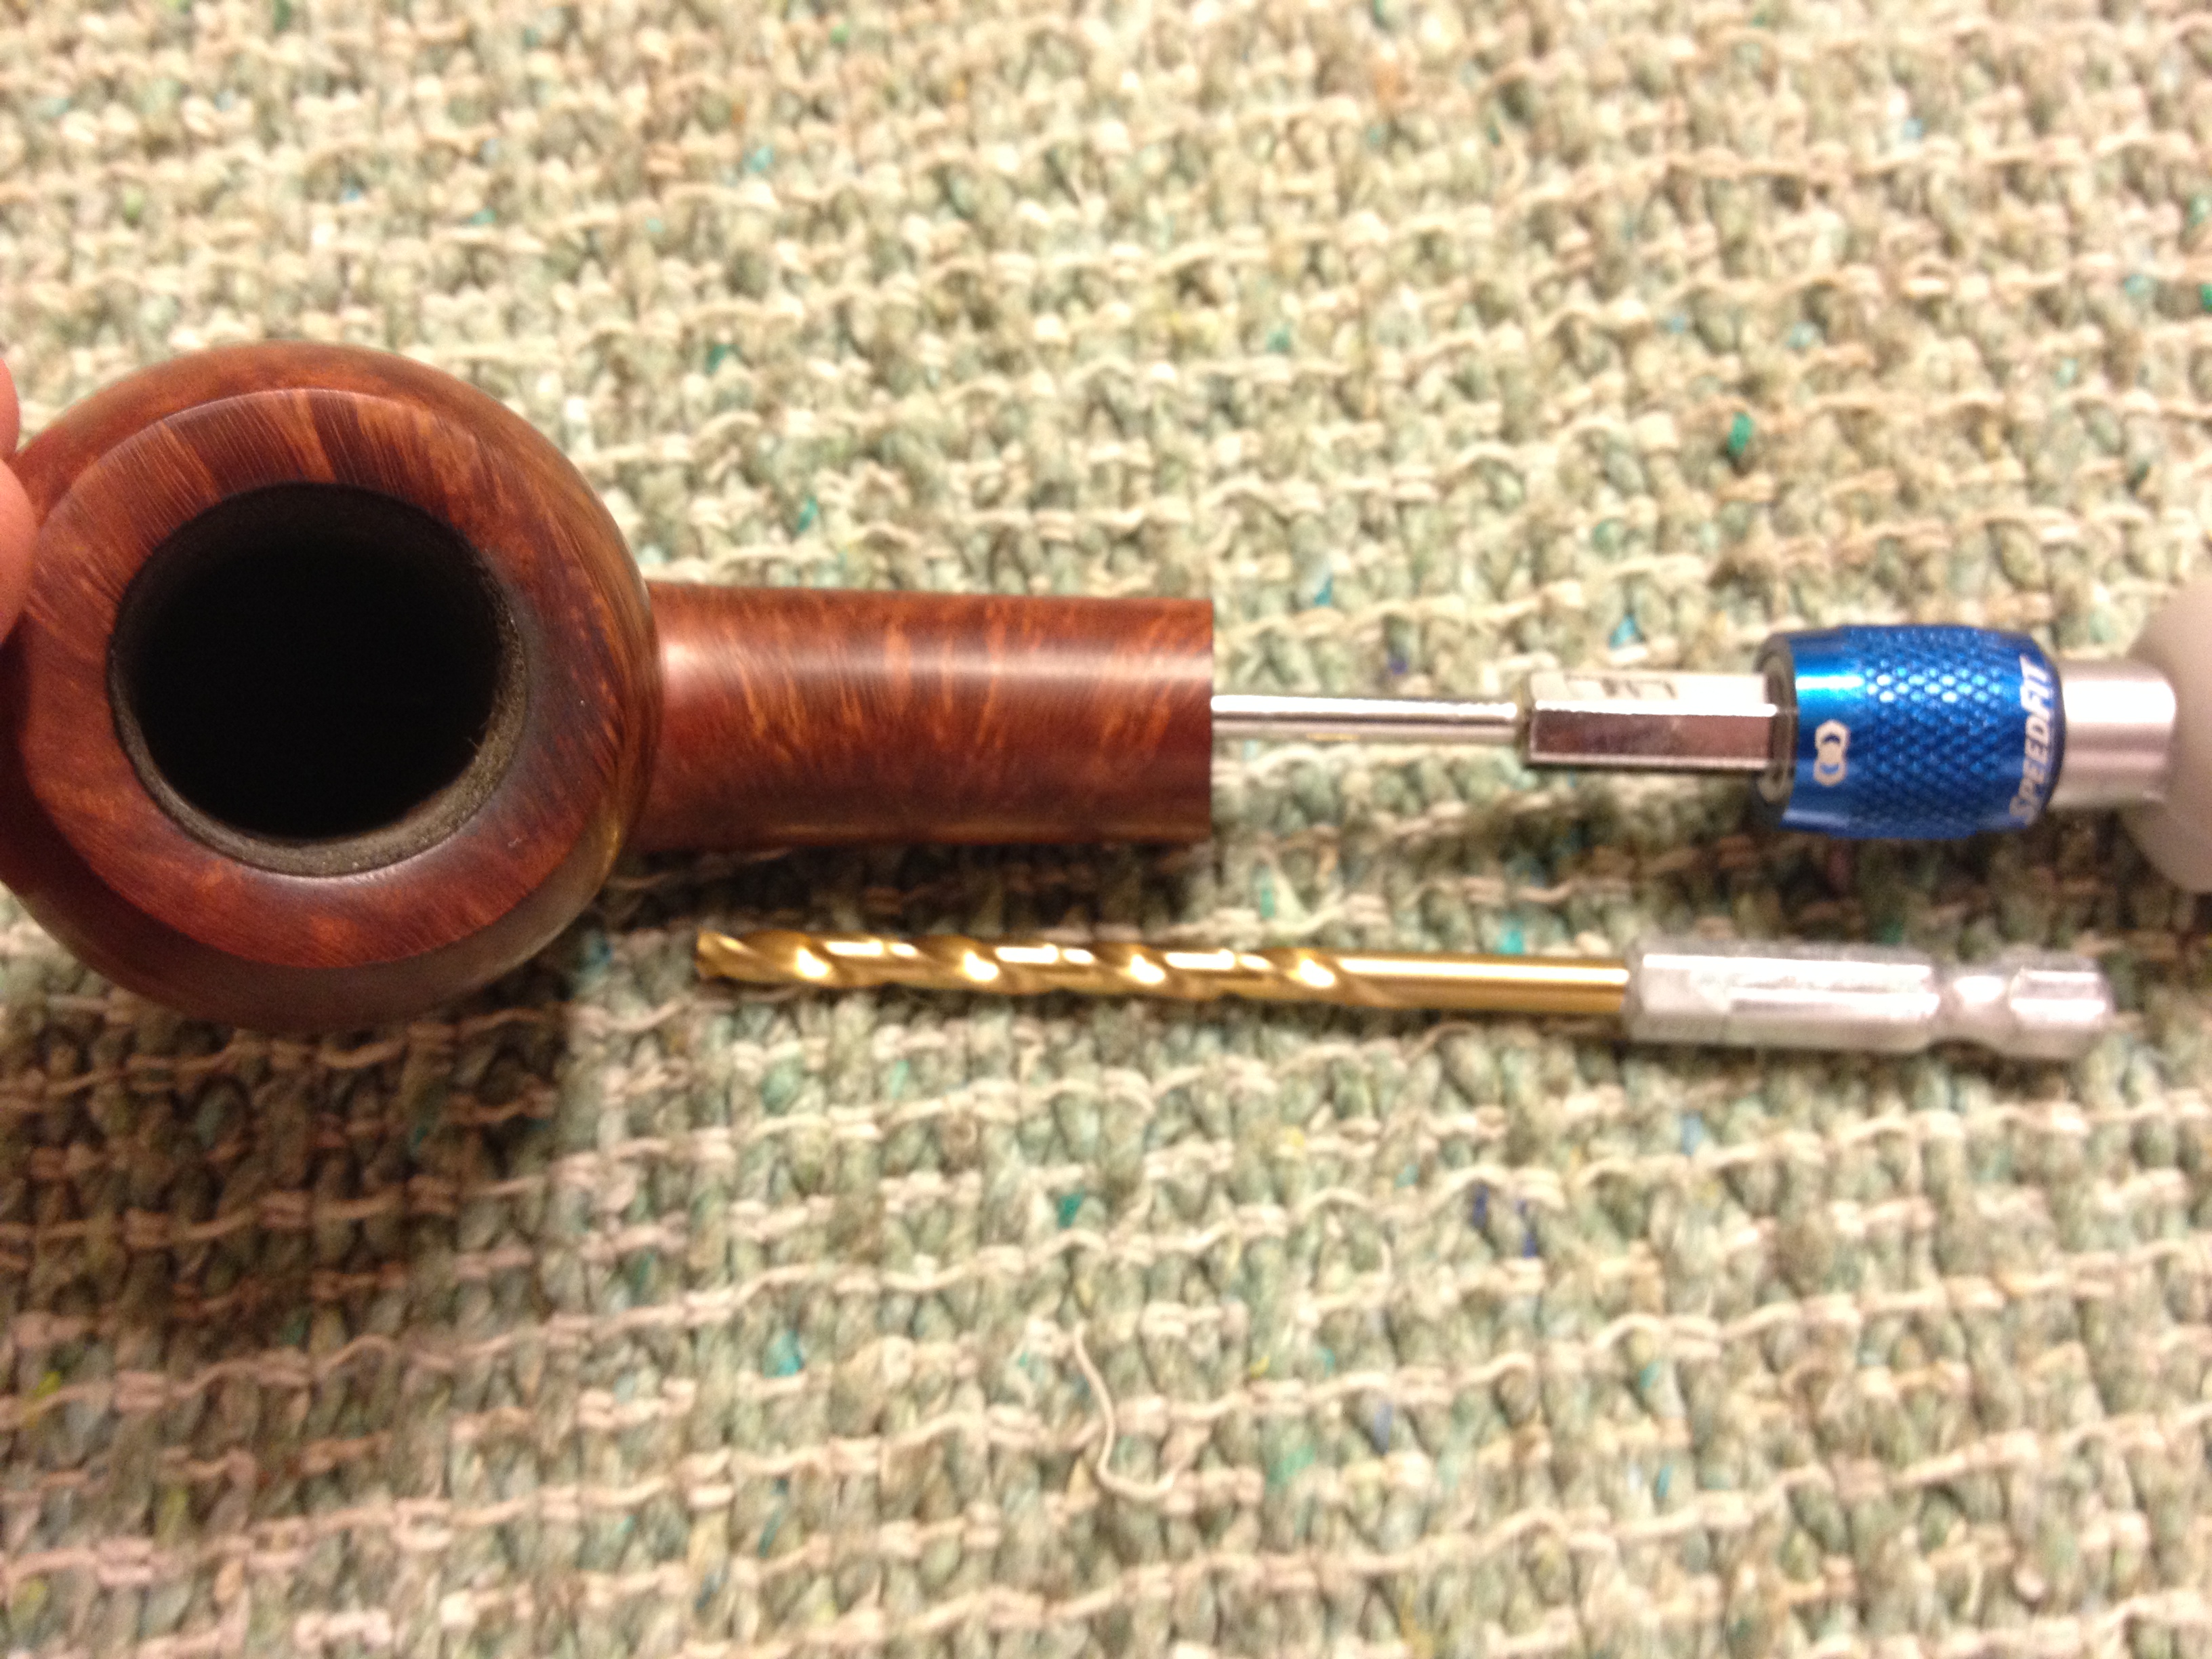
I start by inserting the pick to check the angle of the air hole in the mortise. Sometimes the angle won’t let me re-drill the pipe without damaging the edge of the shank. In this case there was ample clearance so I changed the over to the drill bit. The drilling can be done by hand or with the use of a hobby/universal vice with cushioned jaws; I use one sometimes, depending on how I feel, the value of the pipe, the angle, etc. I do this slowly and evenly, with moderate to light pressure. When I see the tip of the bit peek into the bowl I begin to pull the bit out, continuing to “drill” as I go backwards; I think this cuts a more even hole. I usually repeat this process 2-3 times, as I feel needed by the resistance on the bit and material that comes out with each pass.

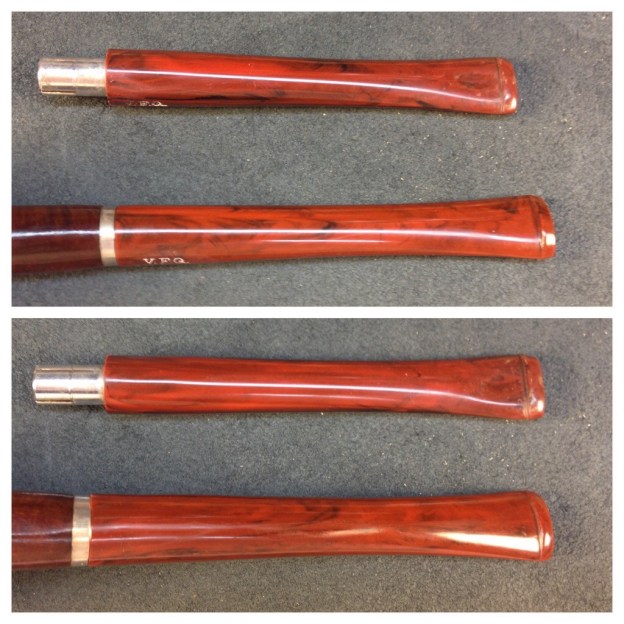
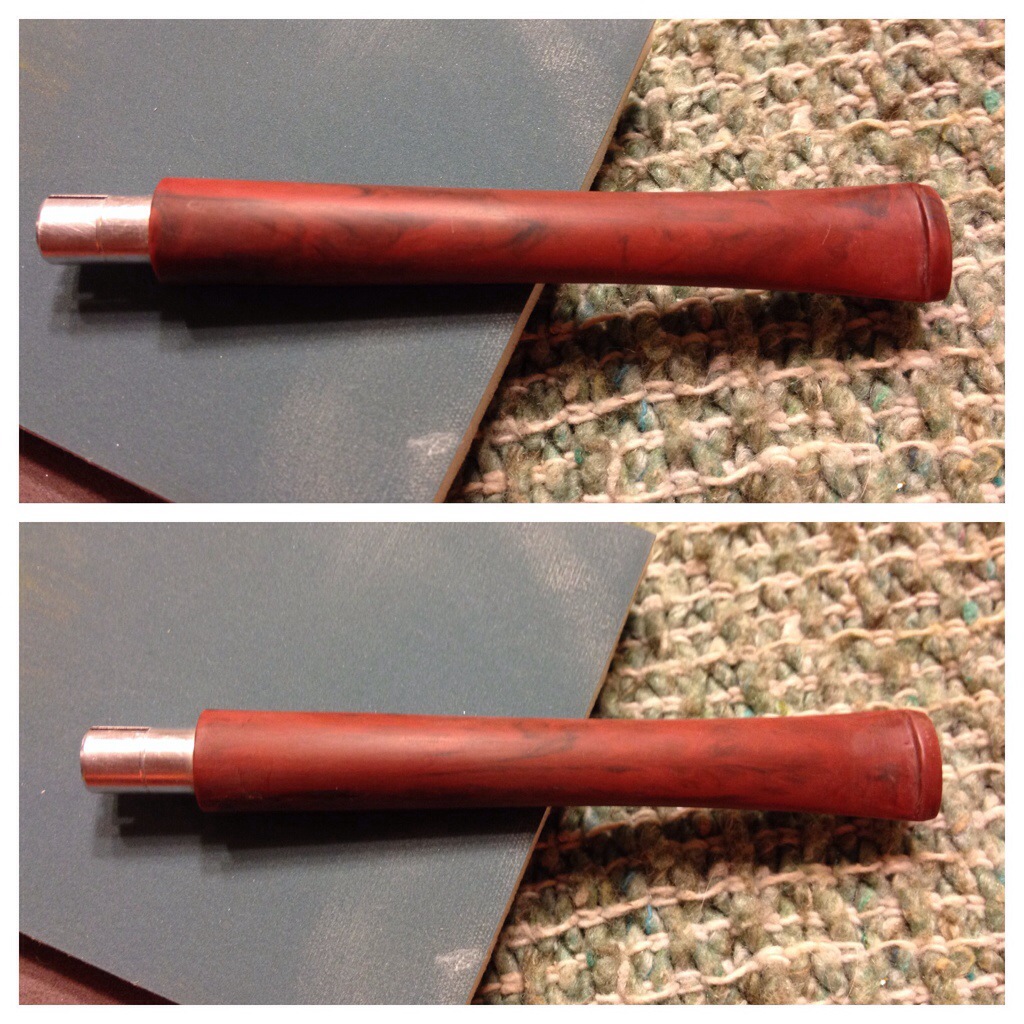
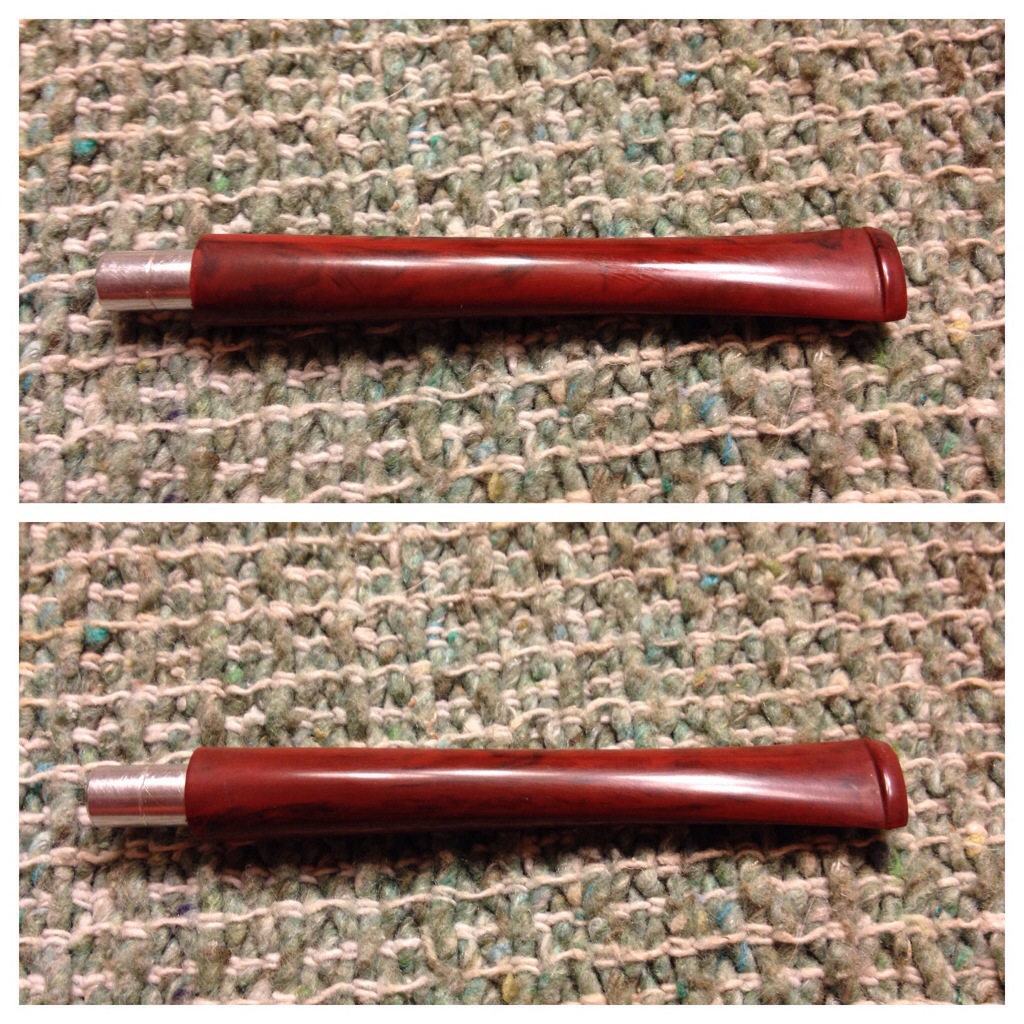
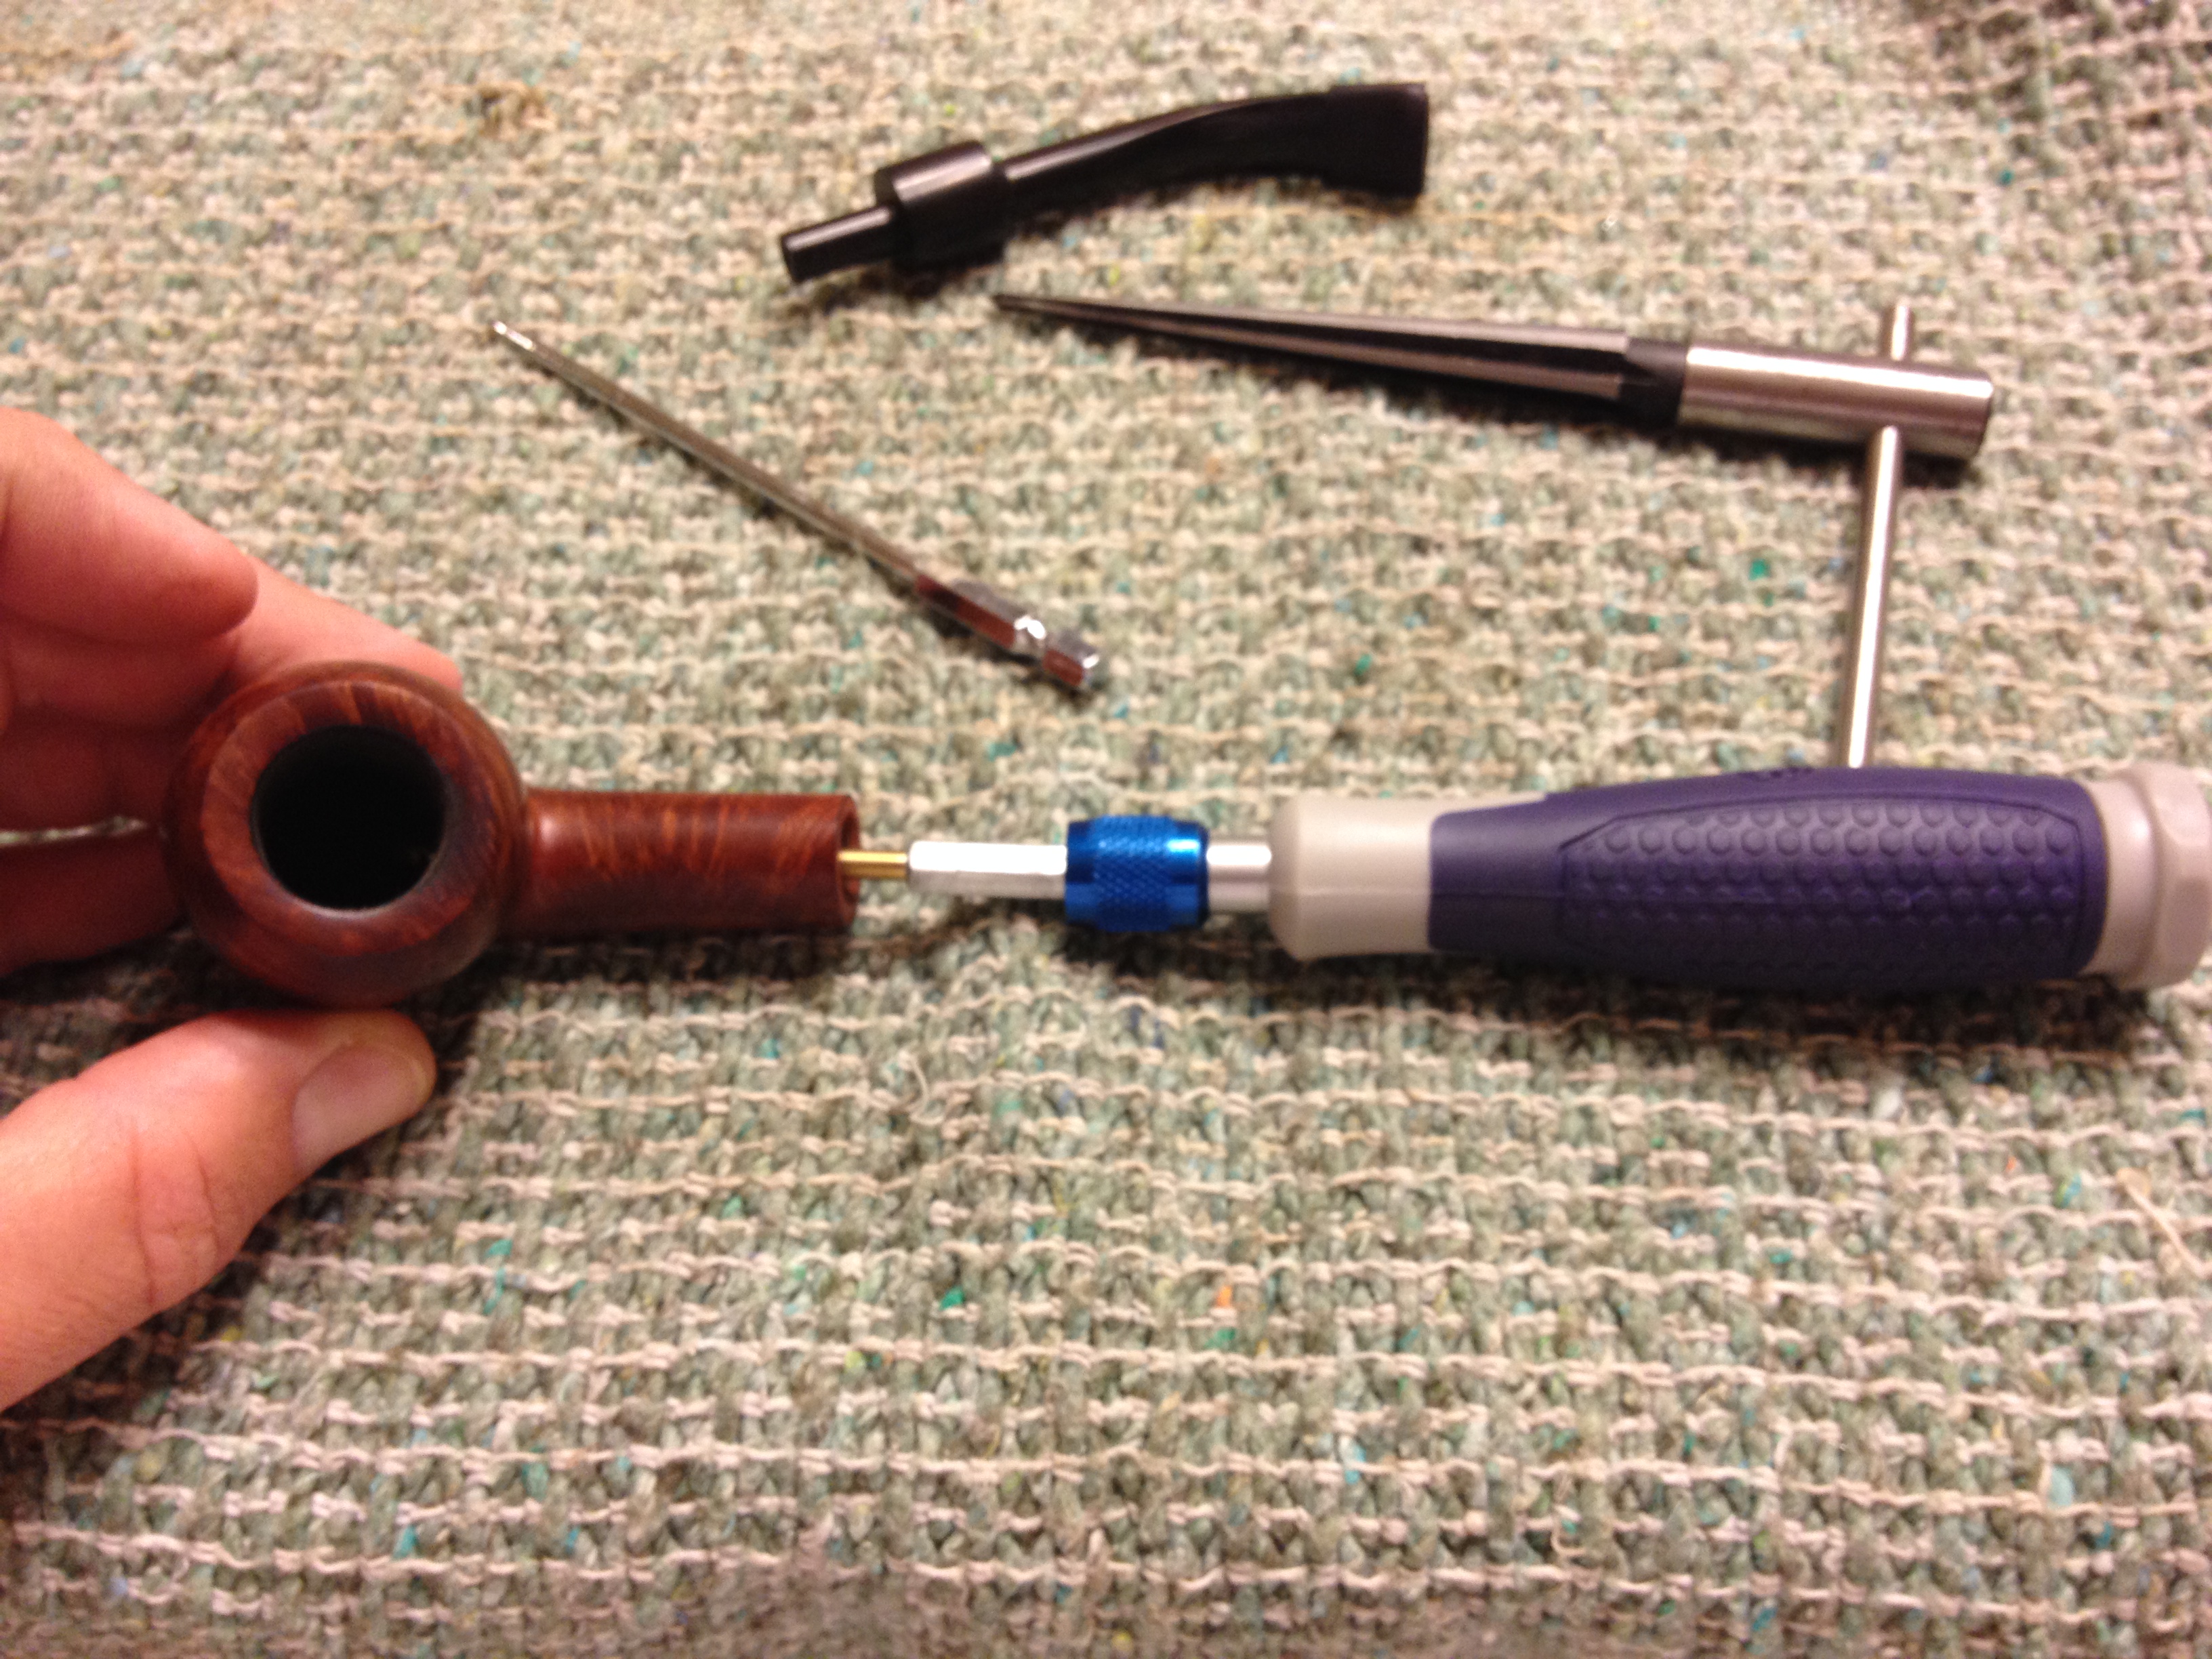
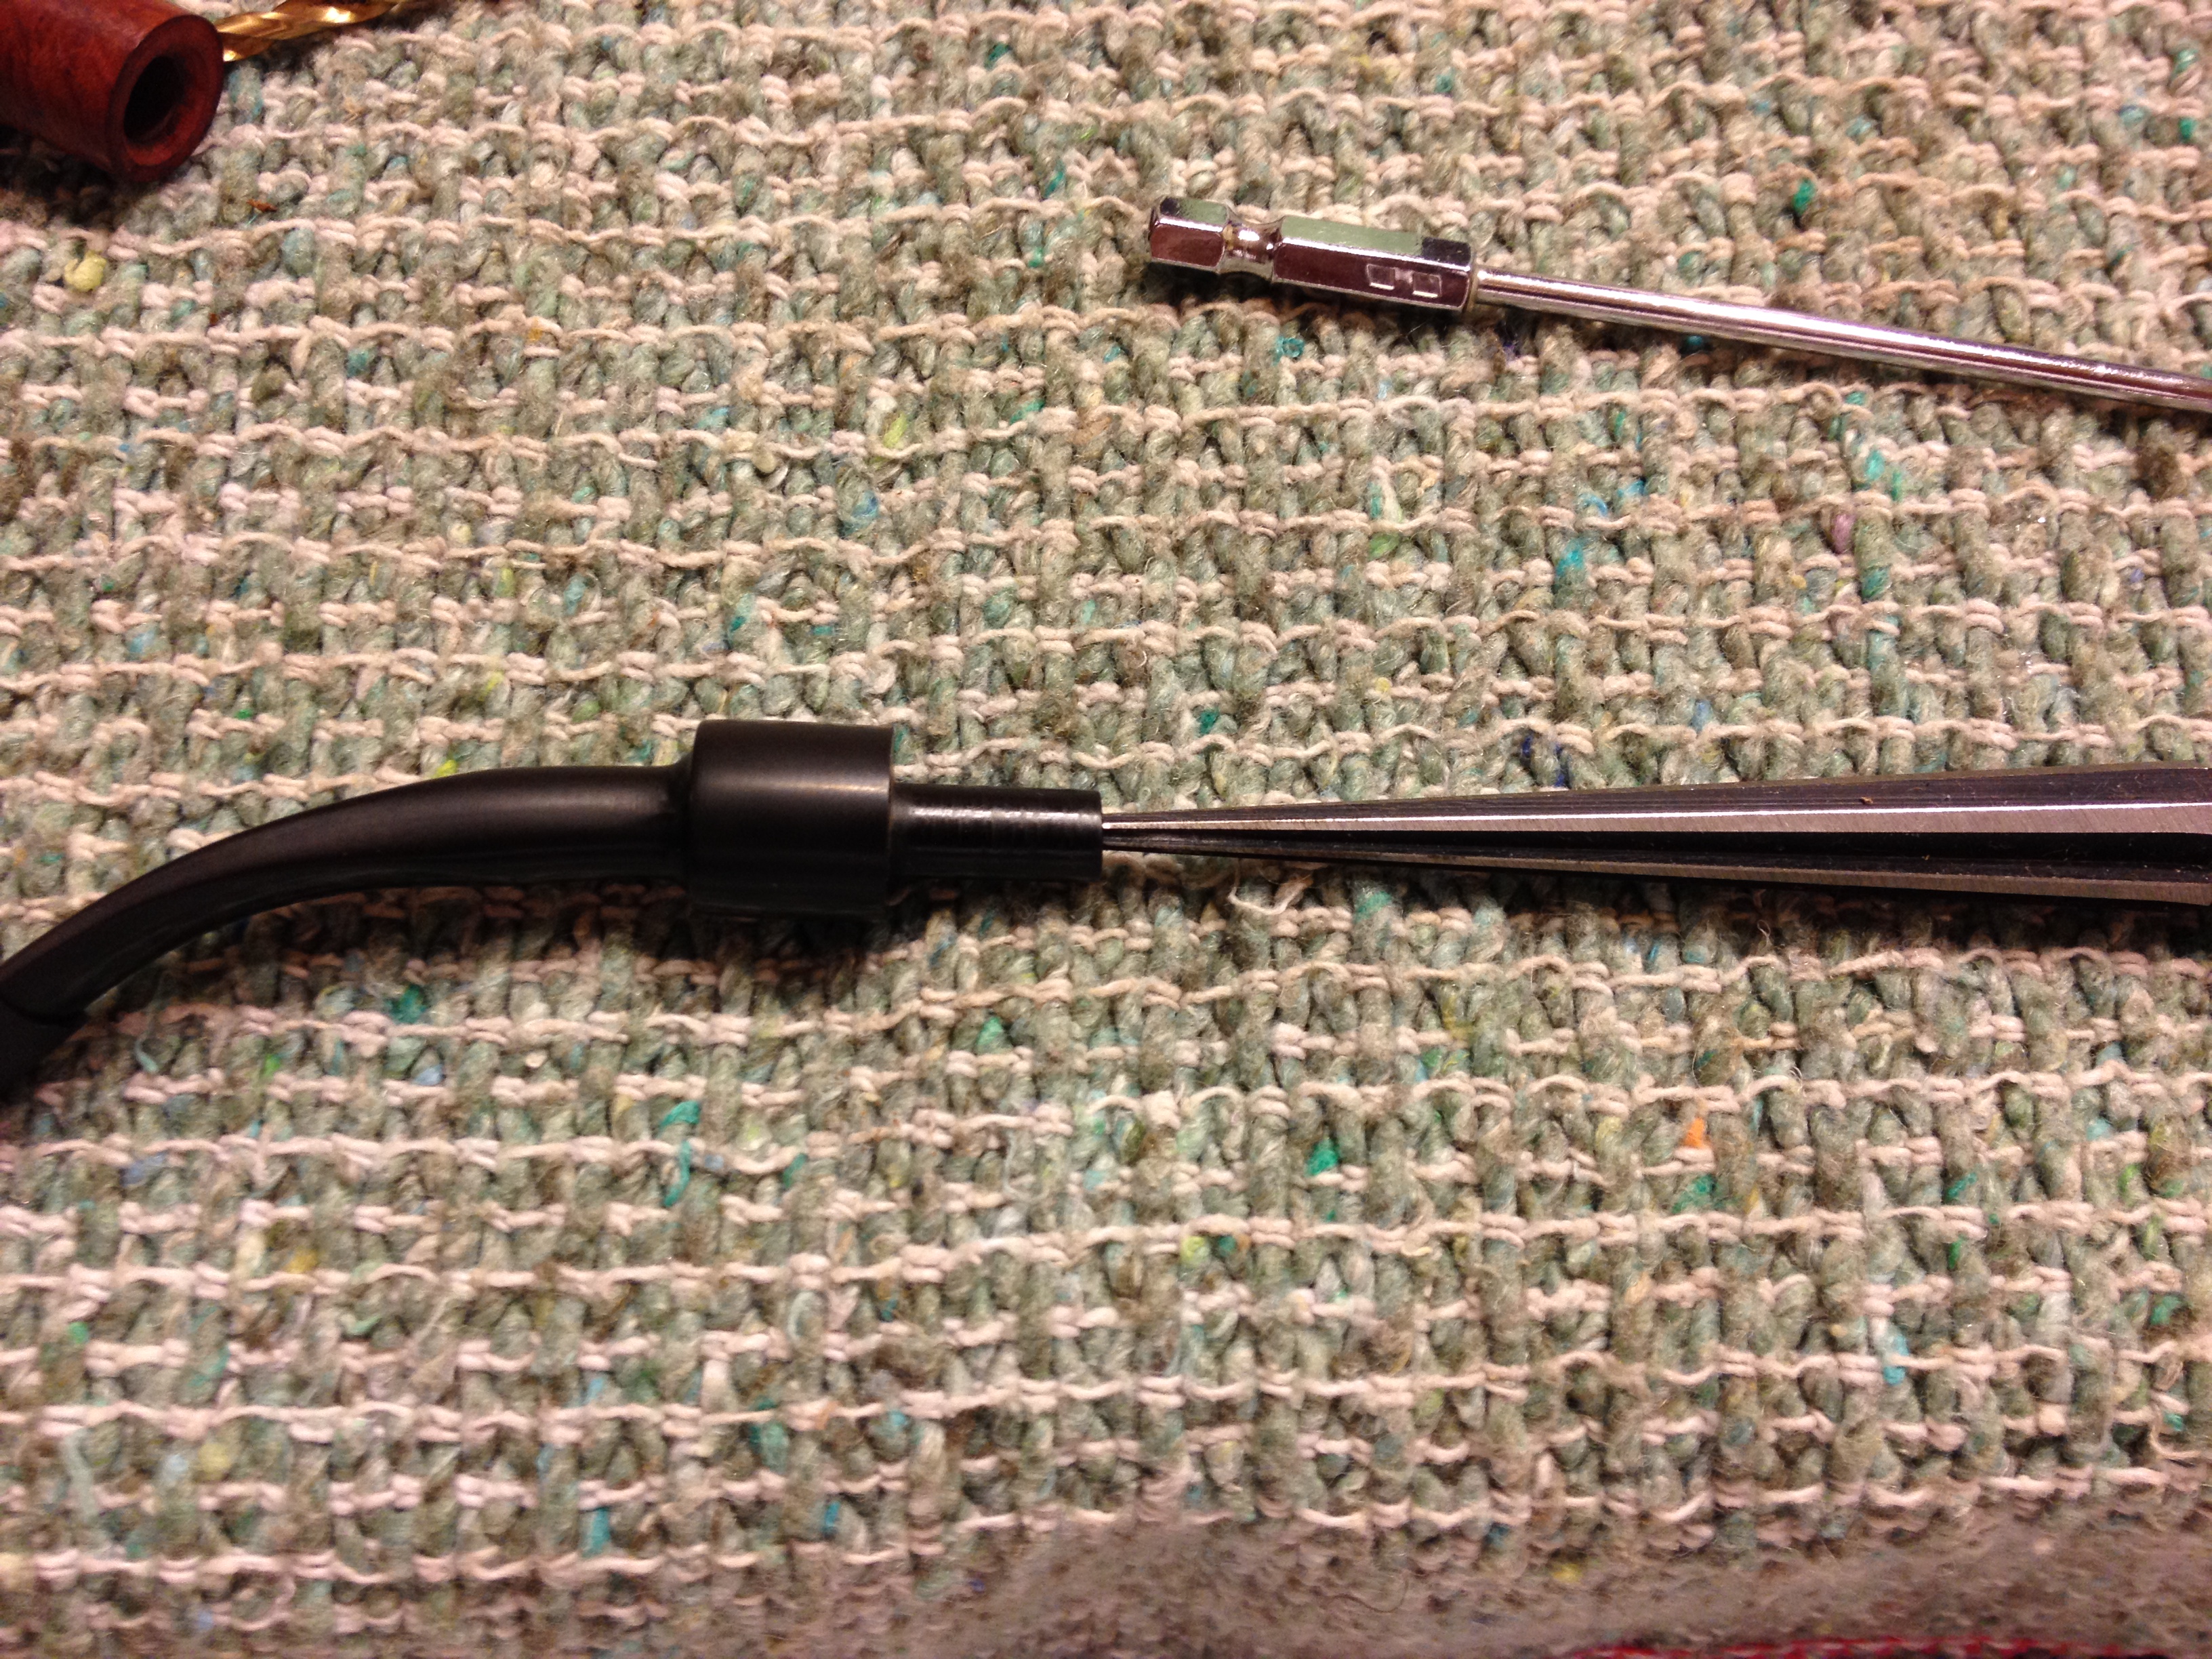
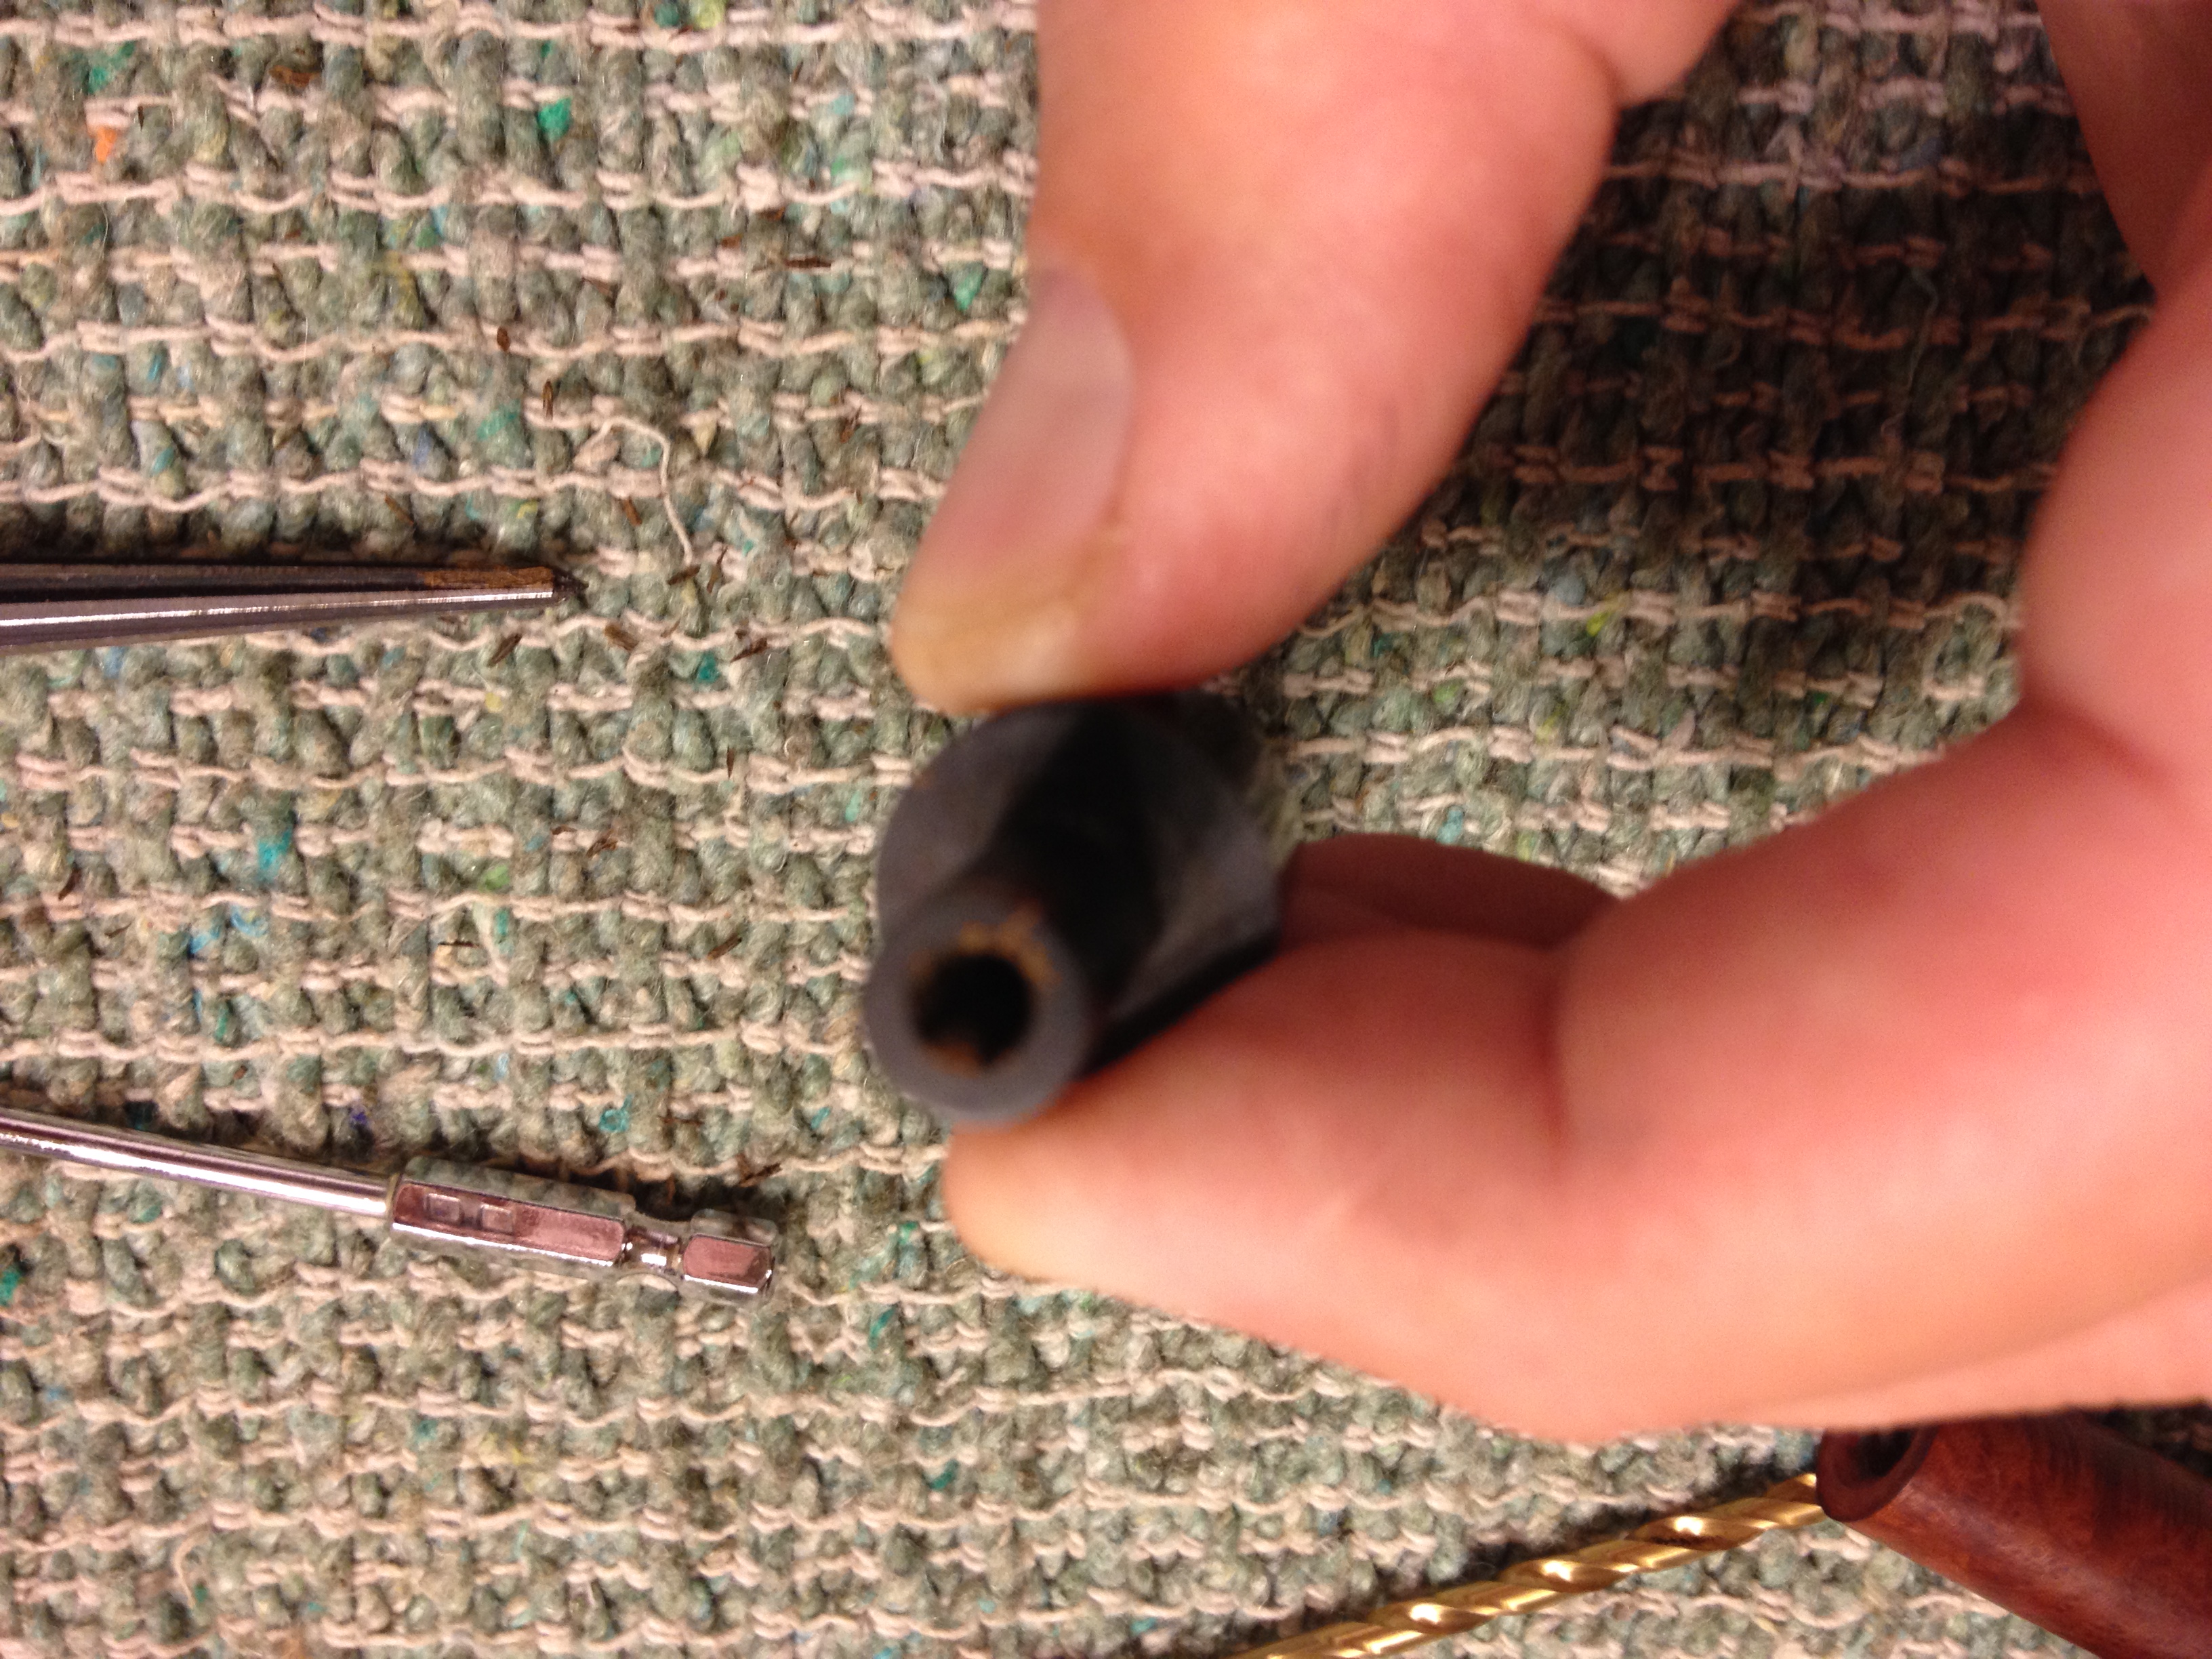
I now turn to the stem and the reamer. As you can see, this is drilled straight, with no funneling or chamber. Most of the time the procedure I am going to talk about with fix draw/gurgle issues but sometimes the stem will need re-drilled, too; that is another post! I use the reamer to open up the tenon just like one would do with a drill; the difference is that we aren’t going in very far (less than 1/2″ generally speaking) and we are increasing the size of the hole in a funnel shape as we go. You can see the difference a little work makes.

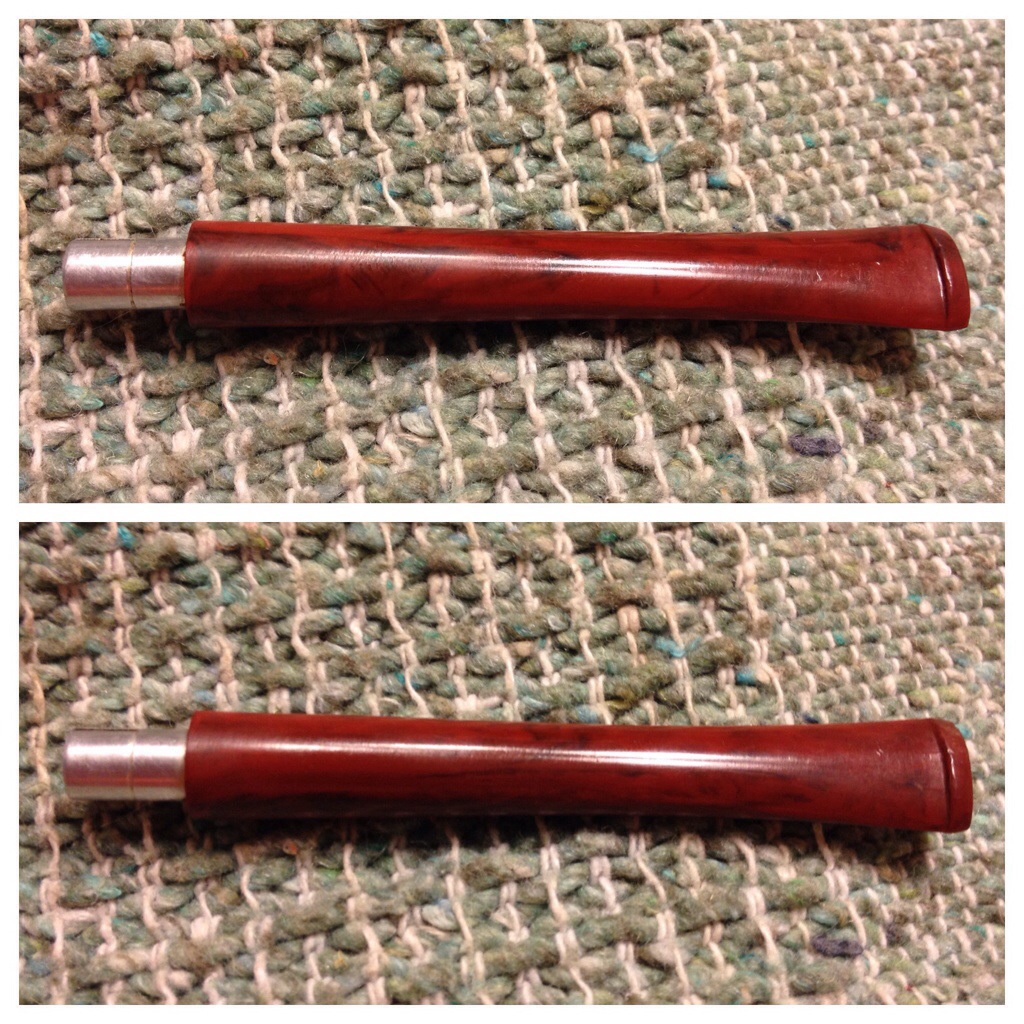
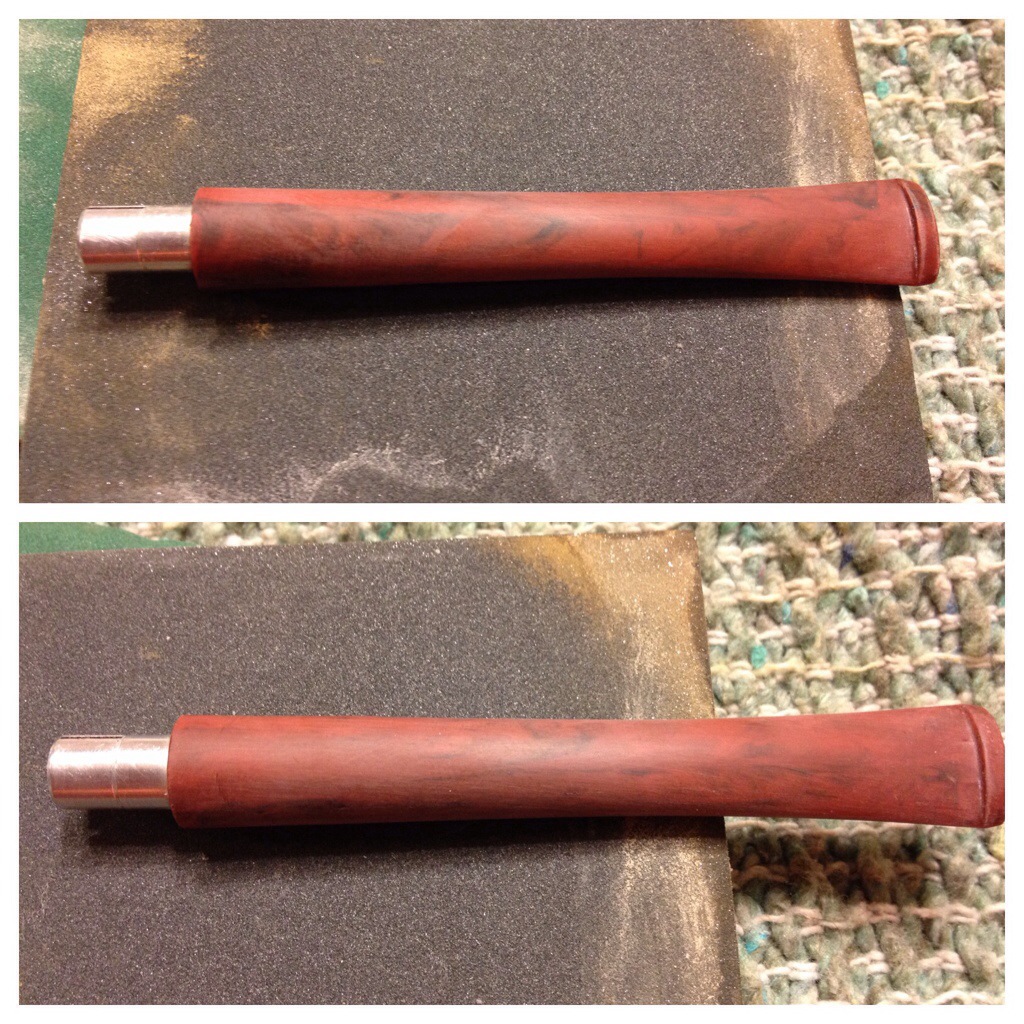
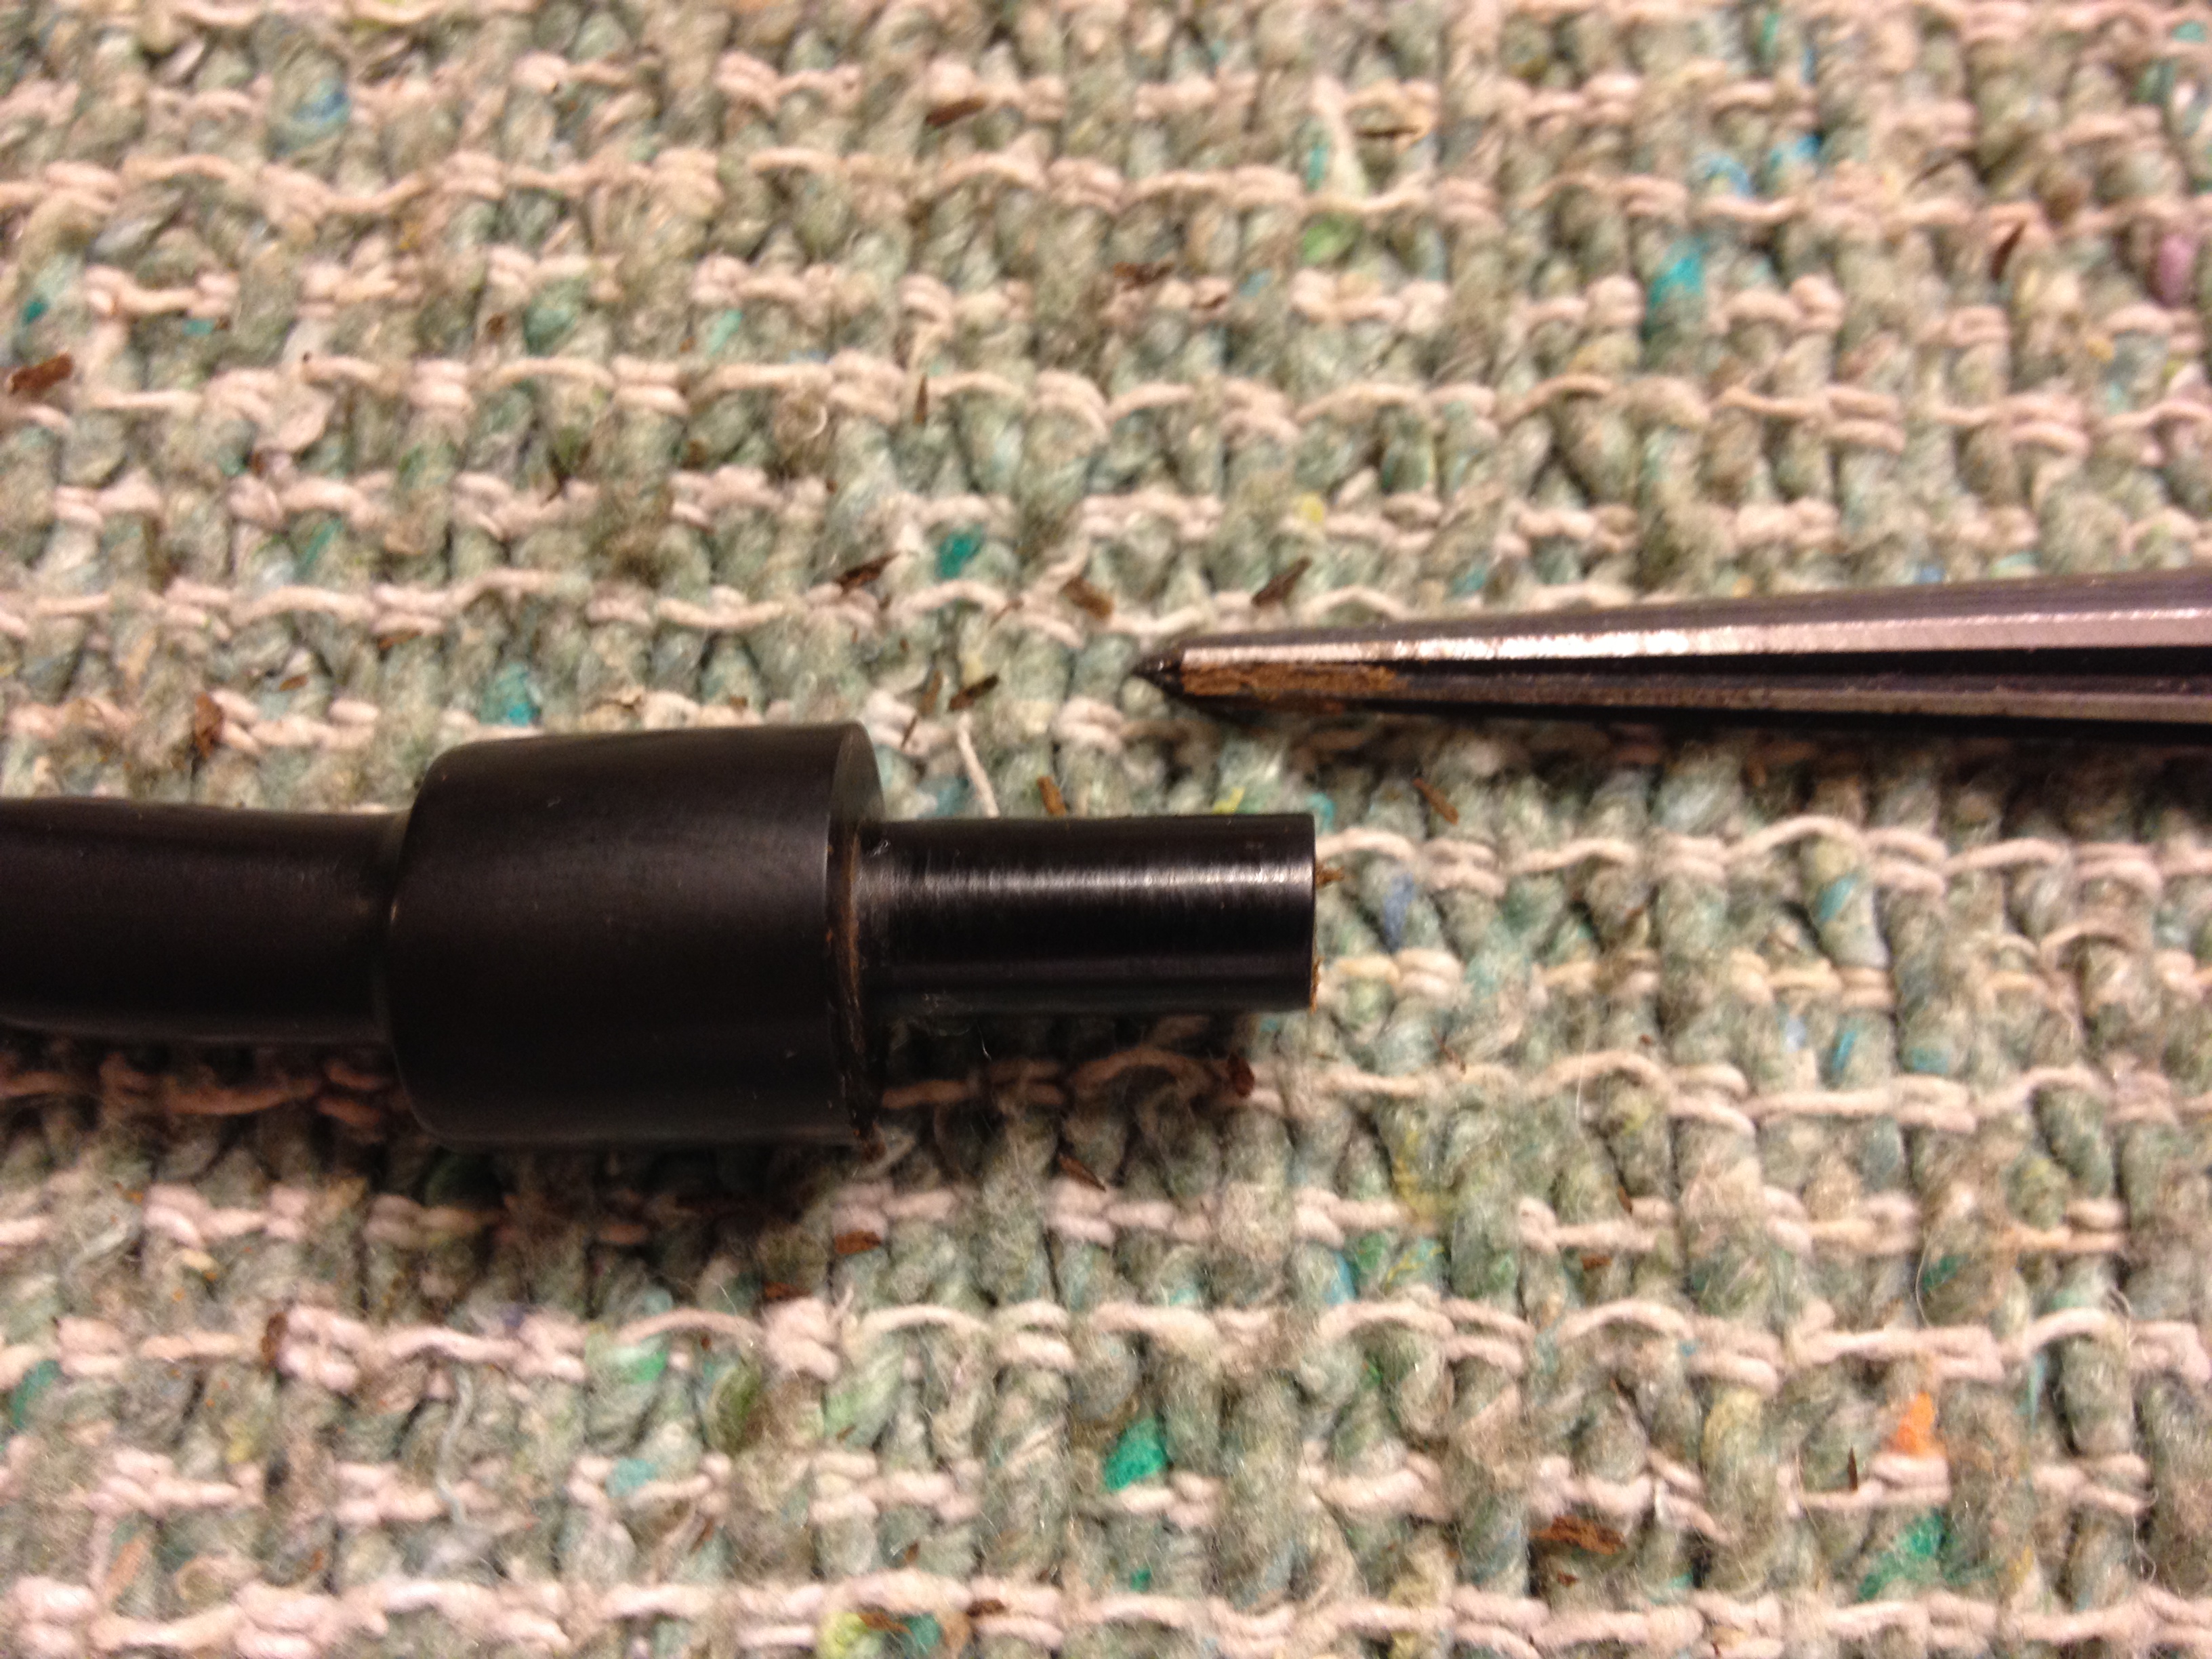
 When you are satisfied with the size and shape of the end of the tenon the next step is filing. I use a round needle file to make sure the inside of the tenon is smooth and there are no sudden changes in diameter. After filing the tenon I then do the same procedure to the newly opened air hole, though I forgot to photograph that.
This quick and easy project will benefit almost any pipe that has a gurgle issue. In this case the drilling was off-center, to the right a bit, and the re-drilling brought the air hole almost dead centered. I do still need to raise the bottom of the bowl a bit when I have time but I anticipate this opening up if the airway will make smoking this loved pipe more enjoyable than it already is.