Blog by Steve Laug
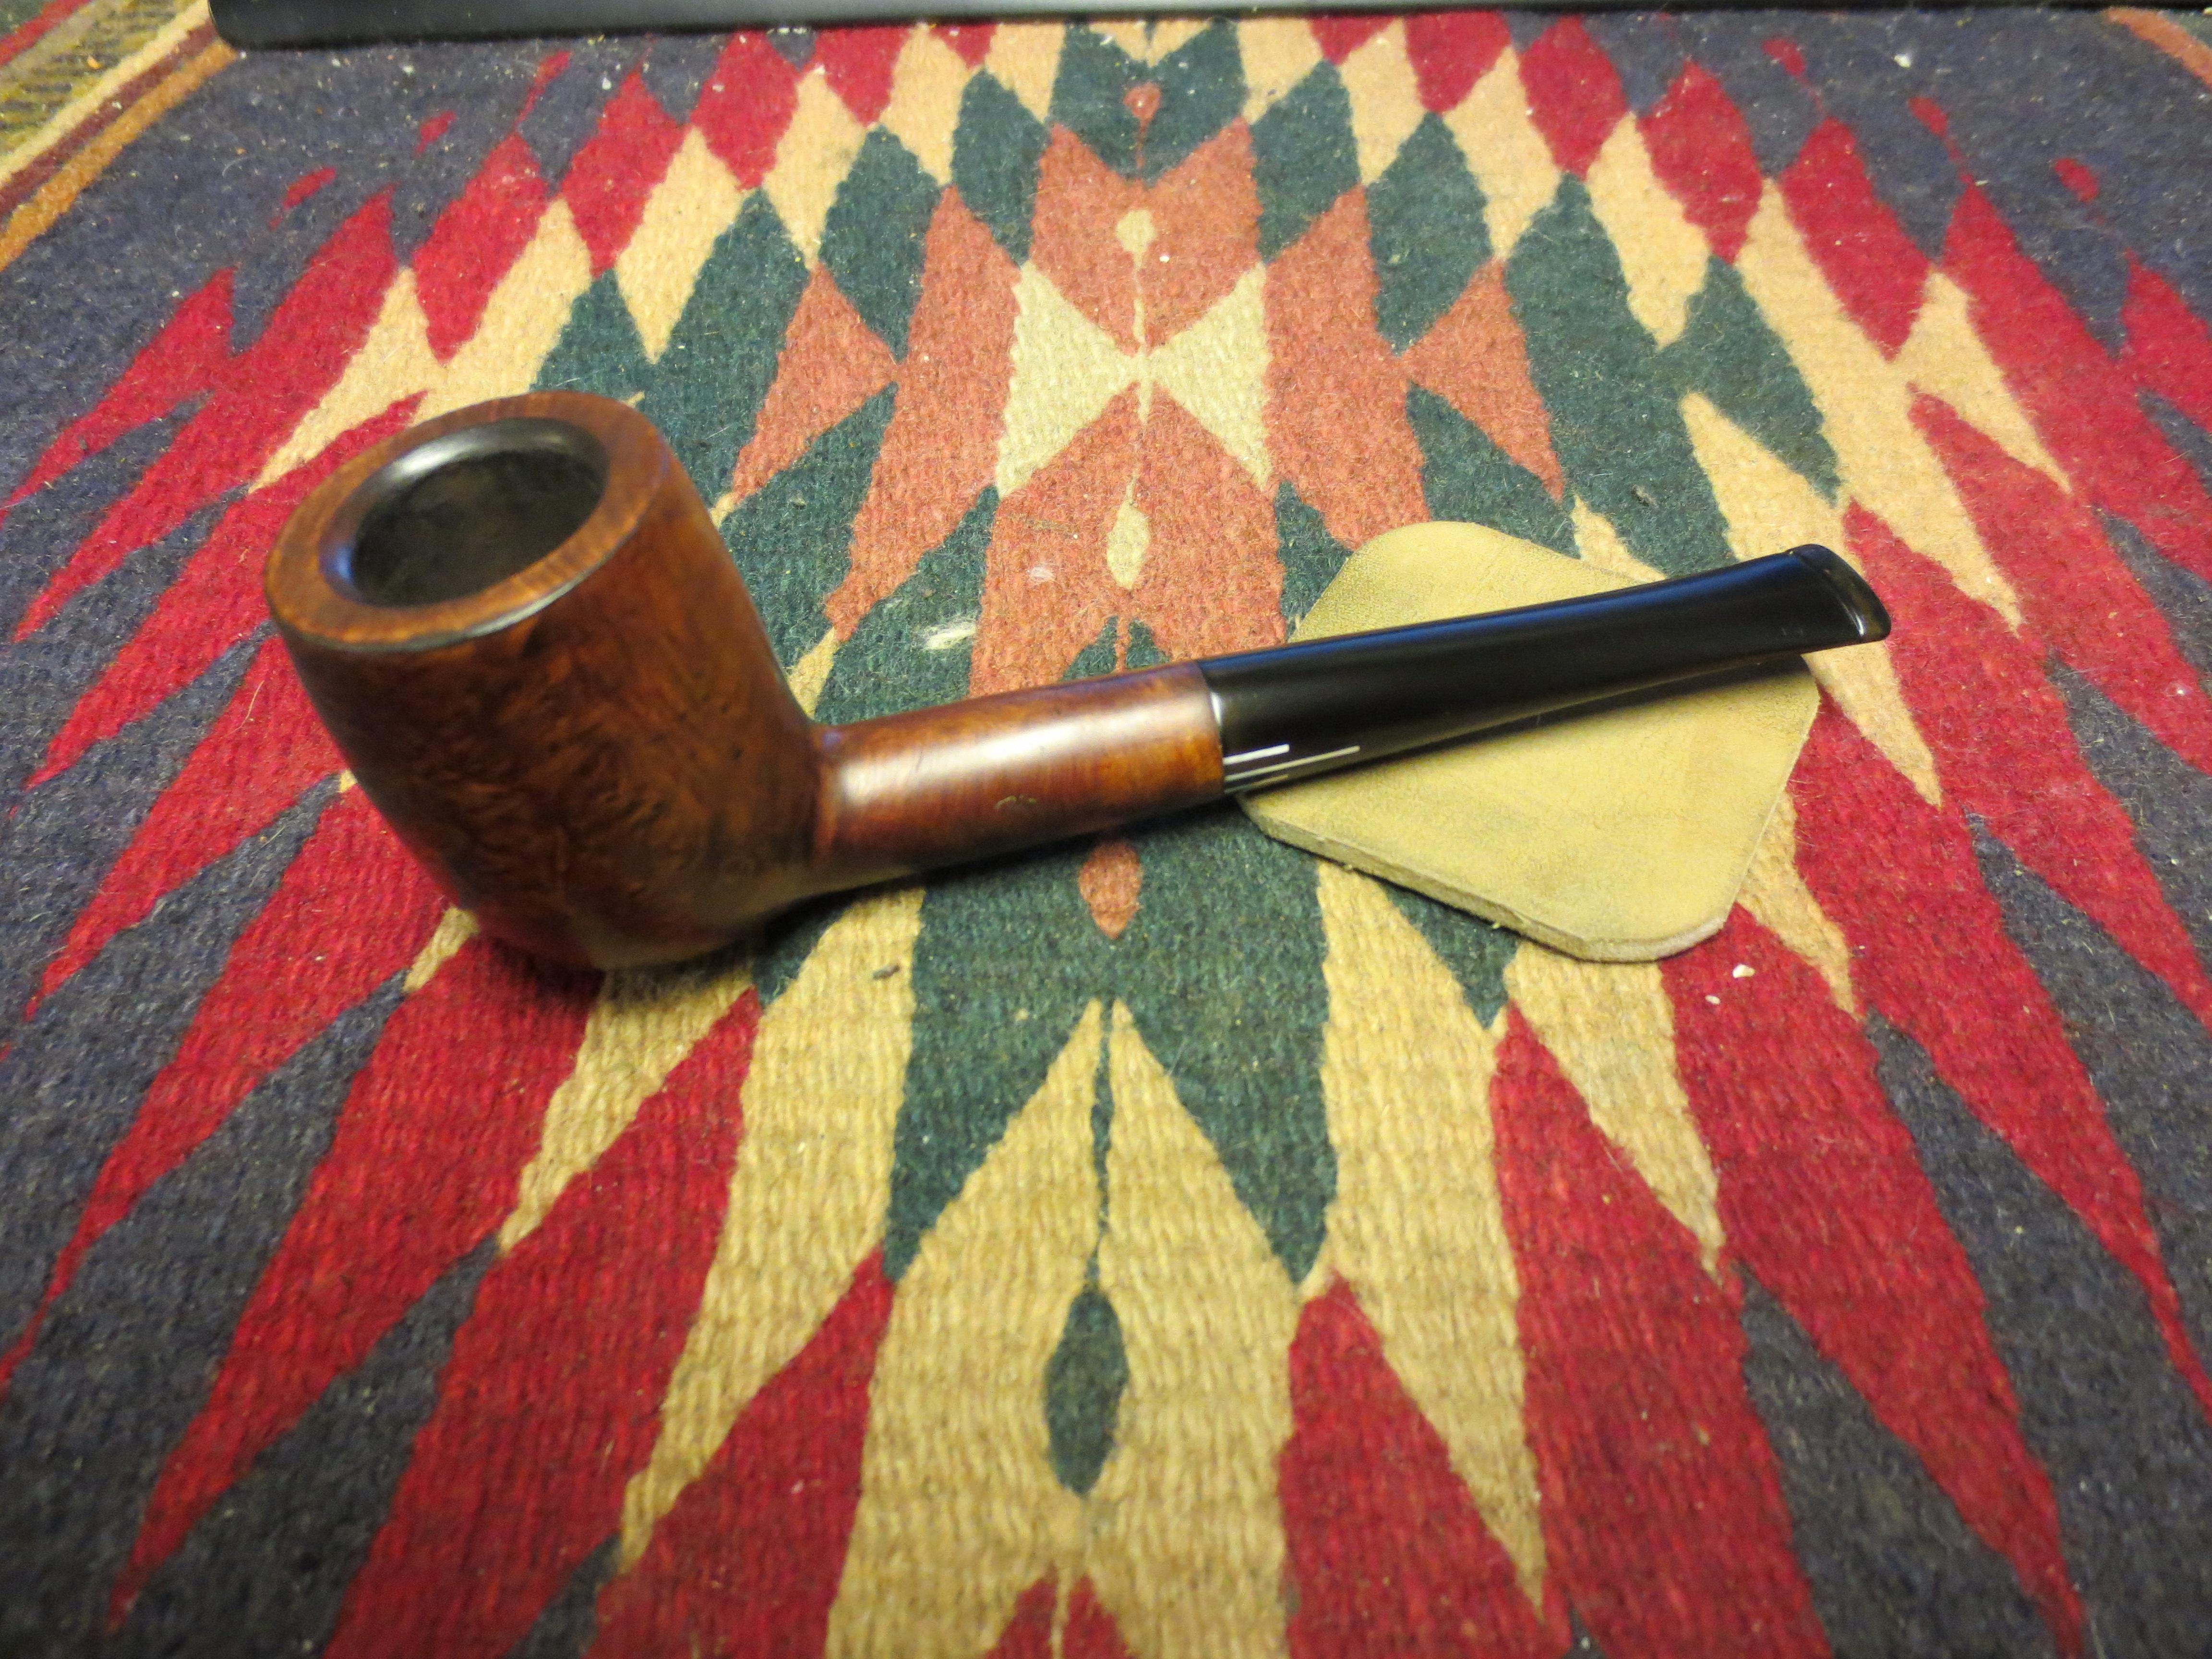
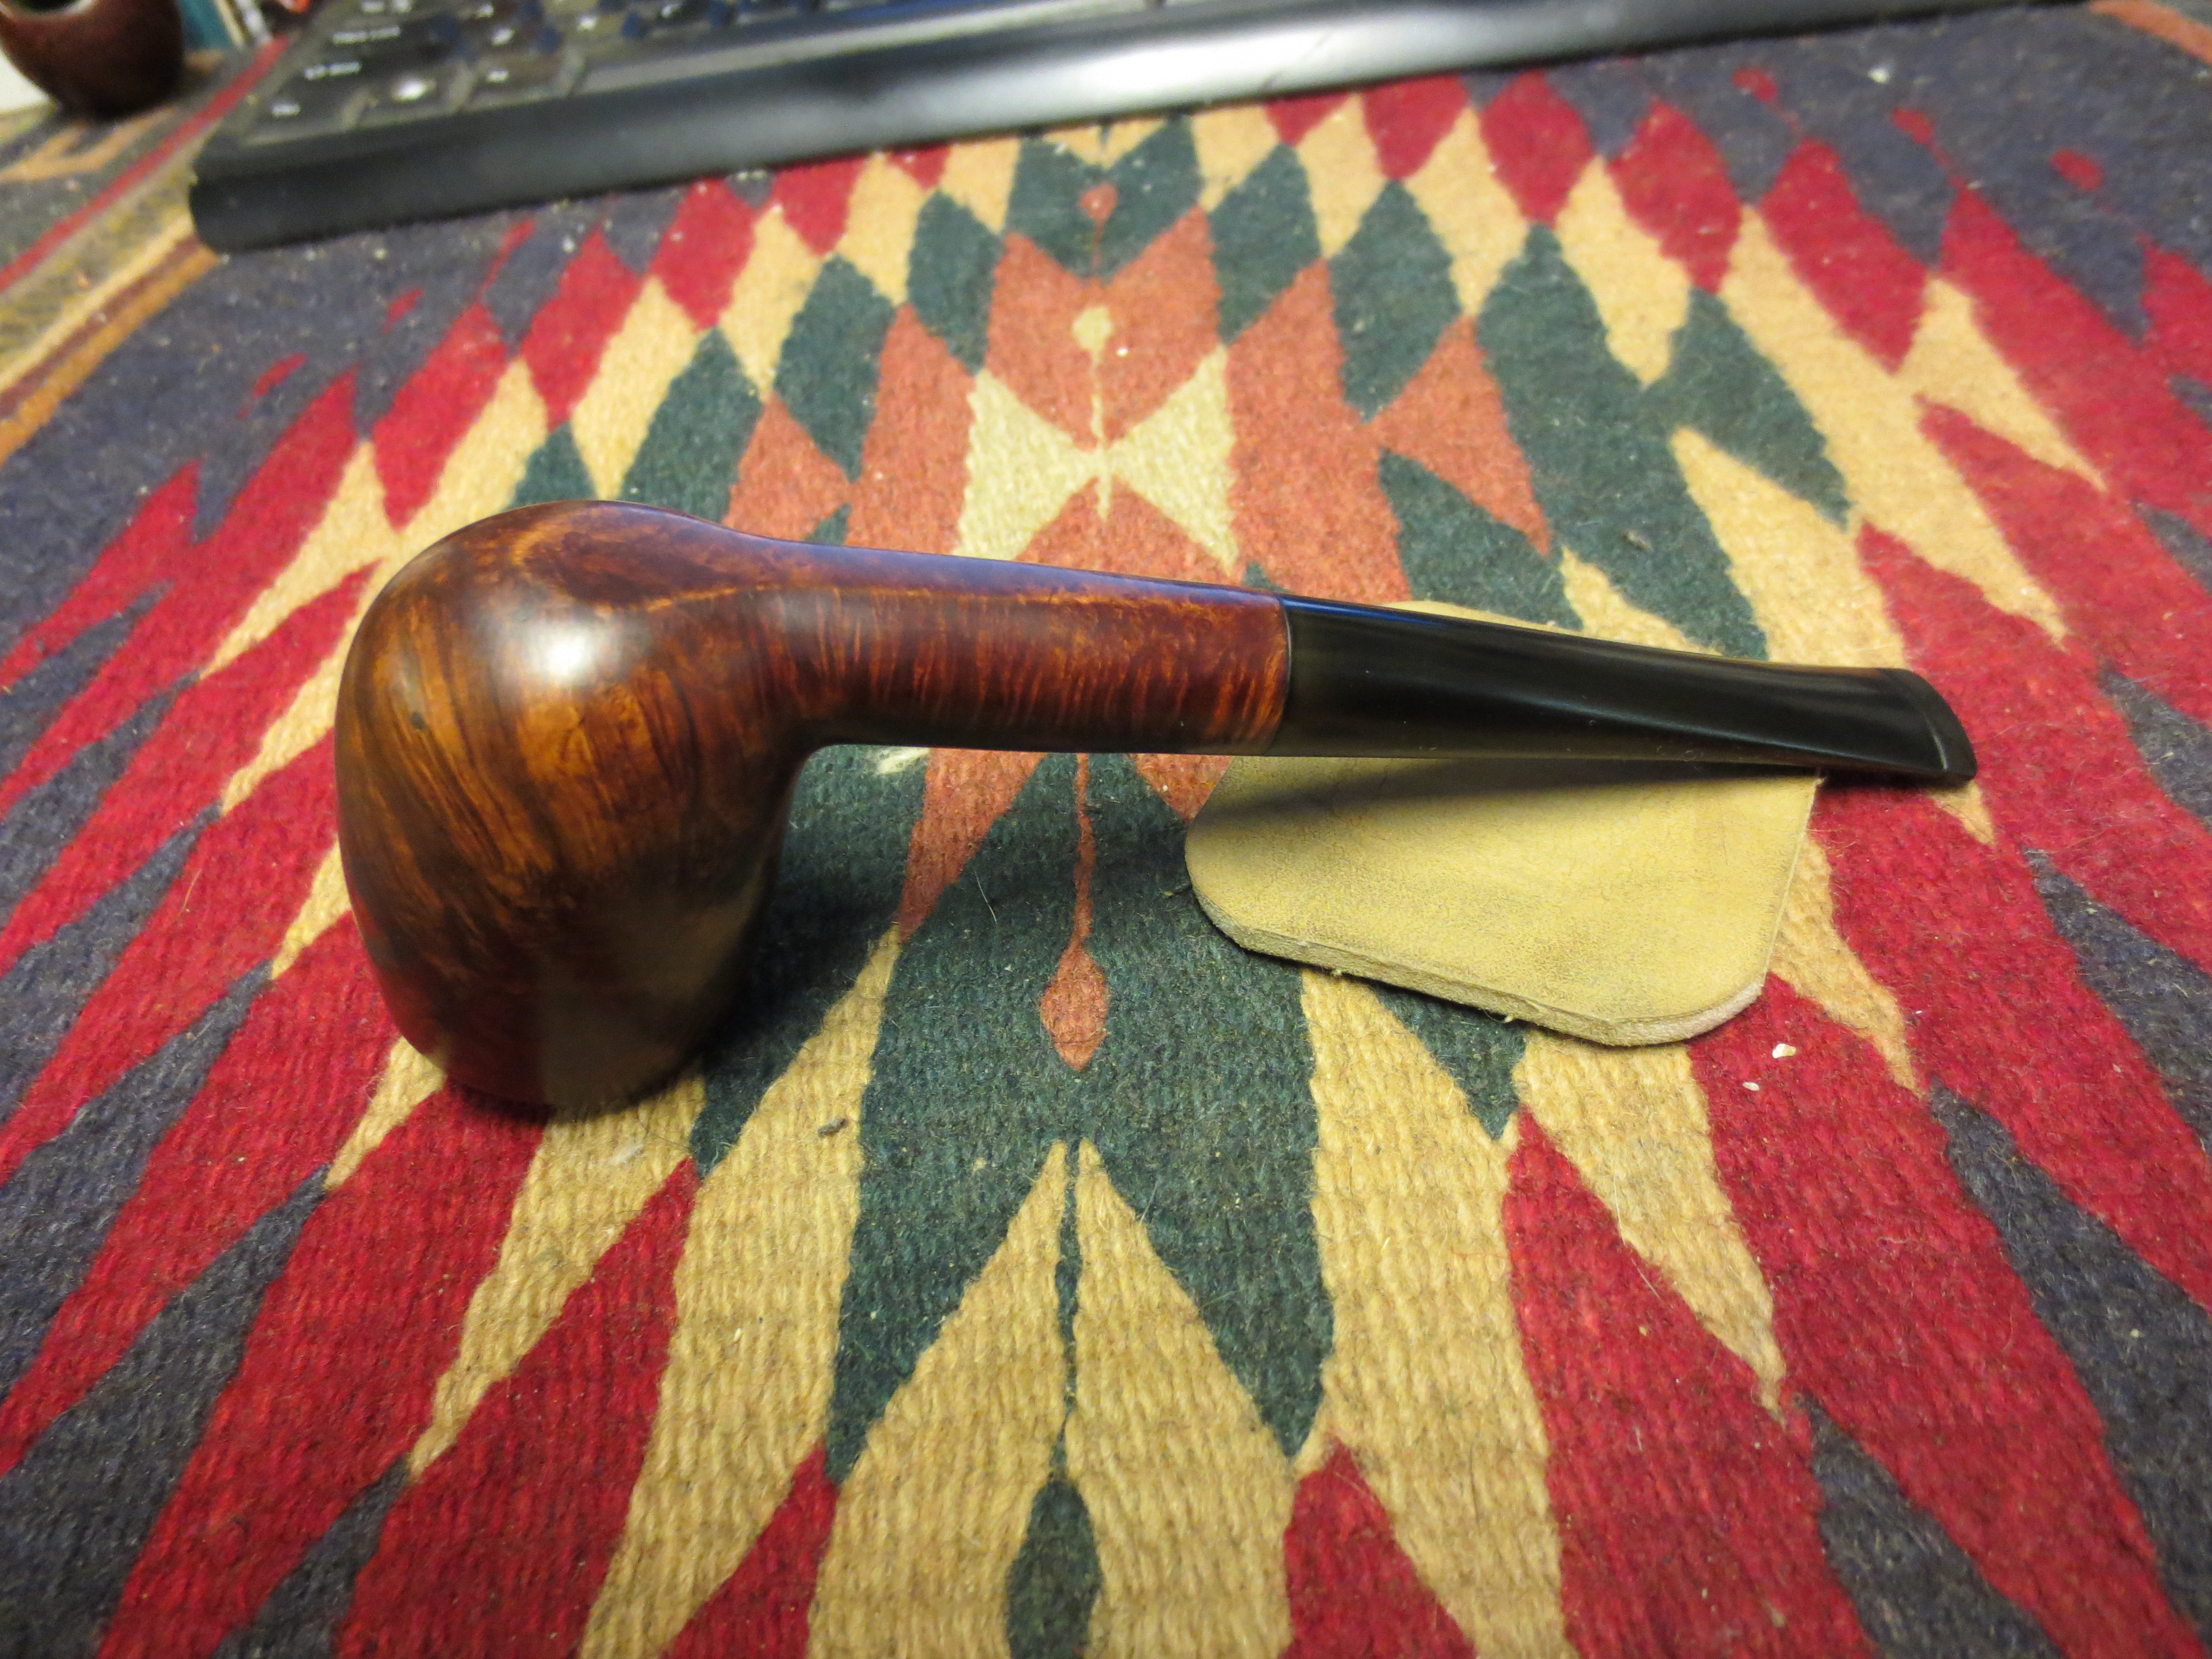
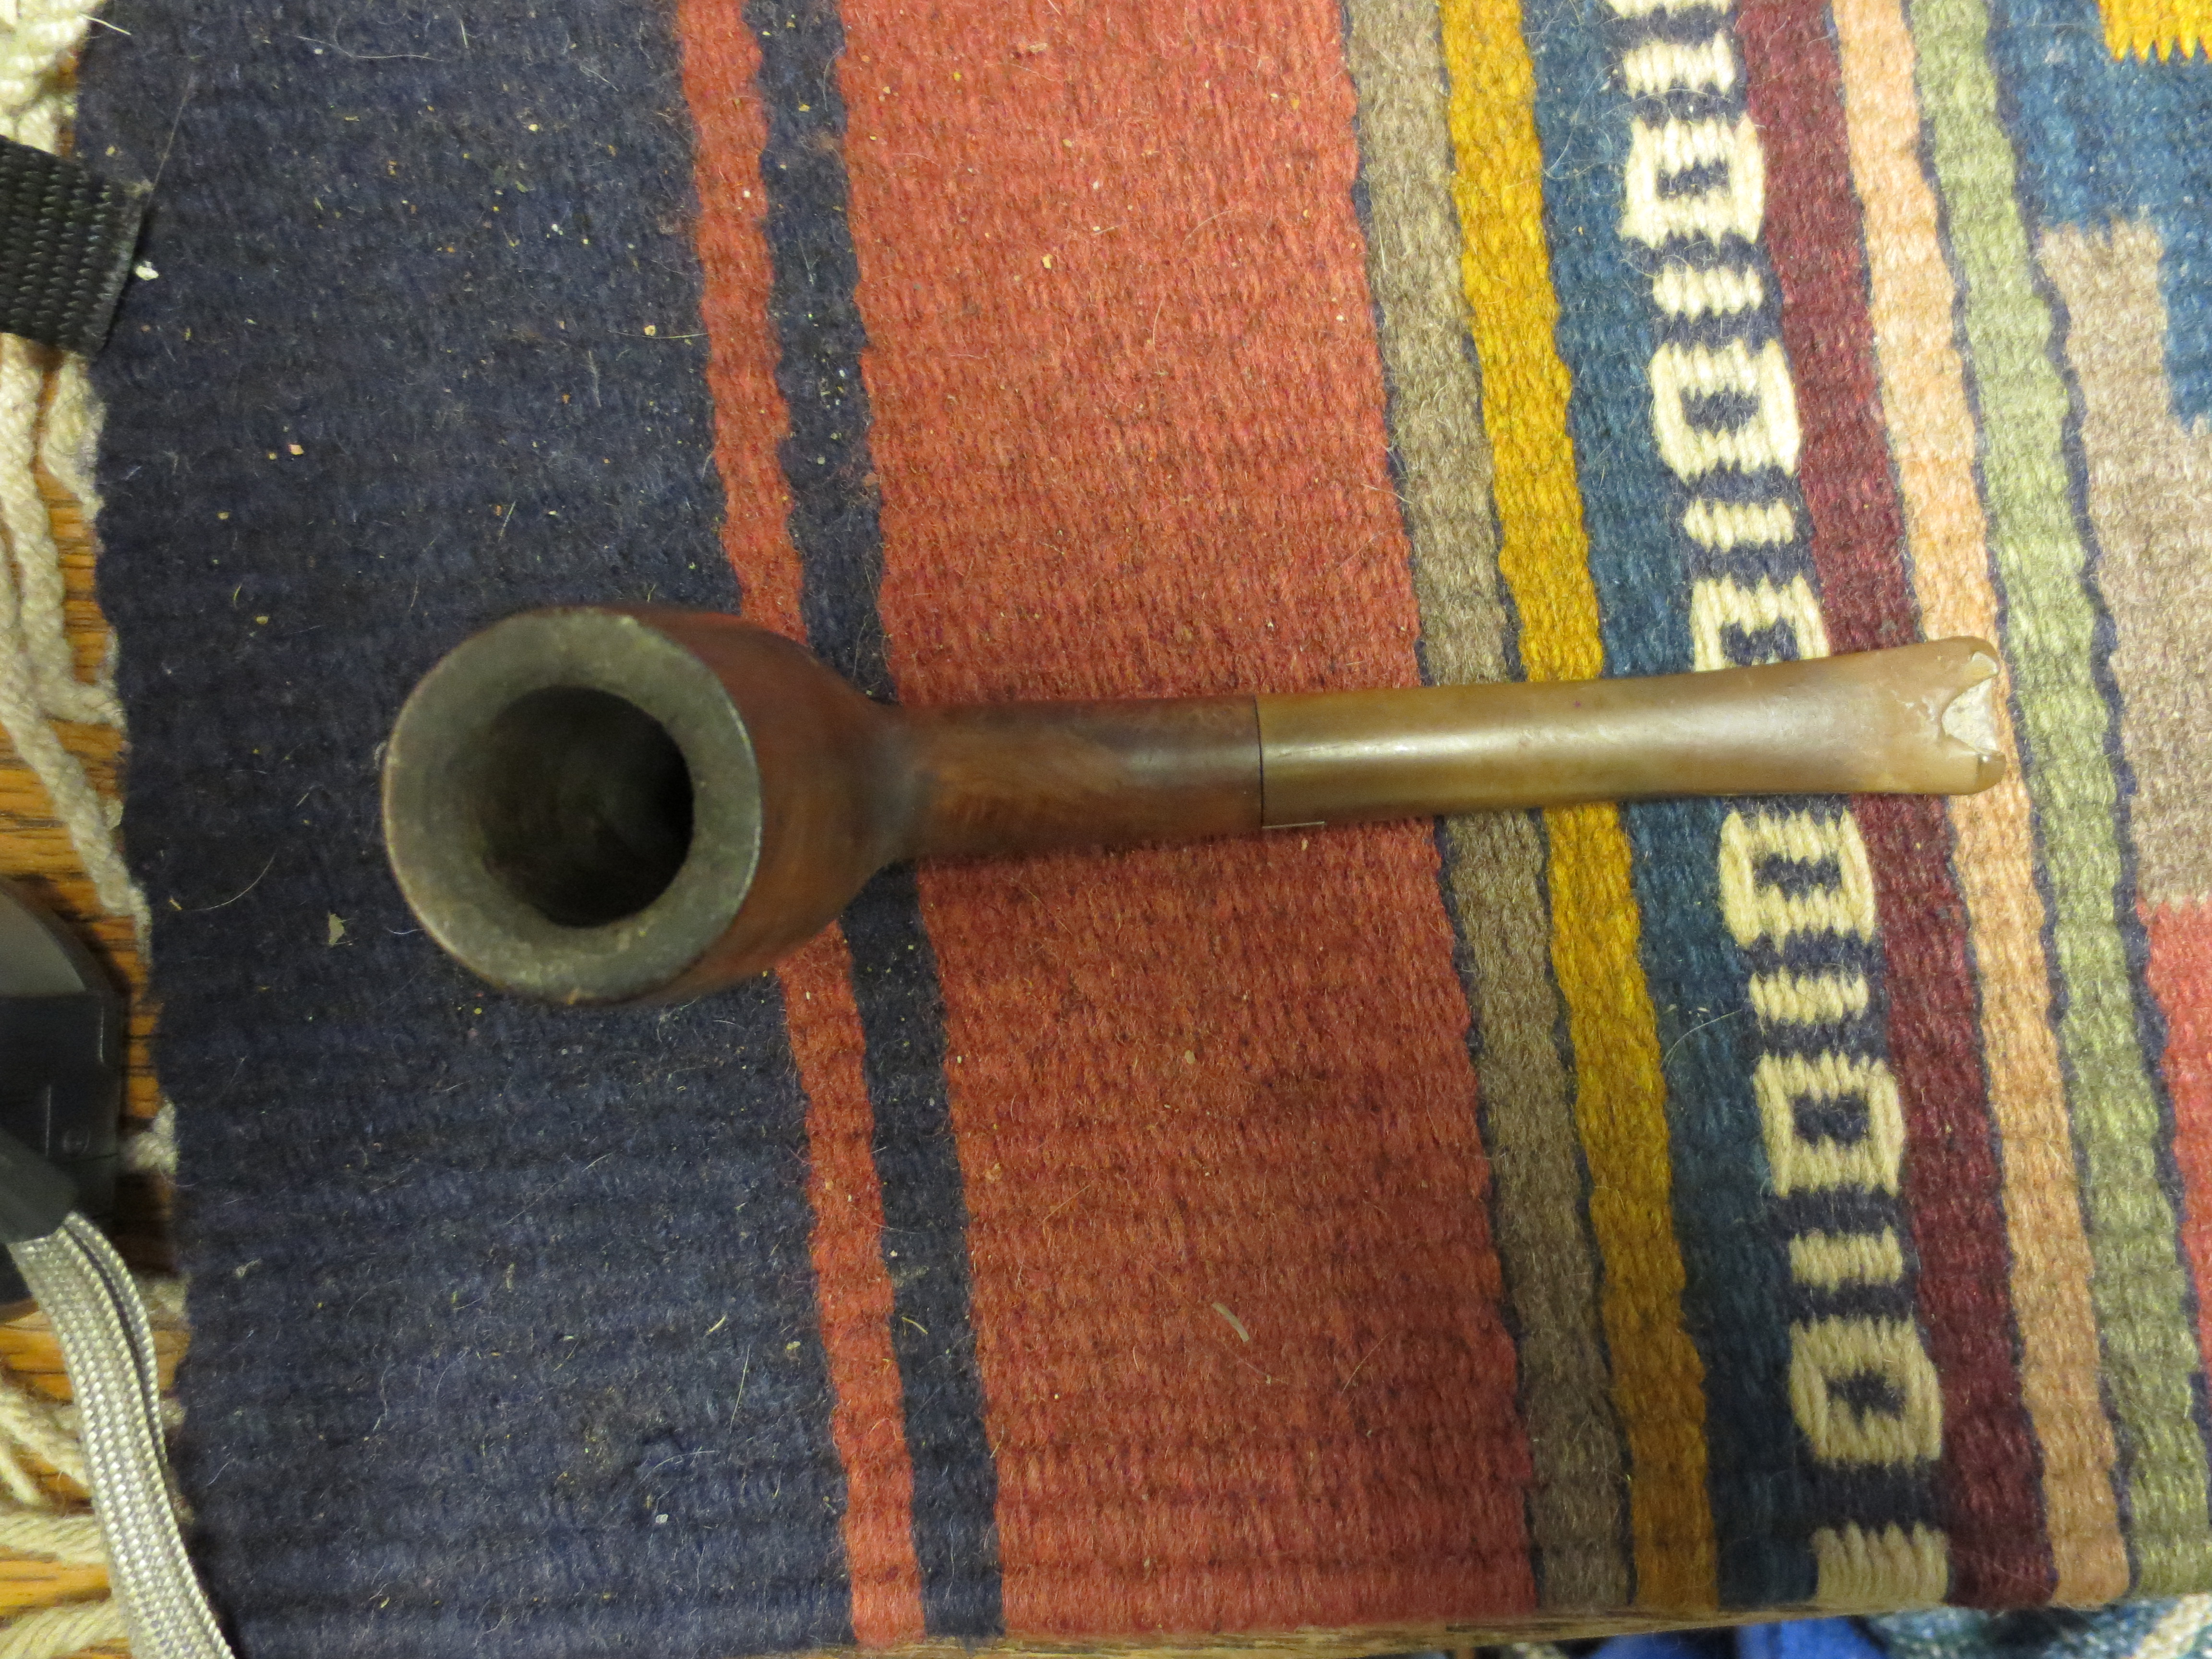
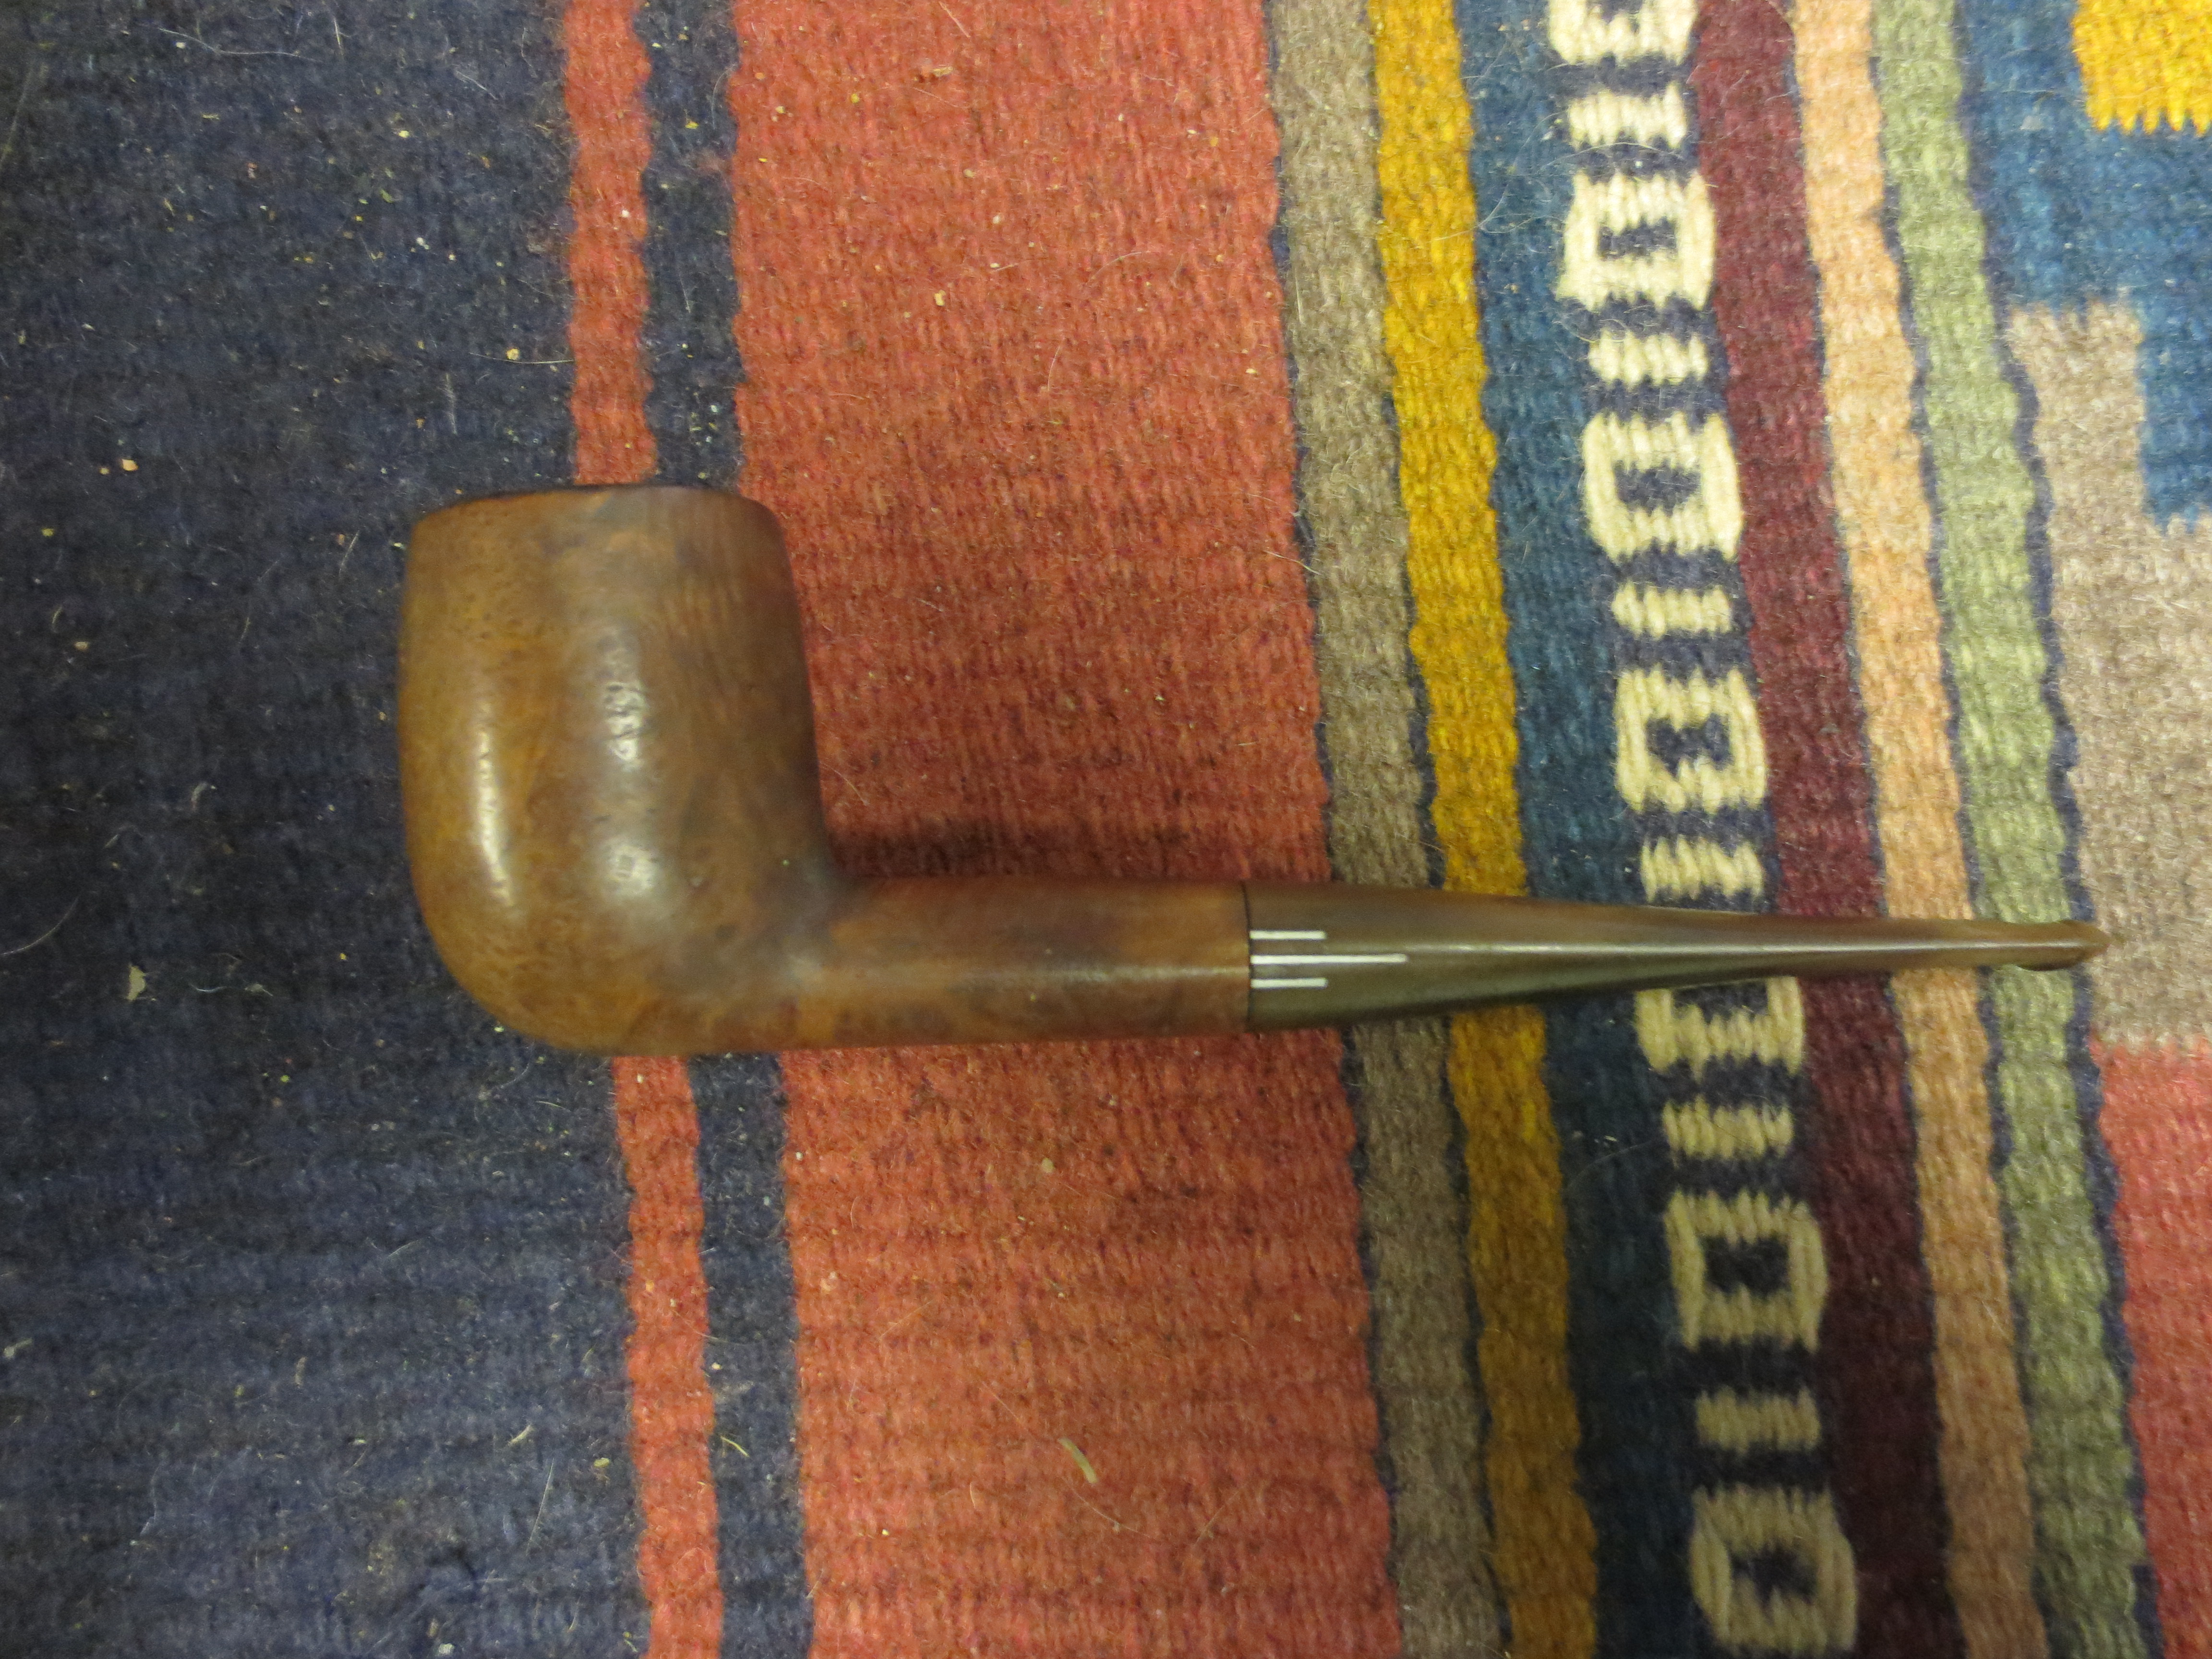
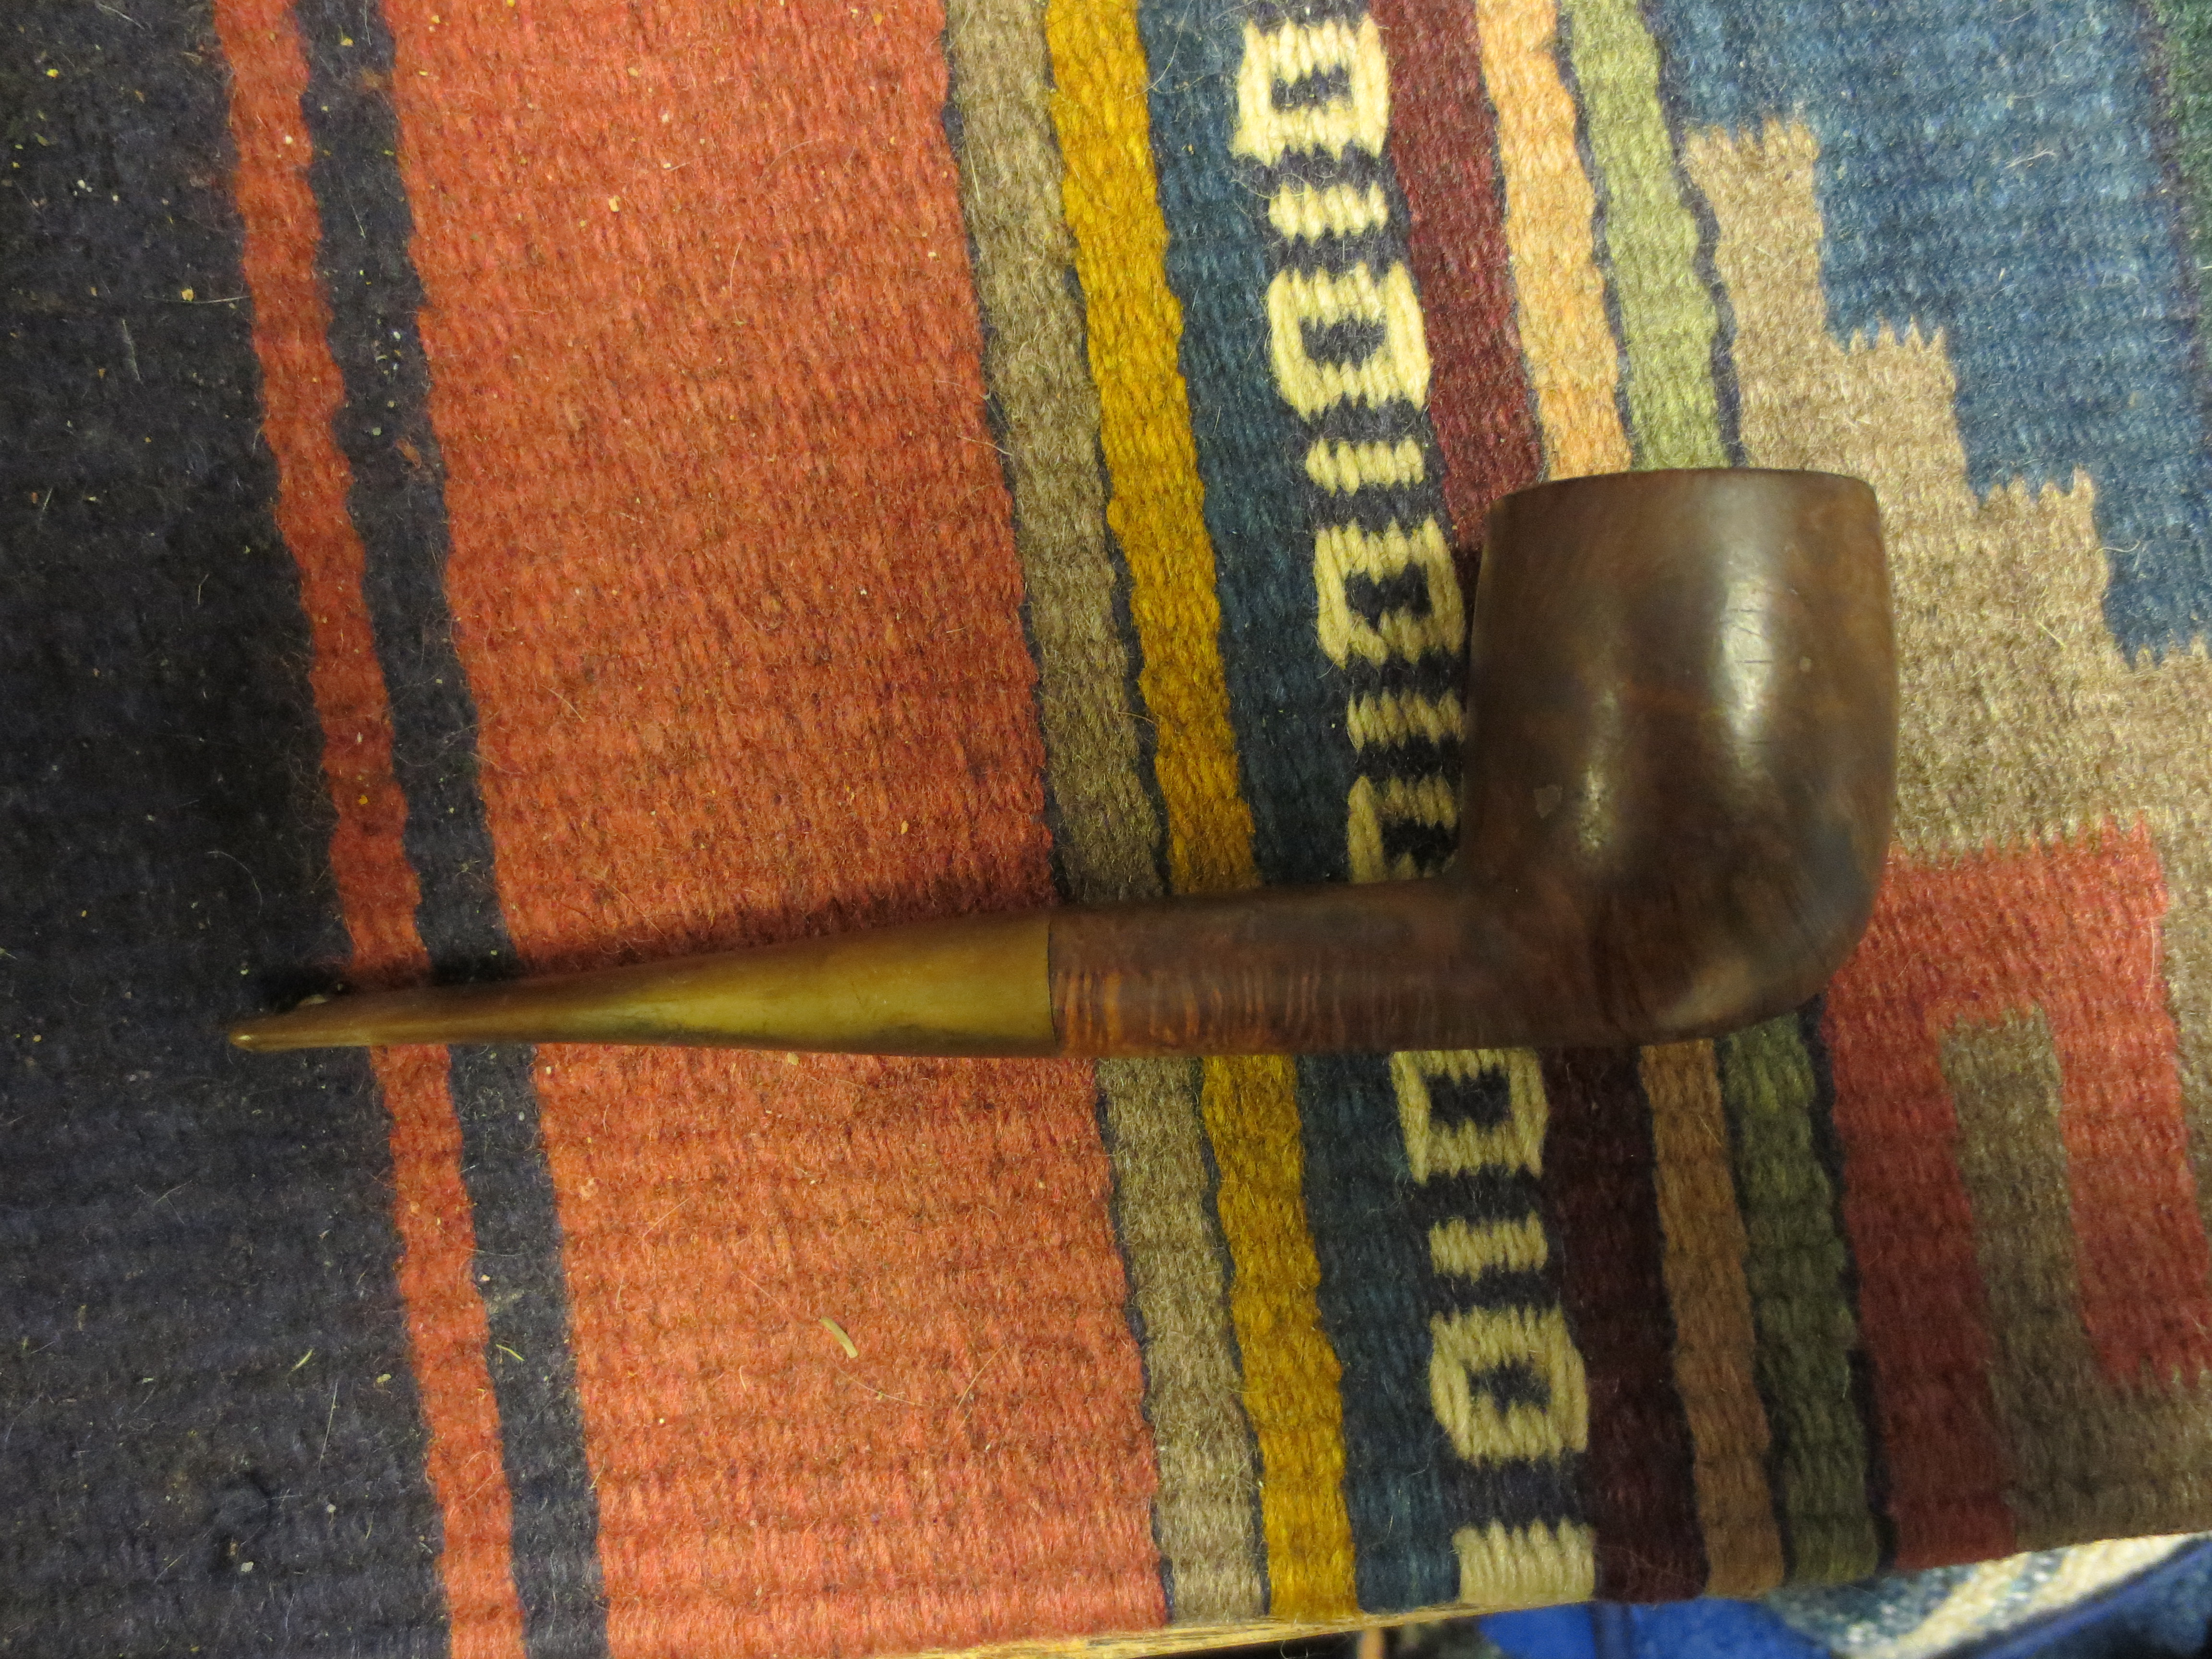
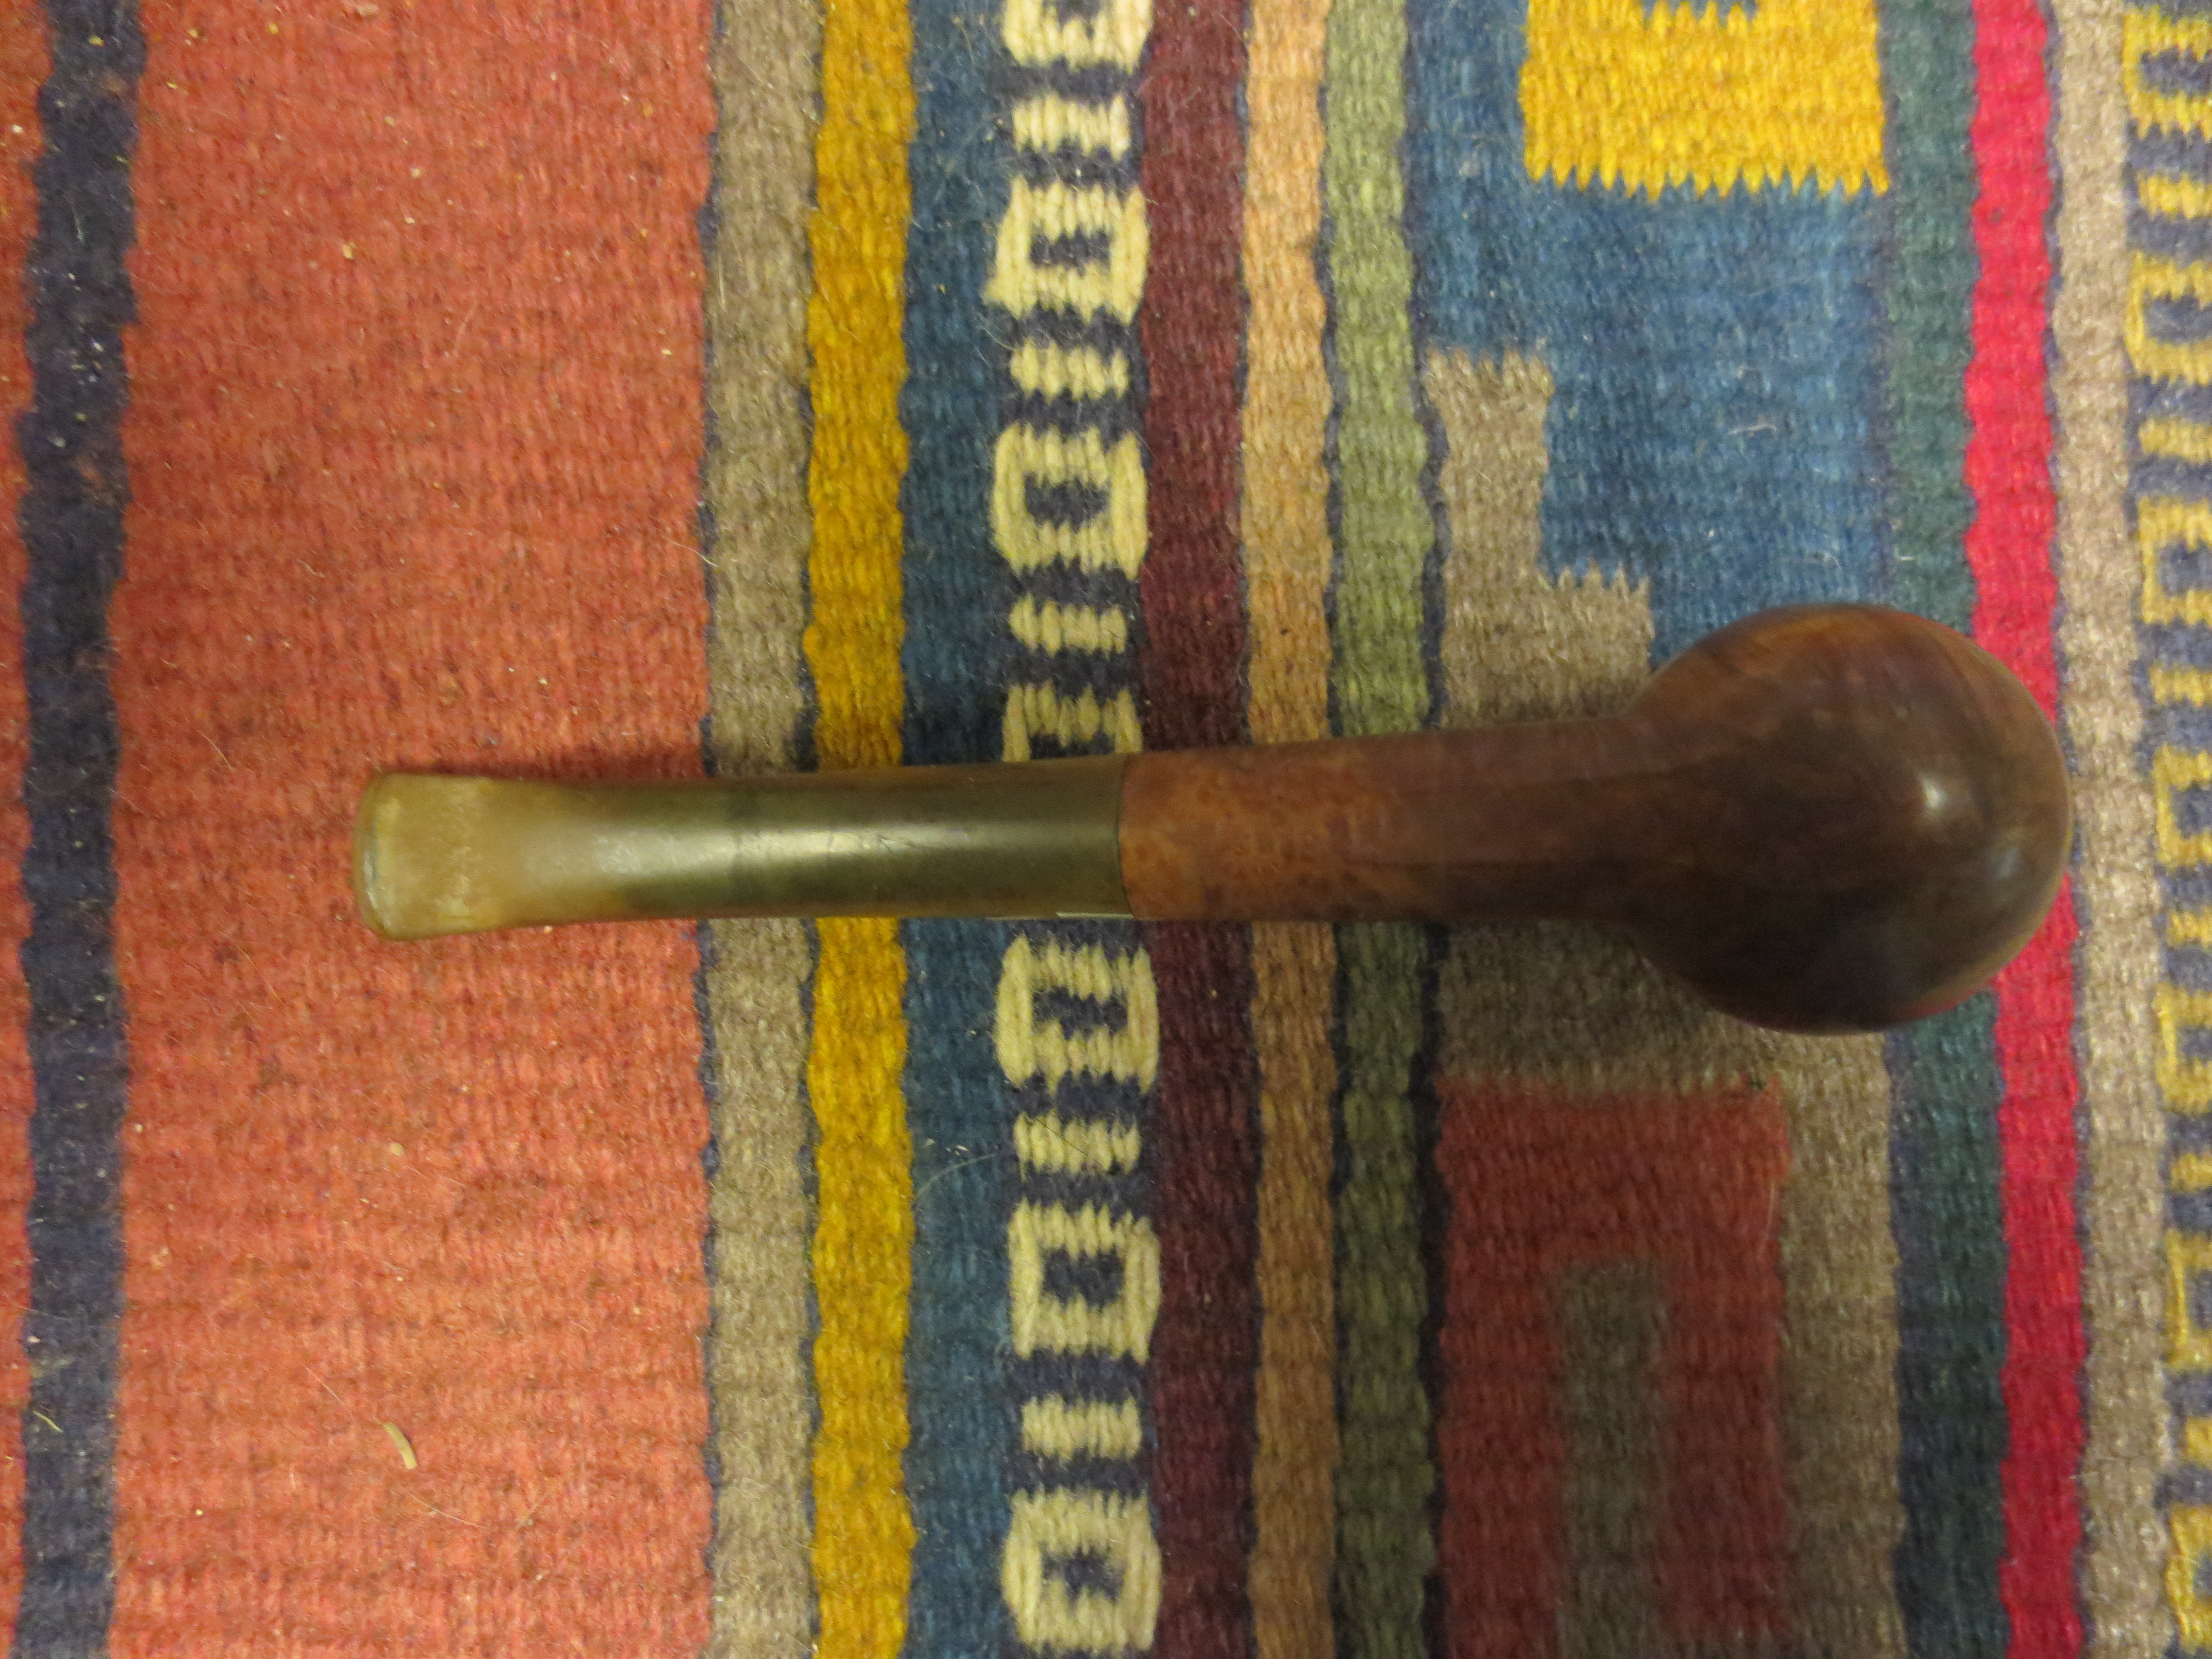
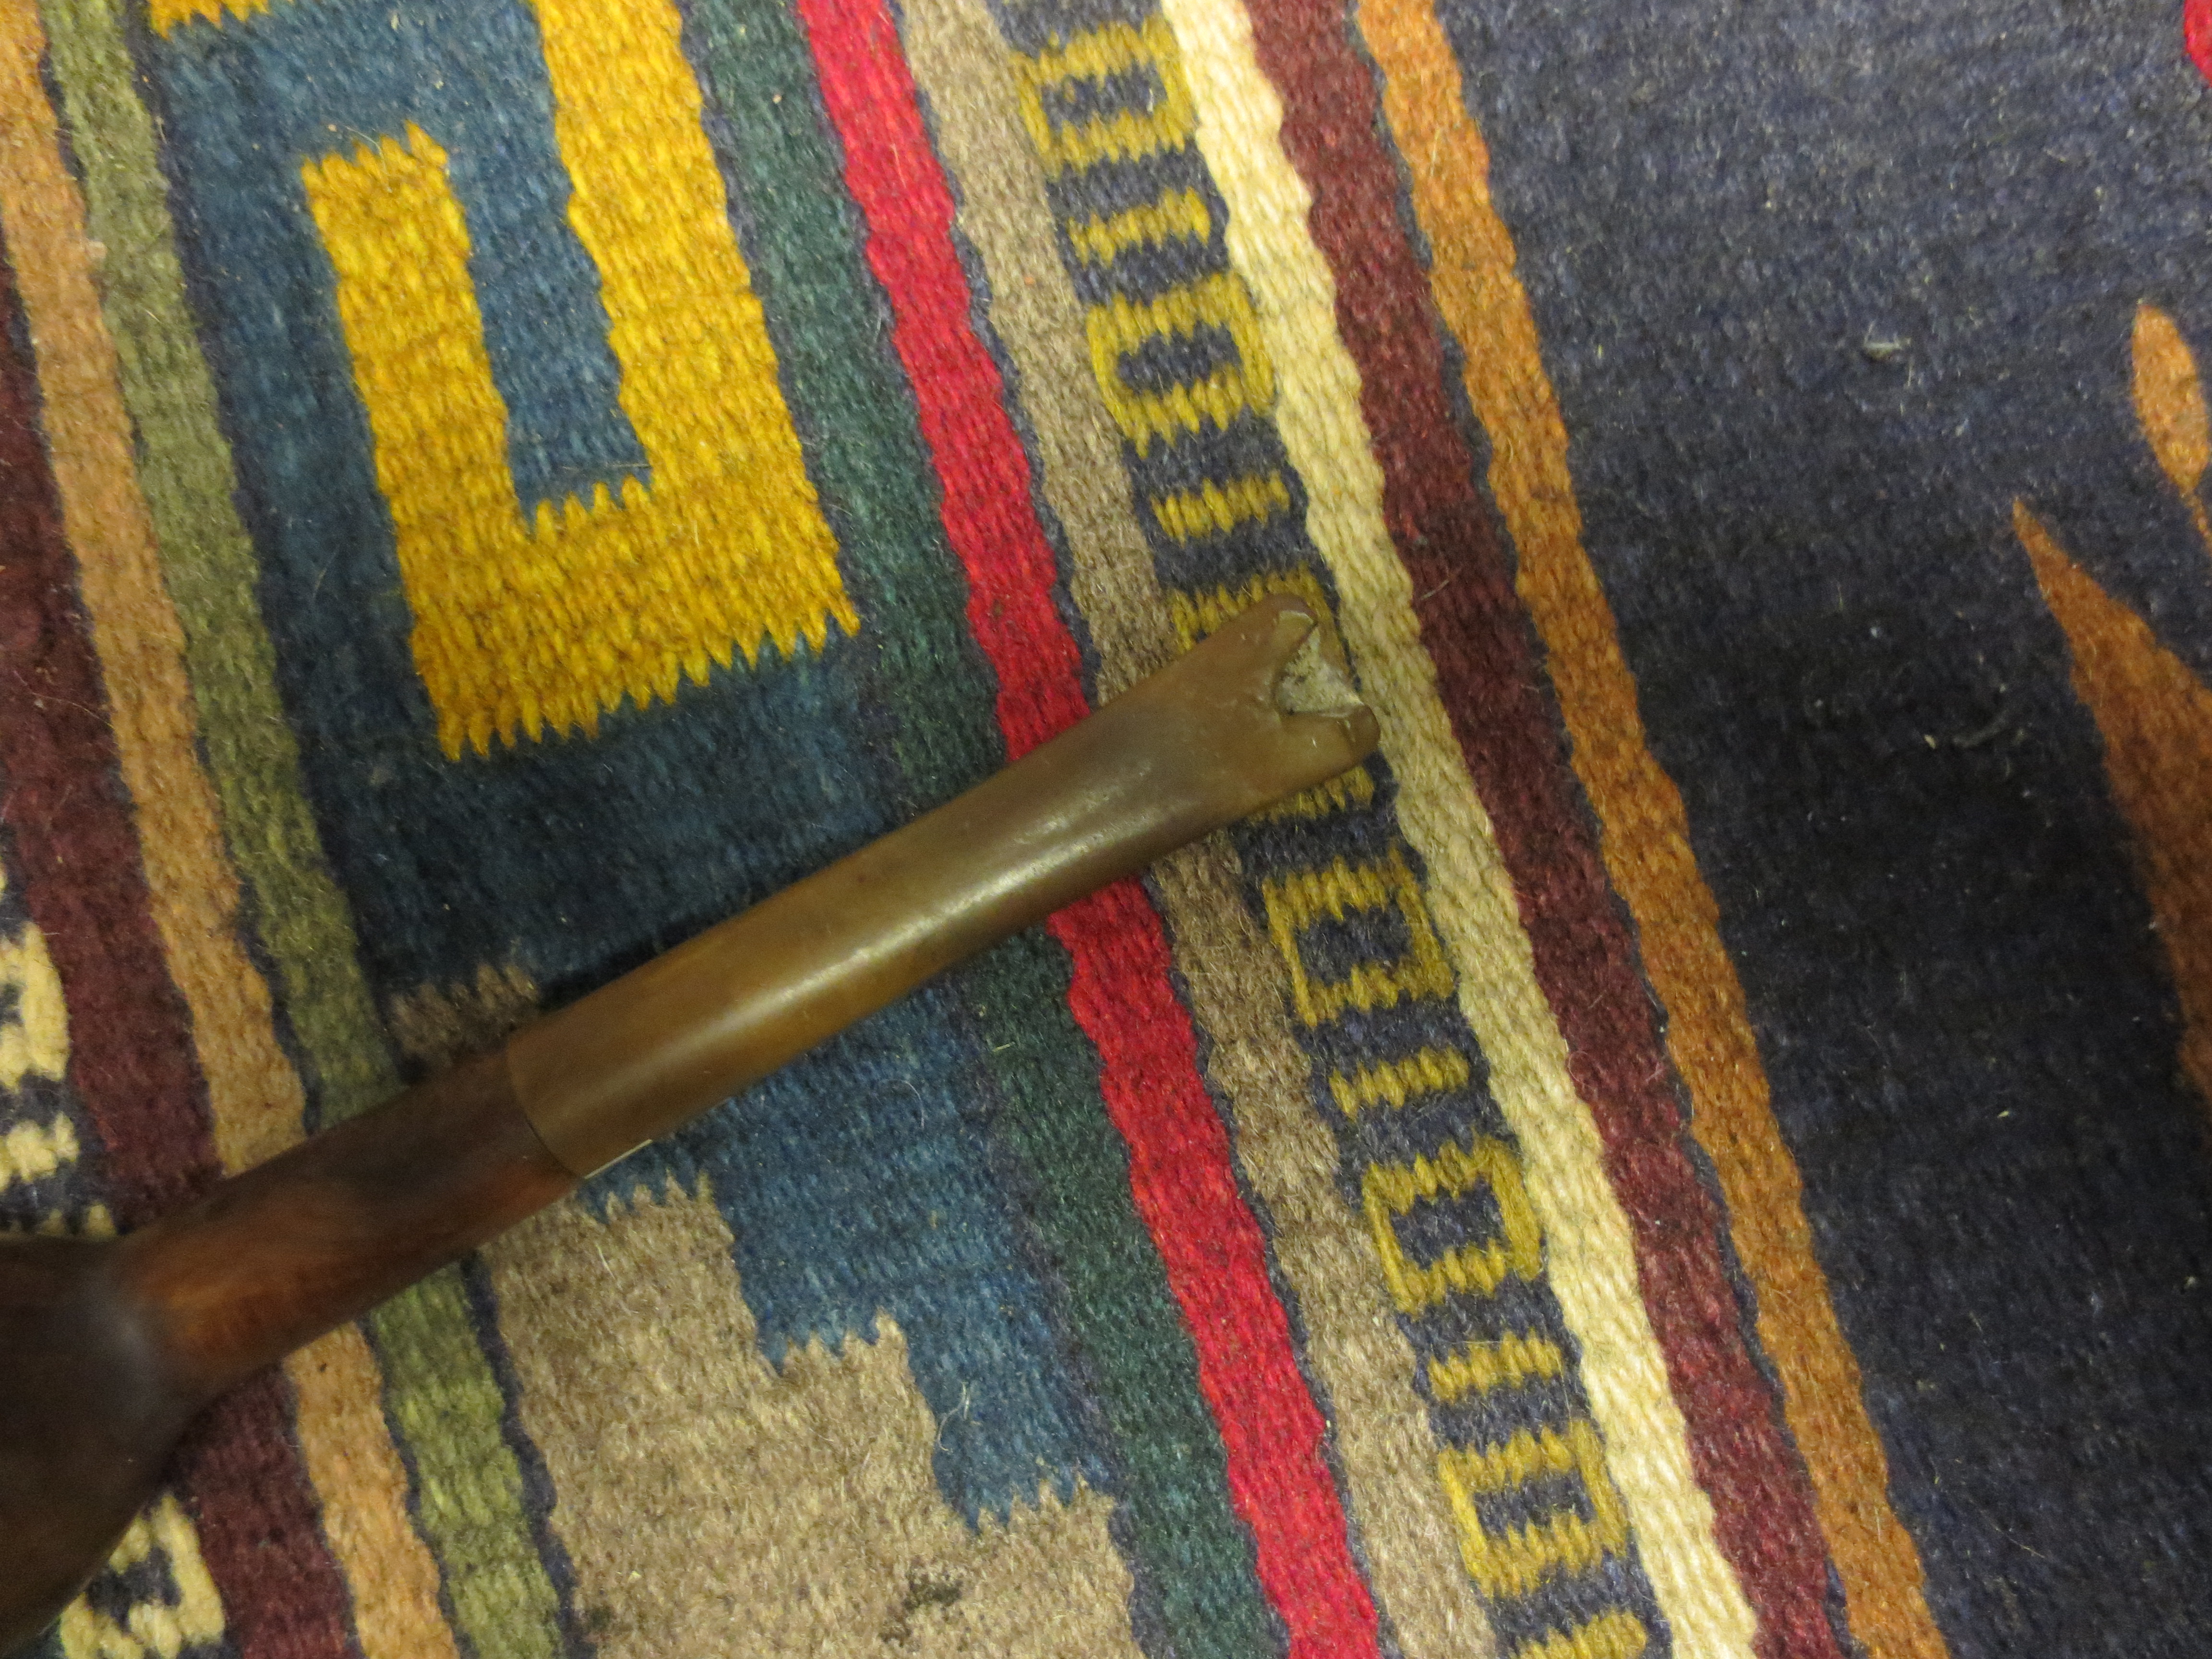
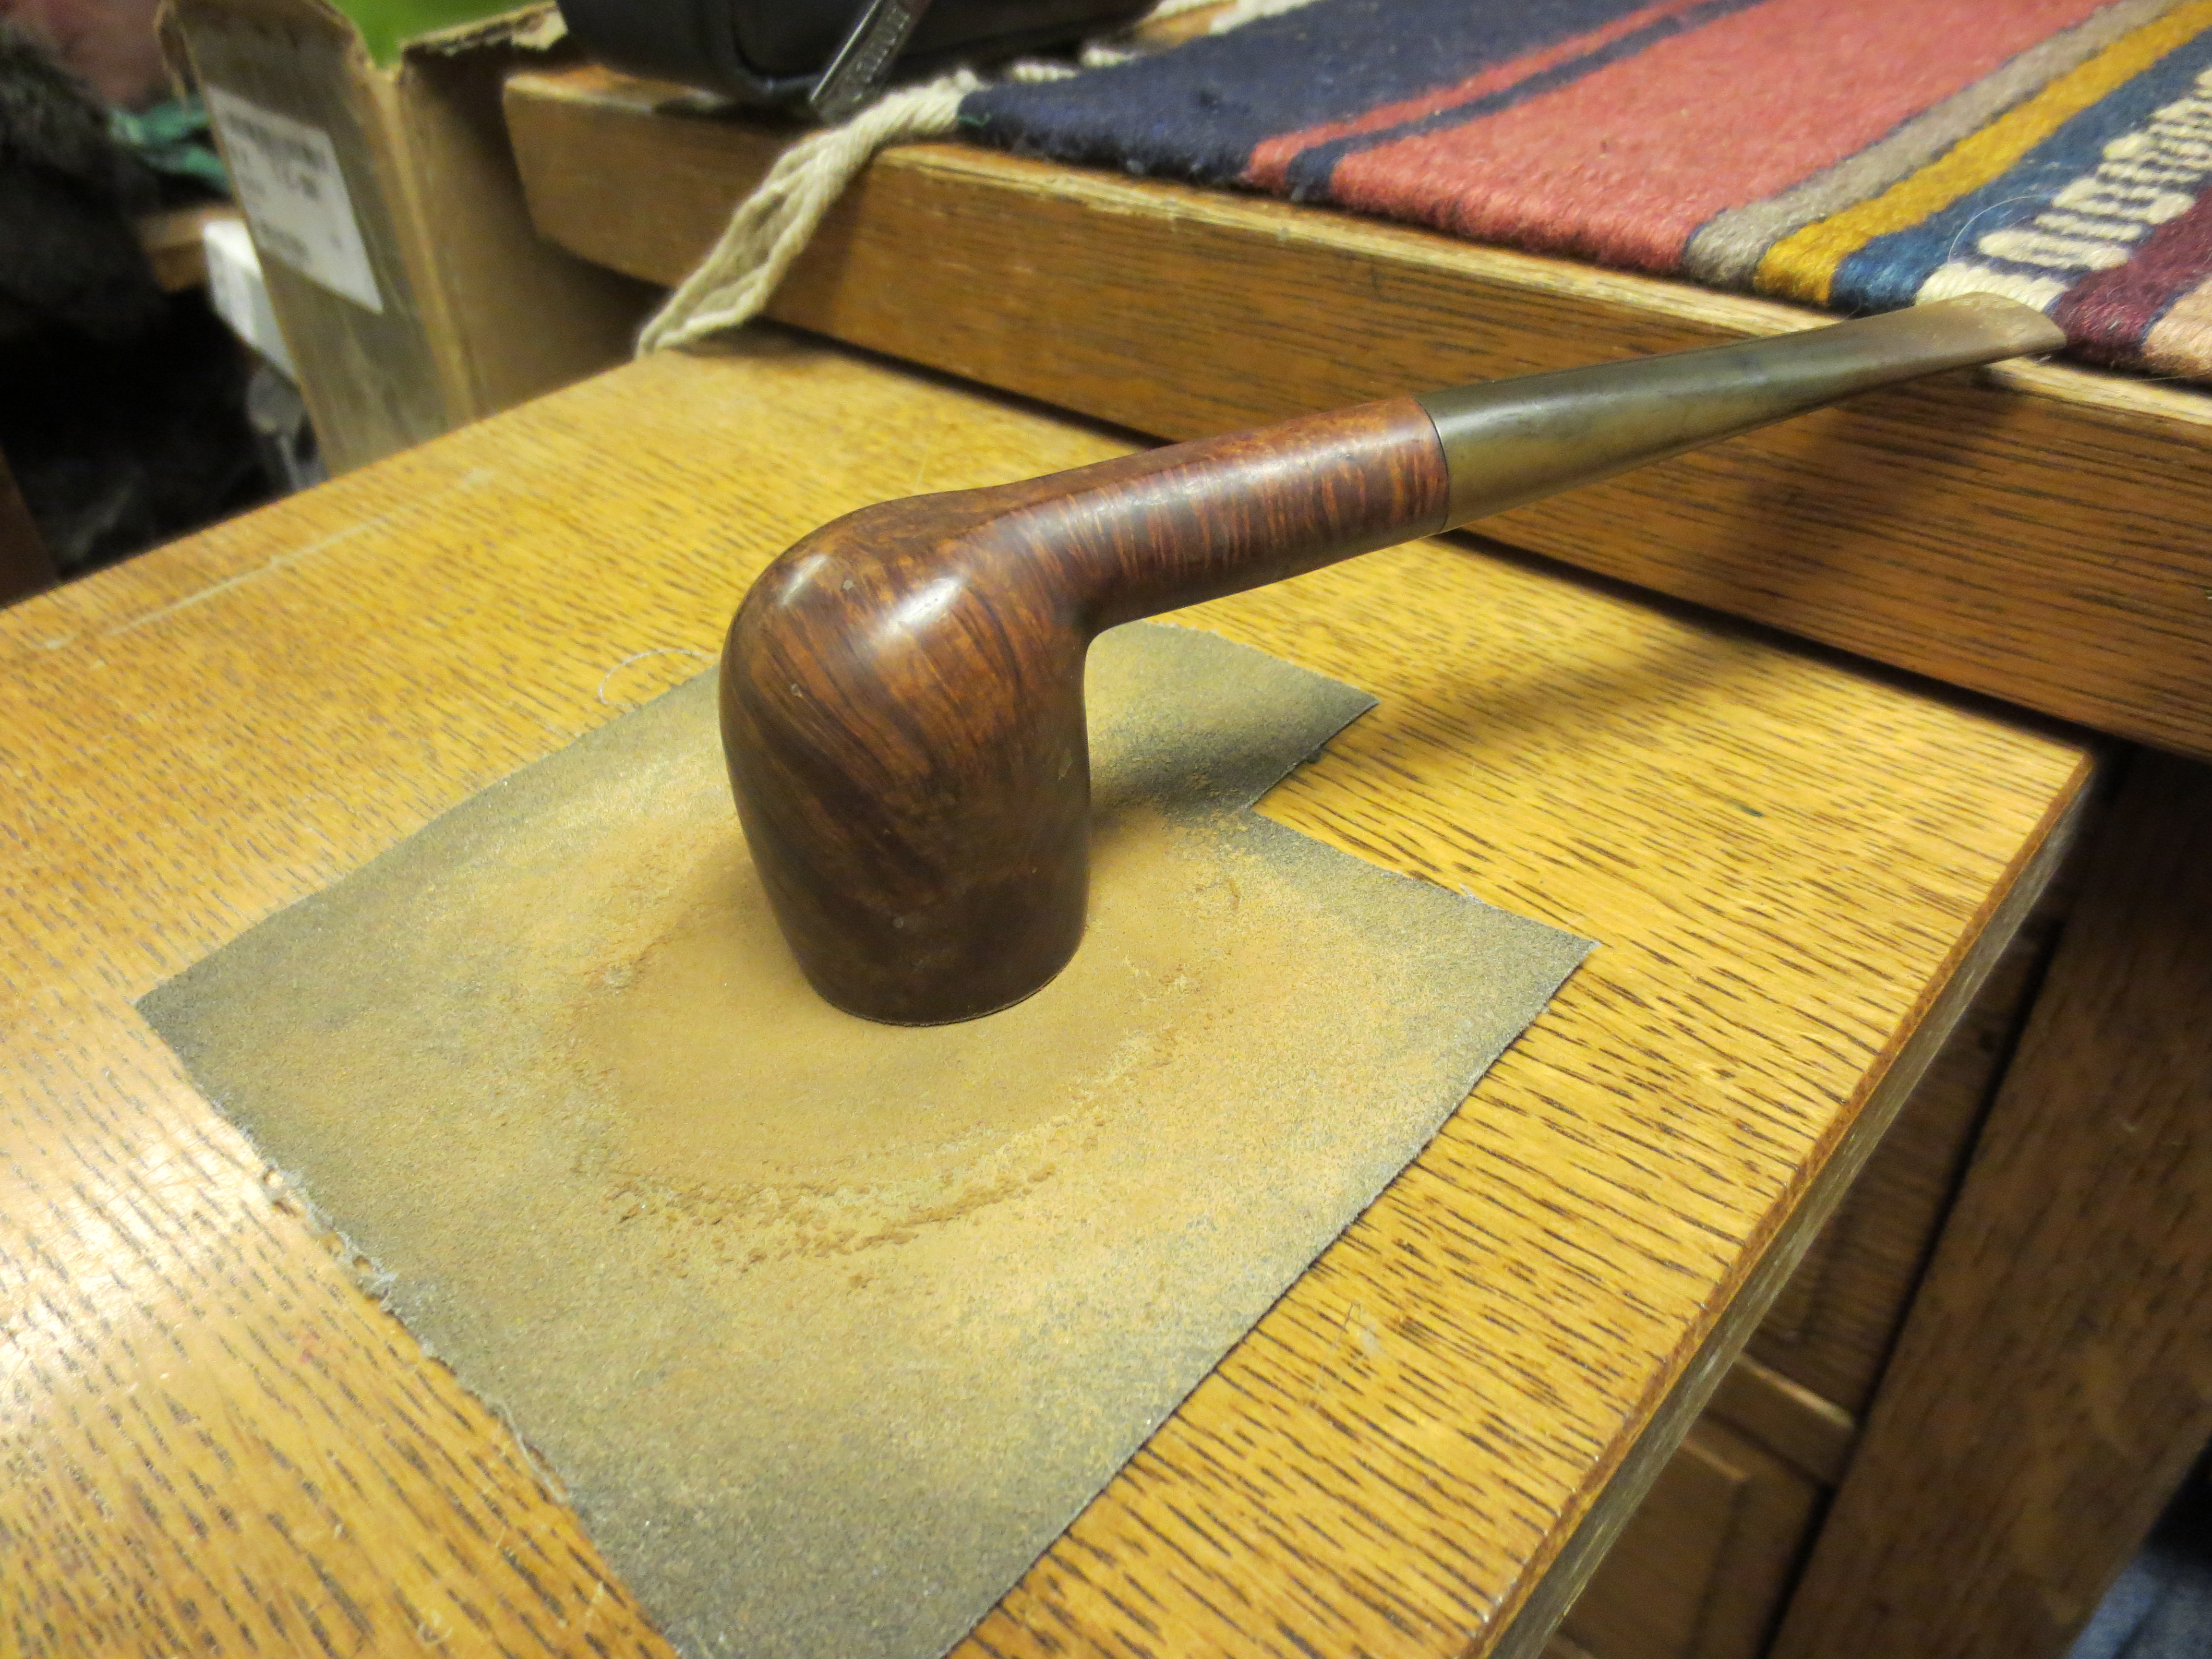
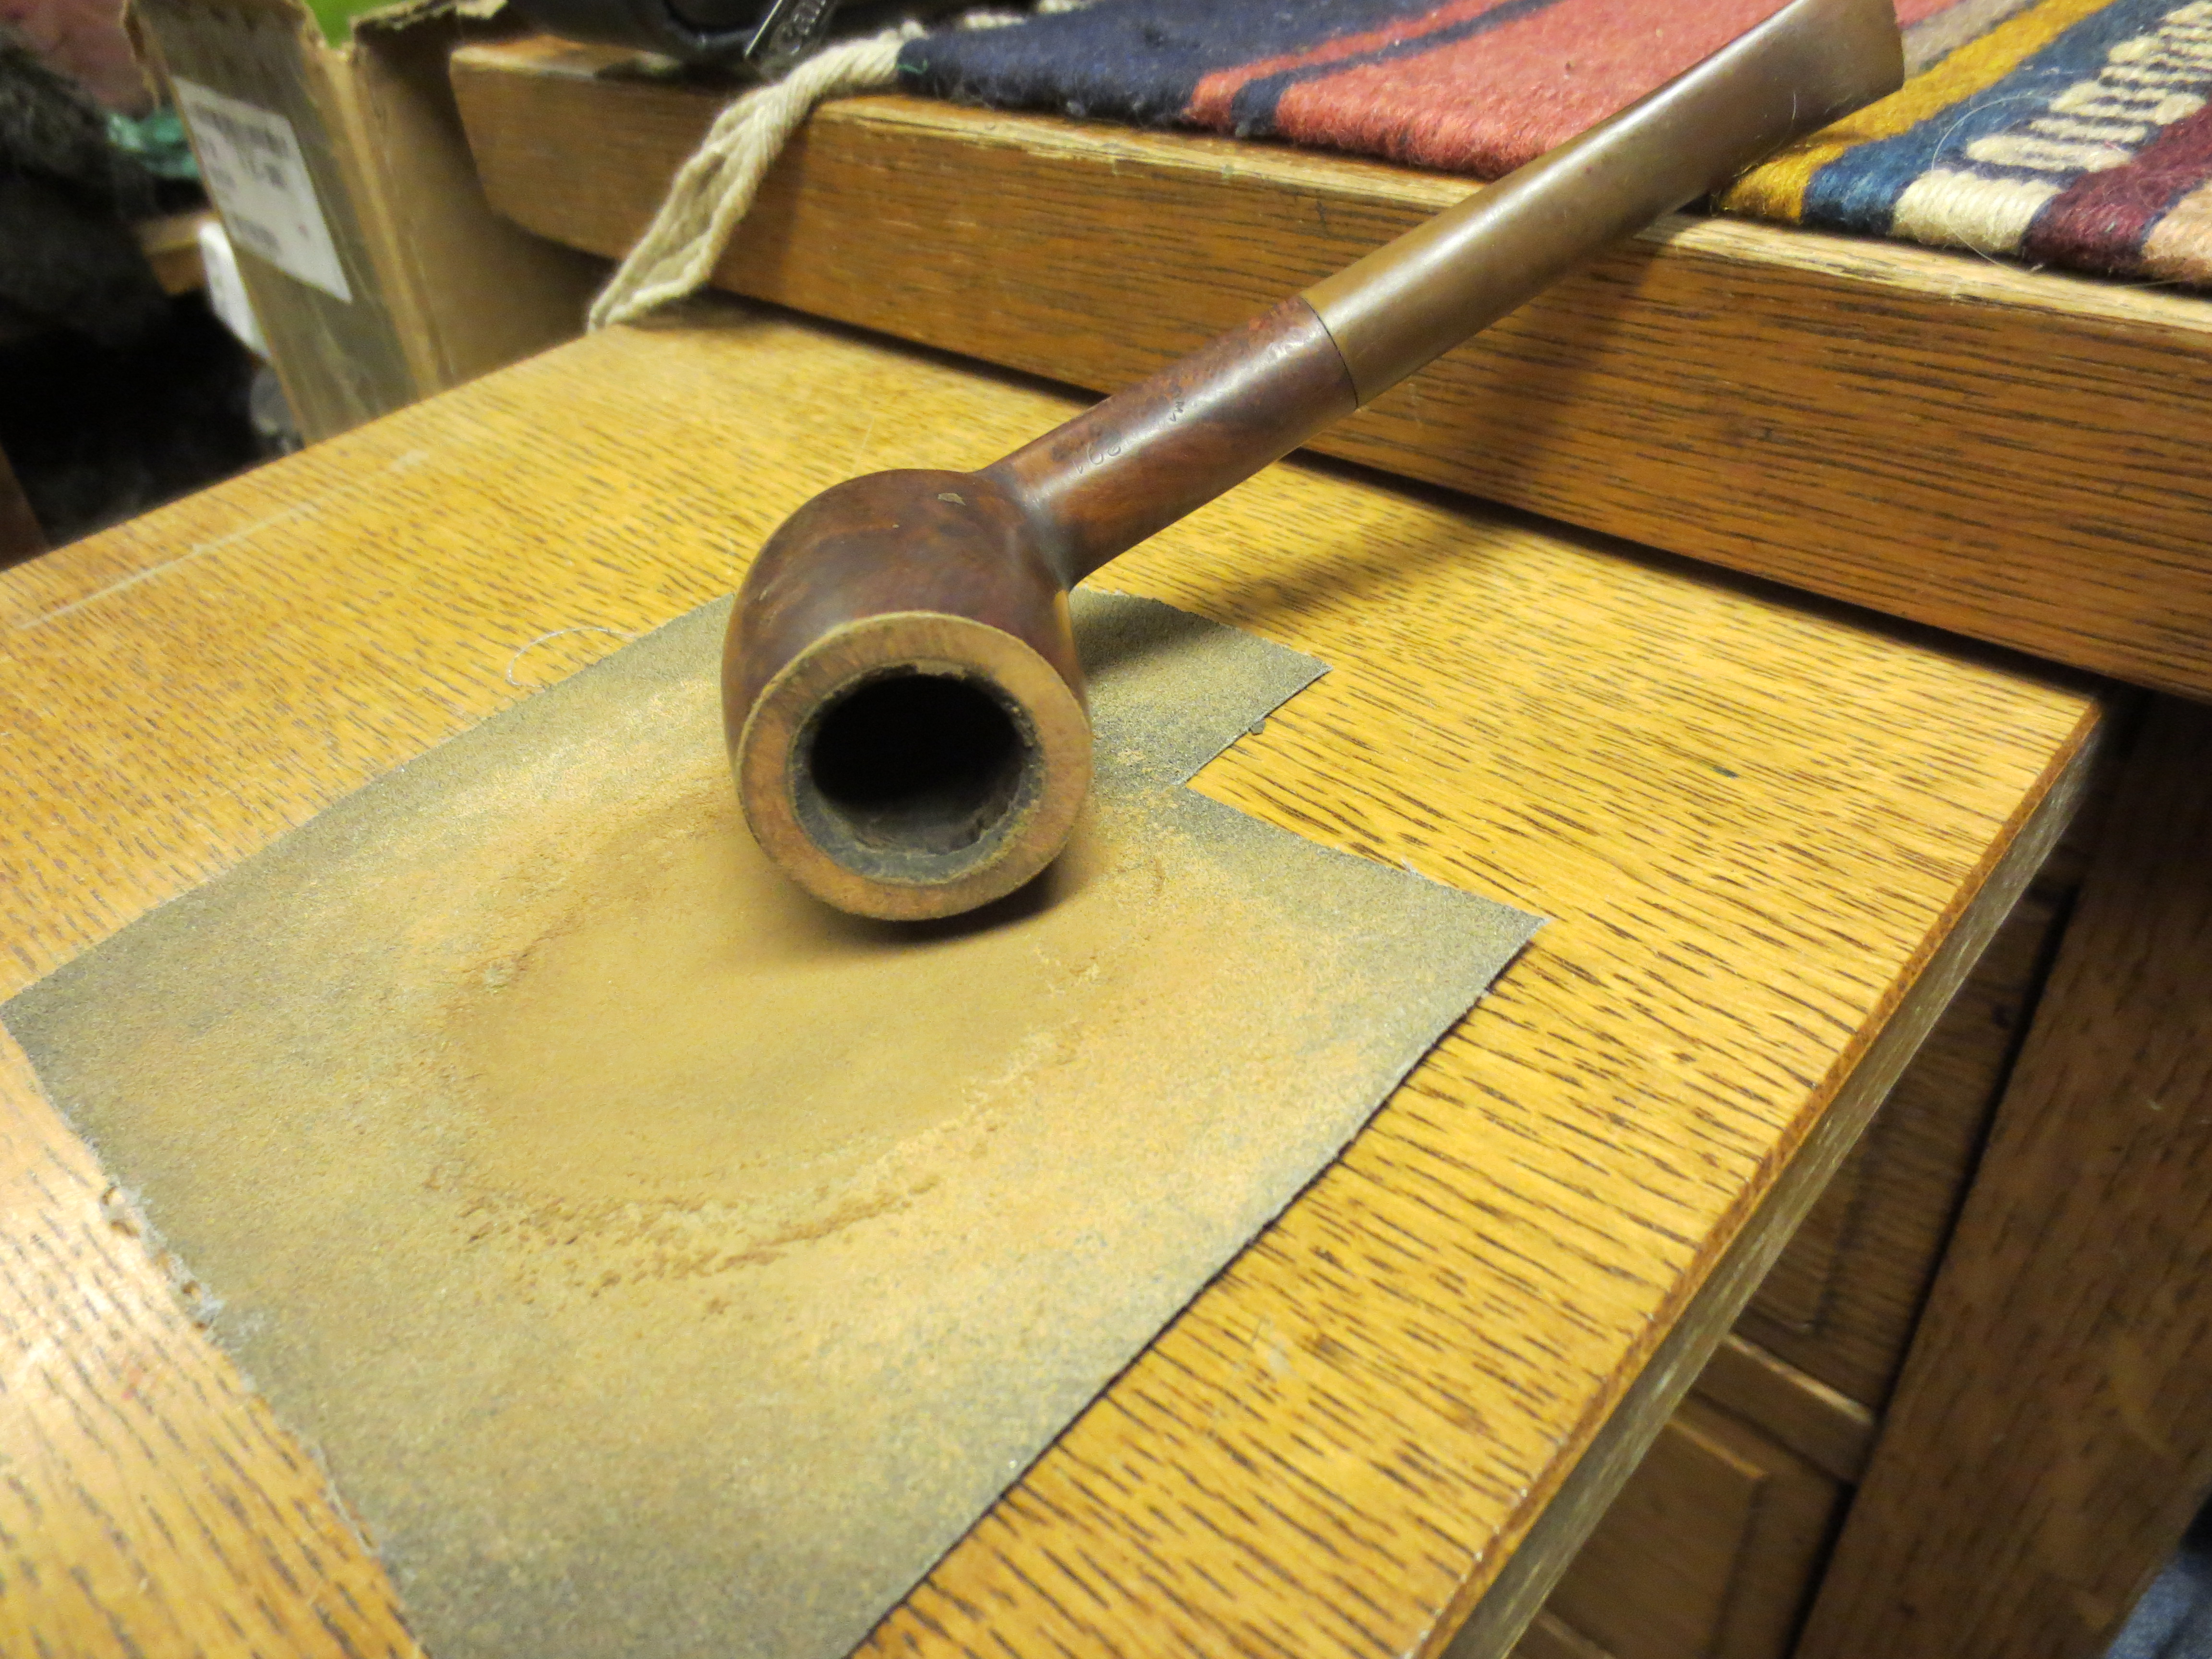
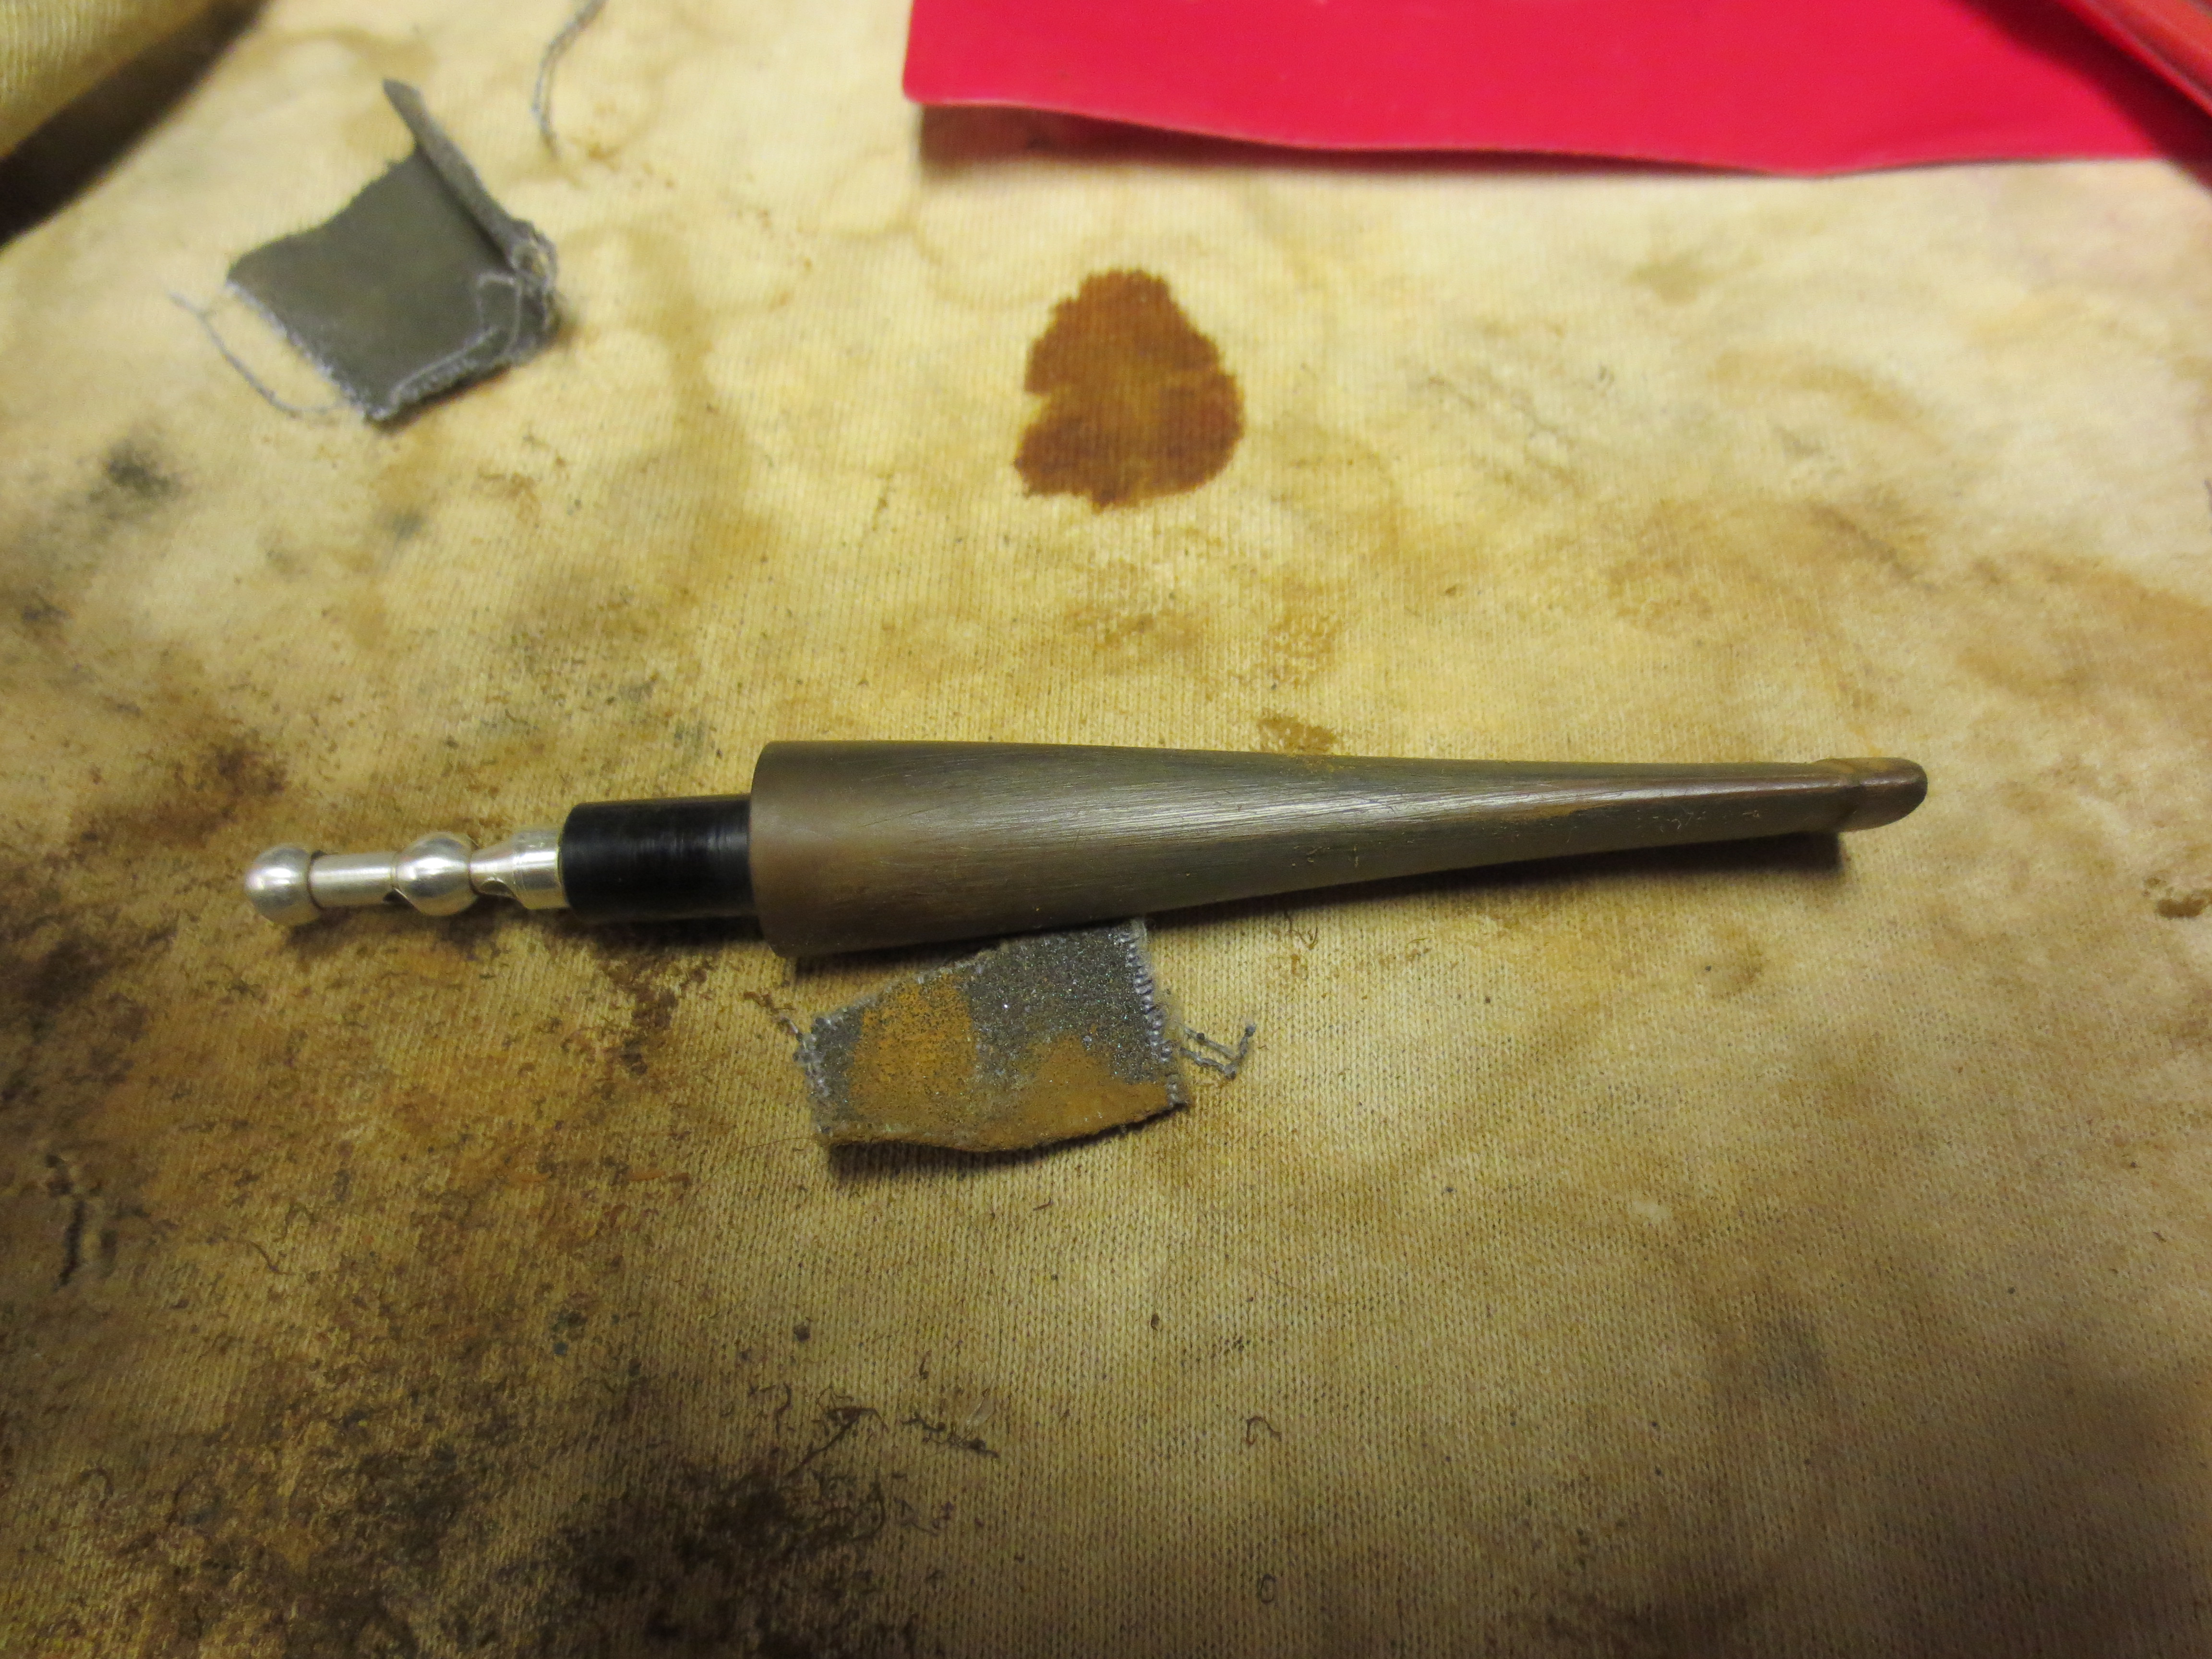
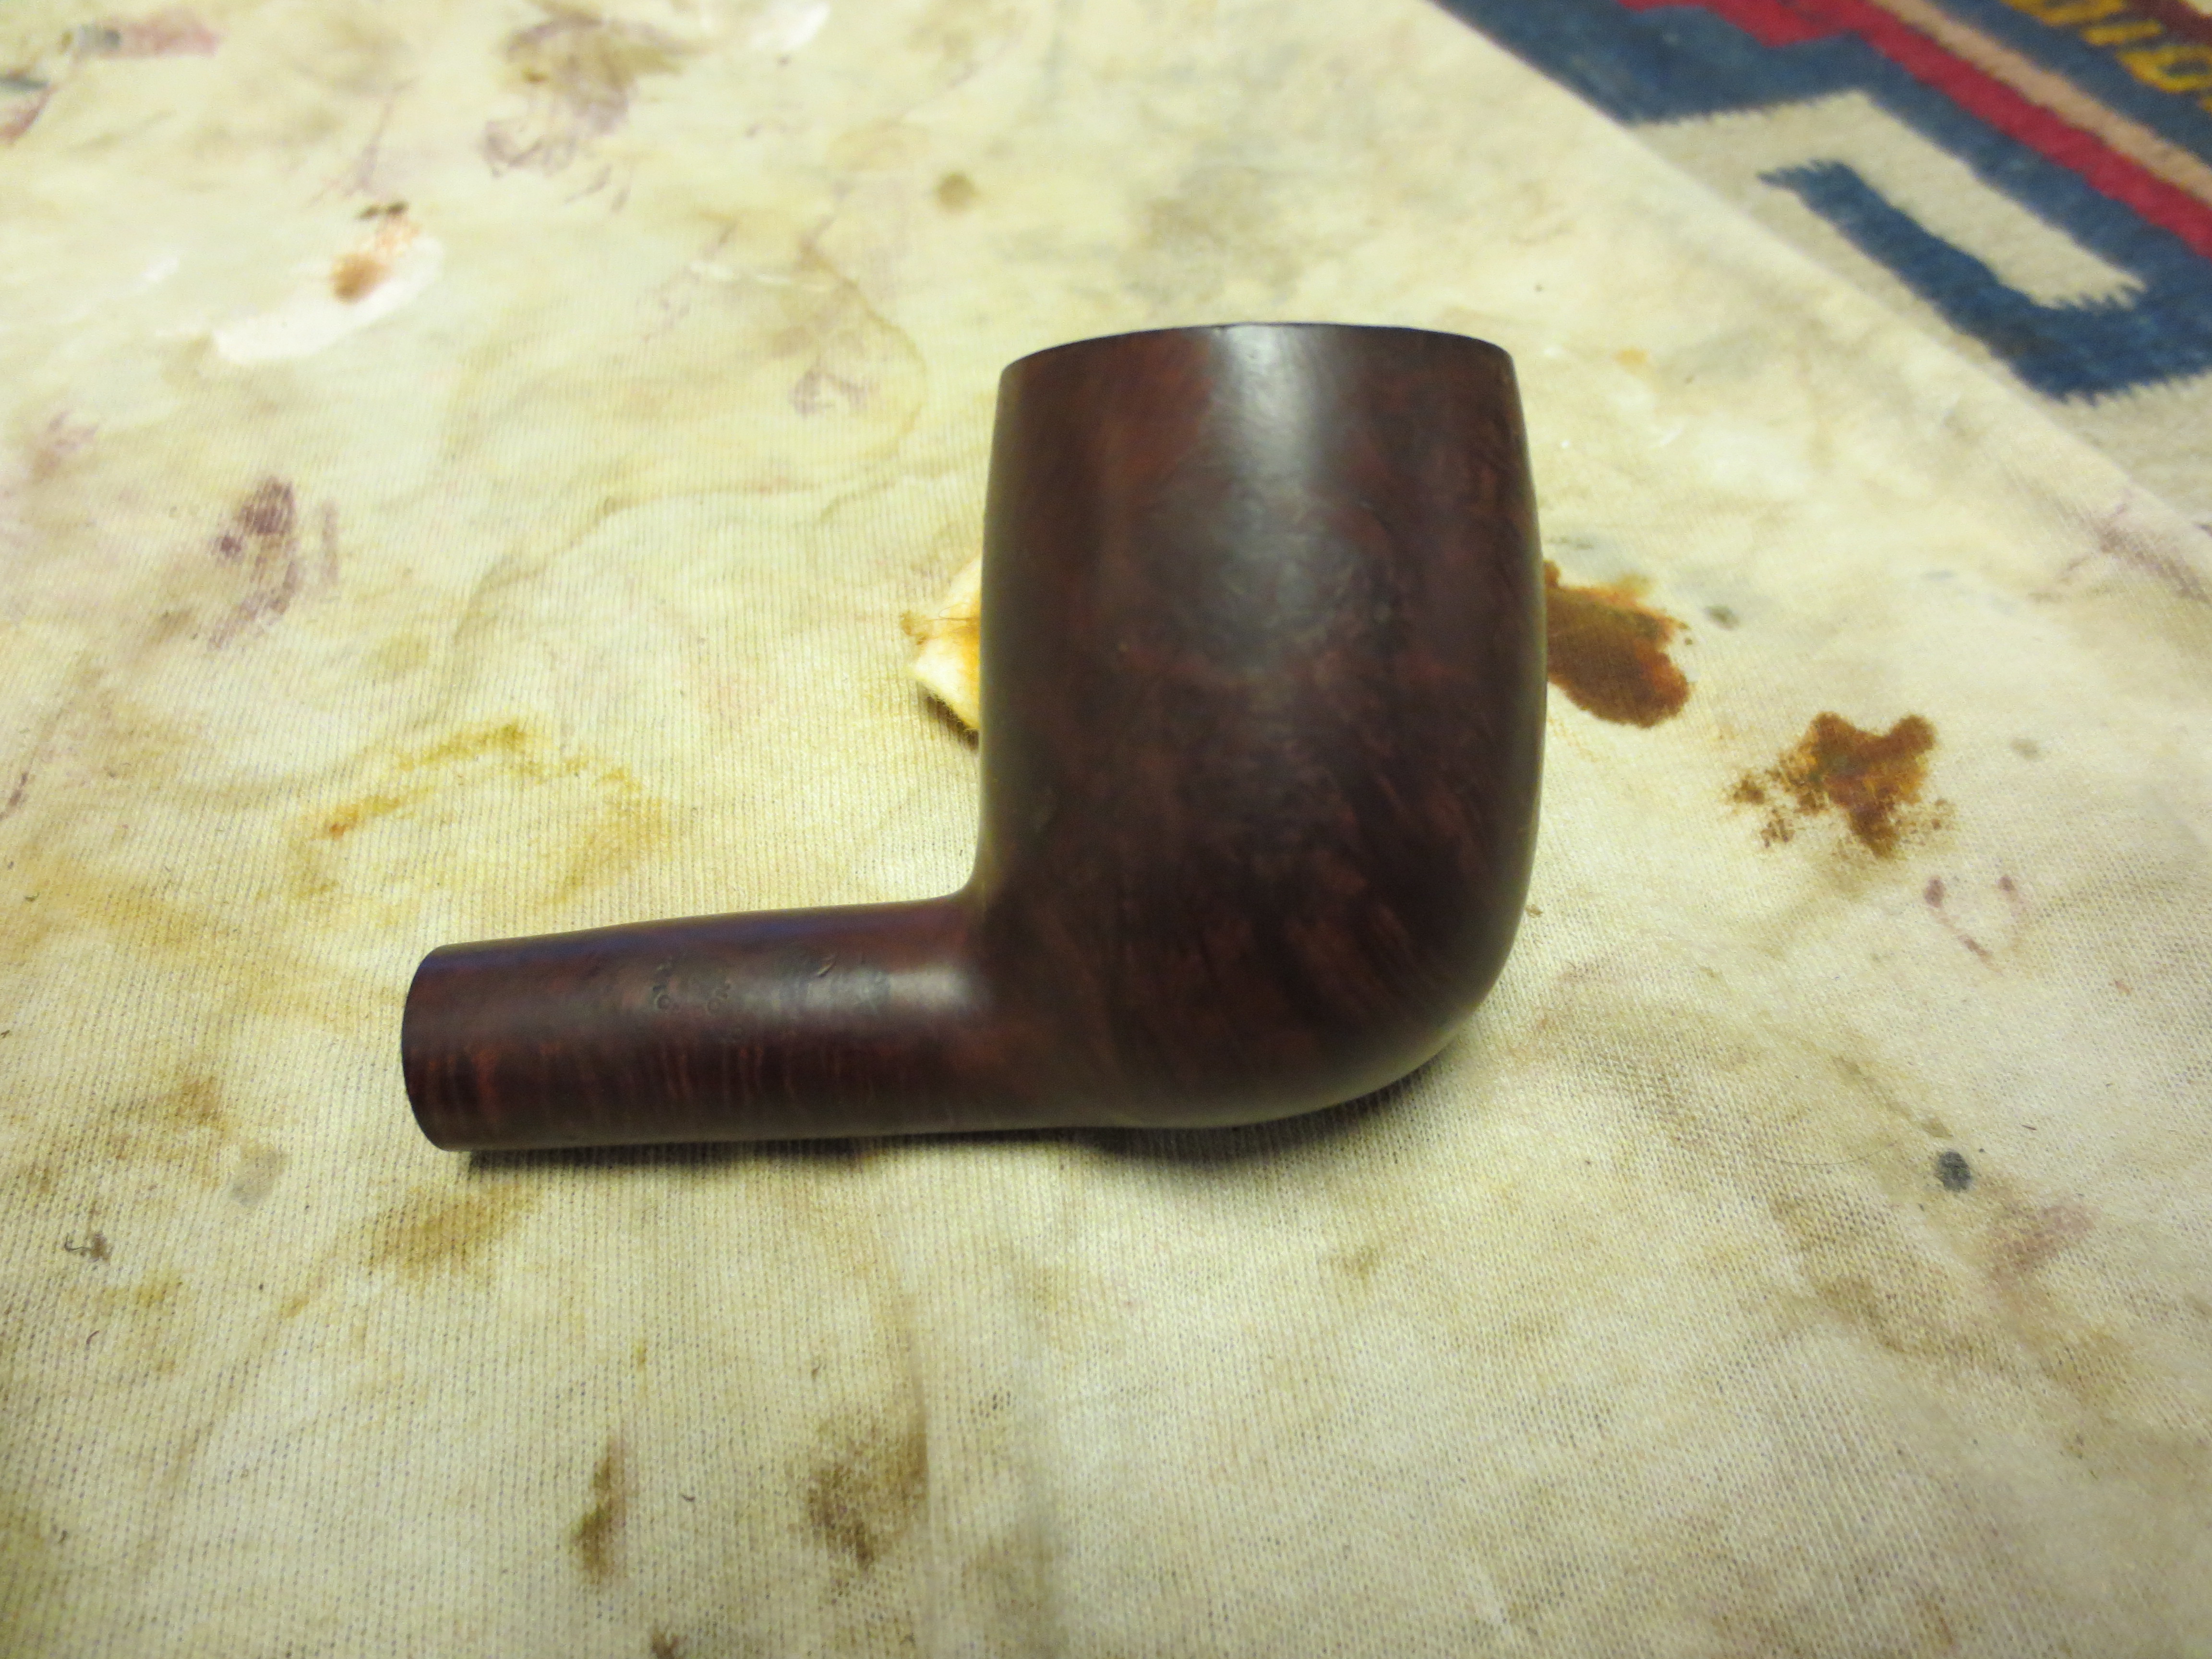
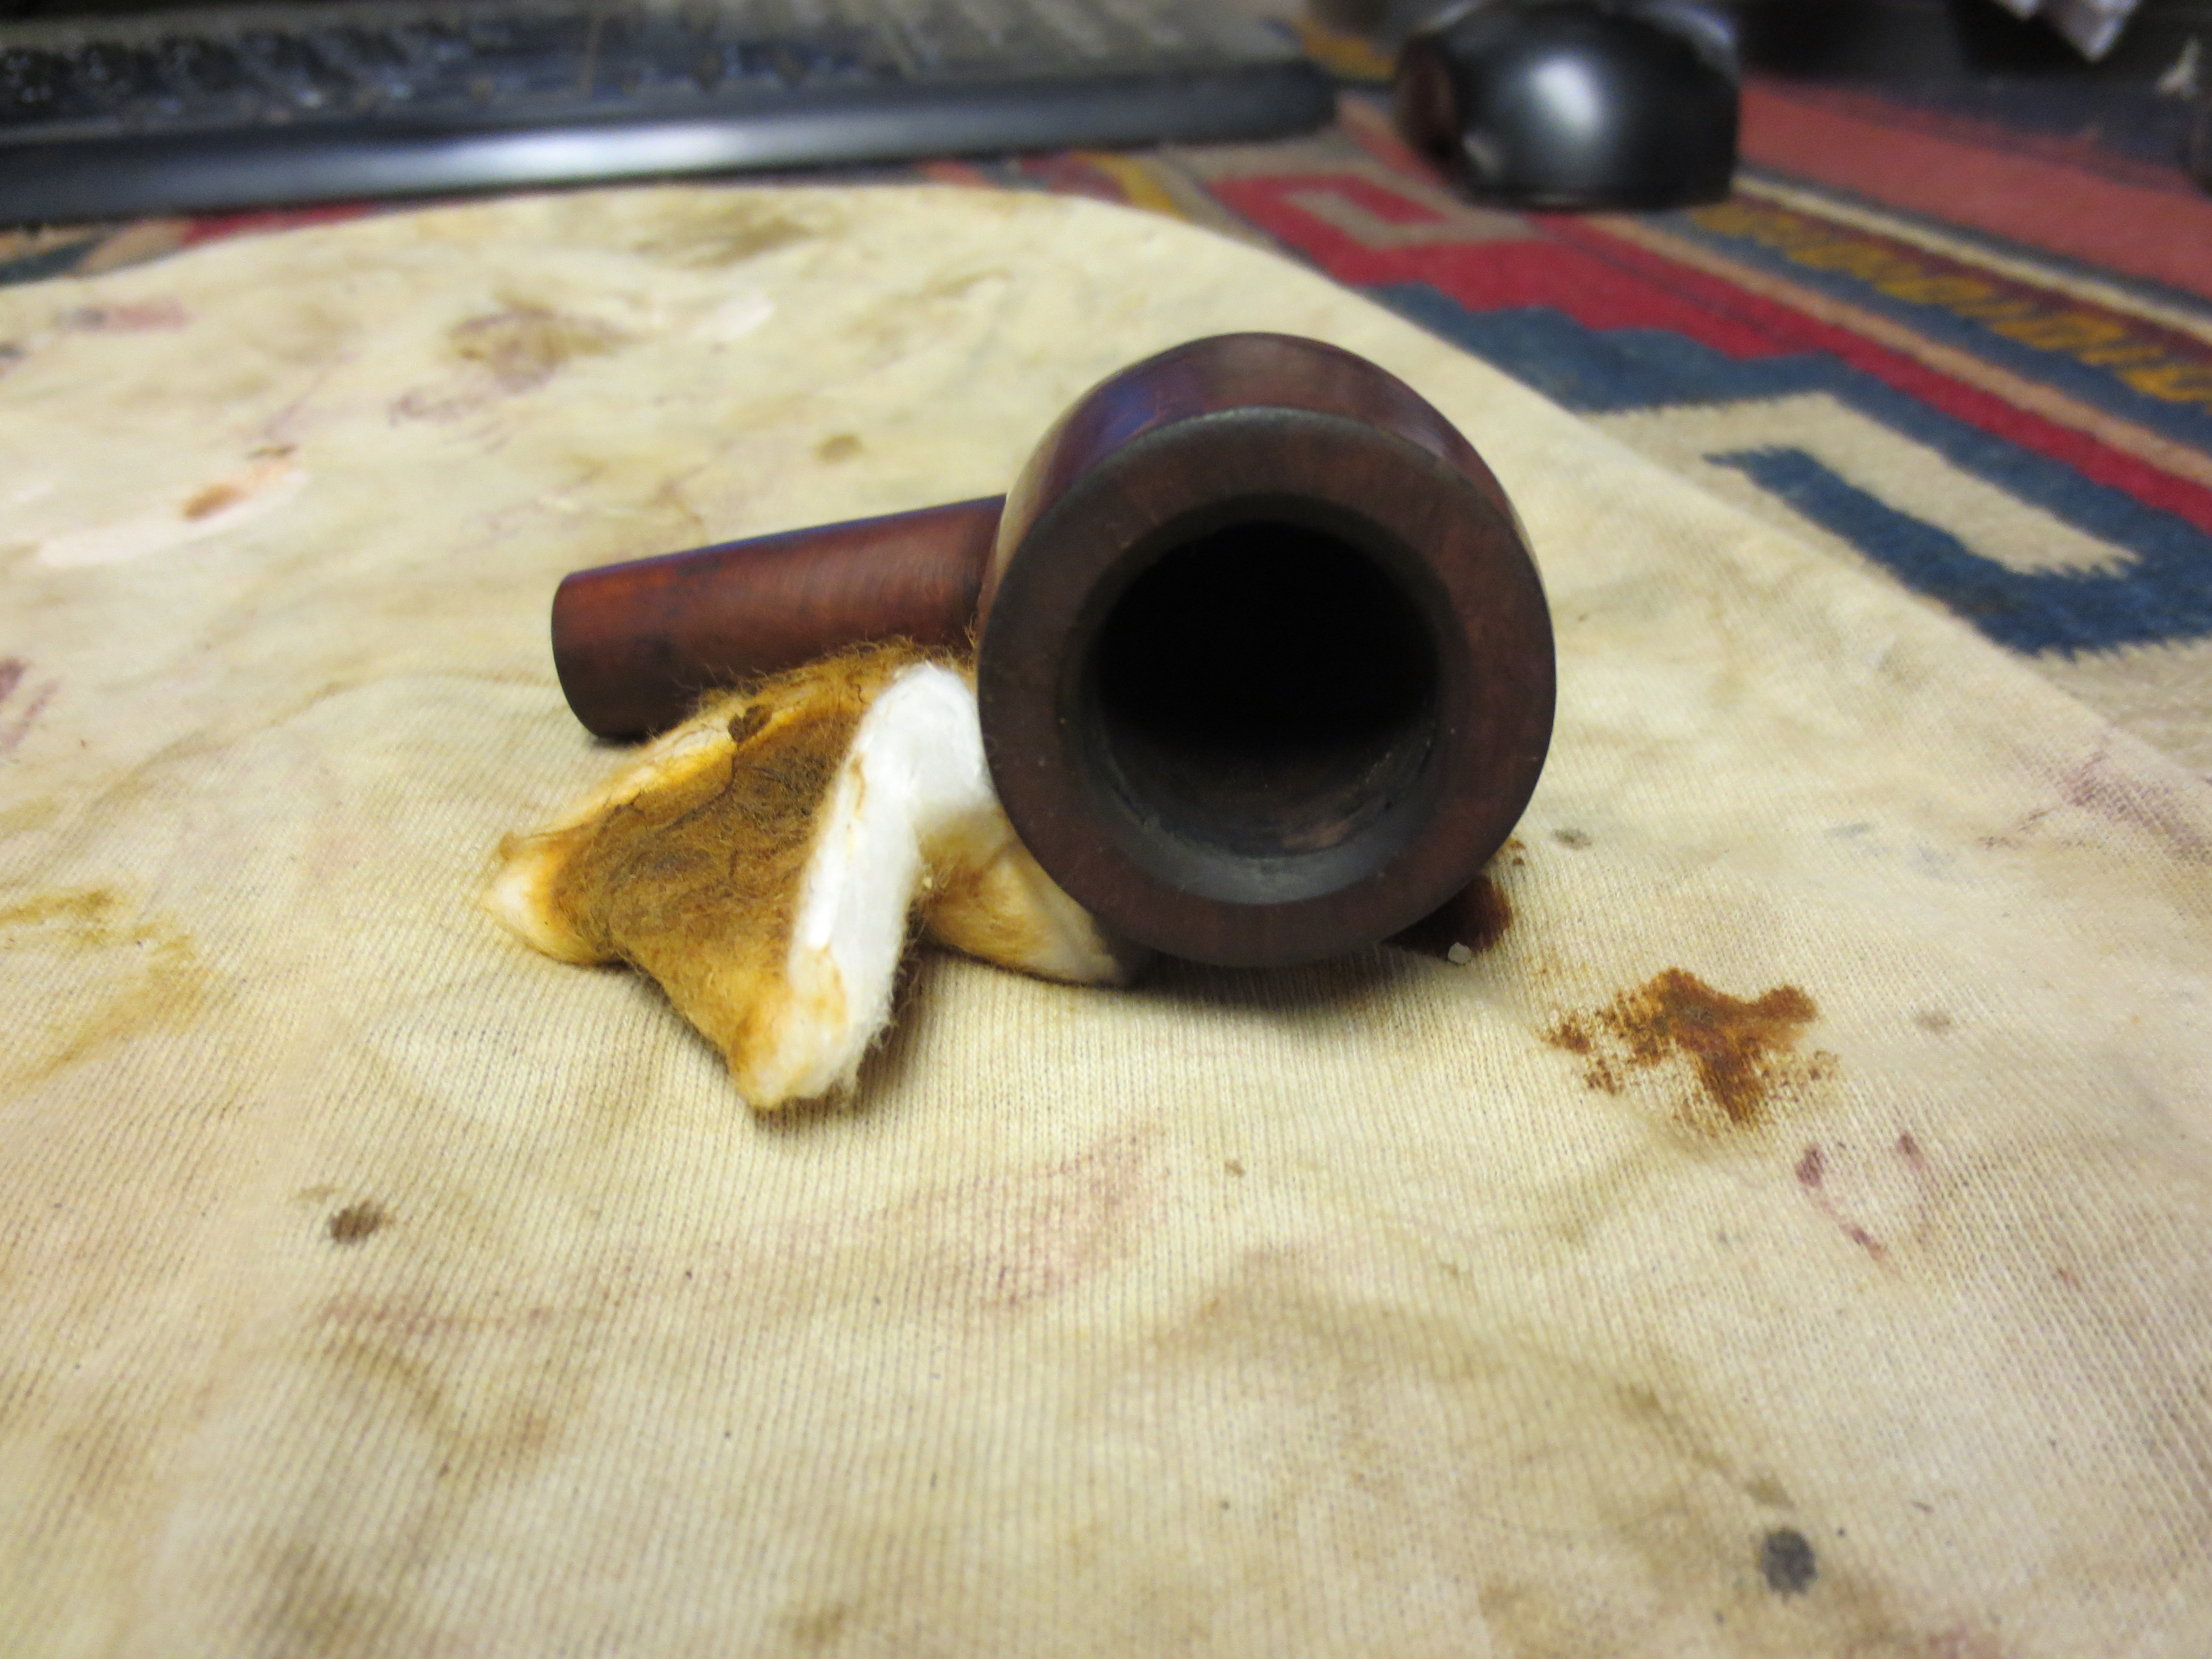
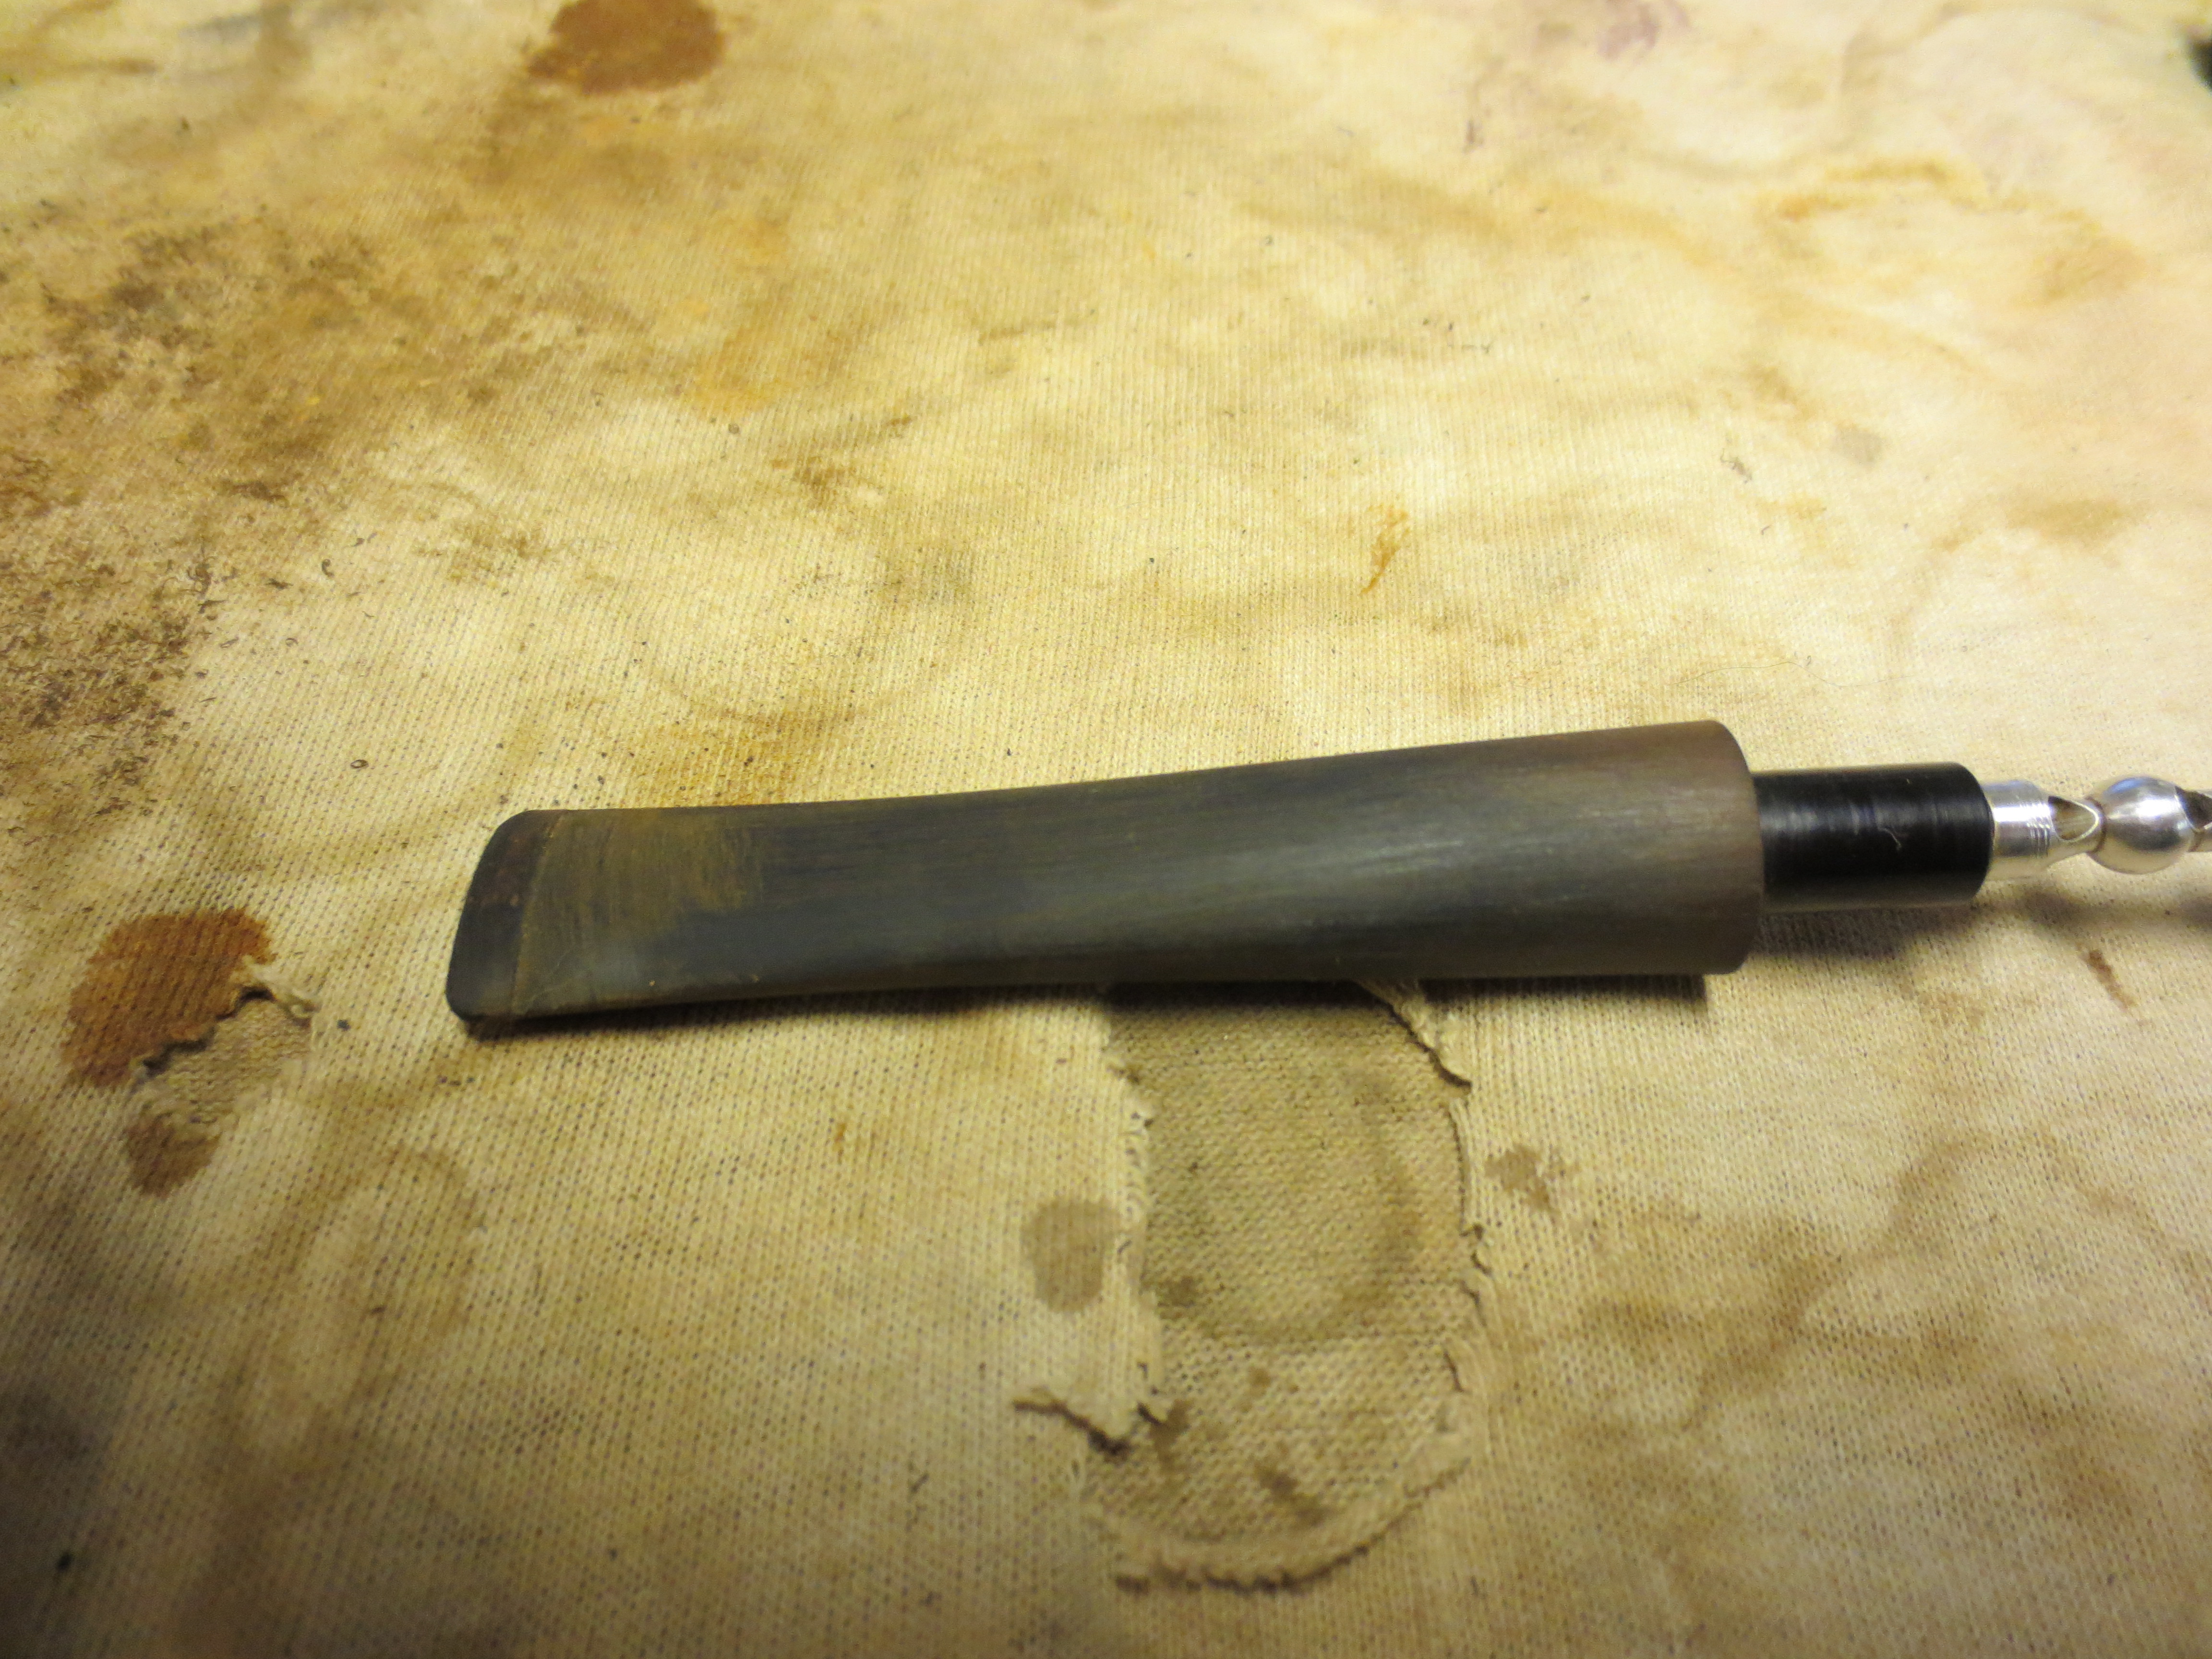
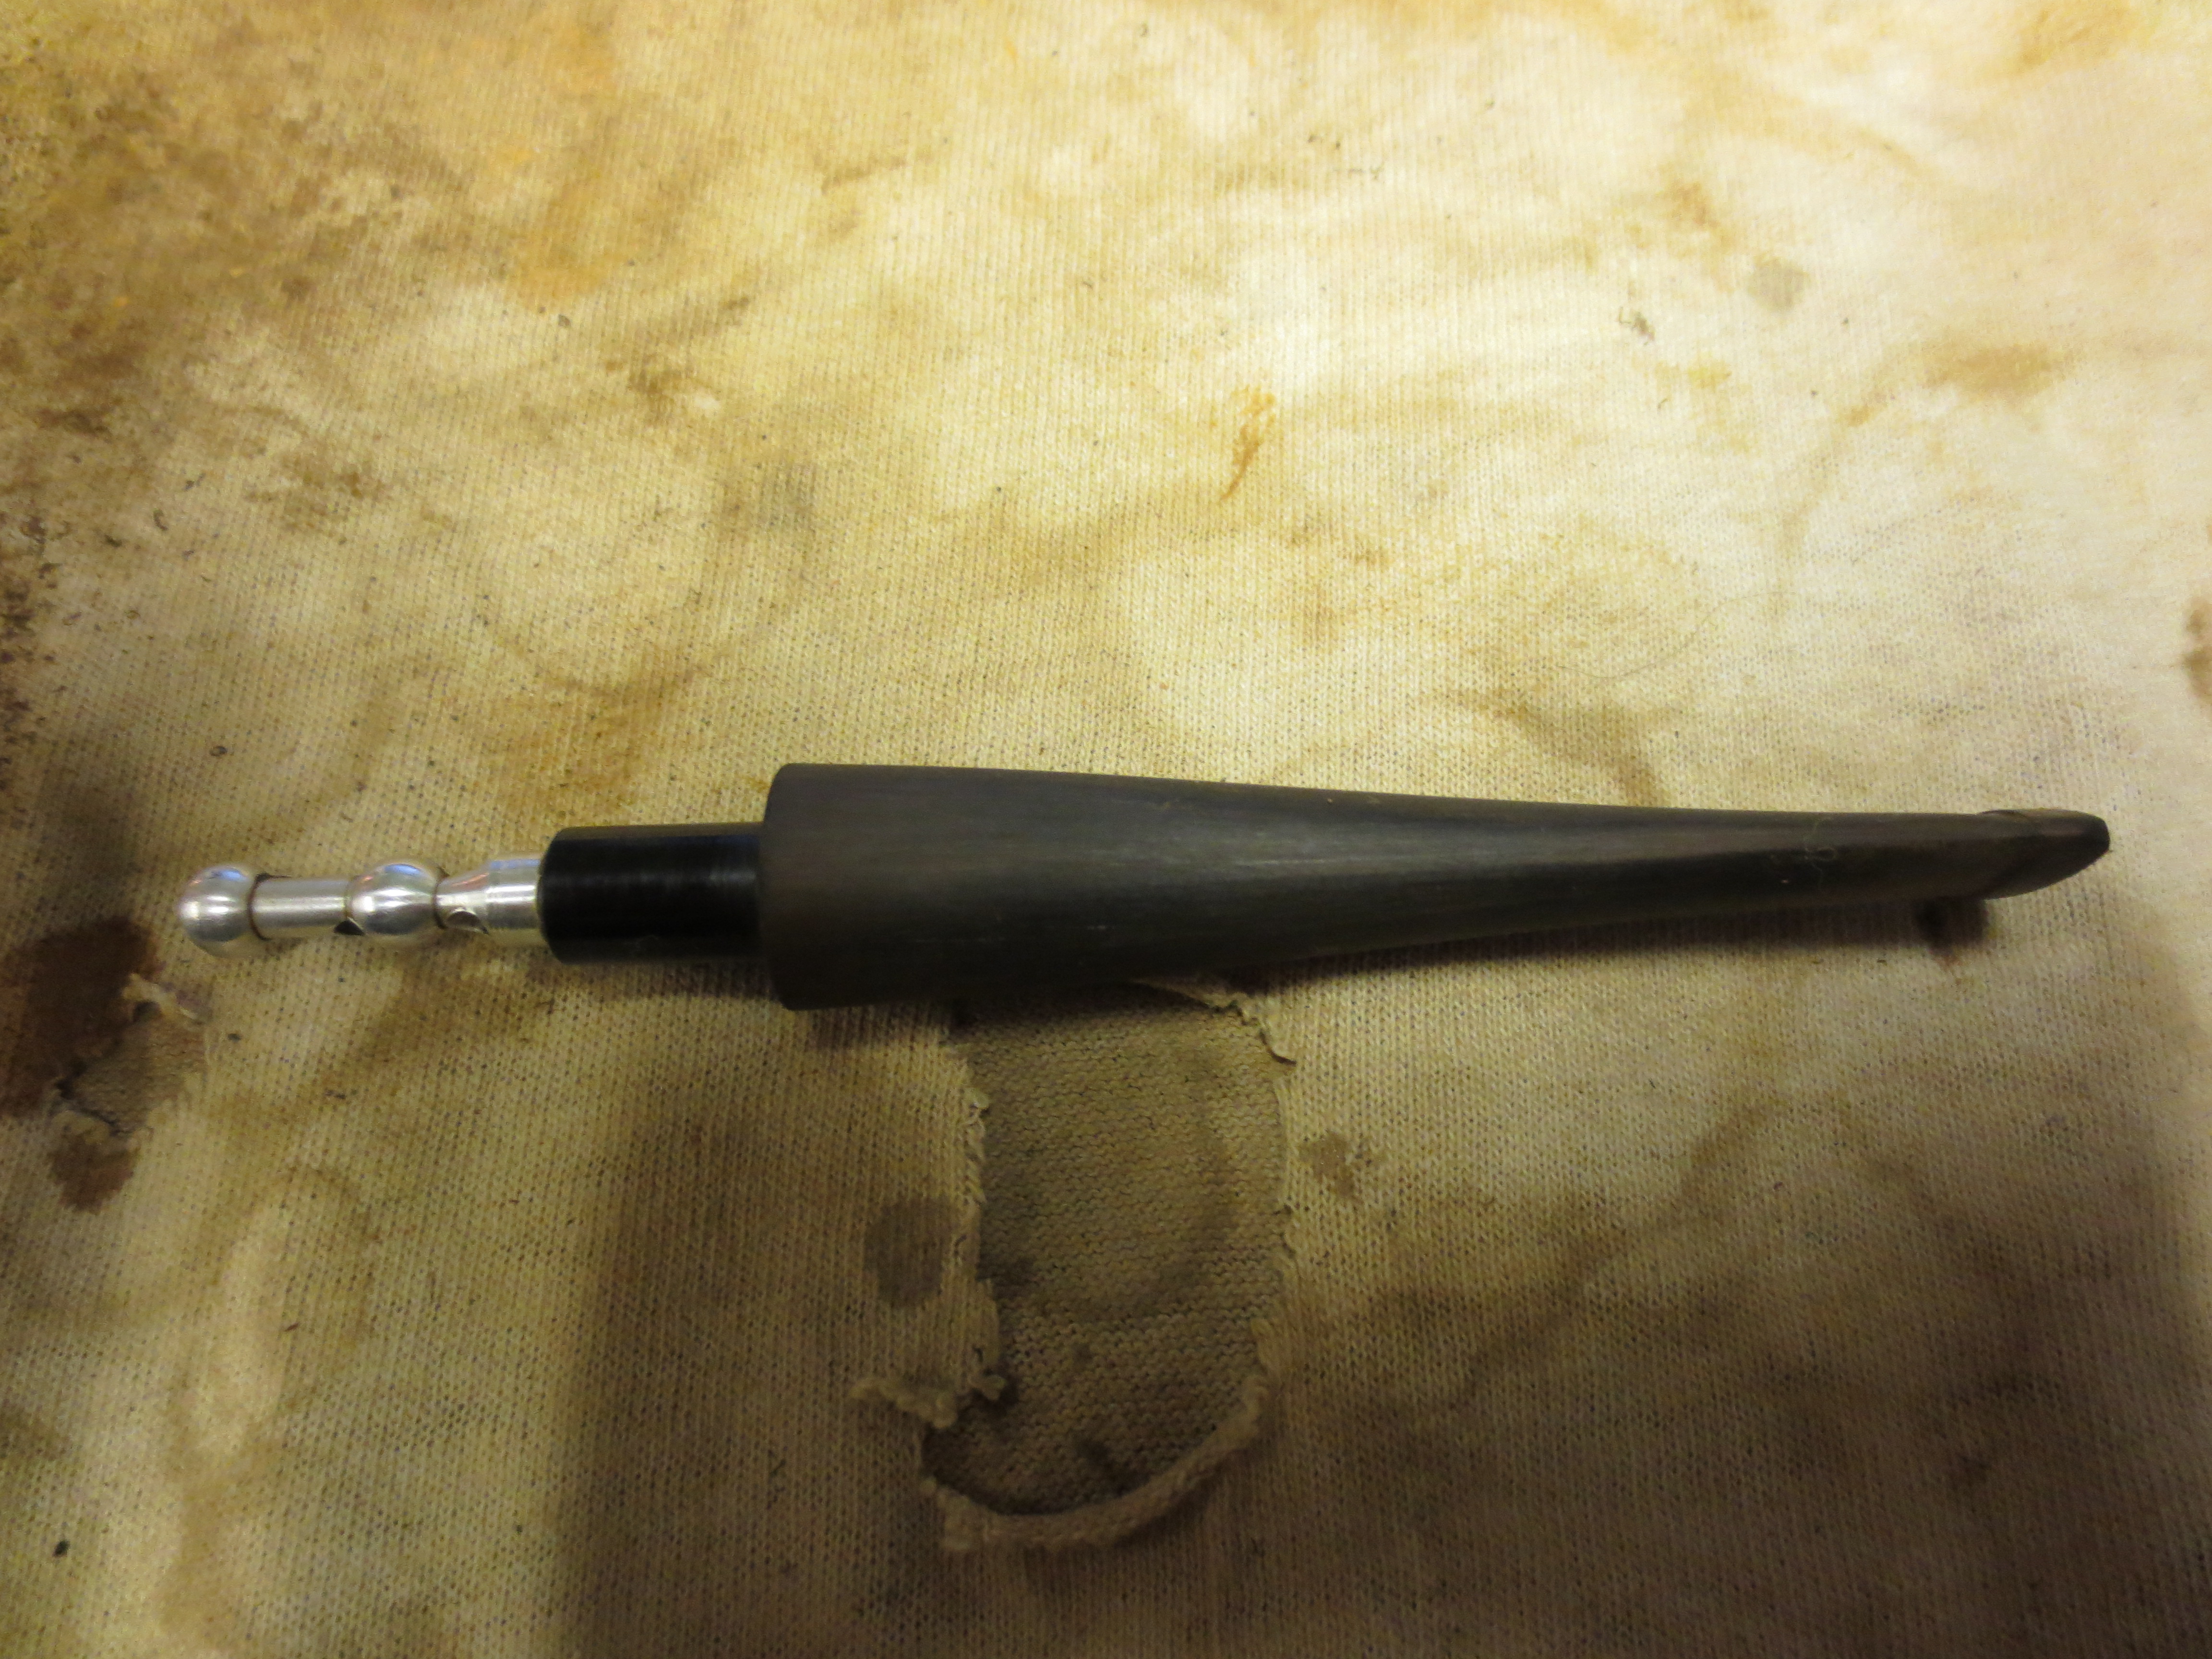
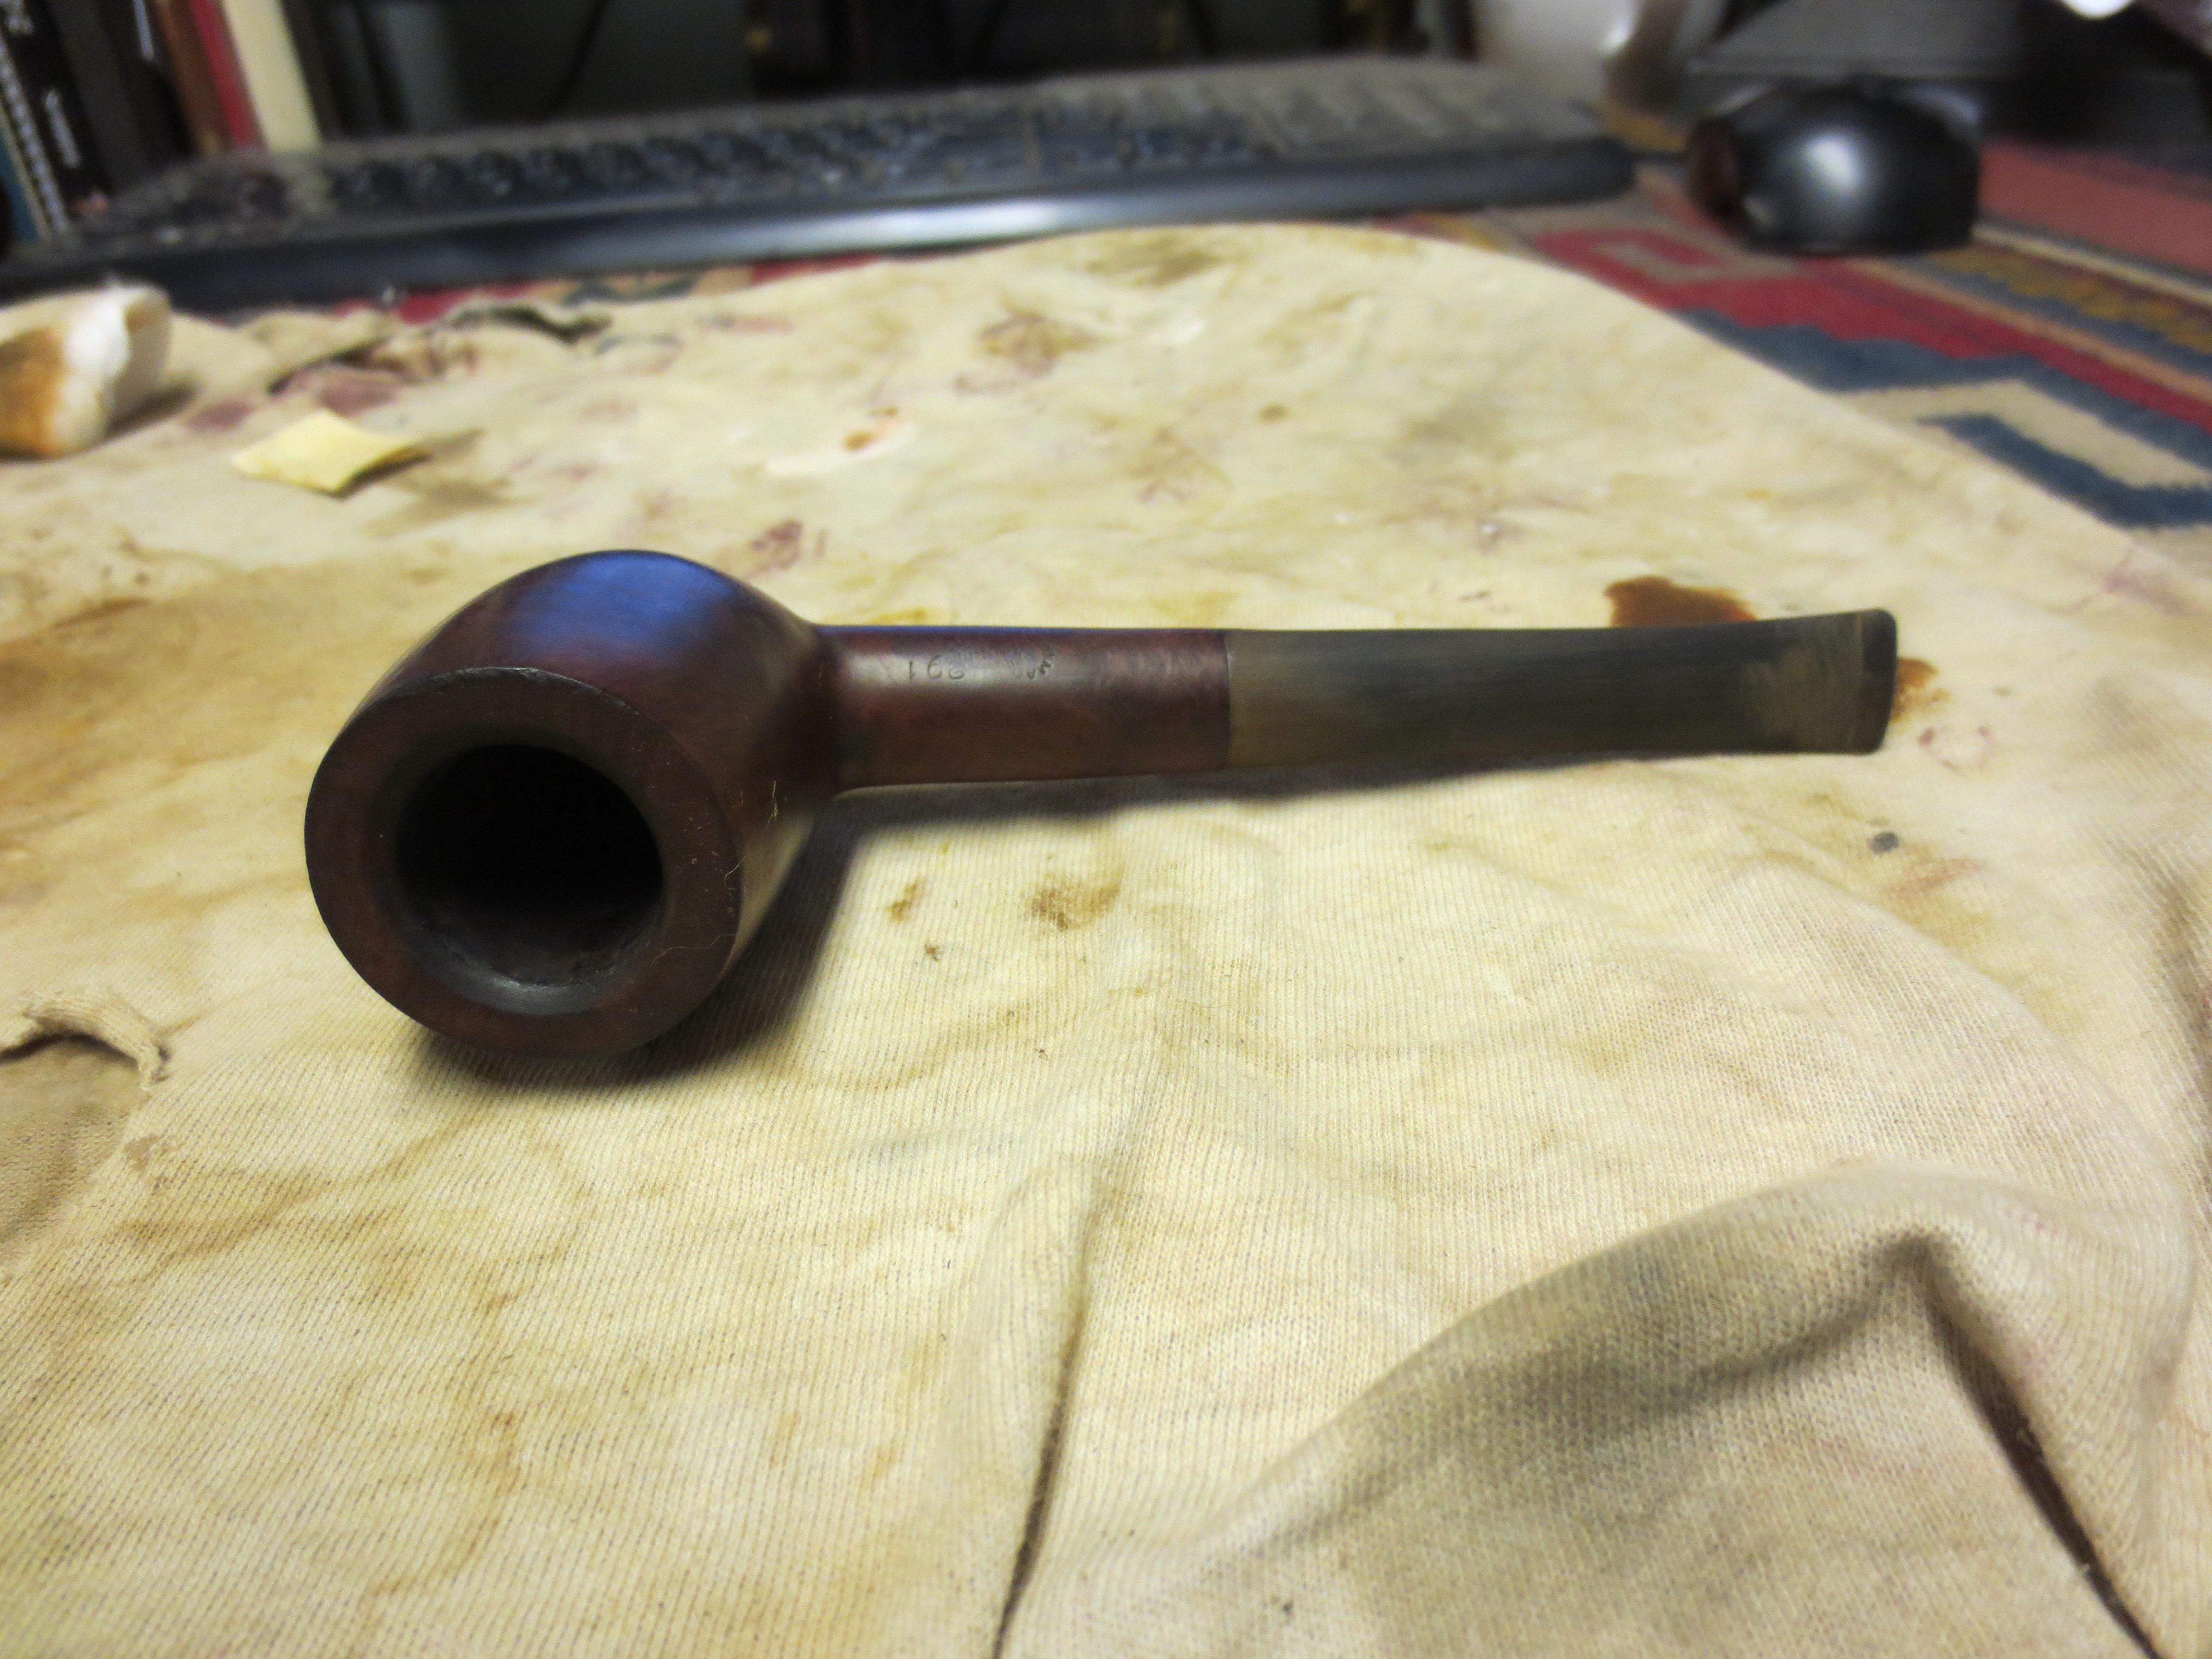
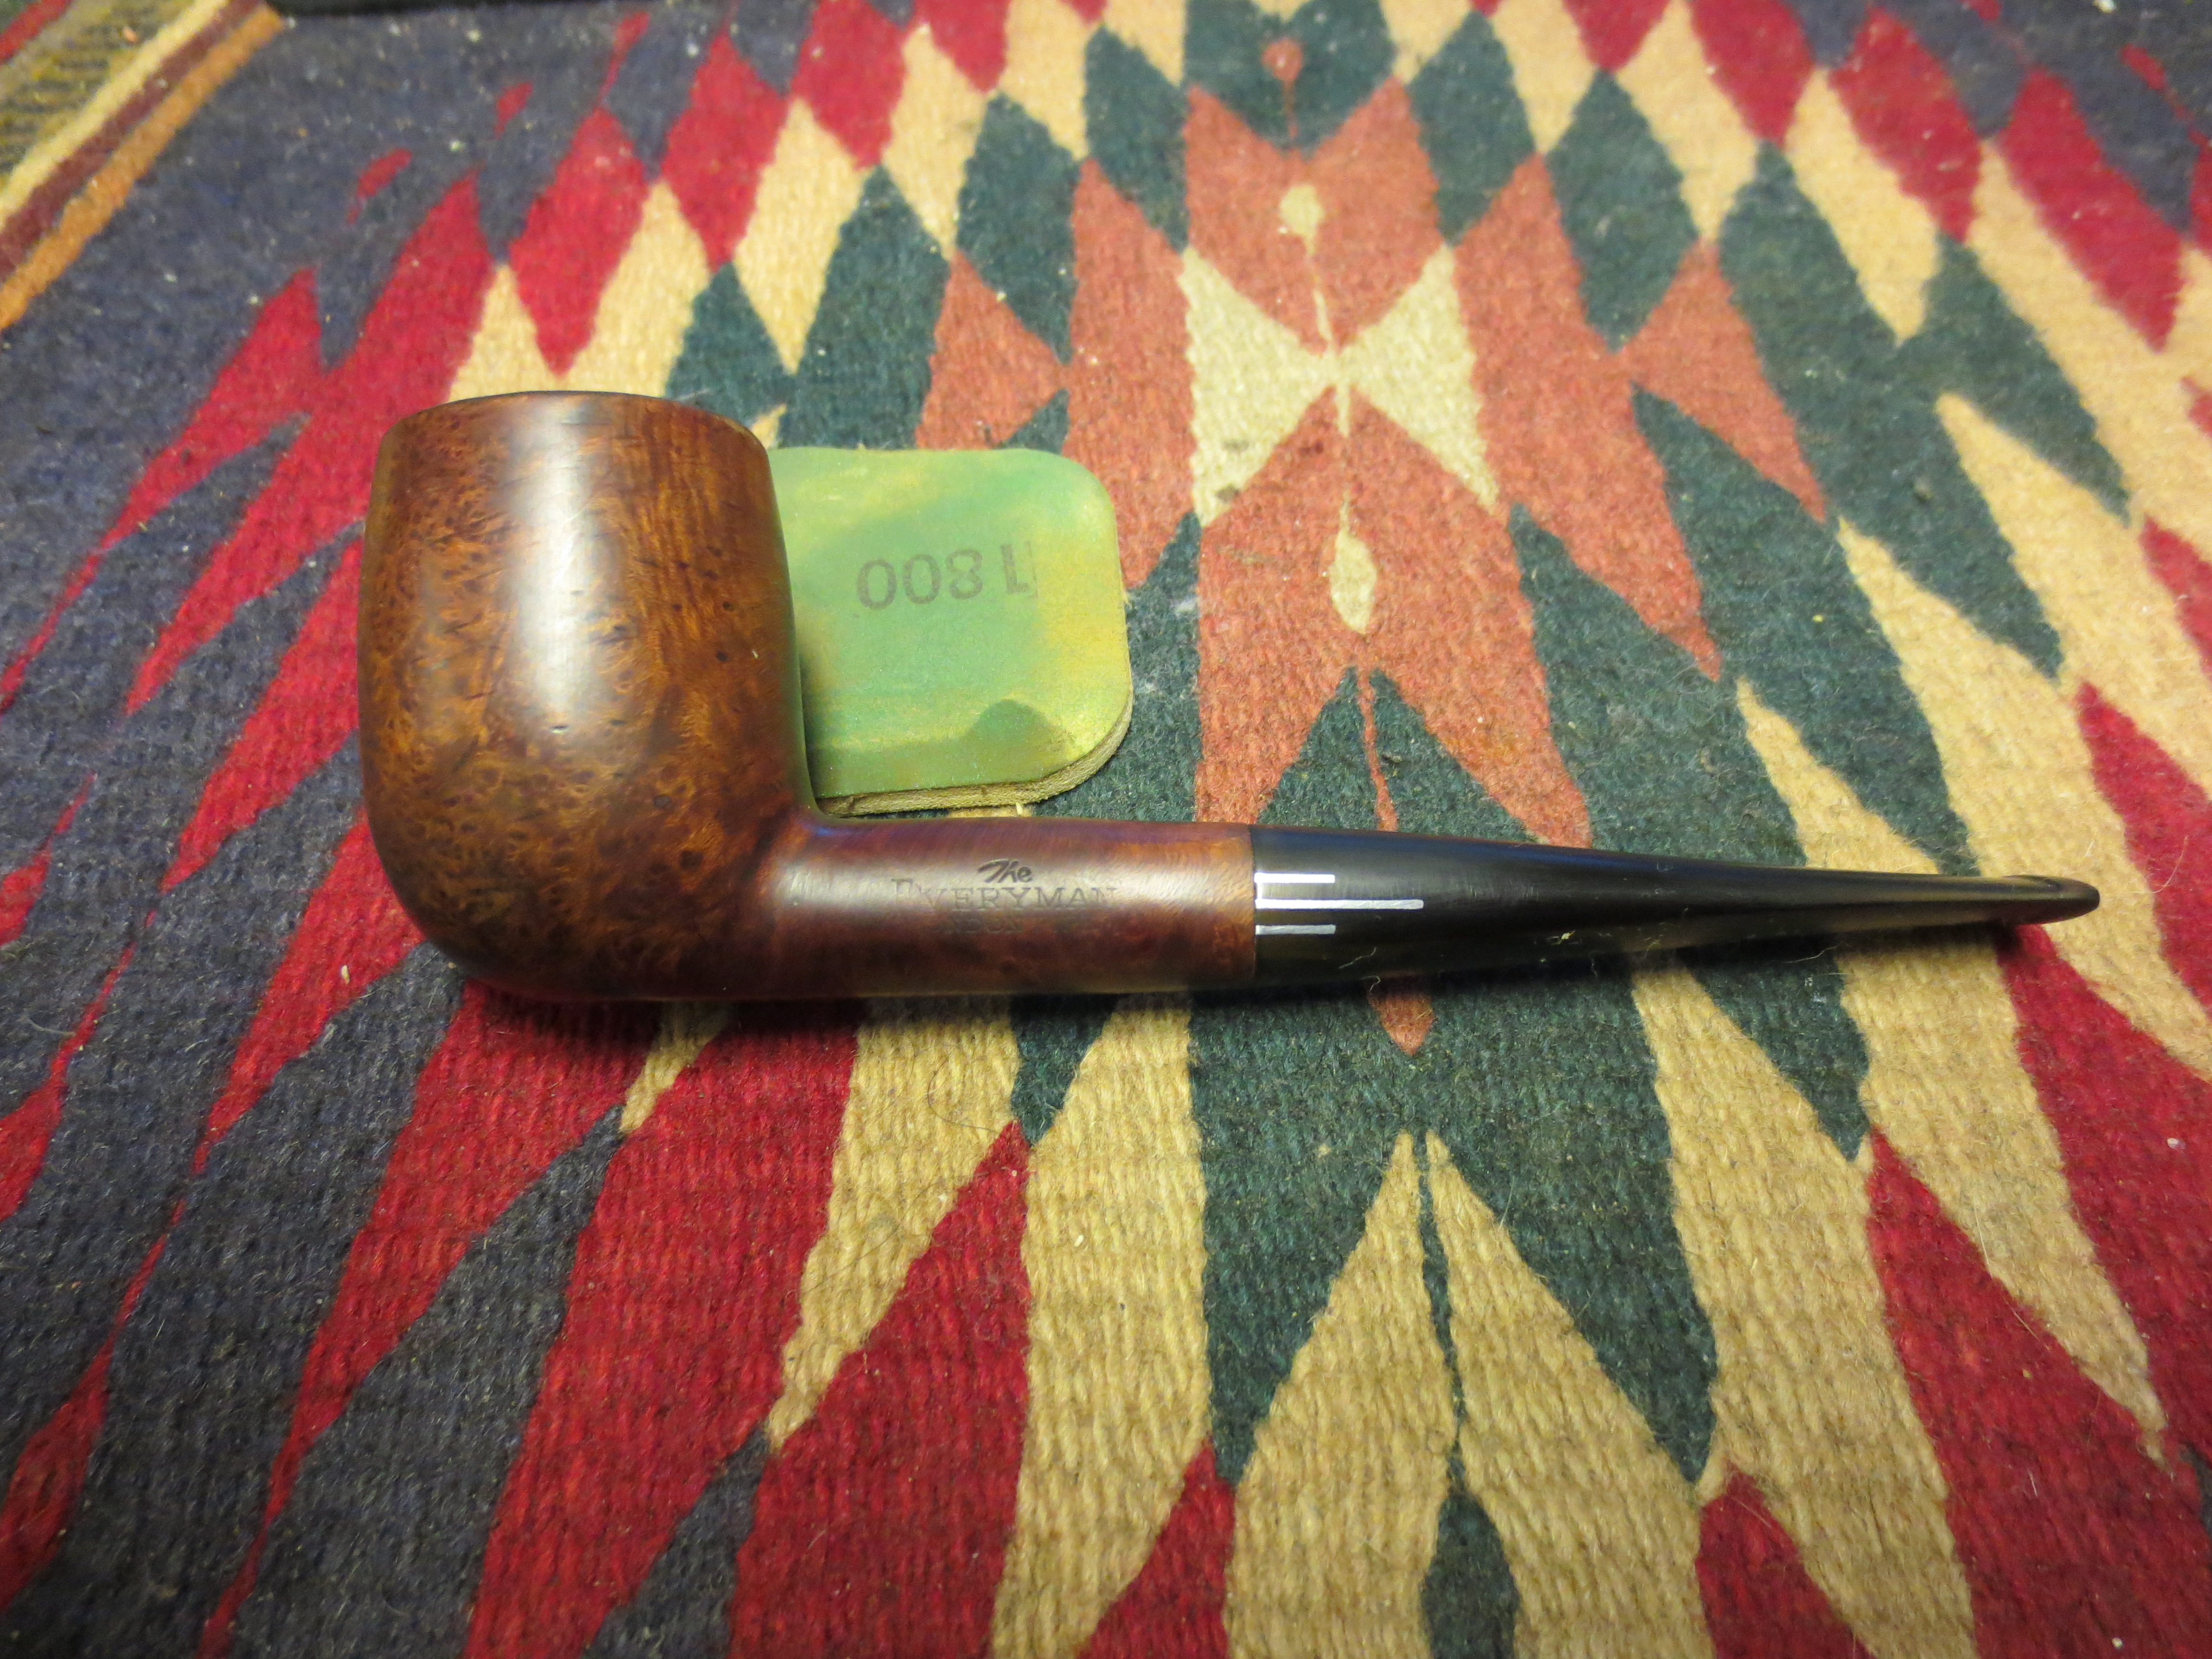
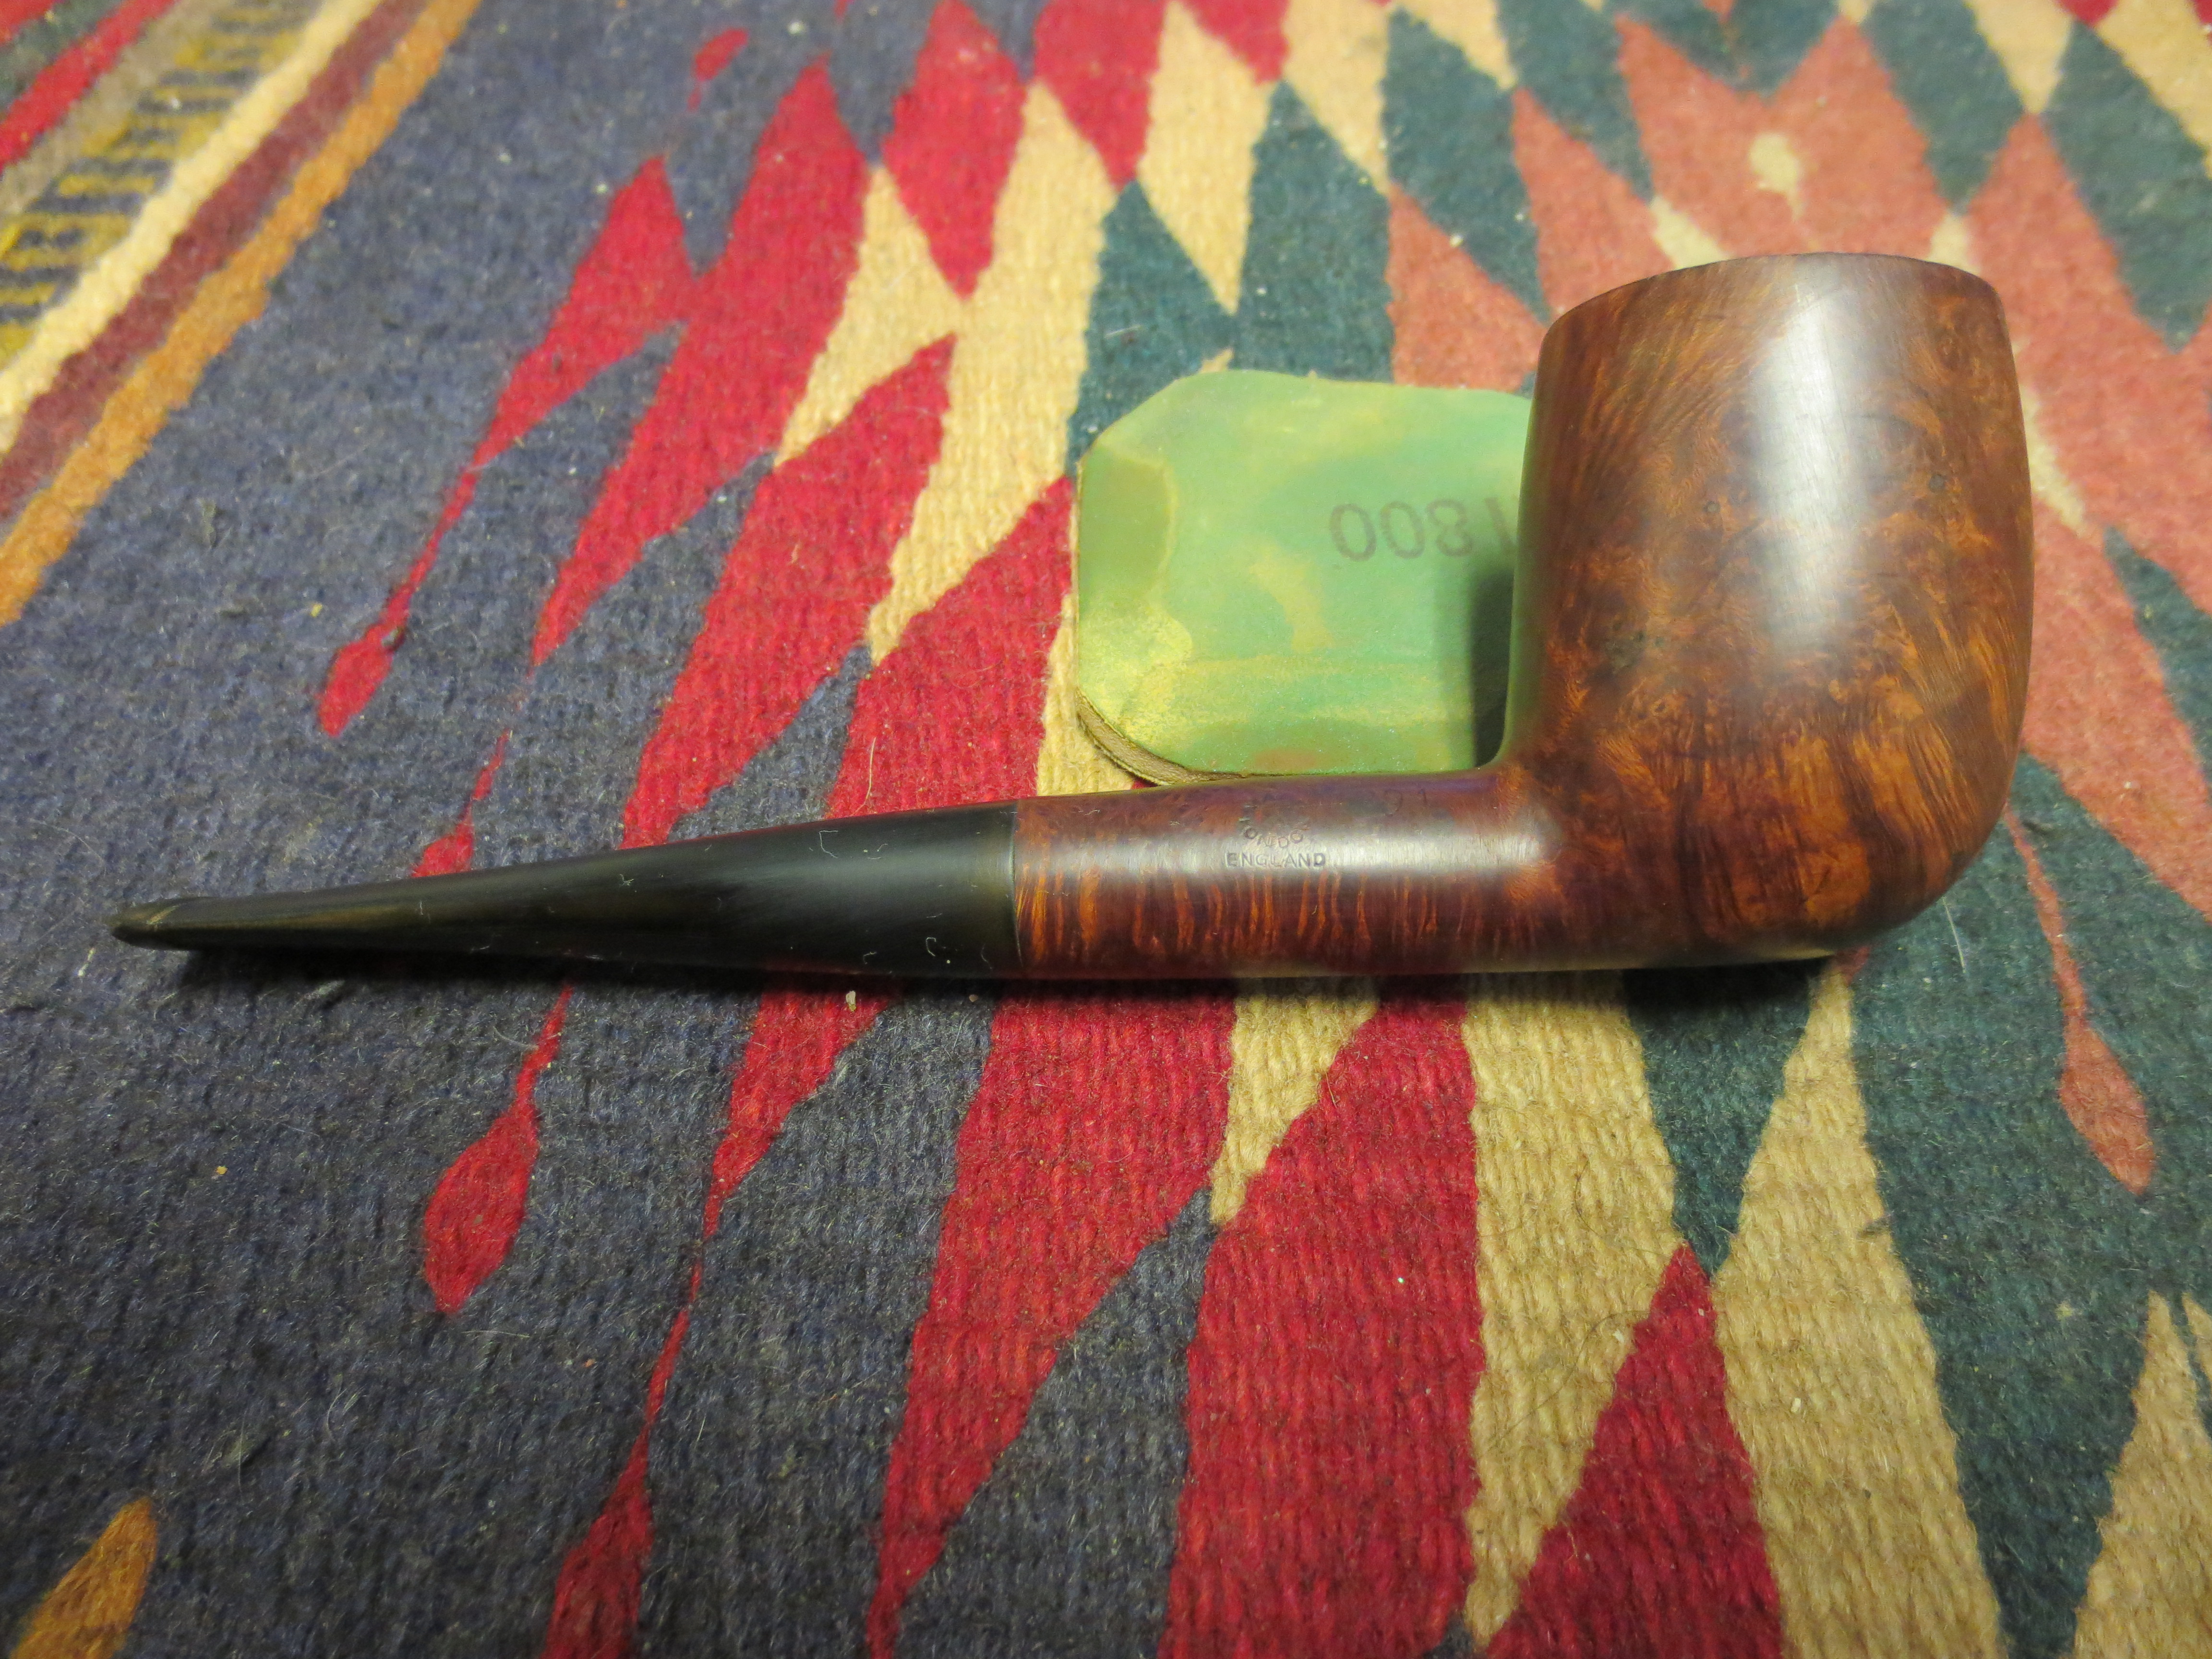
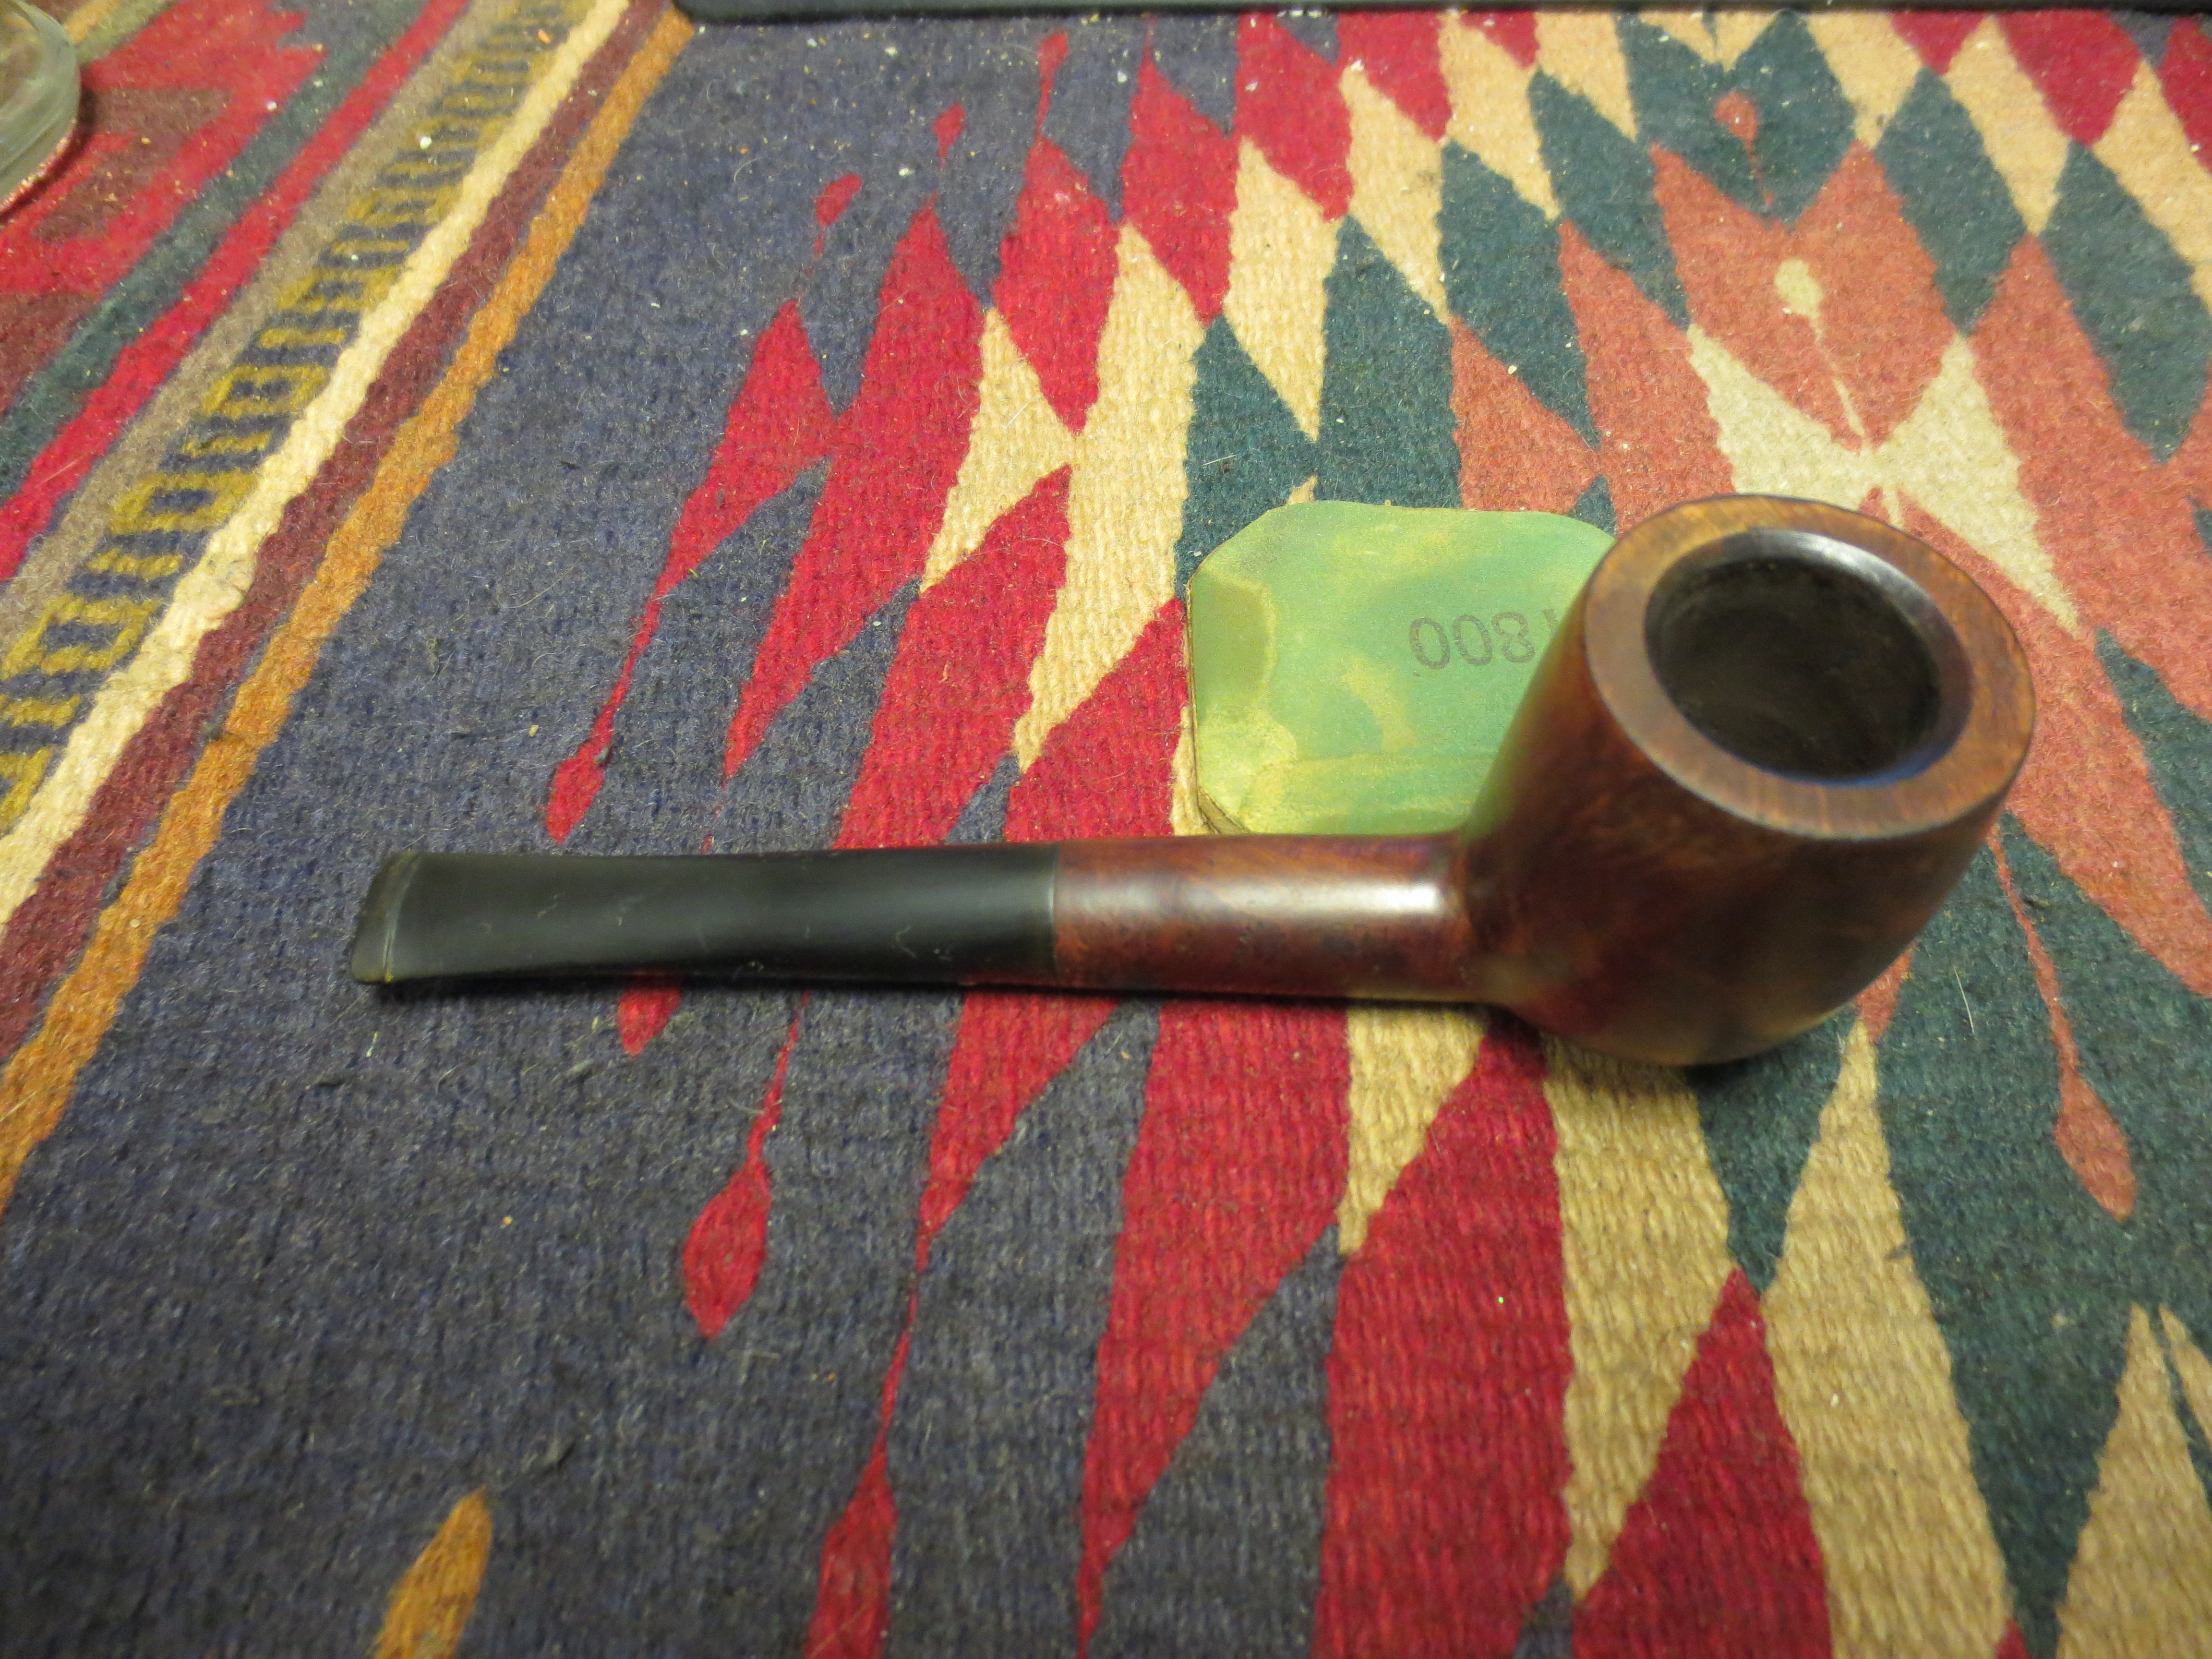
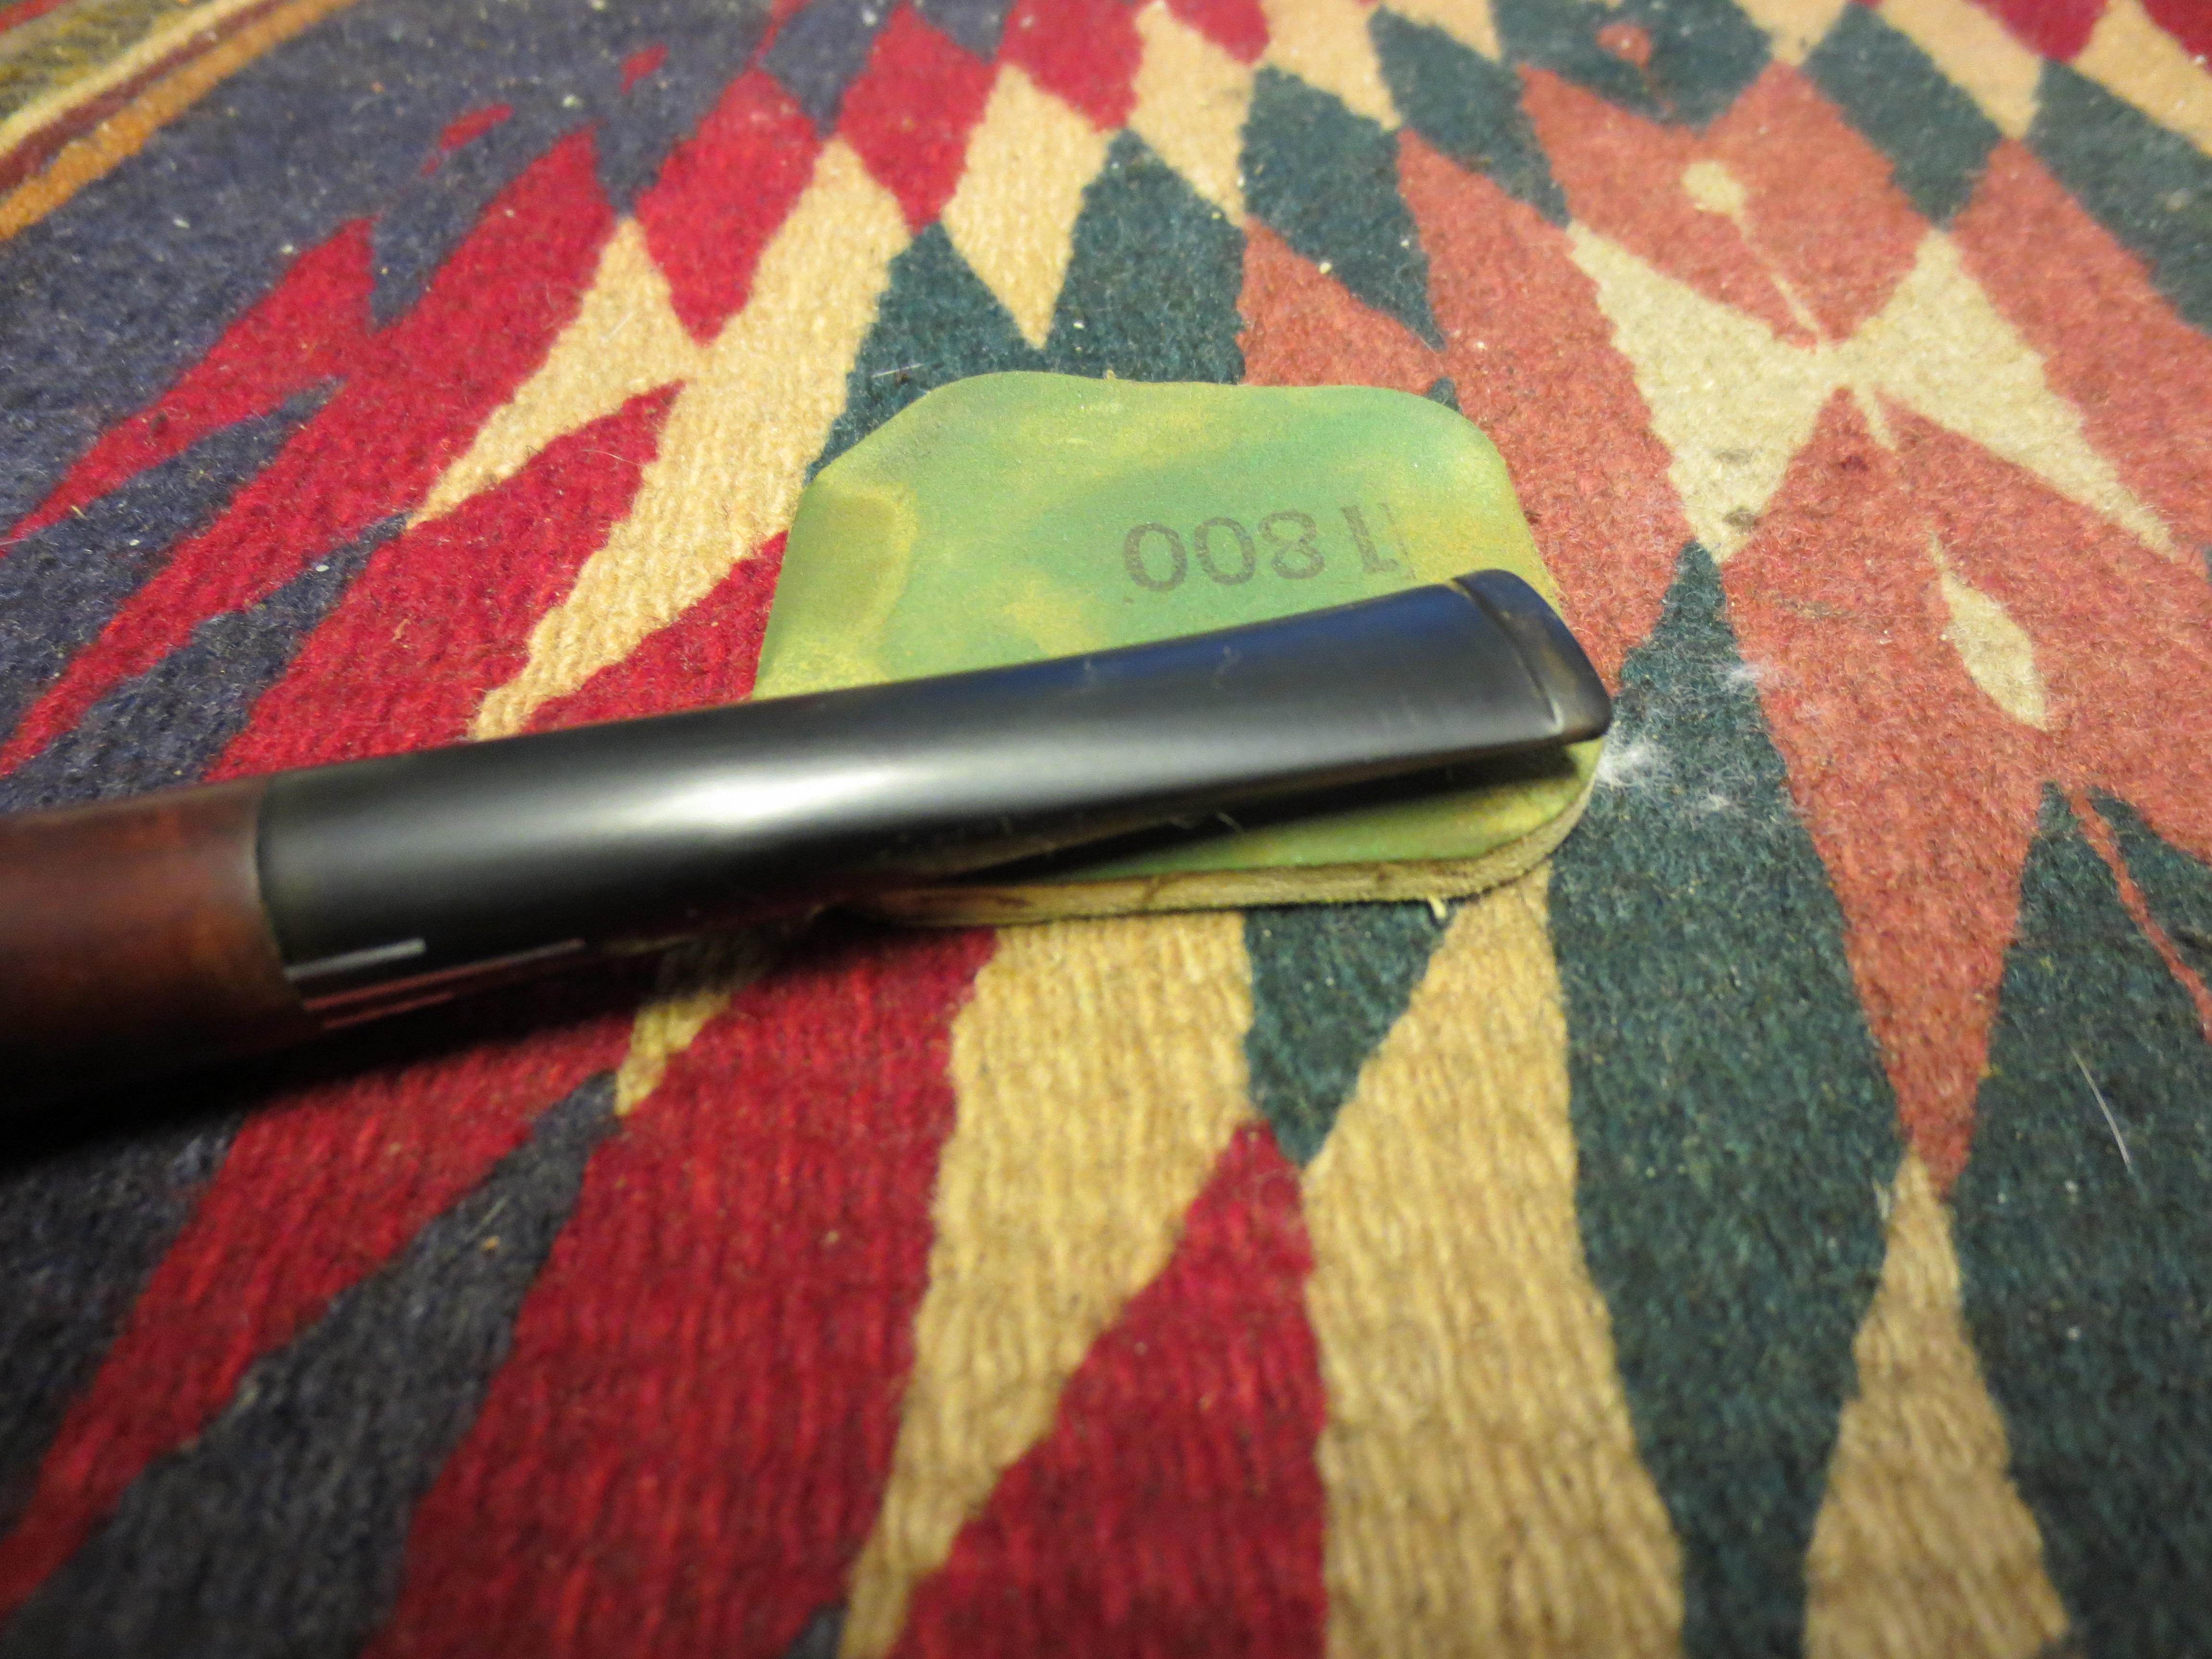
This is the third of the lot that I picked up on EBay that included the BR Israeli Apple and the Richmond Oddity. This one is stamped The Everyman over London Pipe on the left side of the shank. On the right side it is stamped Made in London in a circle over England and the shape number 291. This one came to me in rough shape. The bowl showed promise of great grain under the grime. The finish was shot but the briar was undented. The rim was caked with tars and oils but there were no dents or burns. Even the beveled inner edge of the bowl was clean under the grime. The bowl had a thick crumbly cake that reeked of the same sweet aromatic smell as the other two pipes in this lot. There was one rather large fill on the right side of the bowl that was hard and dark. The stem was oxidized and a major chunk of vulcanite had been chomped off. It was a large bite out of the top of the stem extending back along the stem about a ¼ inch or more. The fifth photo below shows the extent of the damage to the stem. Since the stem had the Comoy’s three bar logo I did not want to make a new stem for this old pipe but rather look for a way to keep it. The series of four photos below show the state of the pipe when it arrived to my work table.
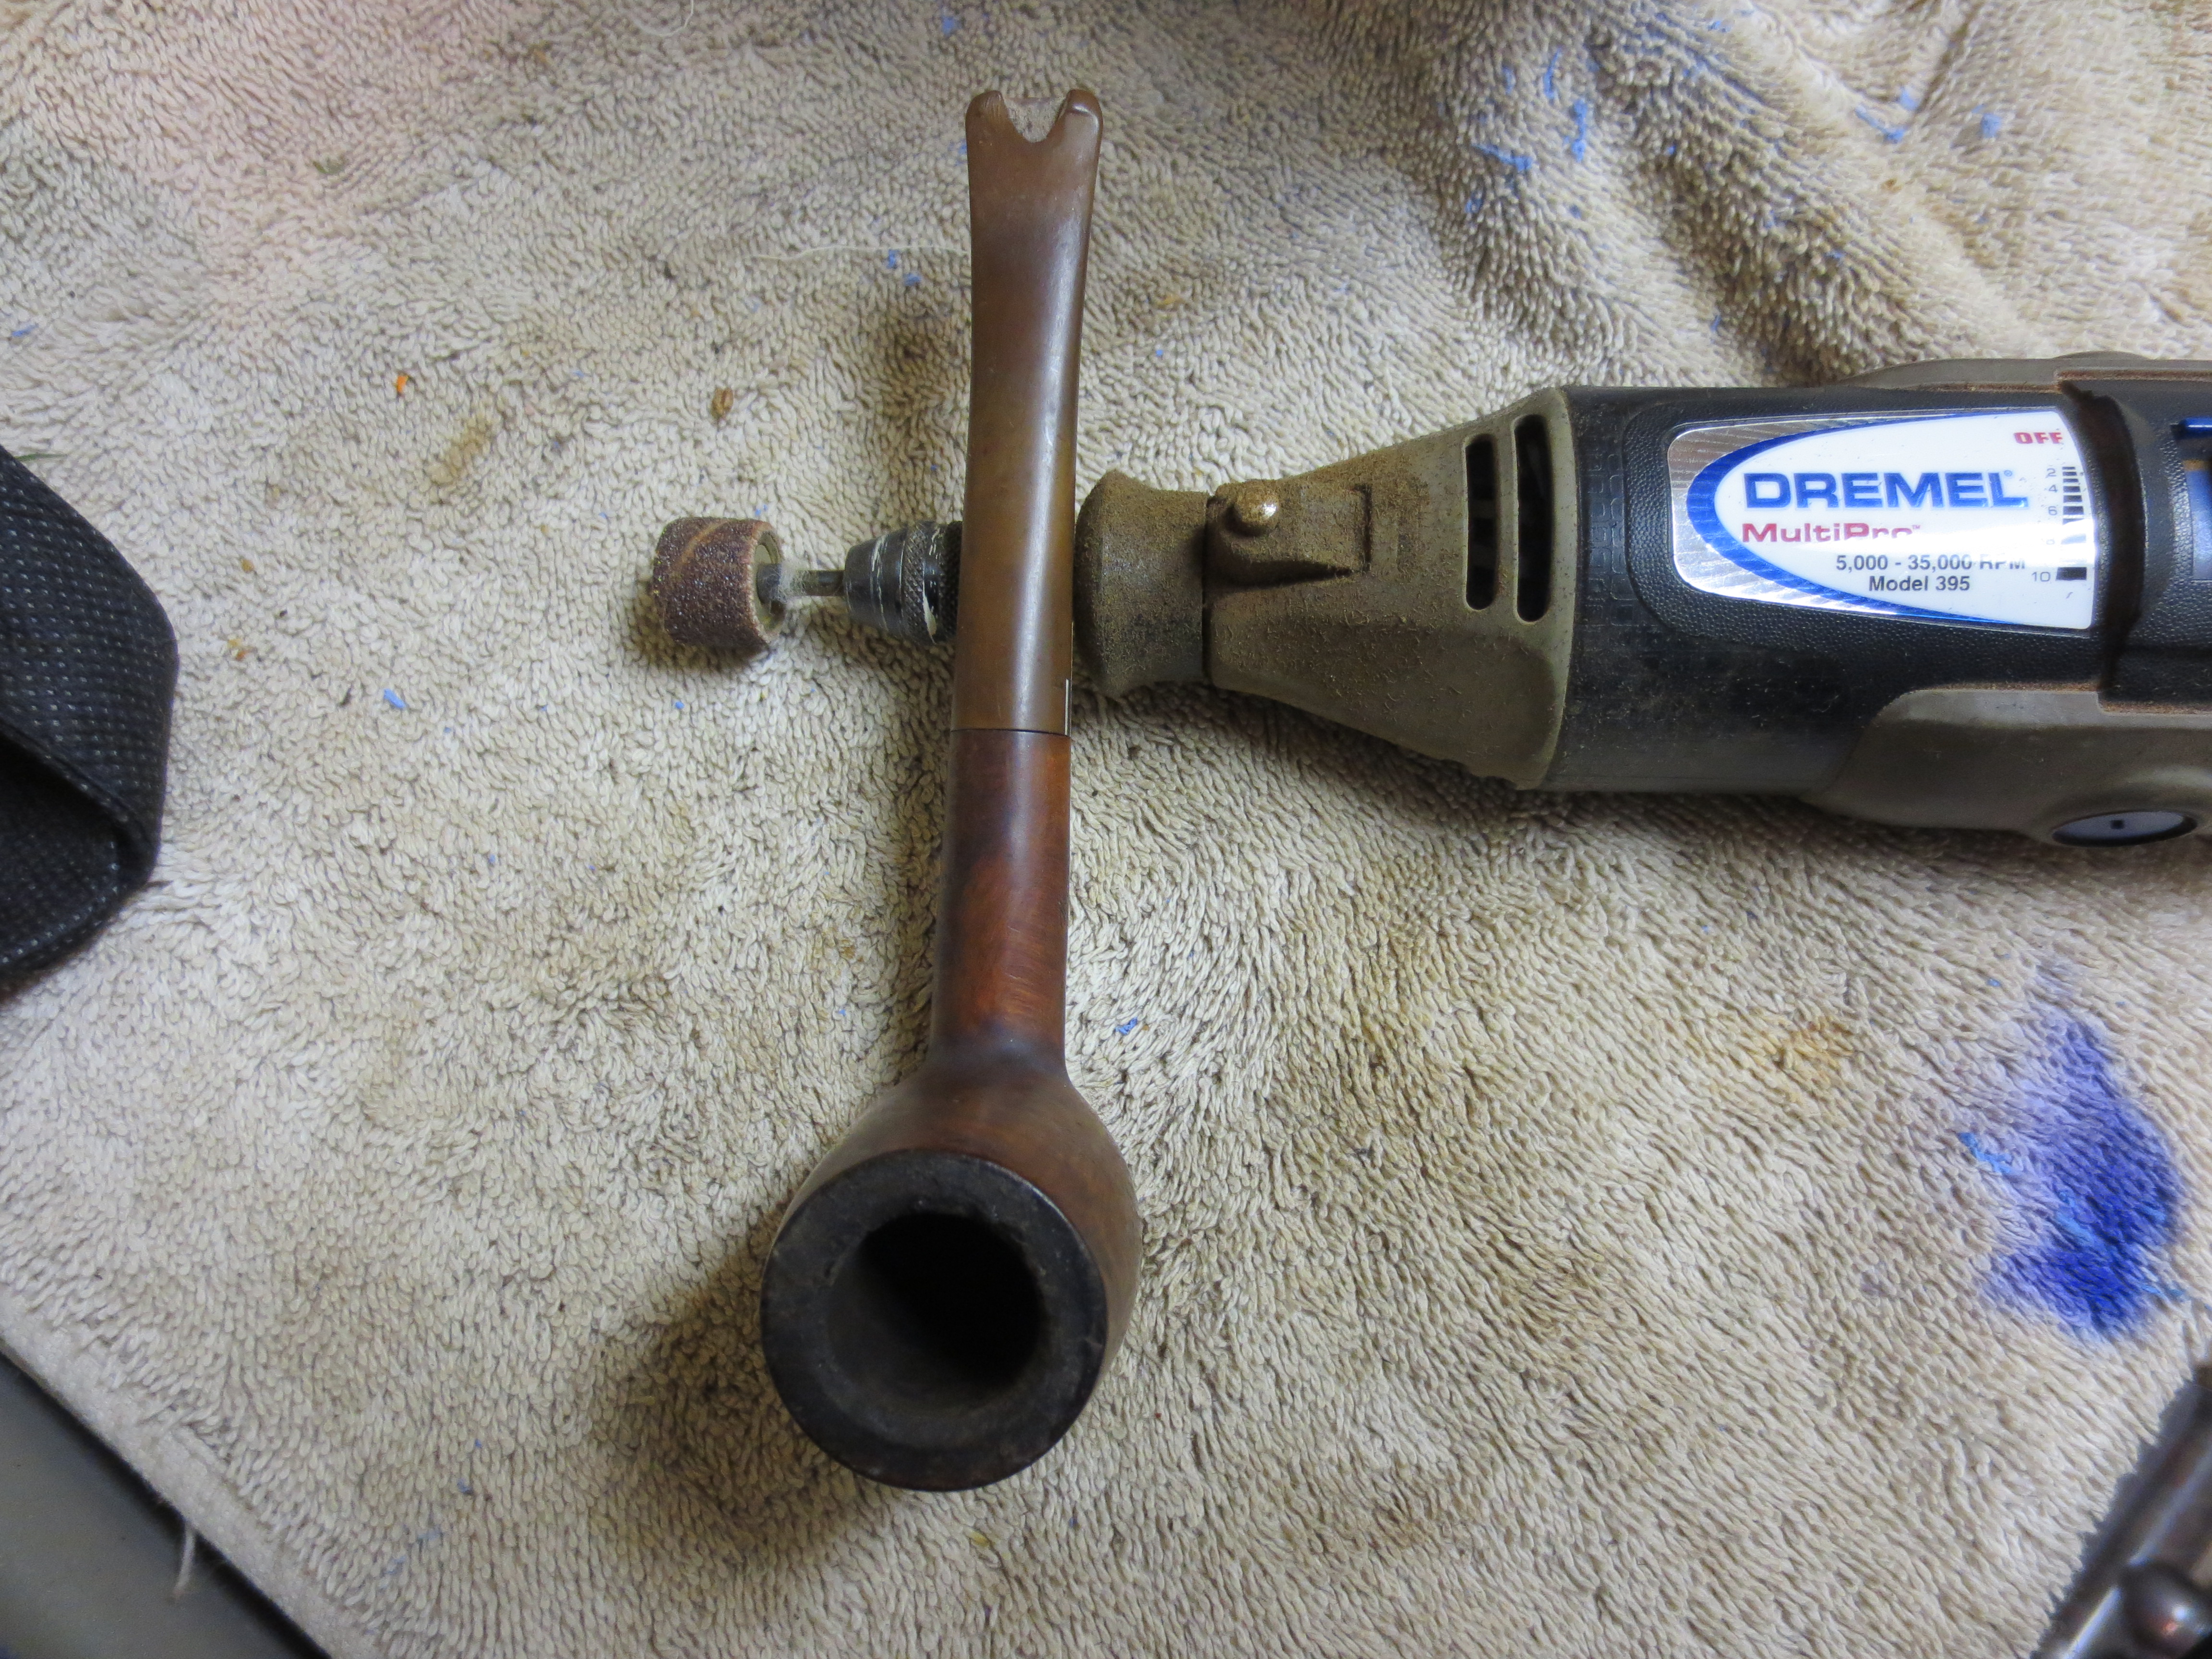
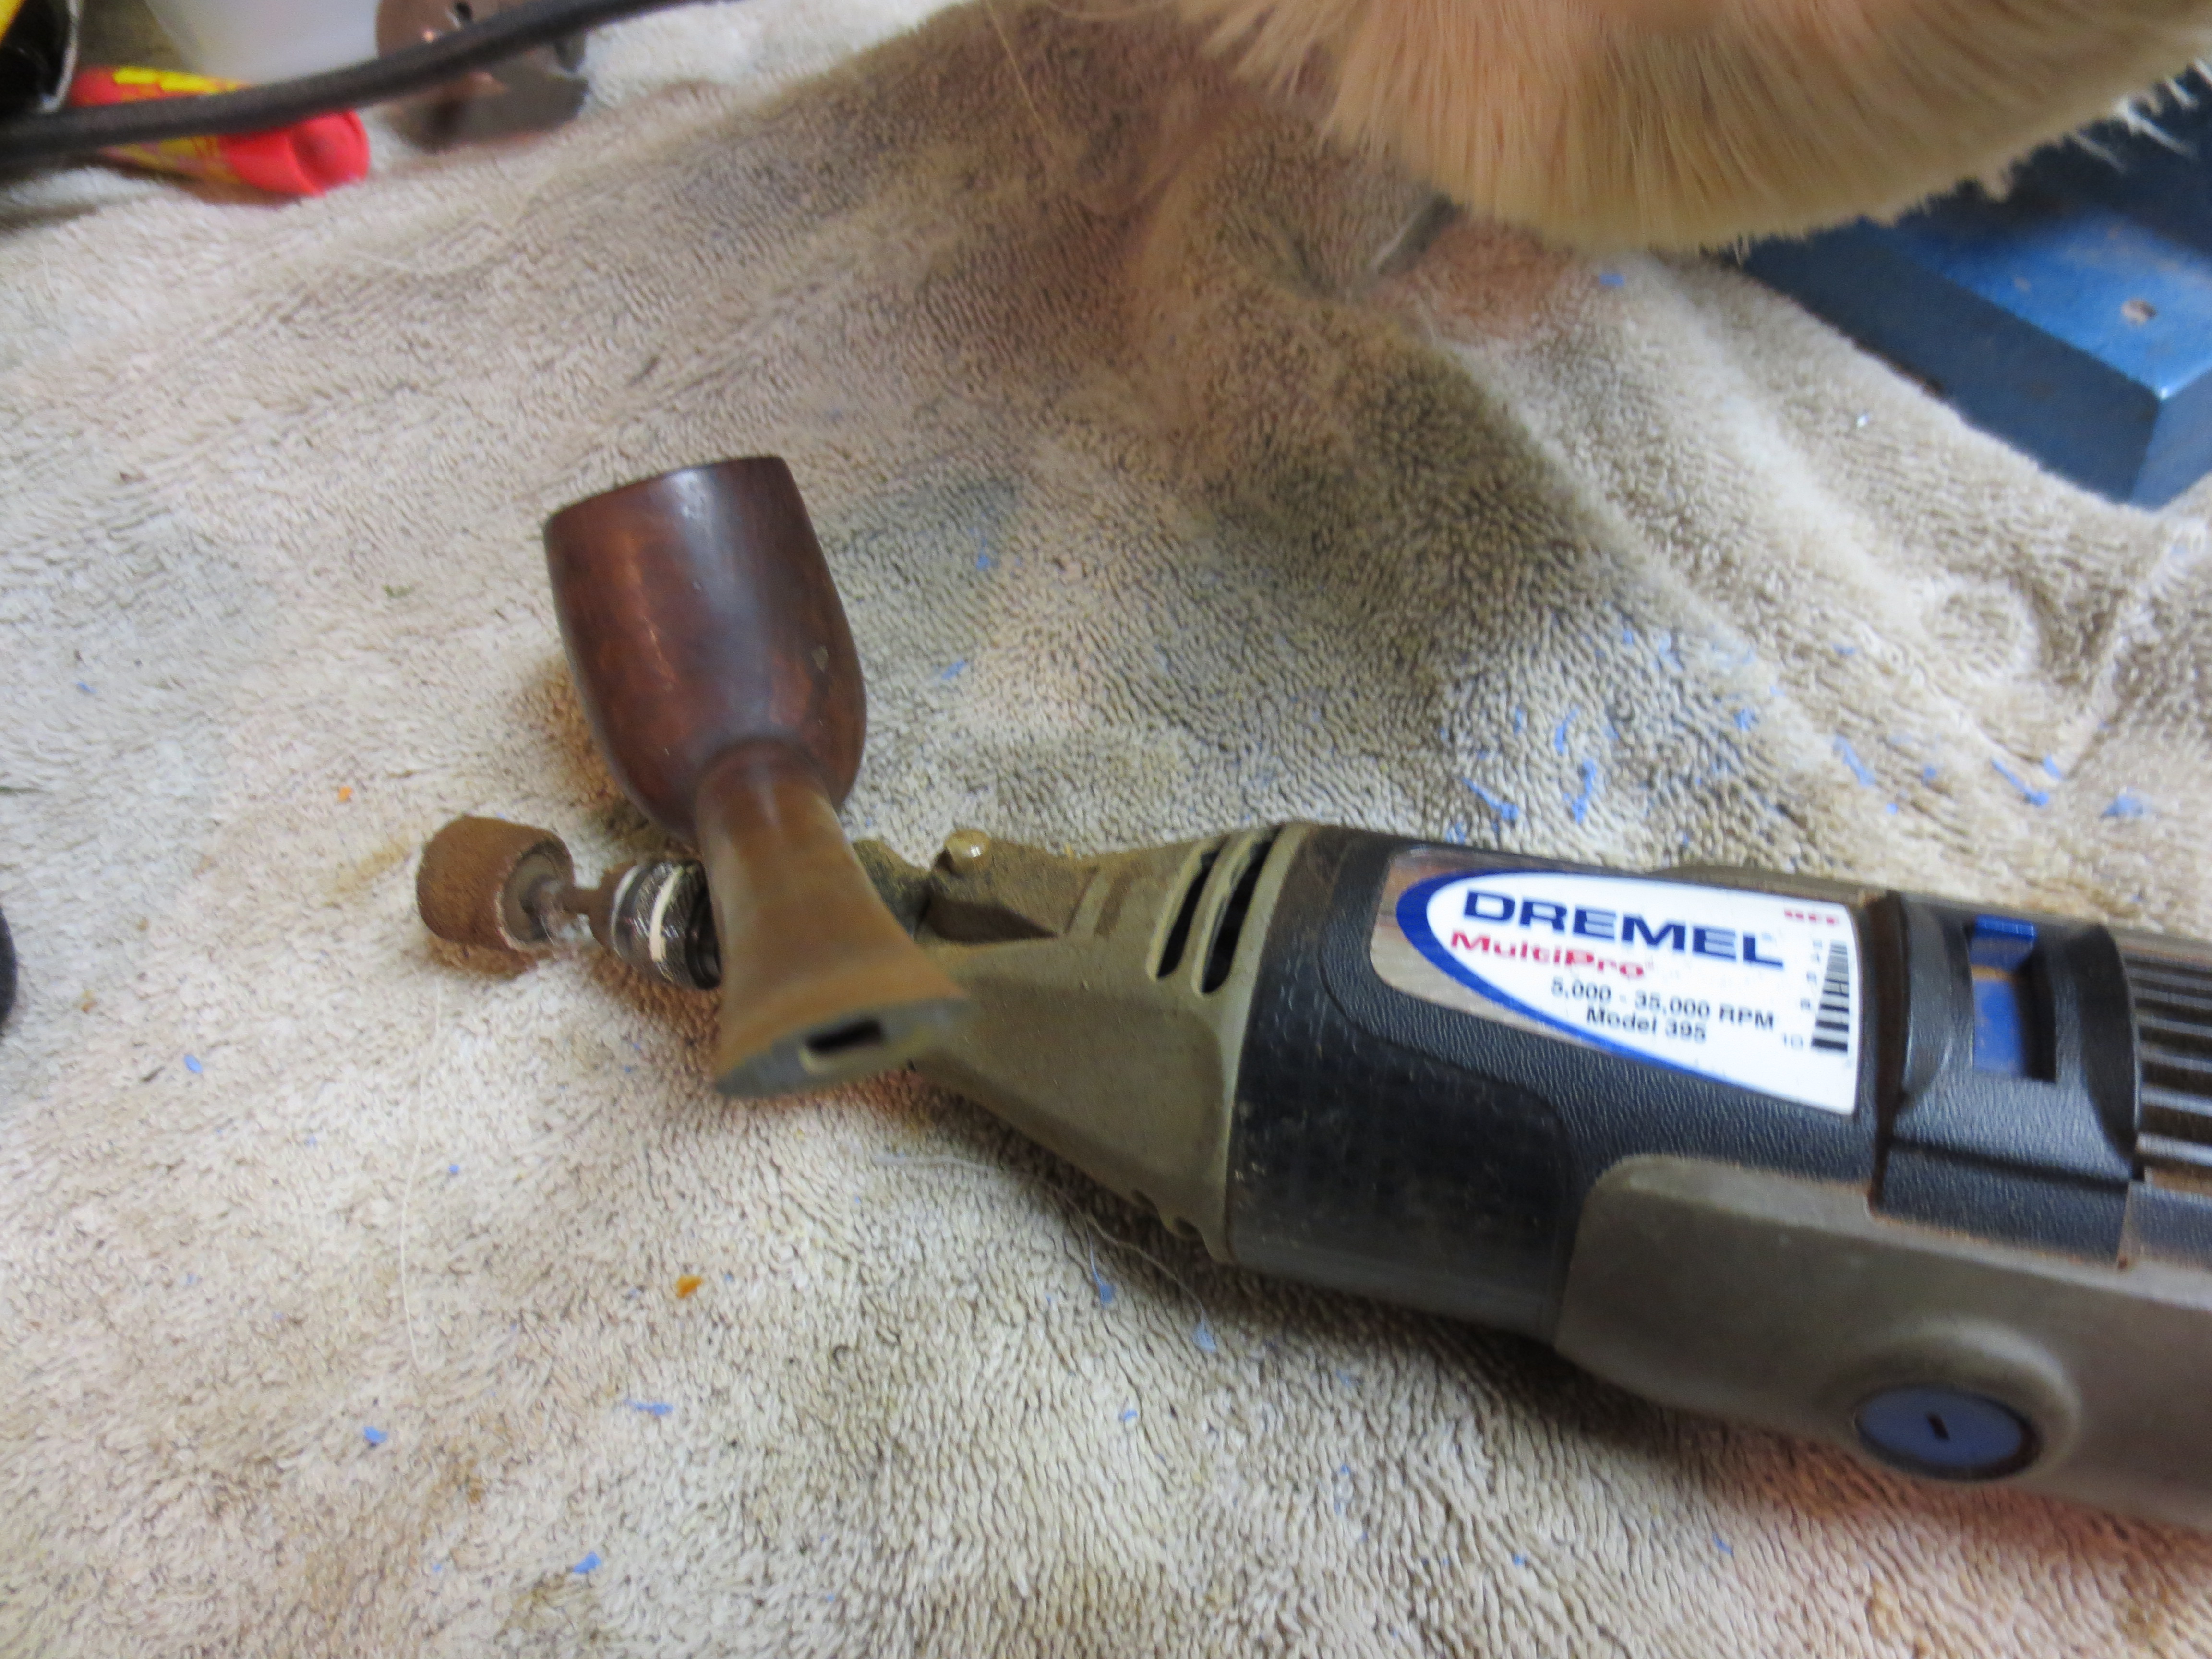
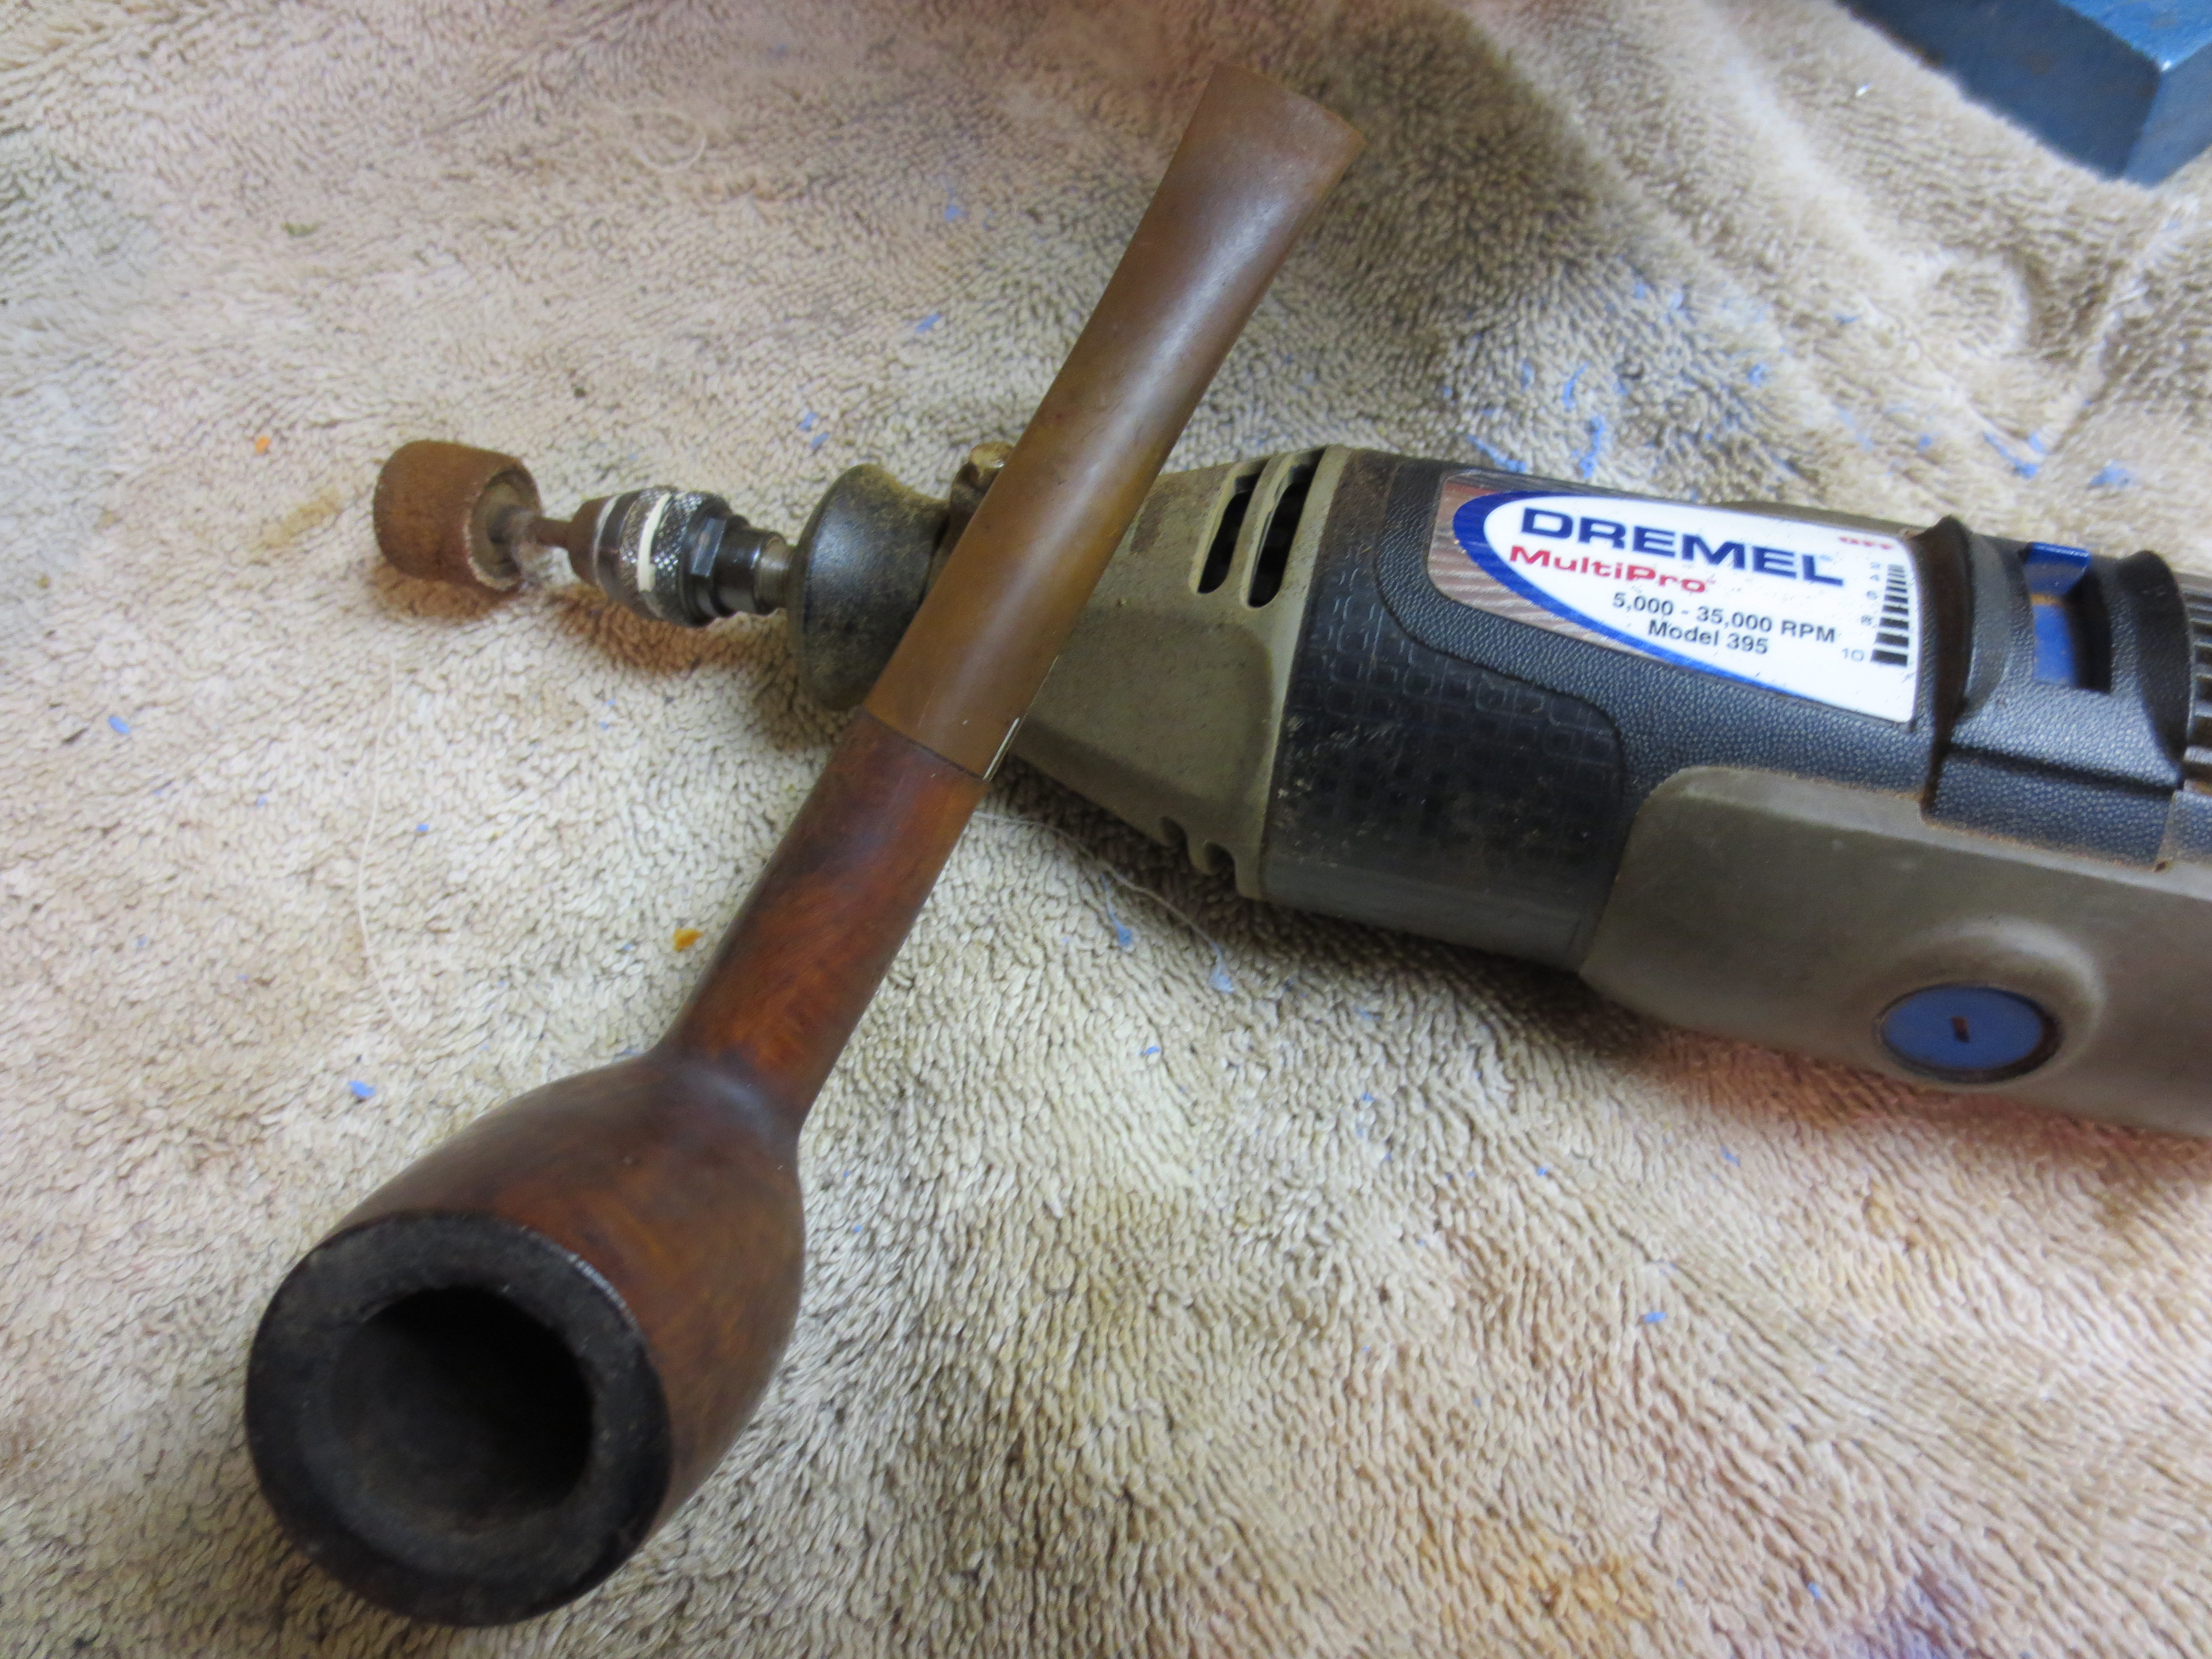
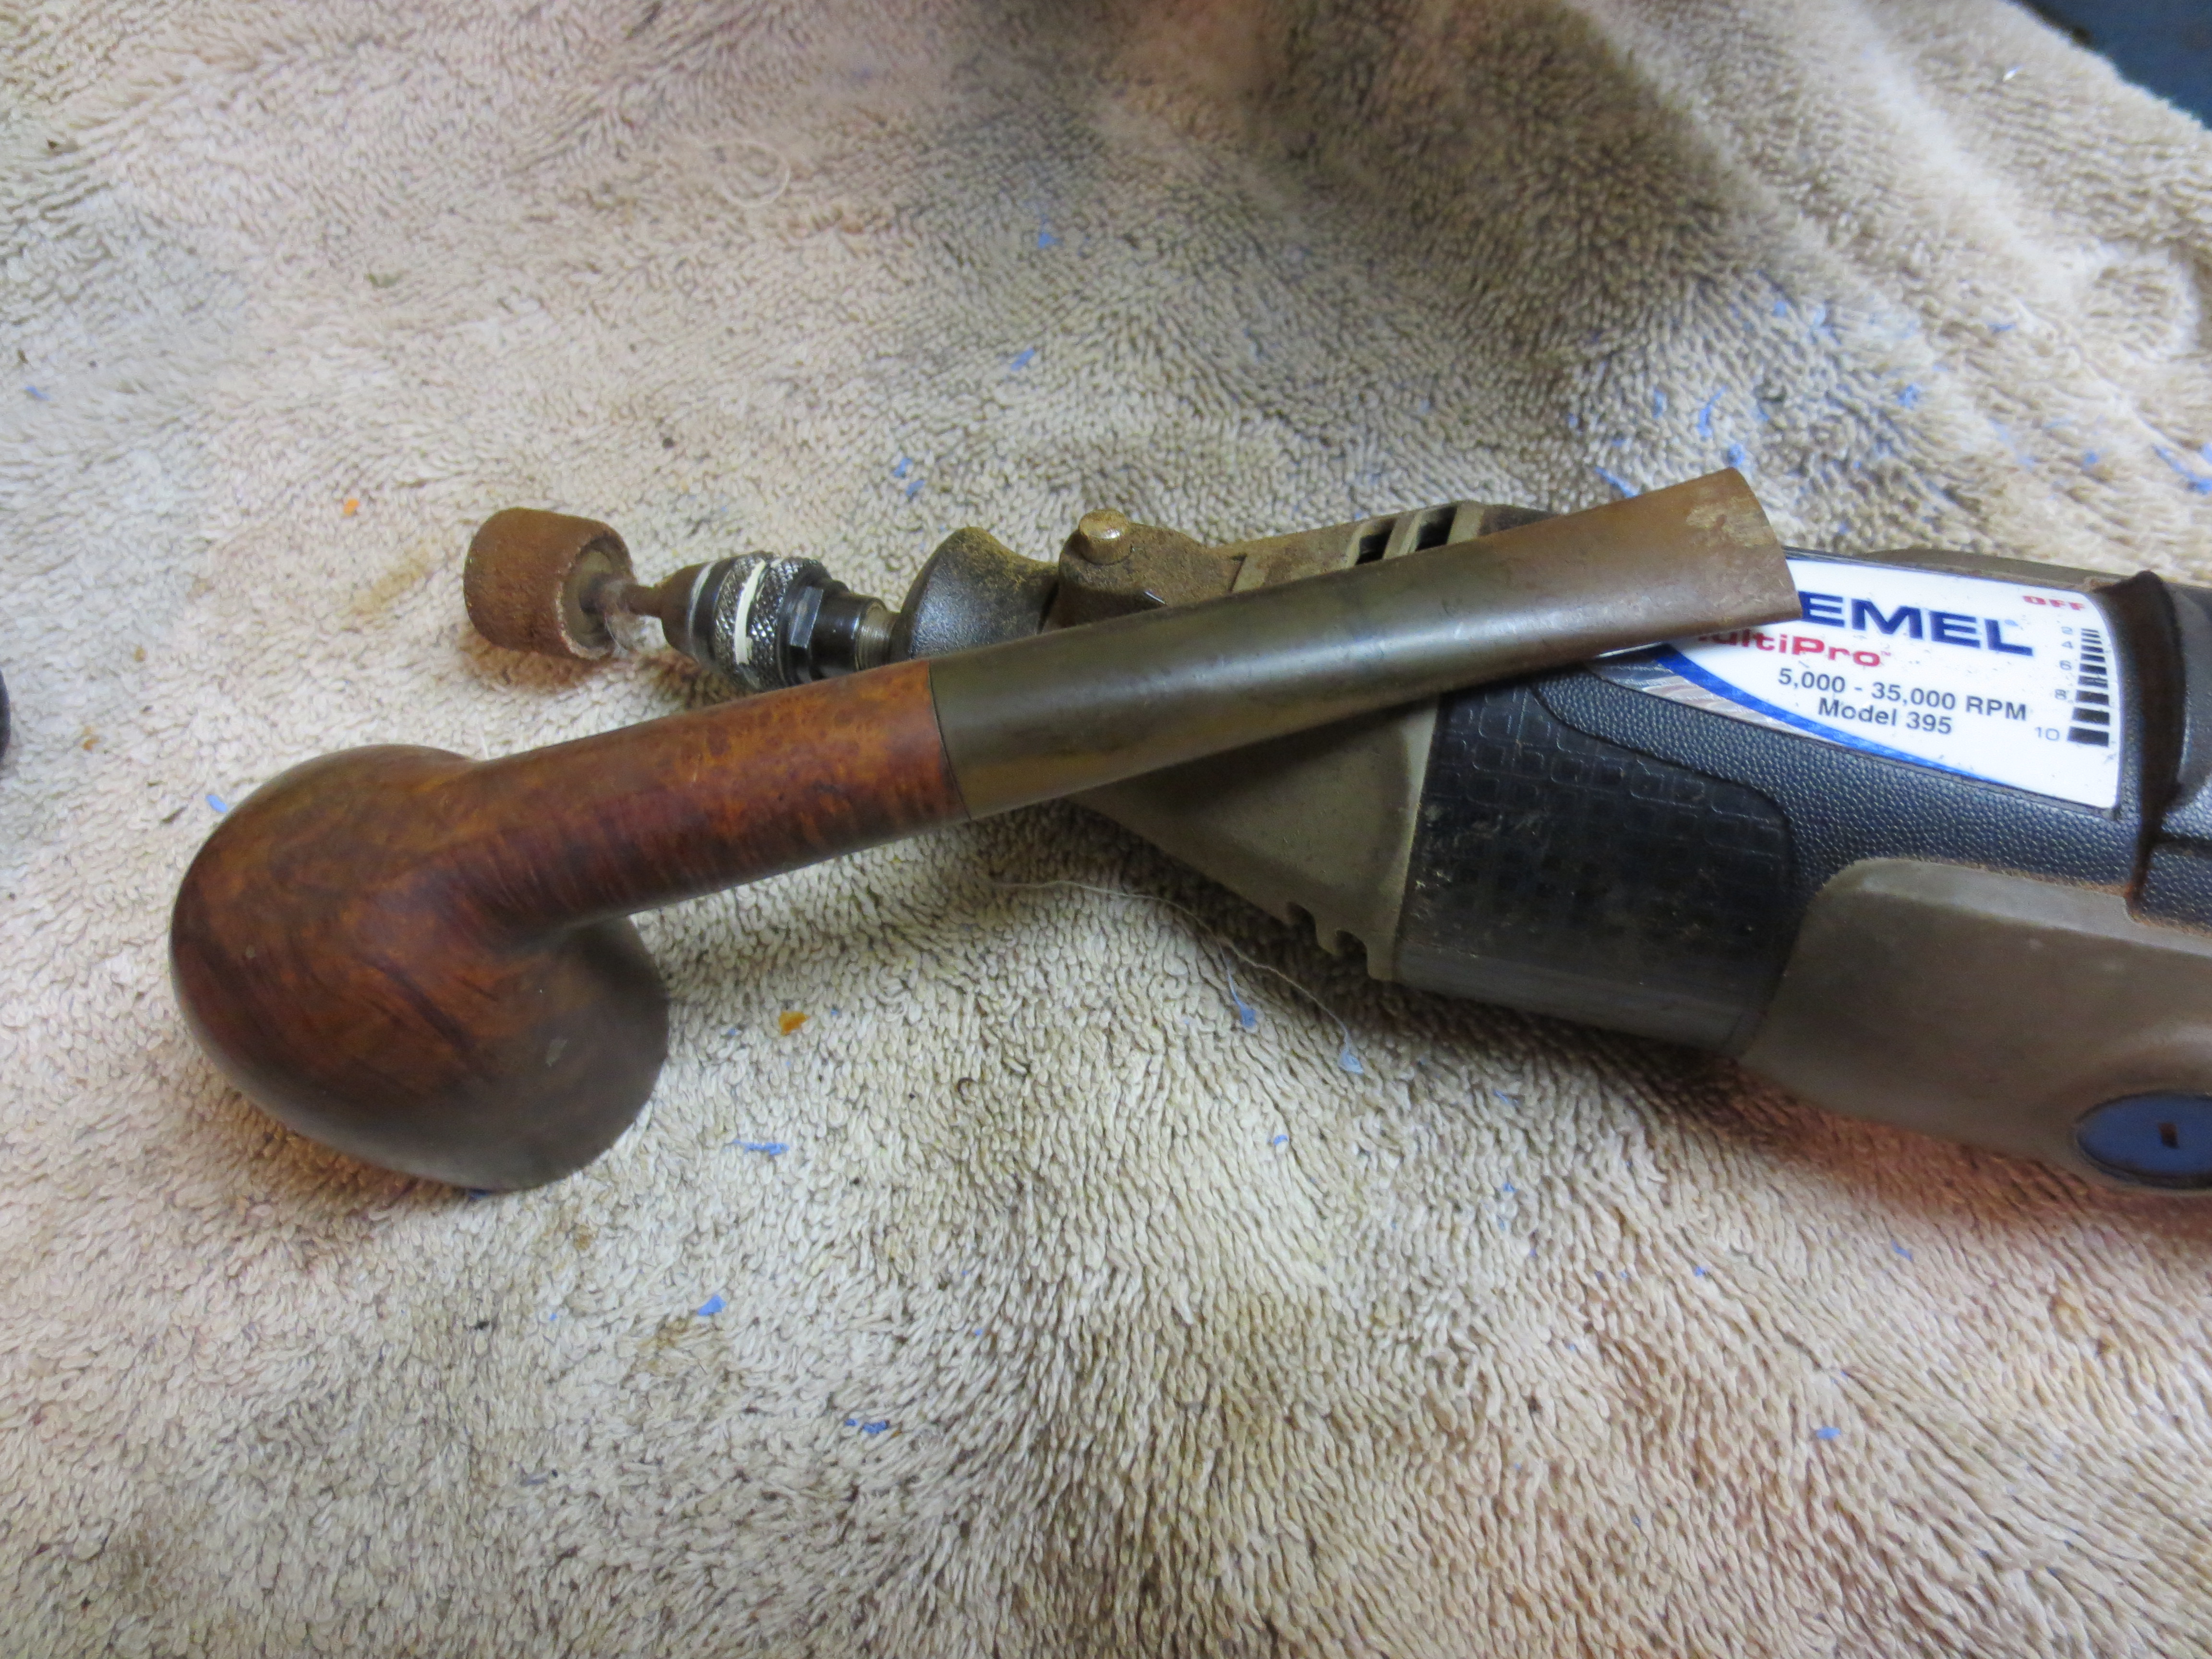
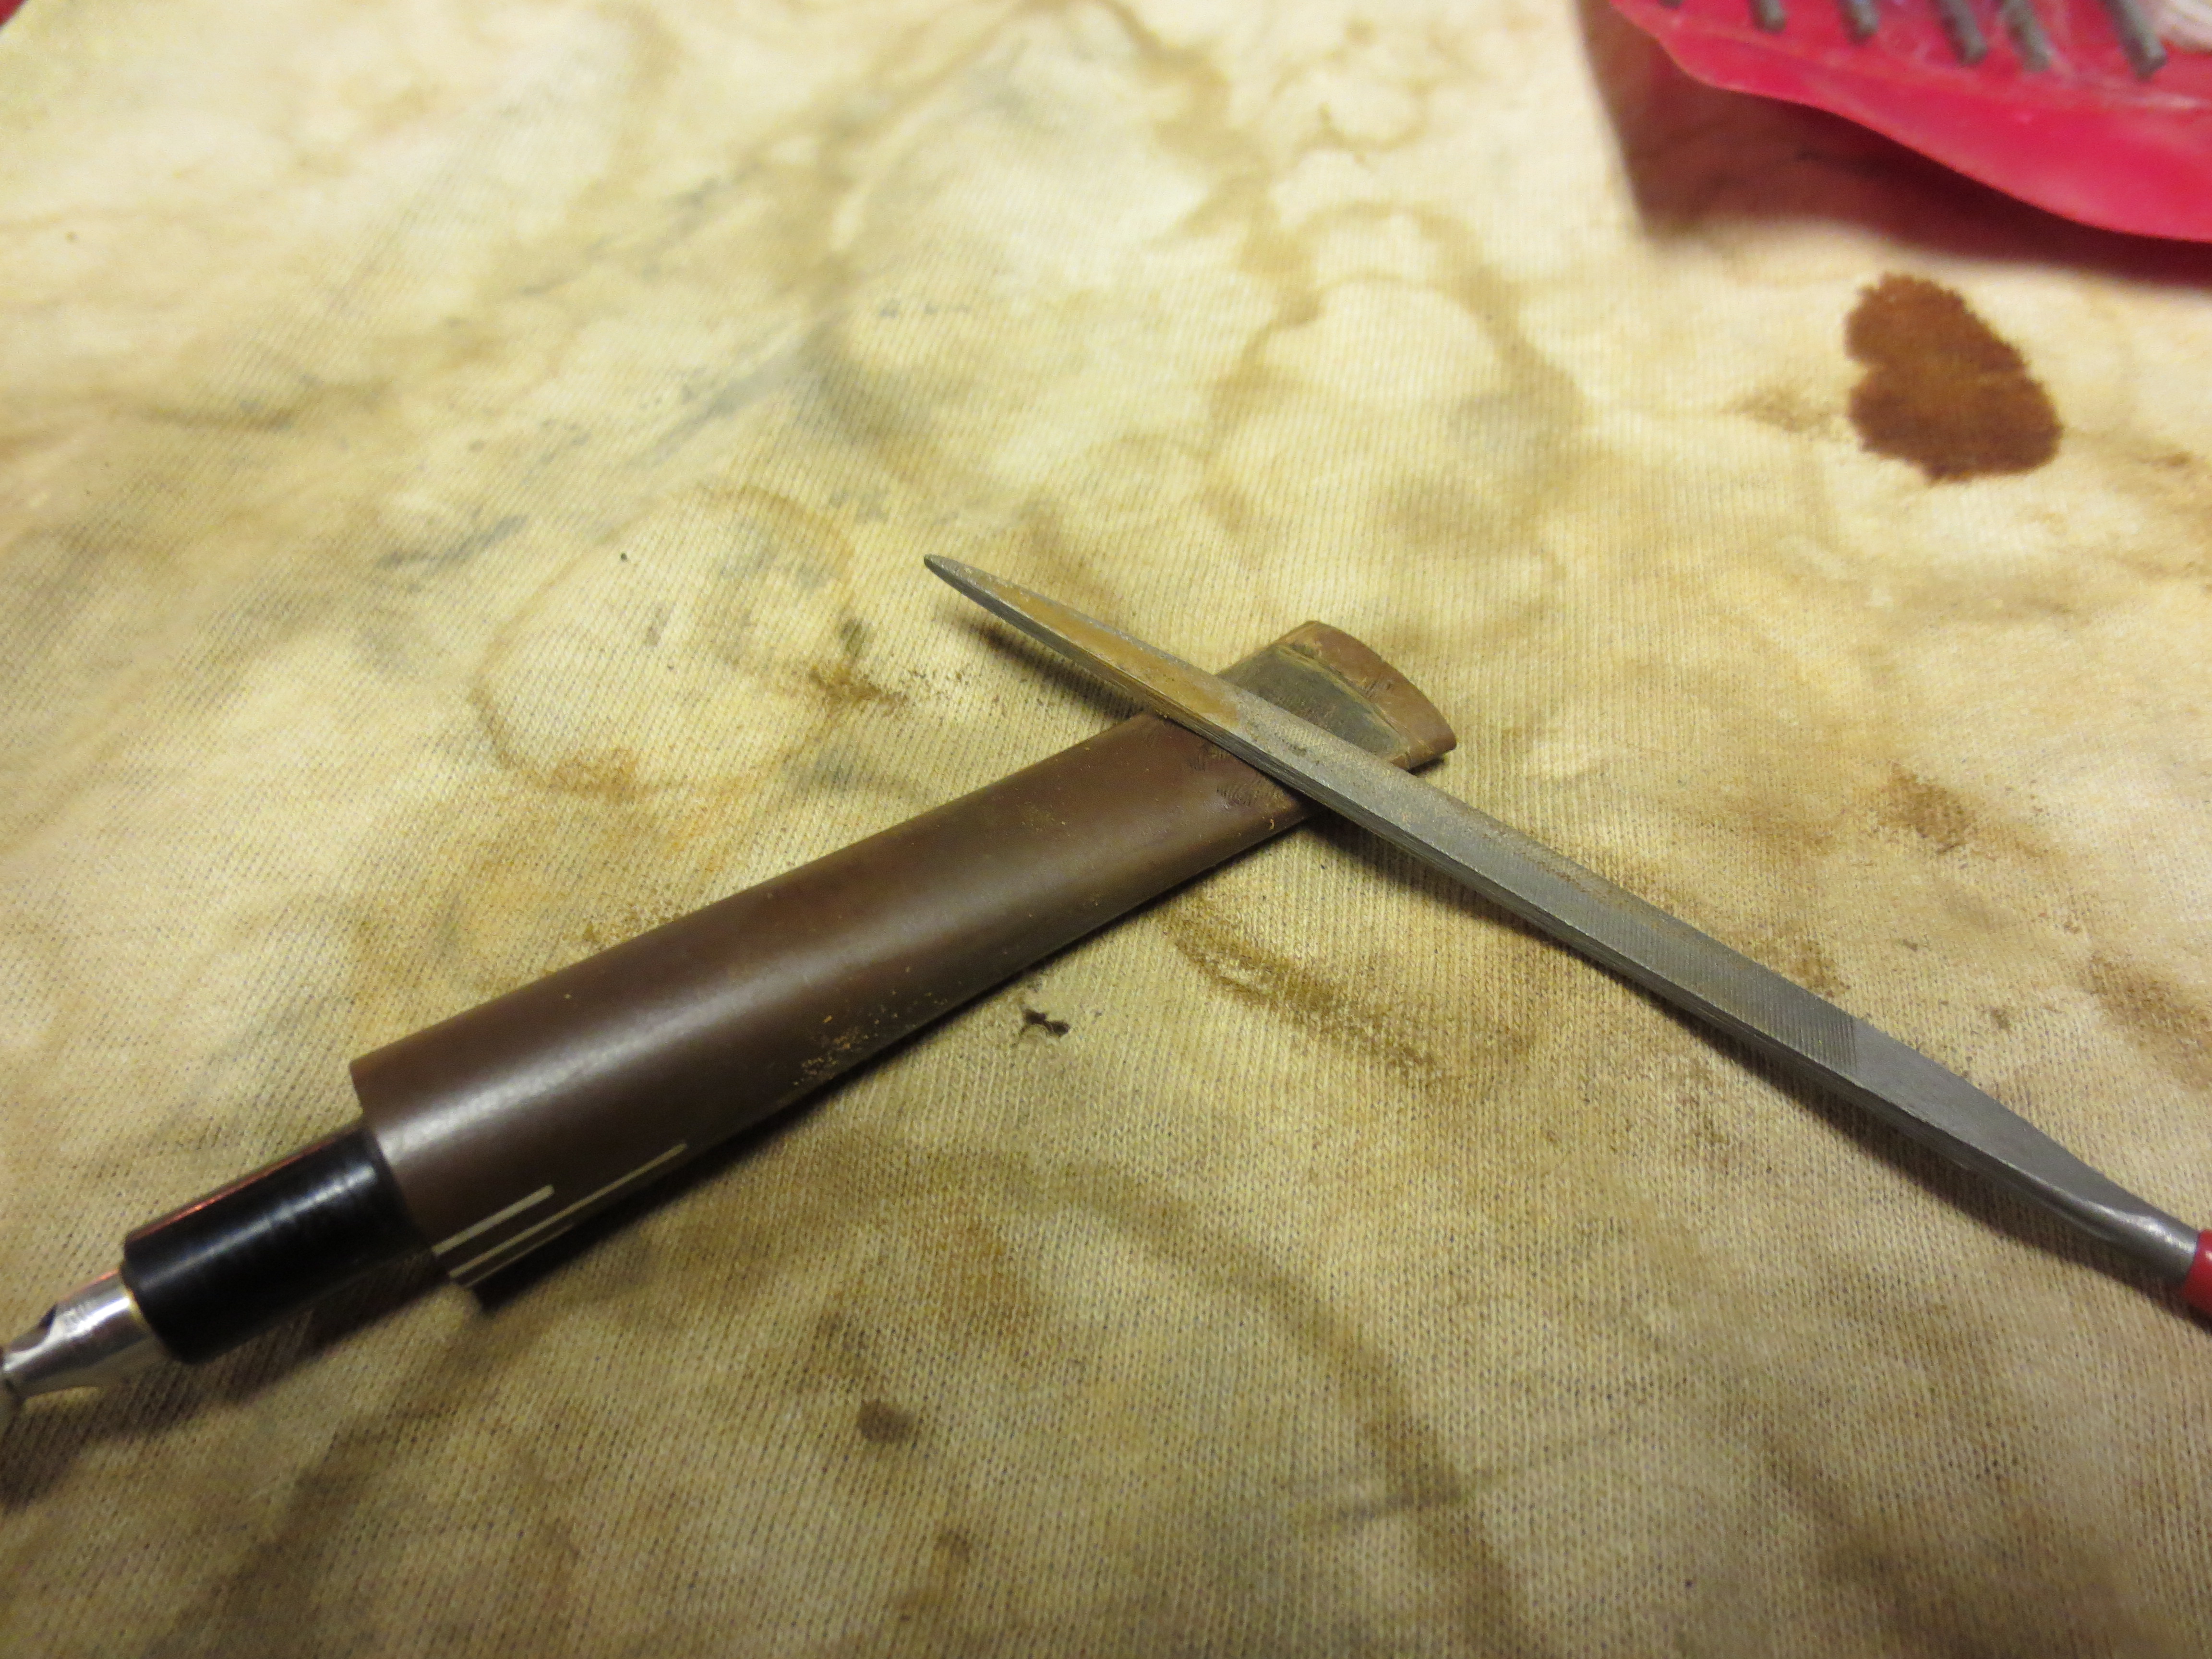
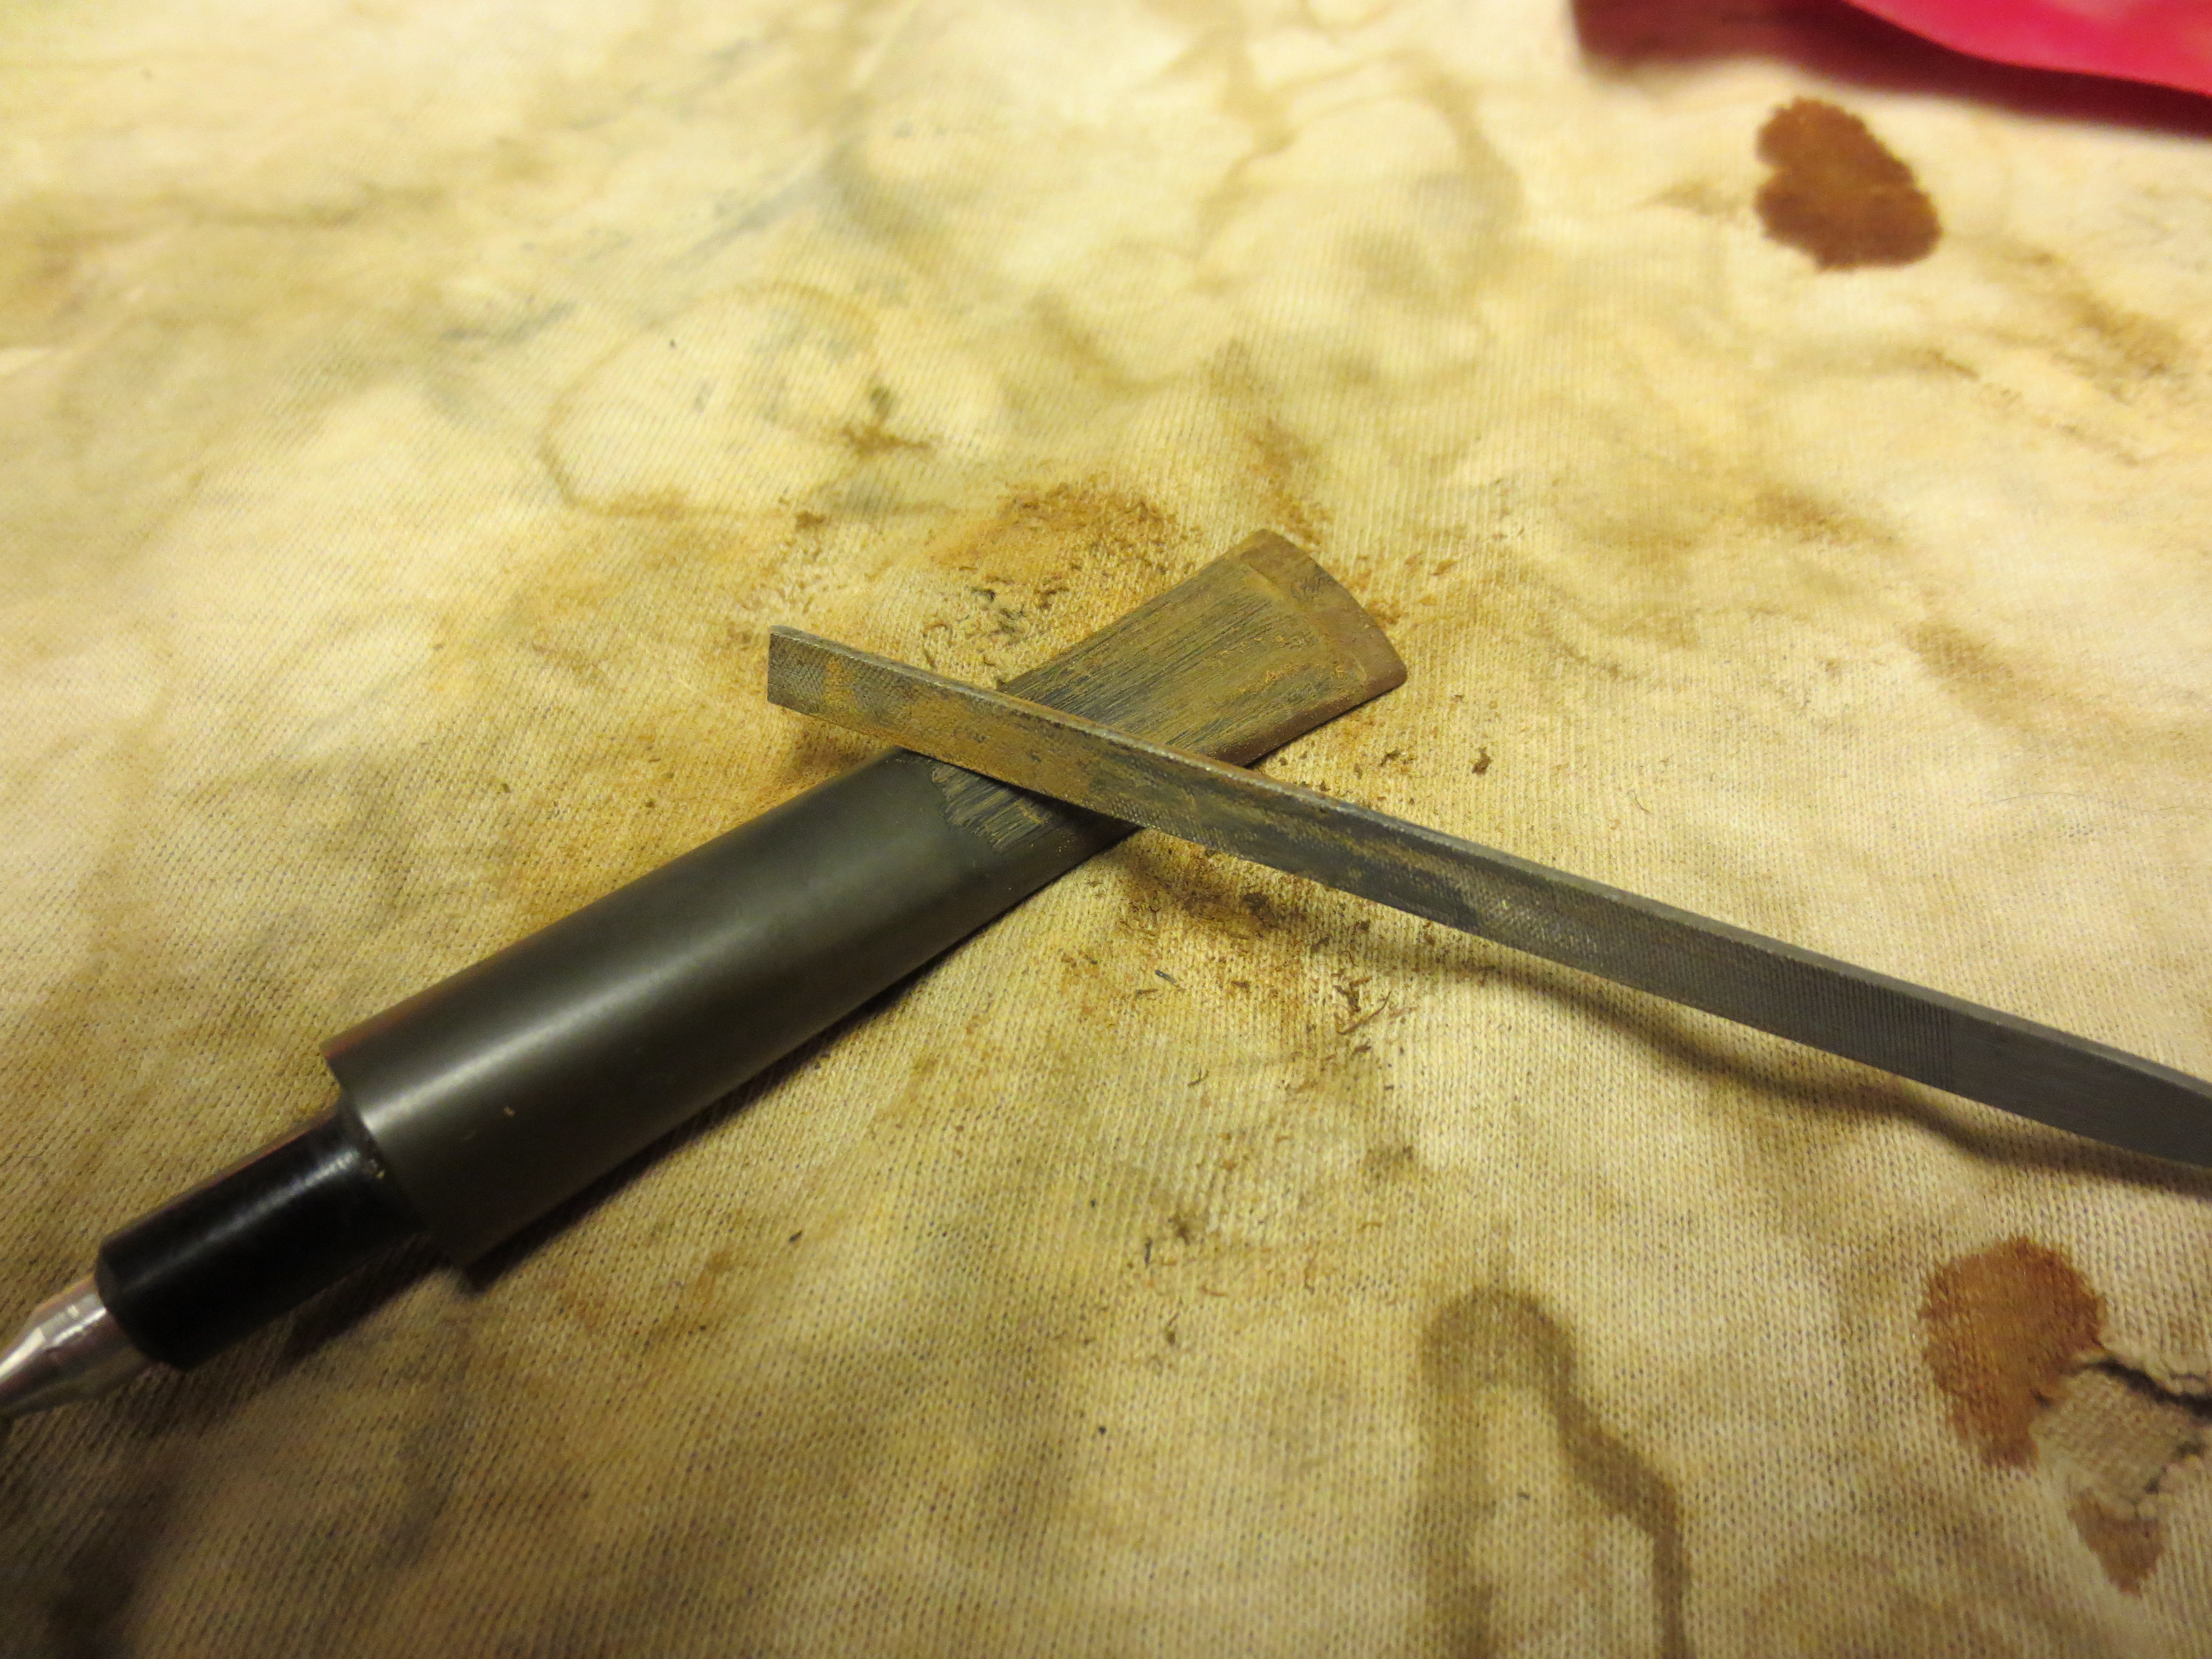
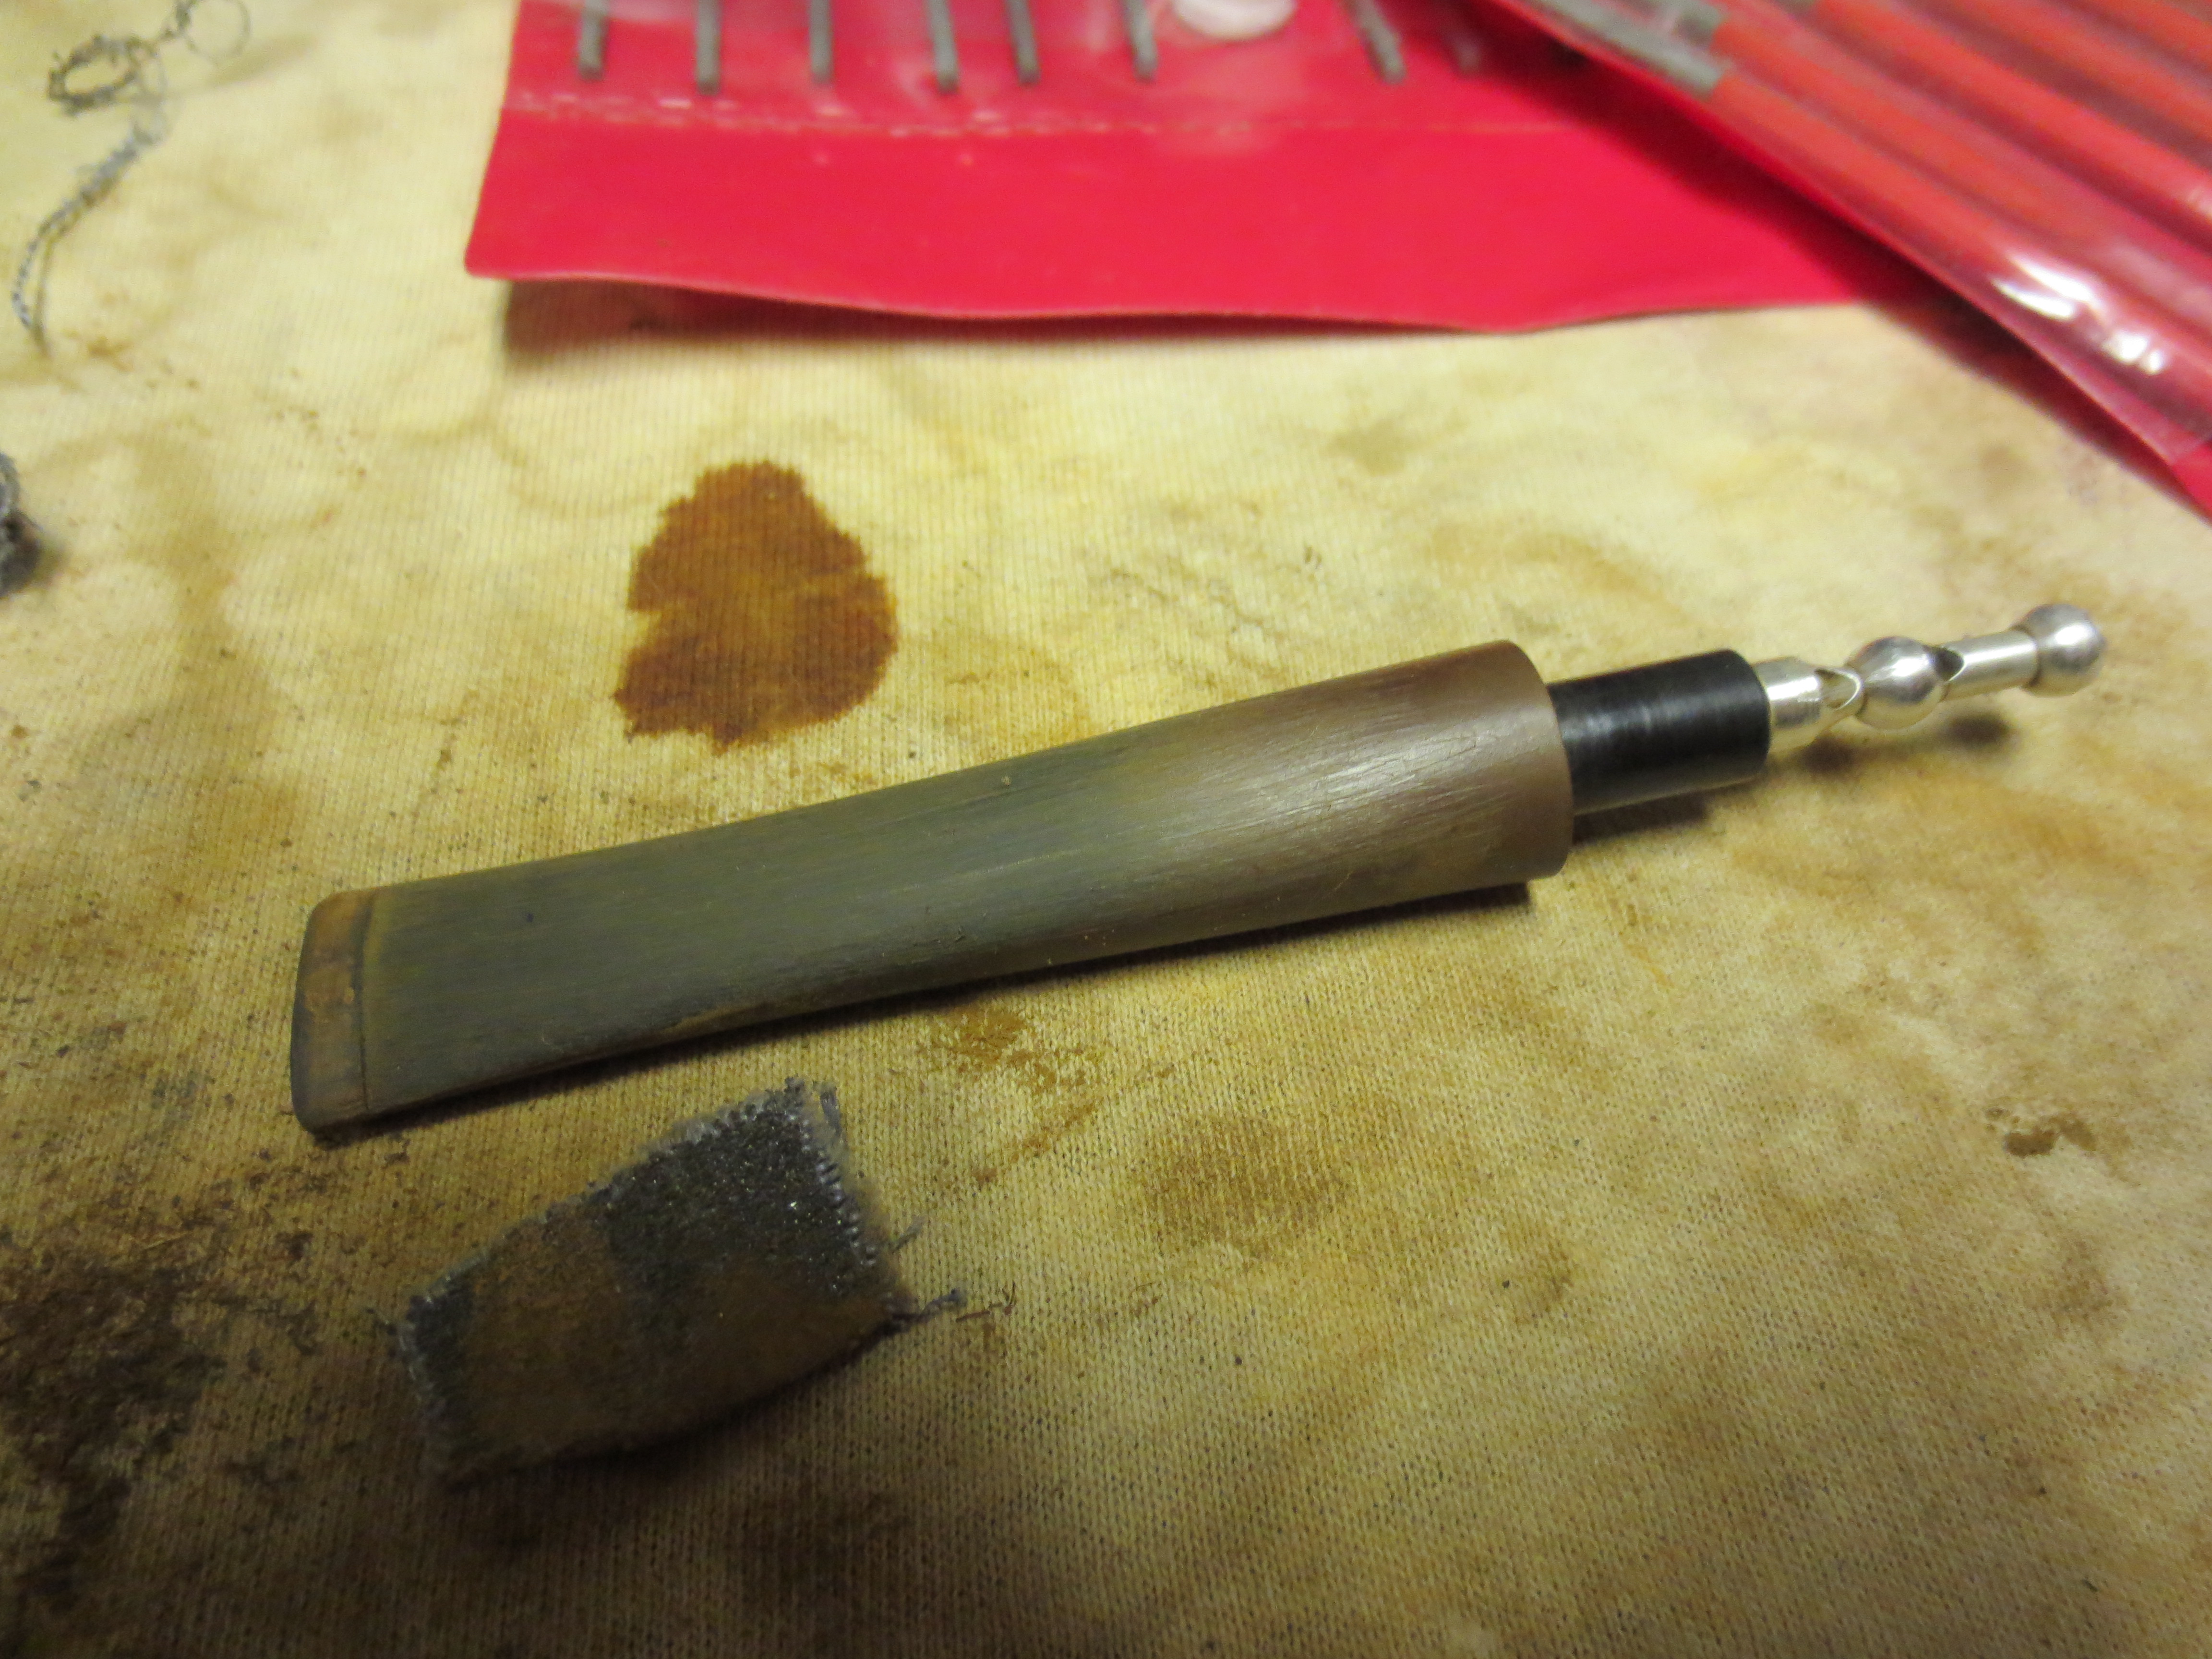
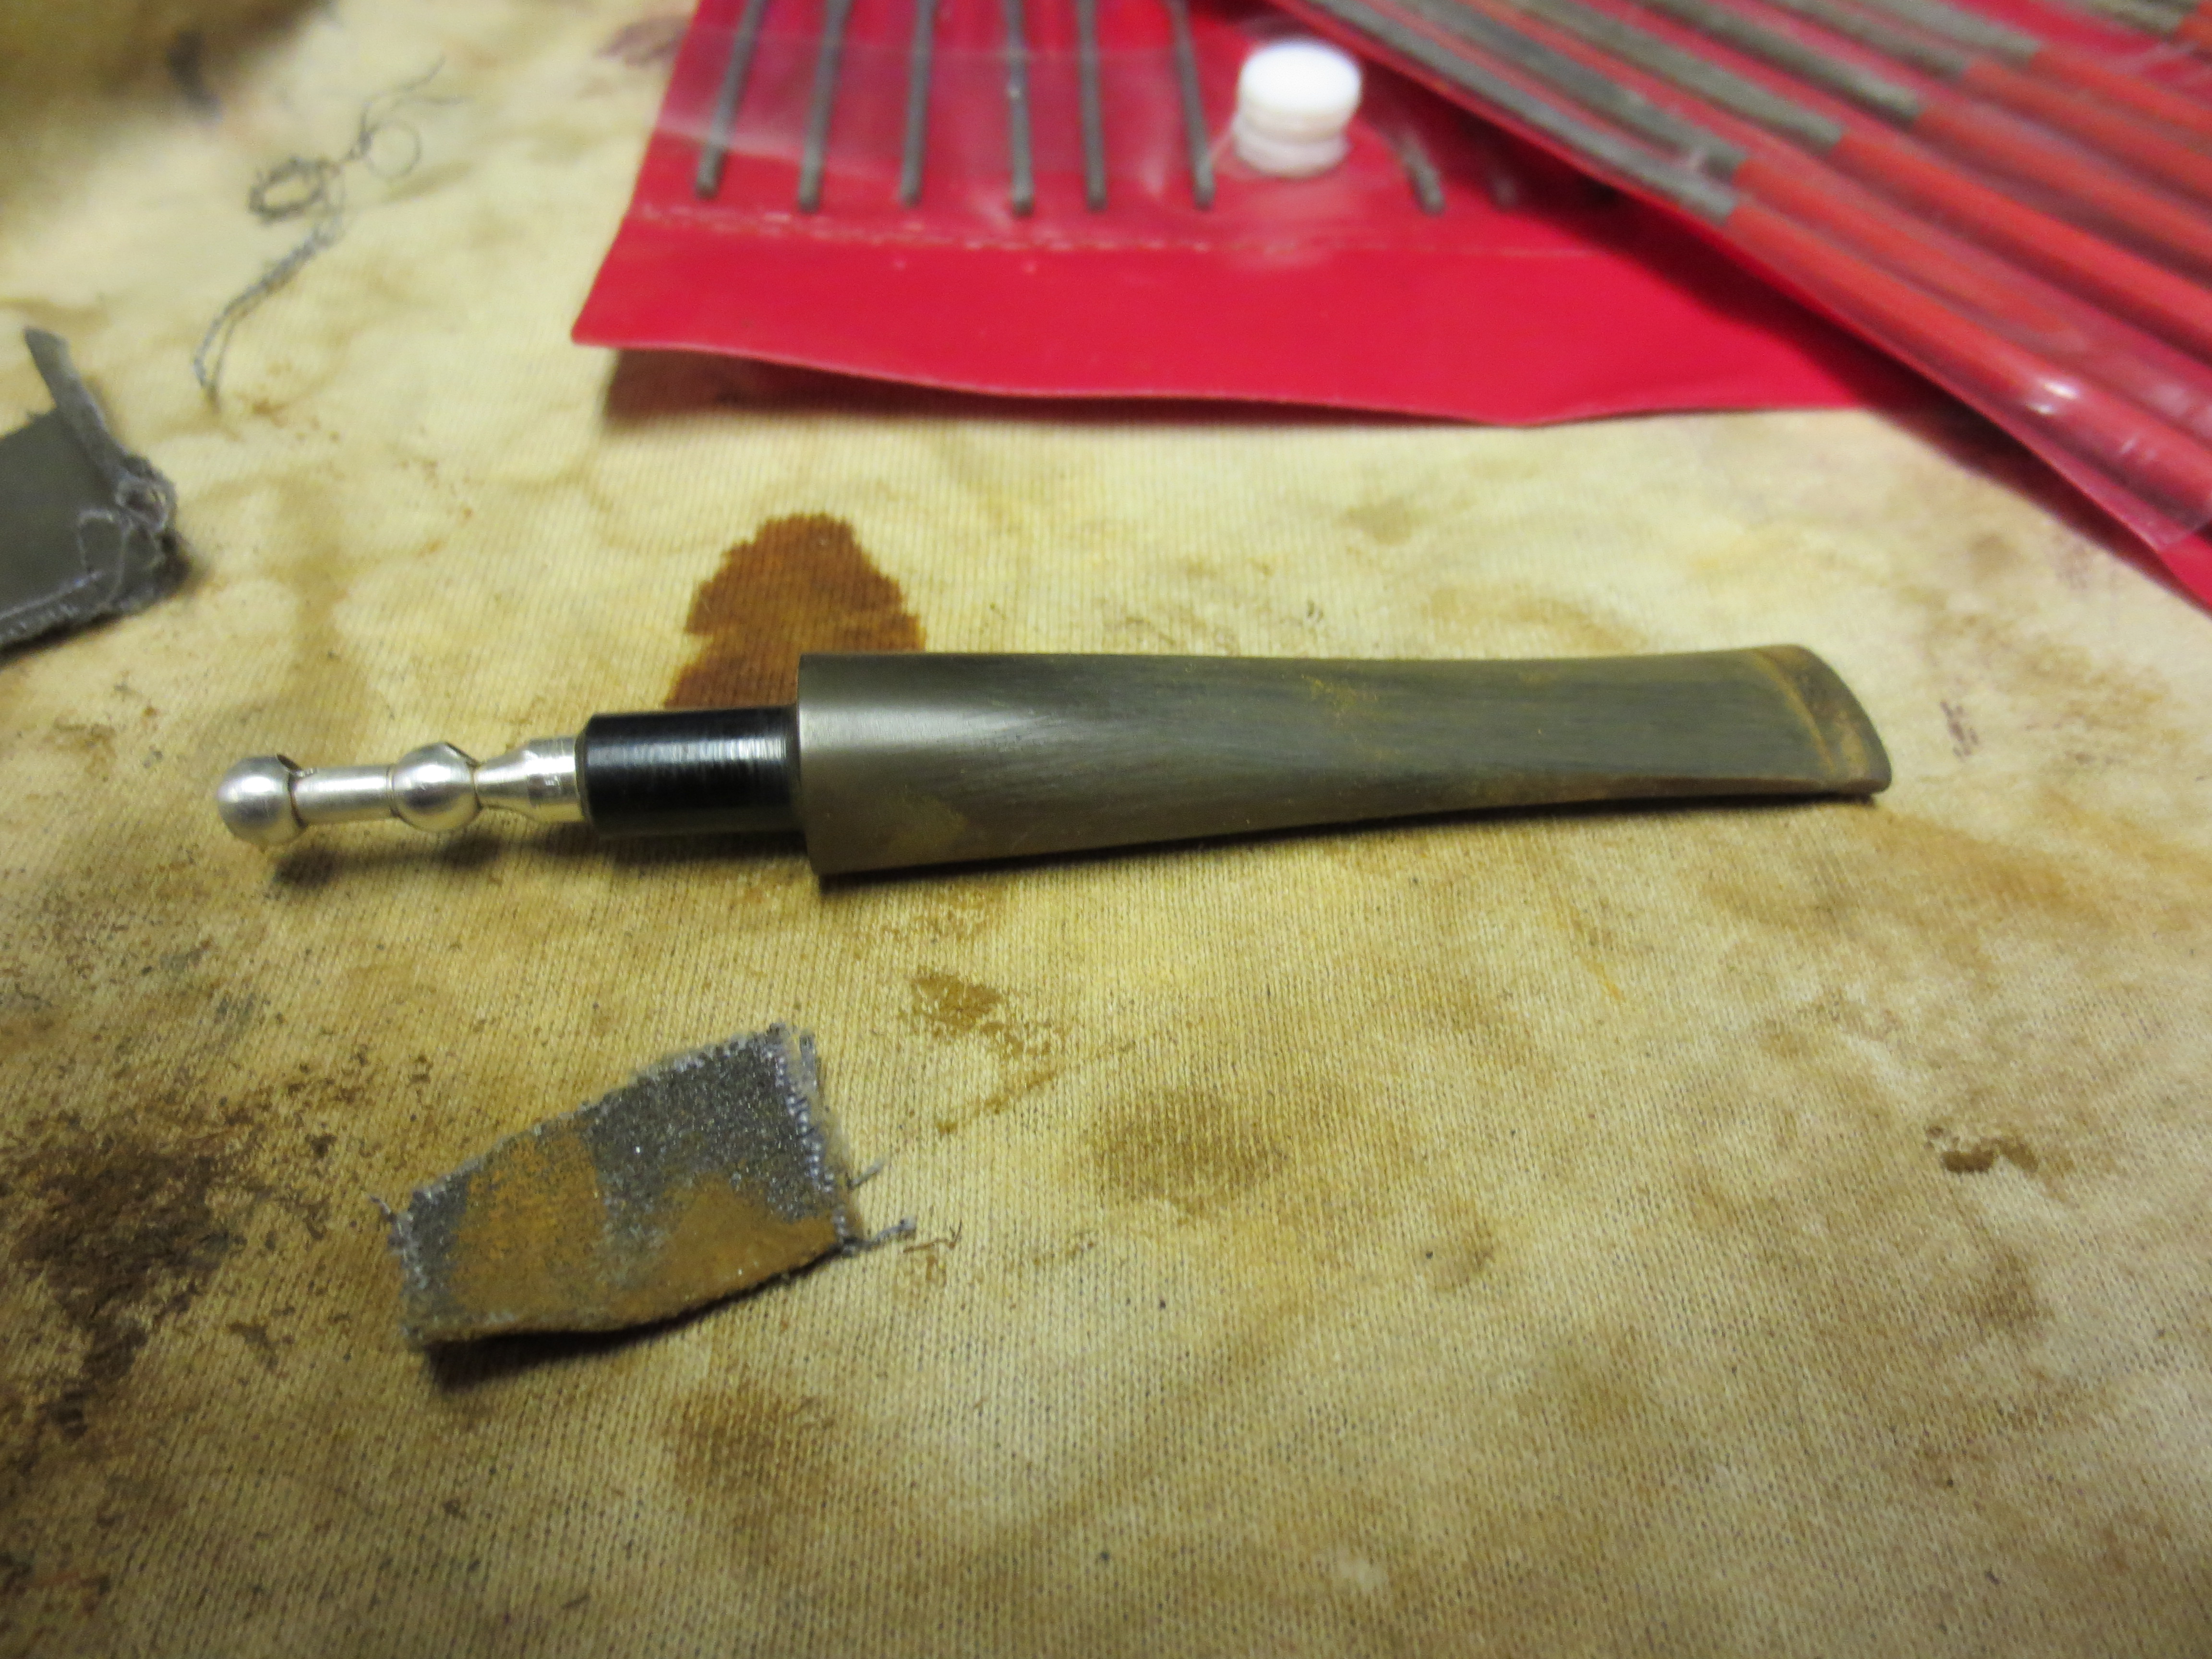
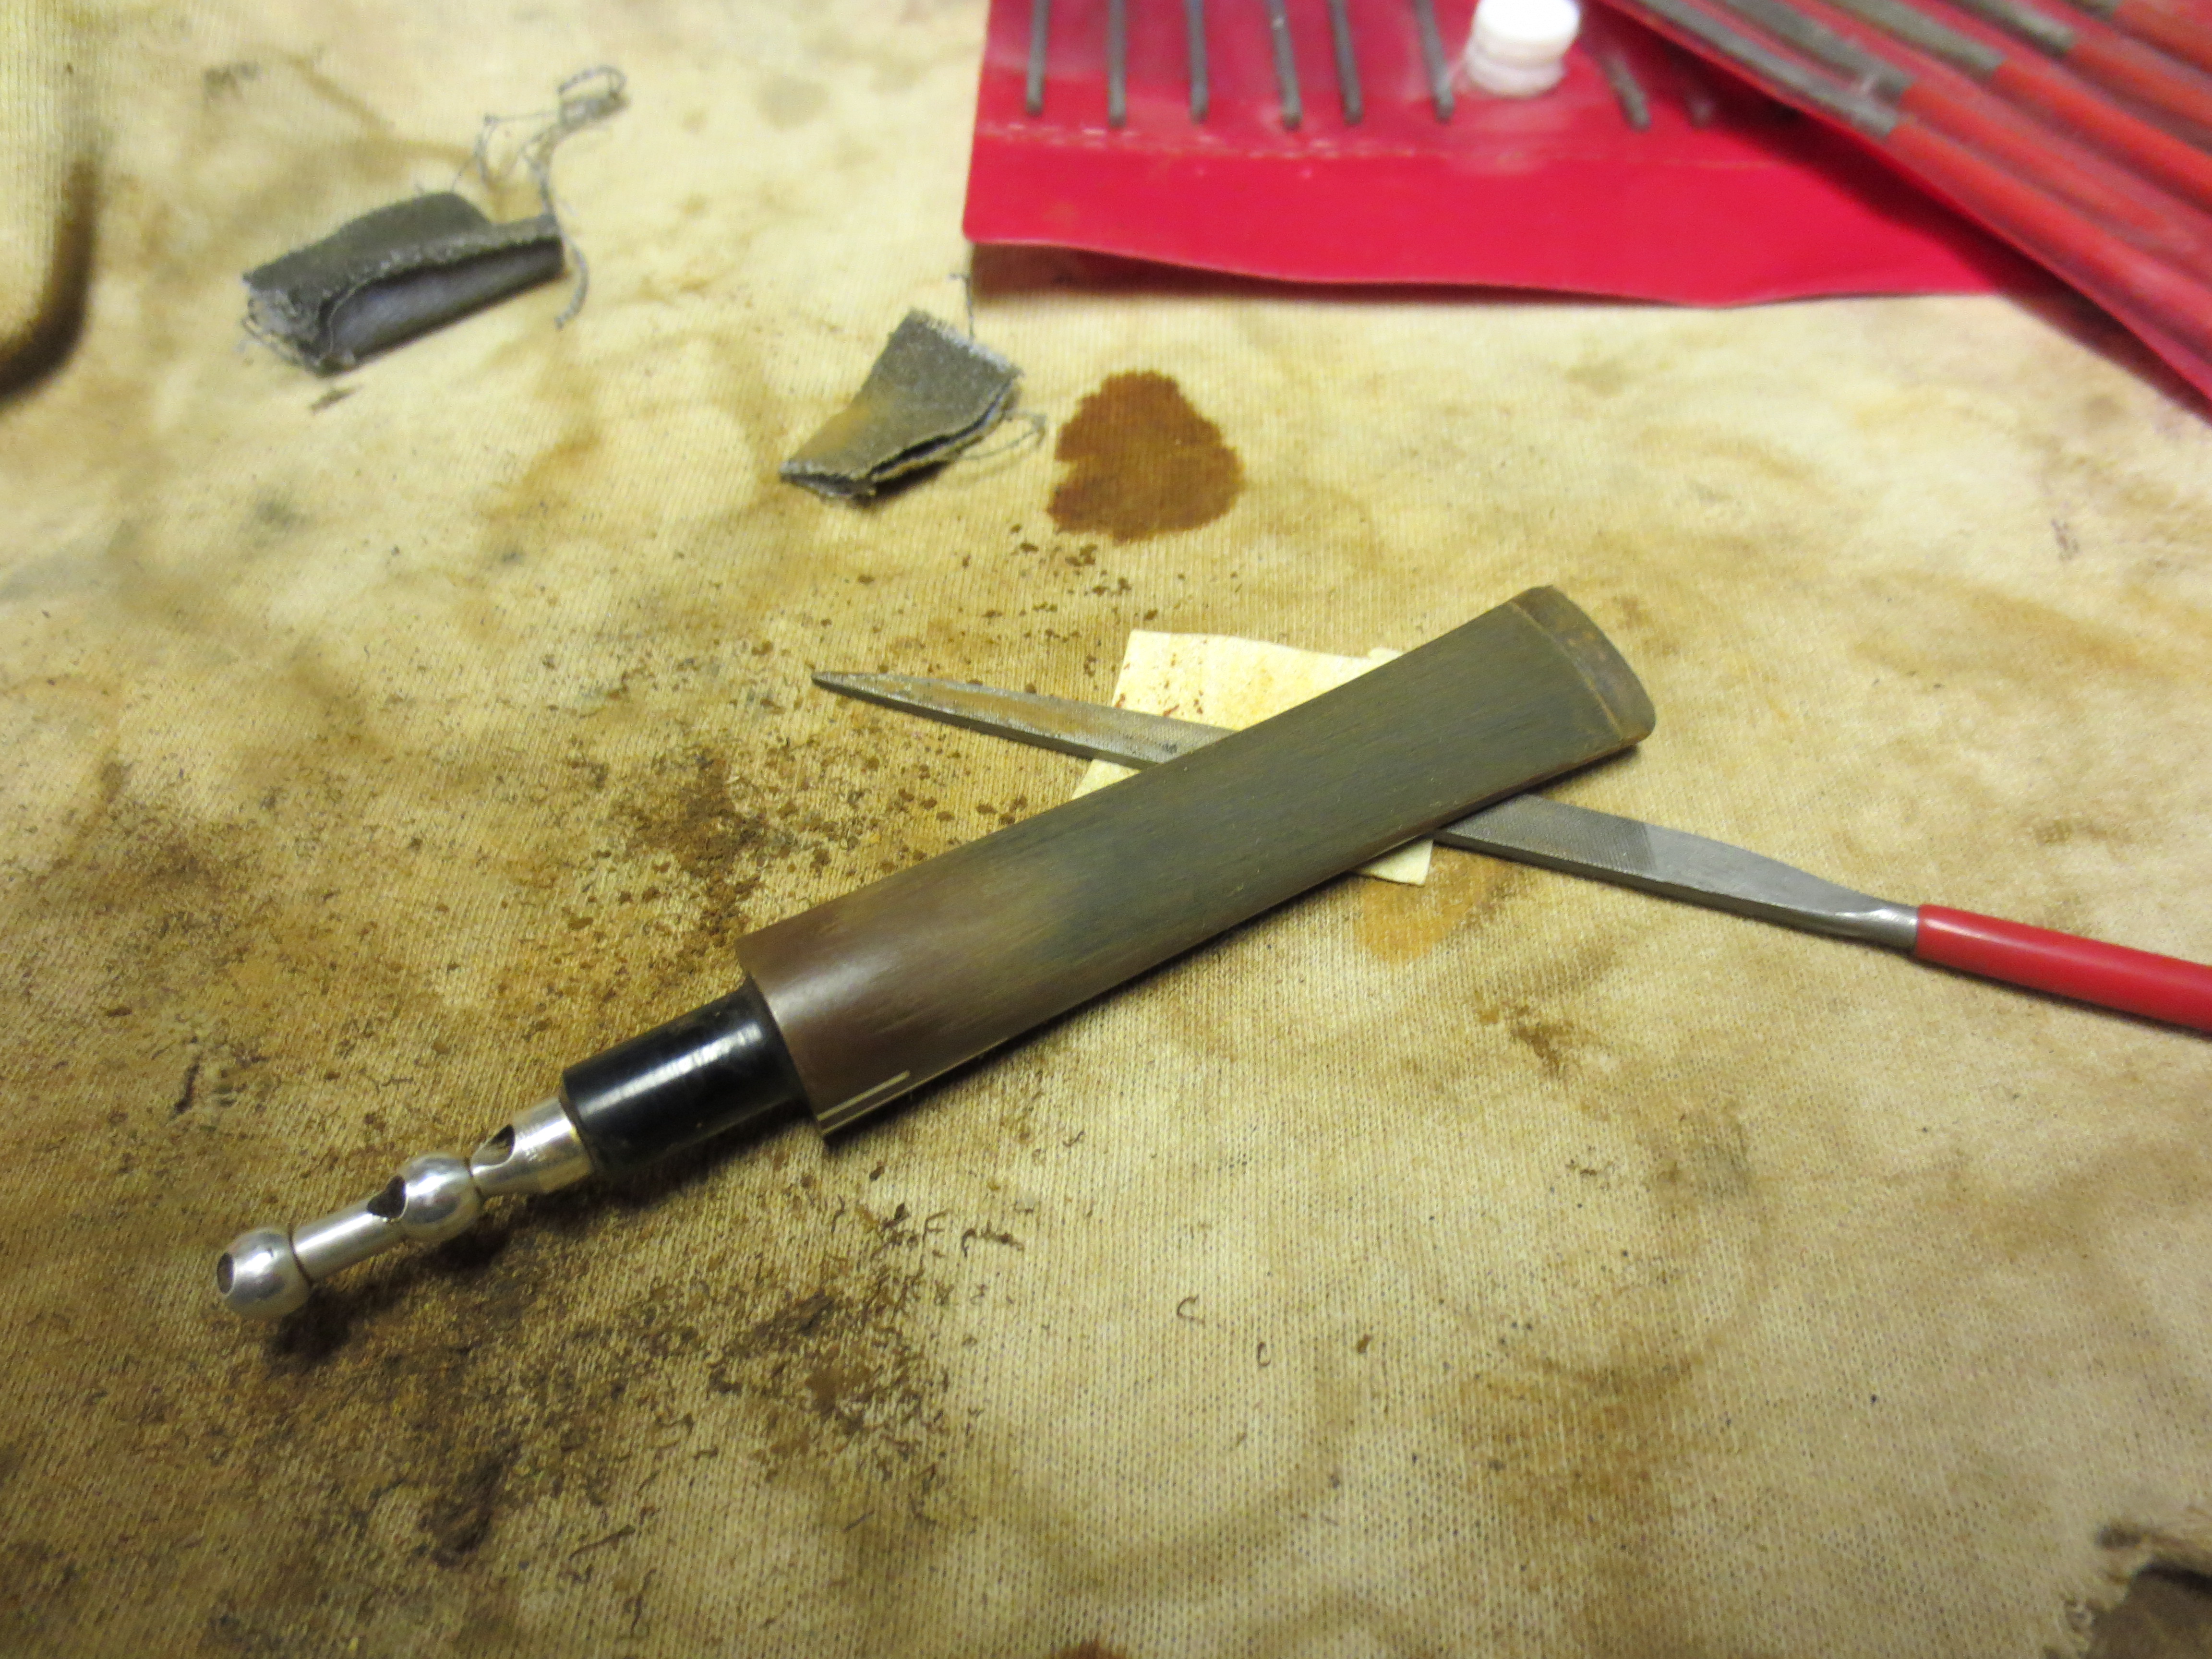
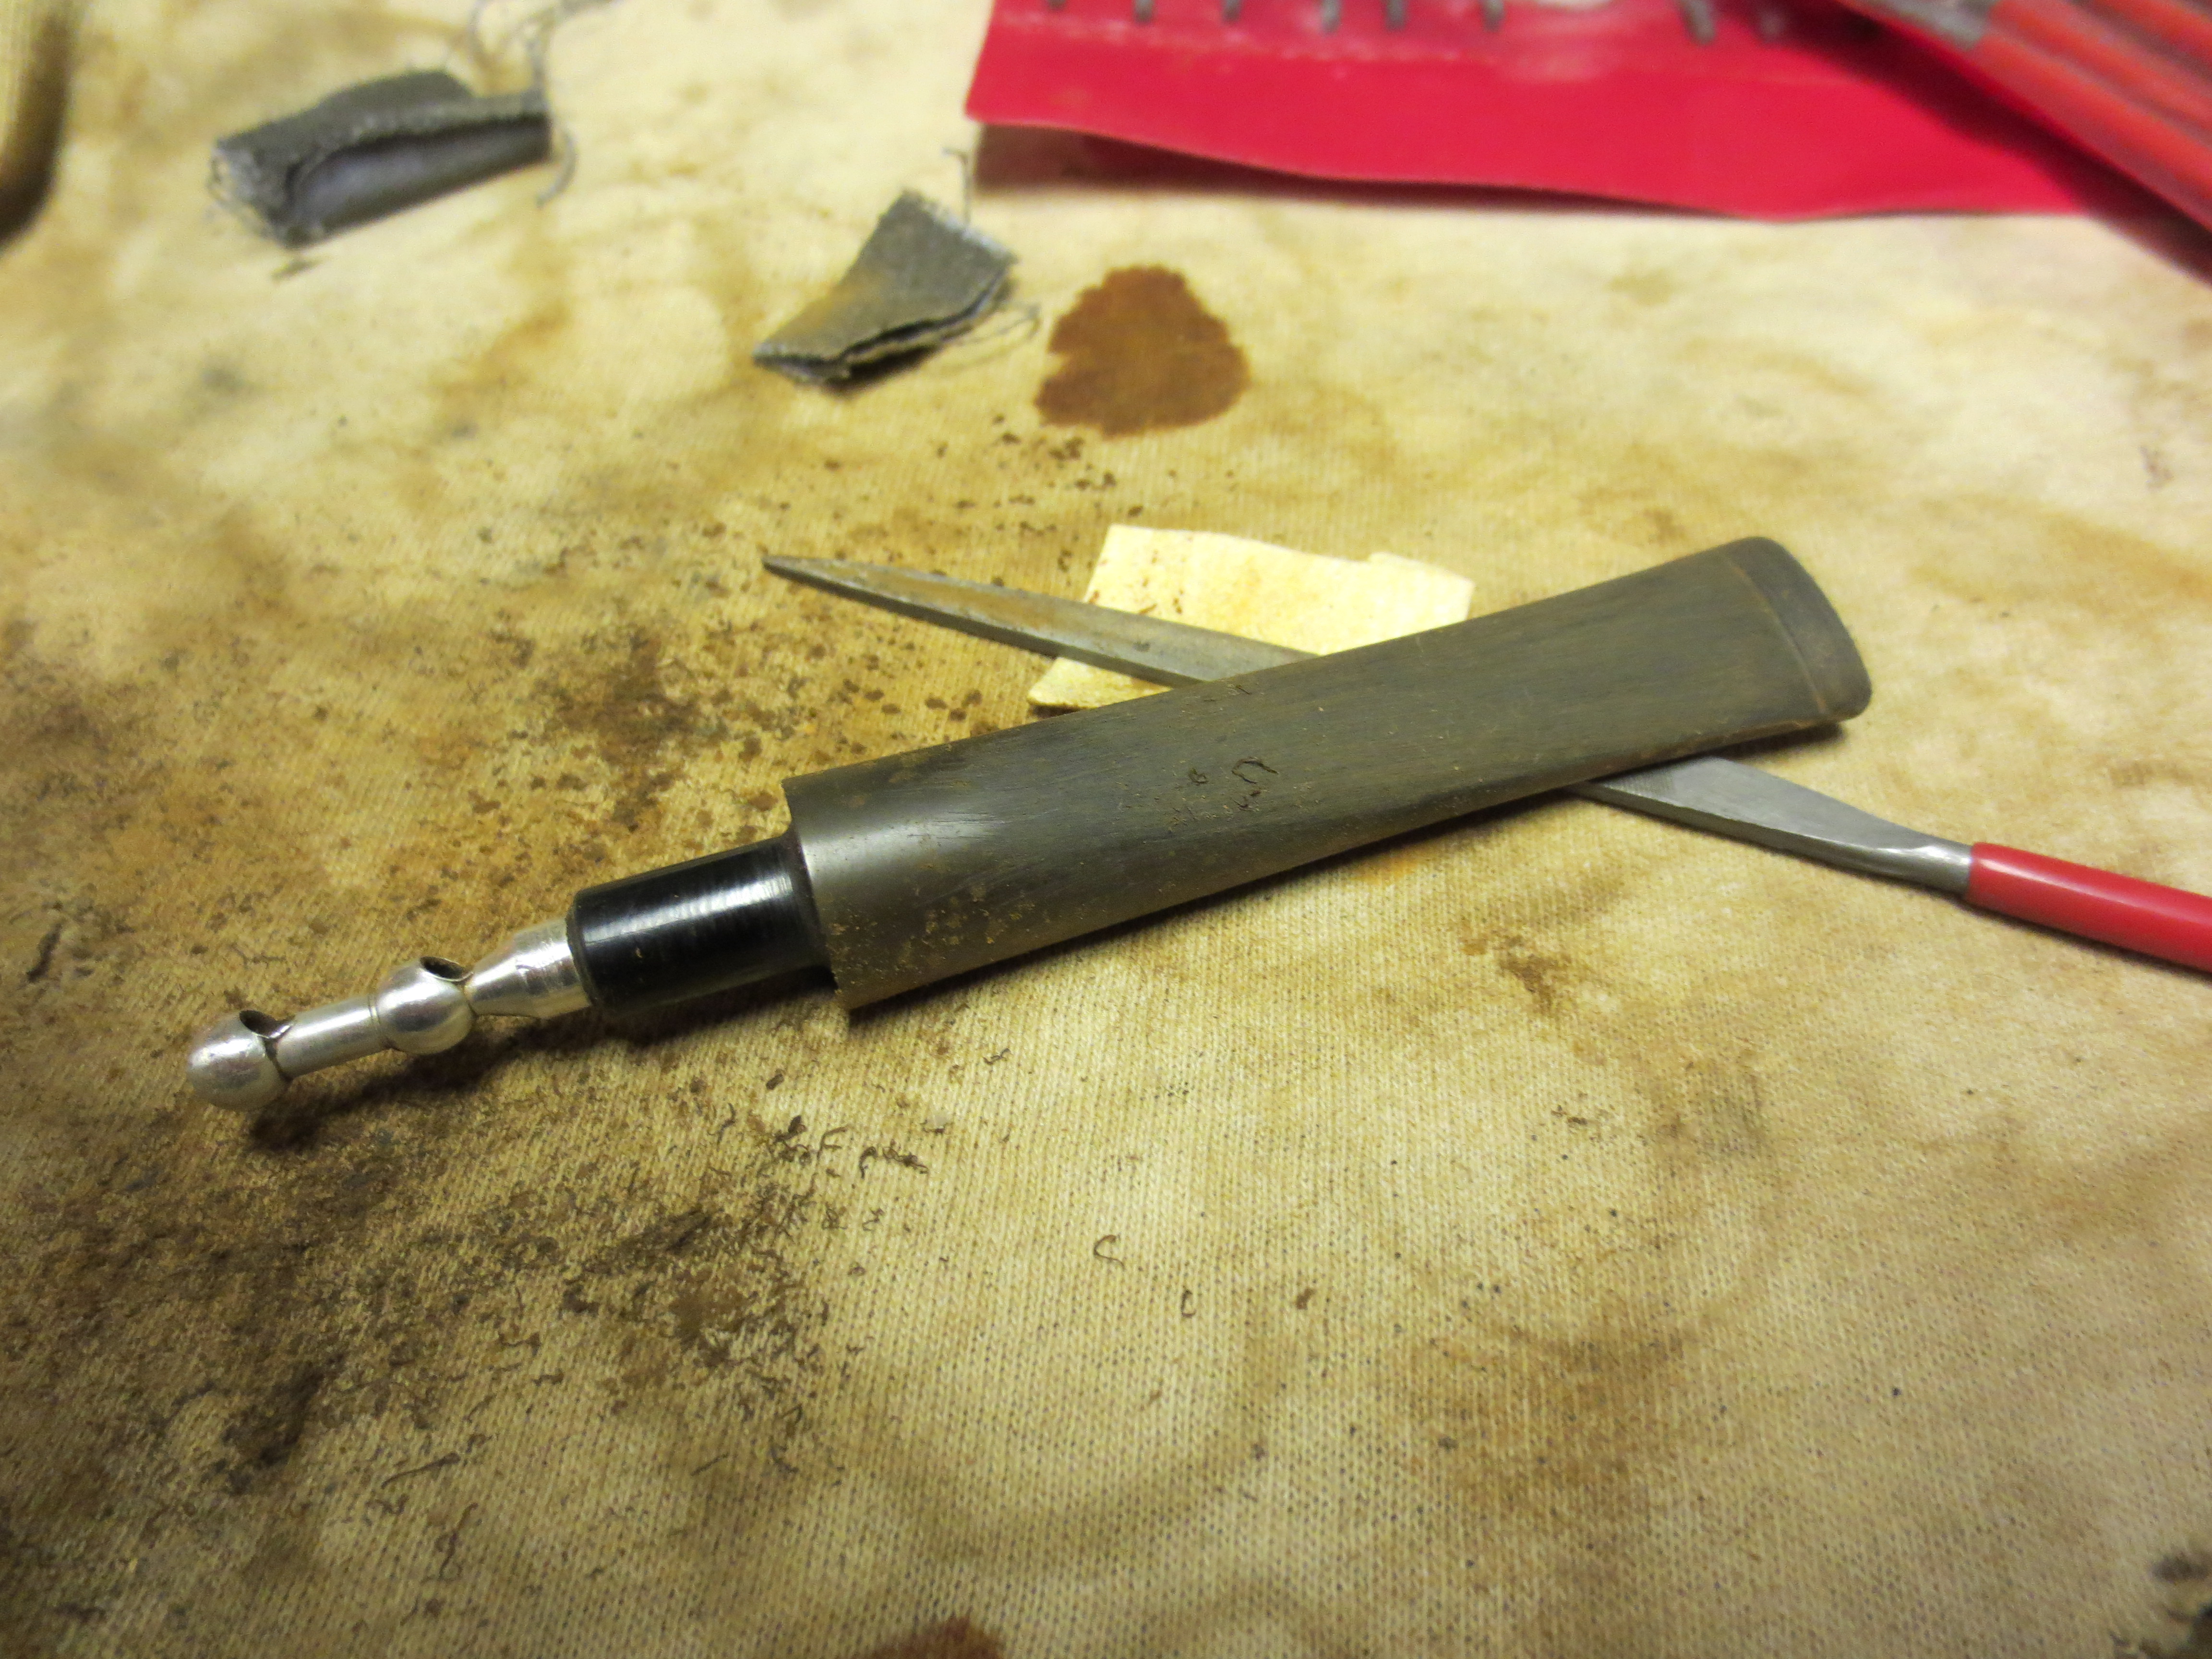
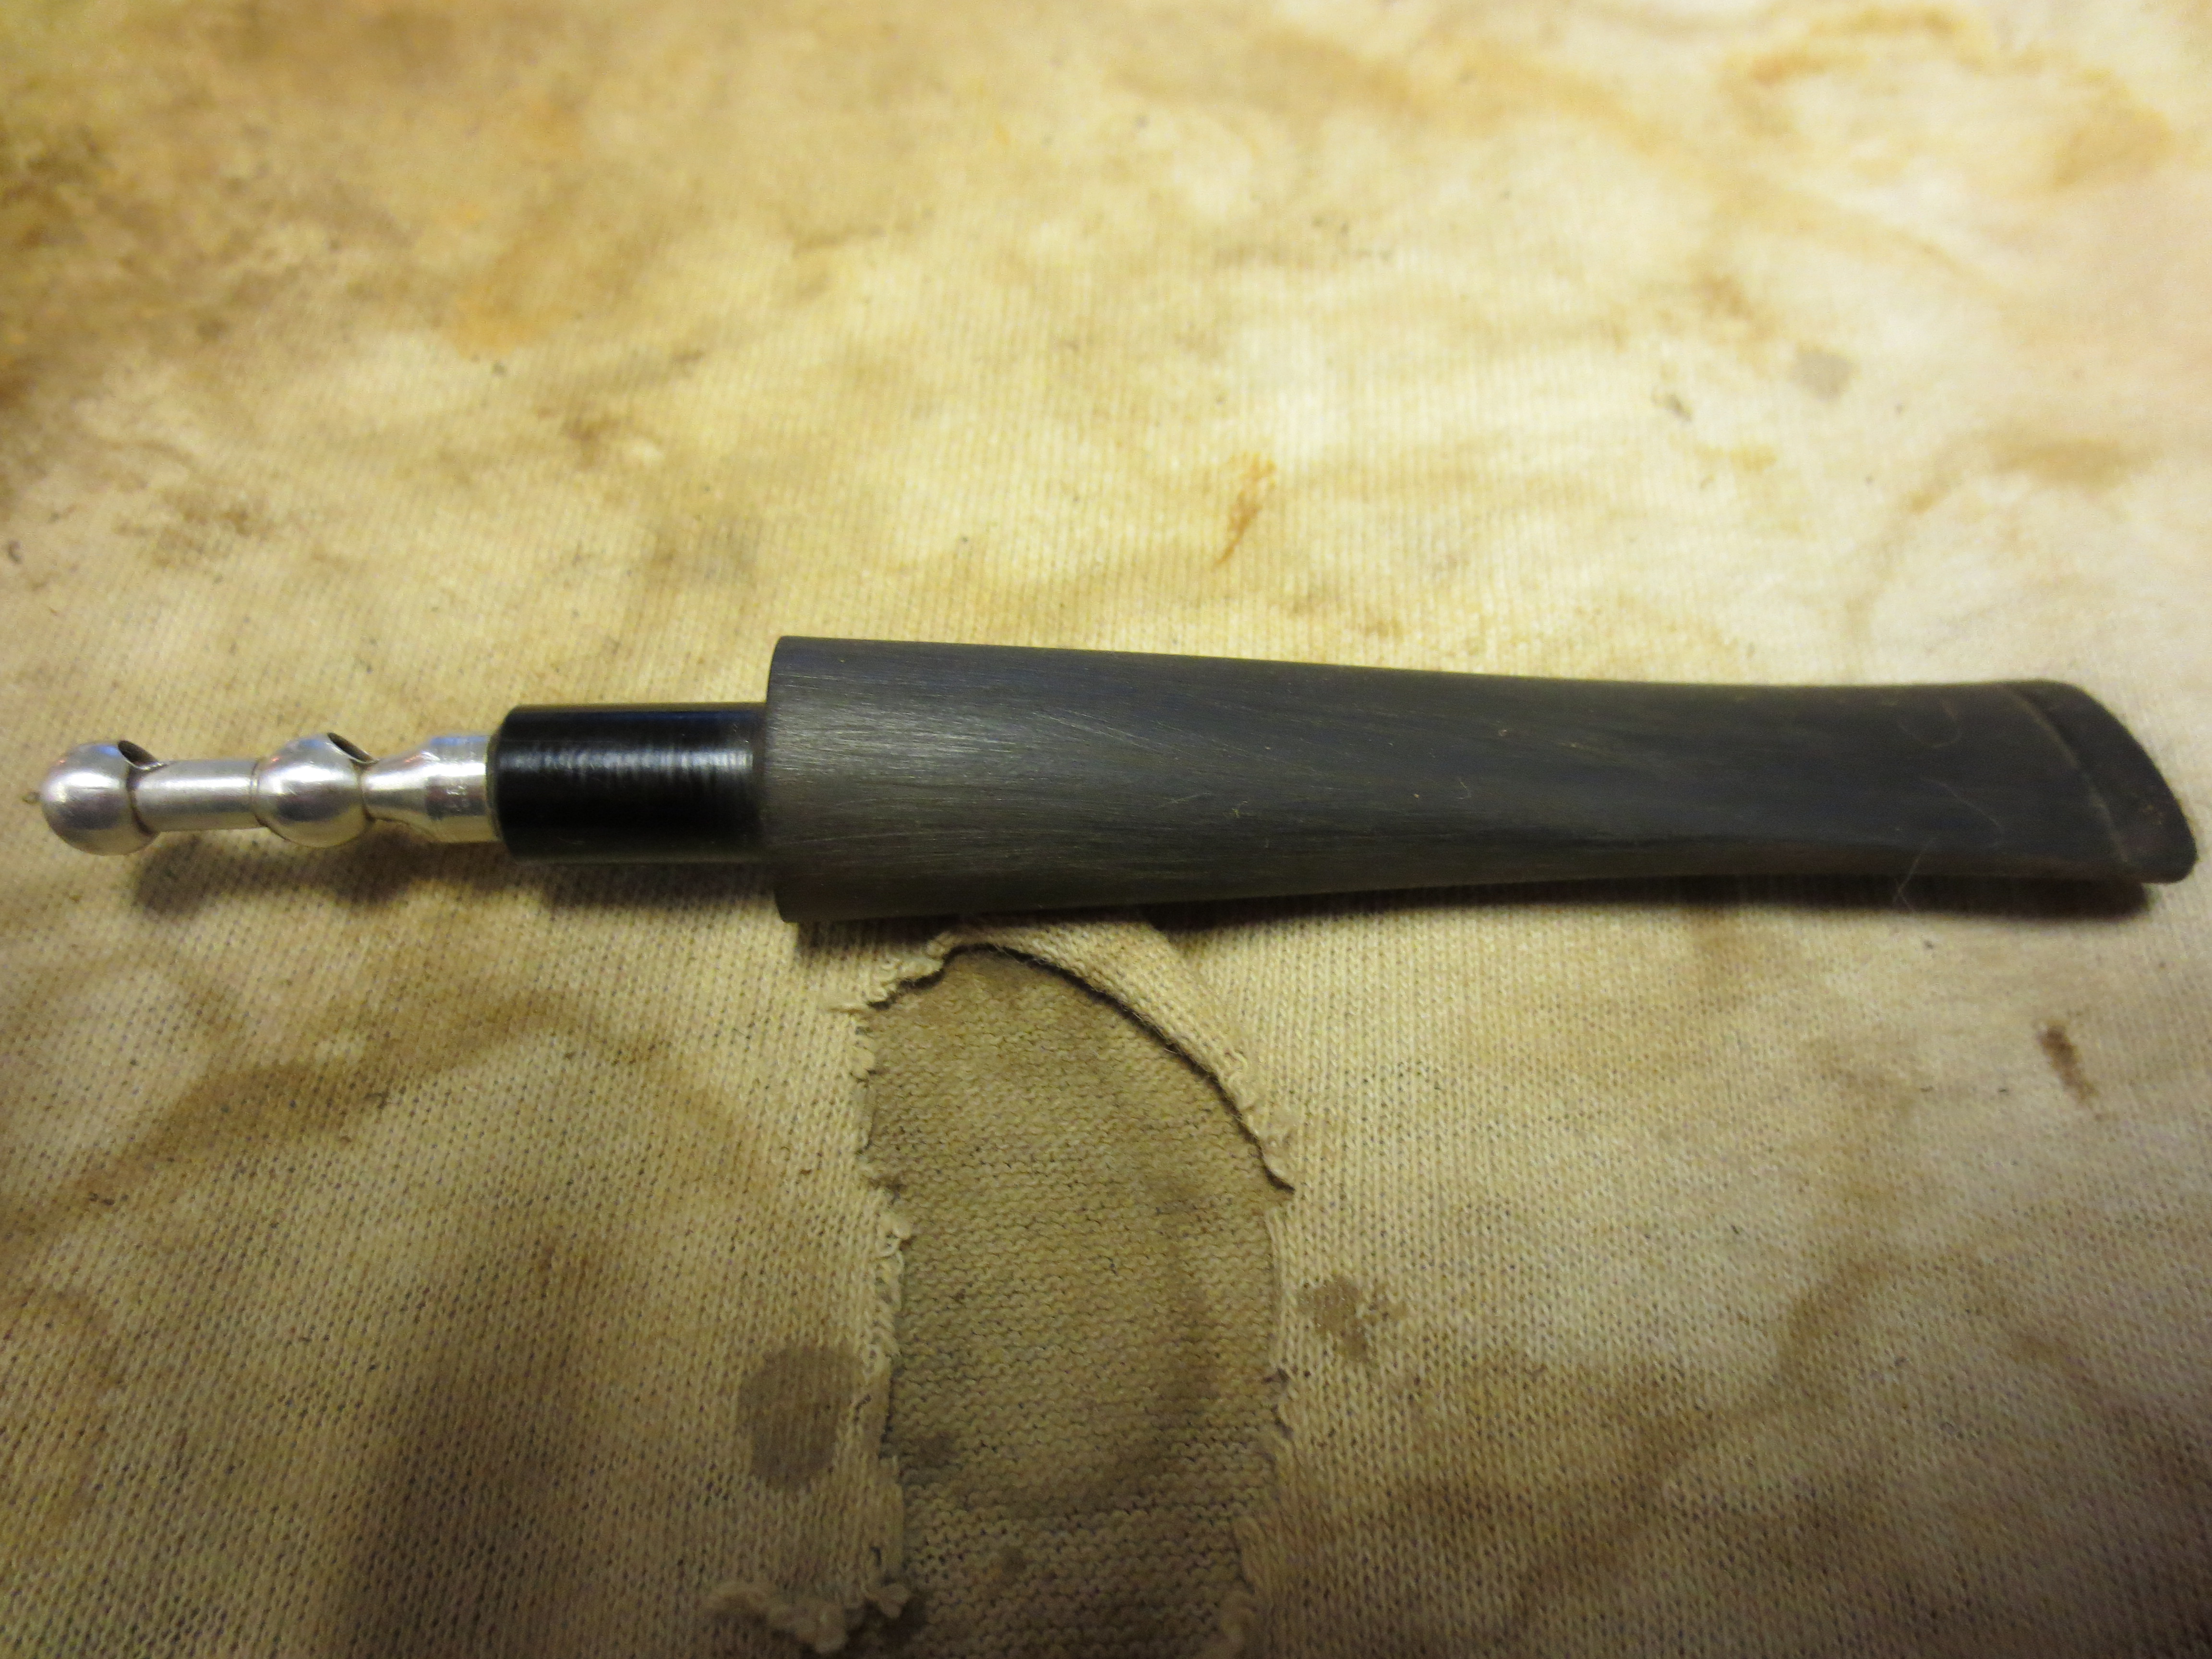
I took the stem to the work area where I have my Dremel to cut off the broken part of the stem. I have the large sanding drum on the Dremel and use it at half speed to cut off the stem. I have learned that it works very well at that speed and allows me to control the angles of the cut to insure that the line is straight. This one was a bit of a challenge as the Y cut in the airway was very close to the surface of the stem. I needed to cut it back far enough to allow me to have enough material to work with to cut the new button. The next six photos show the process of cutting the stem back. There are several photos of the end of the stem showing the new airway and the amount of material available to cut the new button. From the point of the stem the airway dropped suddenly back to the normal straight drilling and would allow me room to do the shaping.


I took the pipe back to my work table and reamed the bowl back to bare wood. I then topped the pipe very slightly to remove the buildup on the rim and to smooth things out. The next series of four photos show the topping process and the results. In the fifth photo below I used a medium grit sanding sponge and then a fine grit sponge to finish the topping and remove any sign of scratching to the surface. I also used 320 grit sandpaper to clean up the beveled inner edge of the bowl.

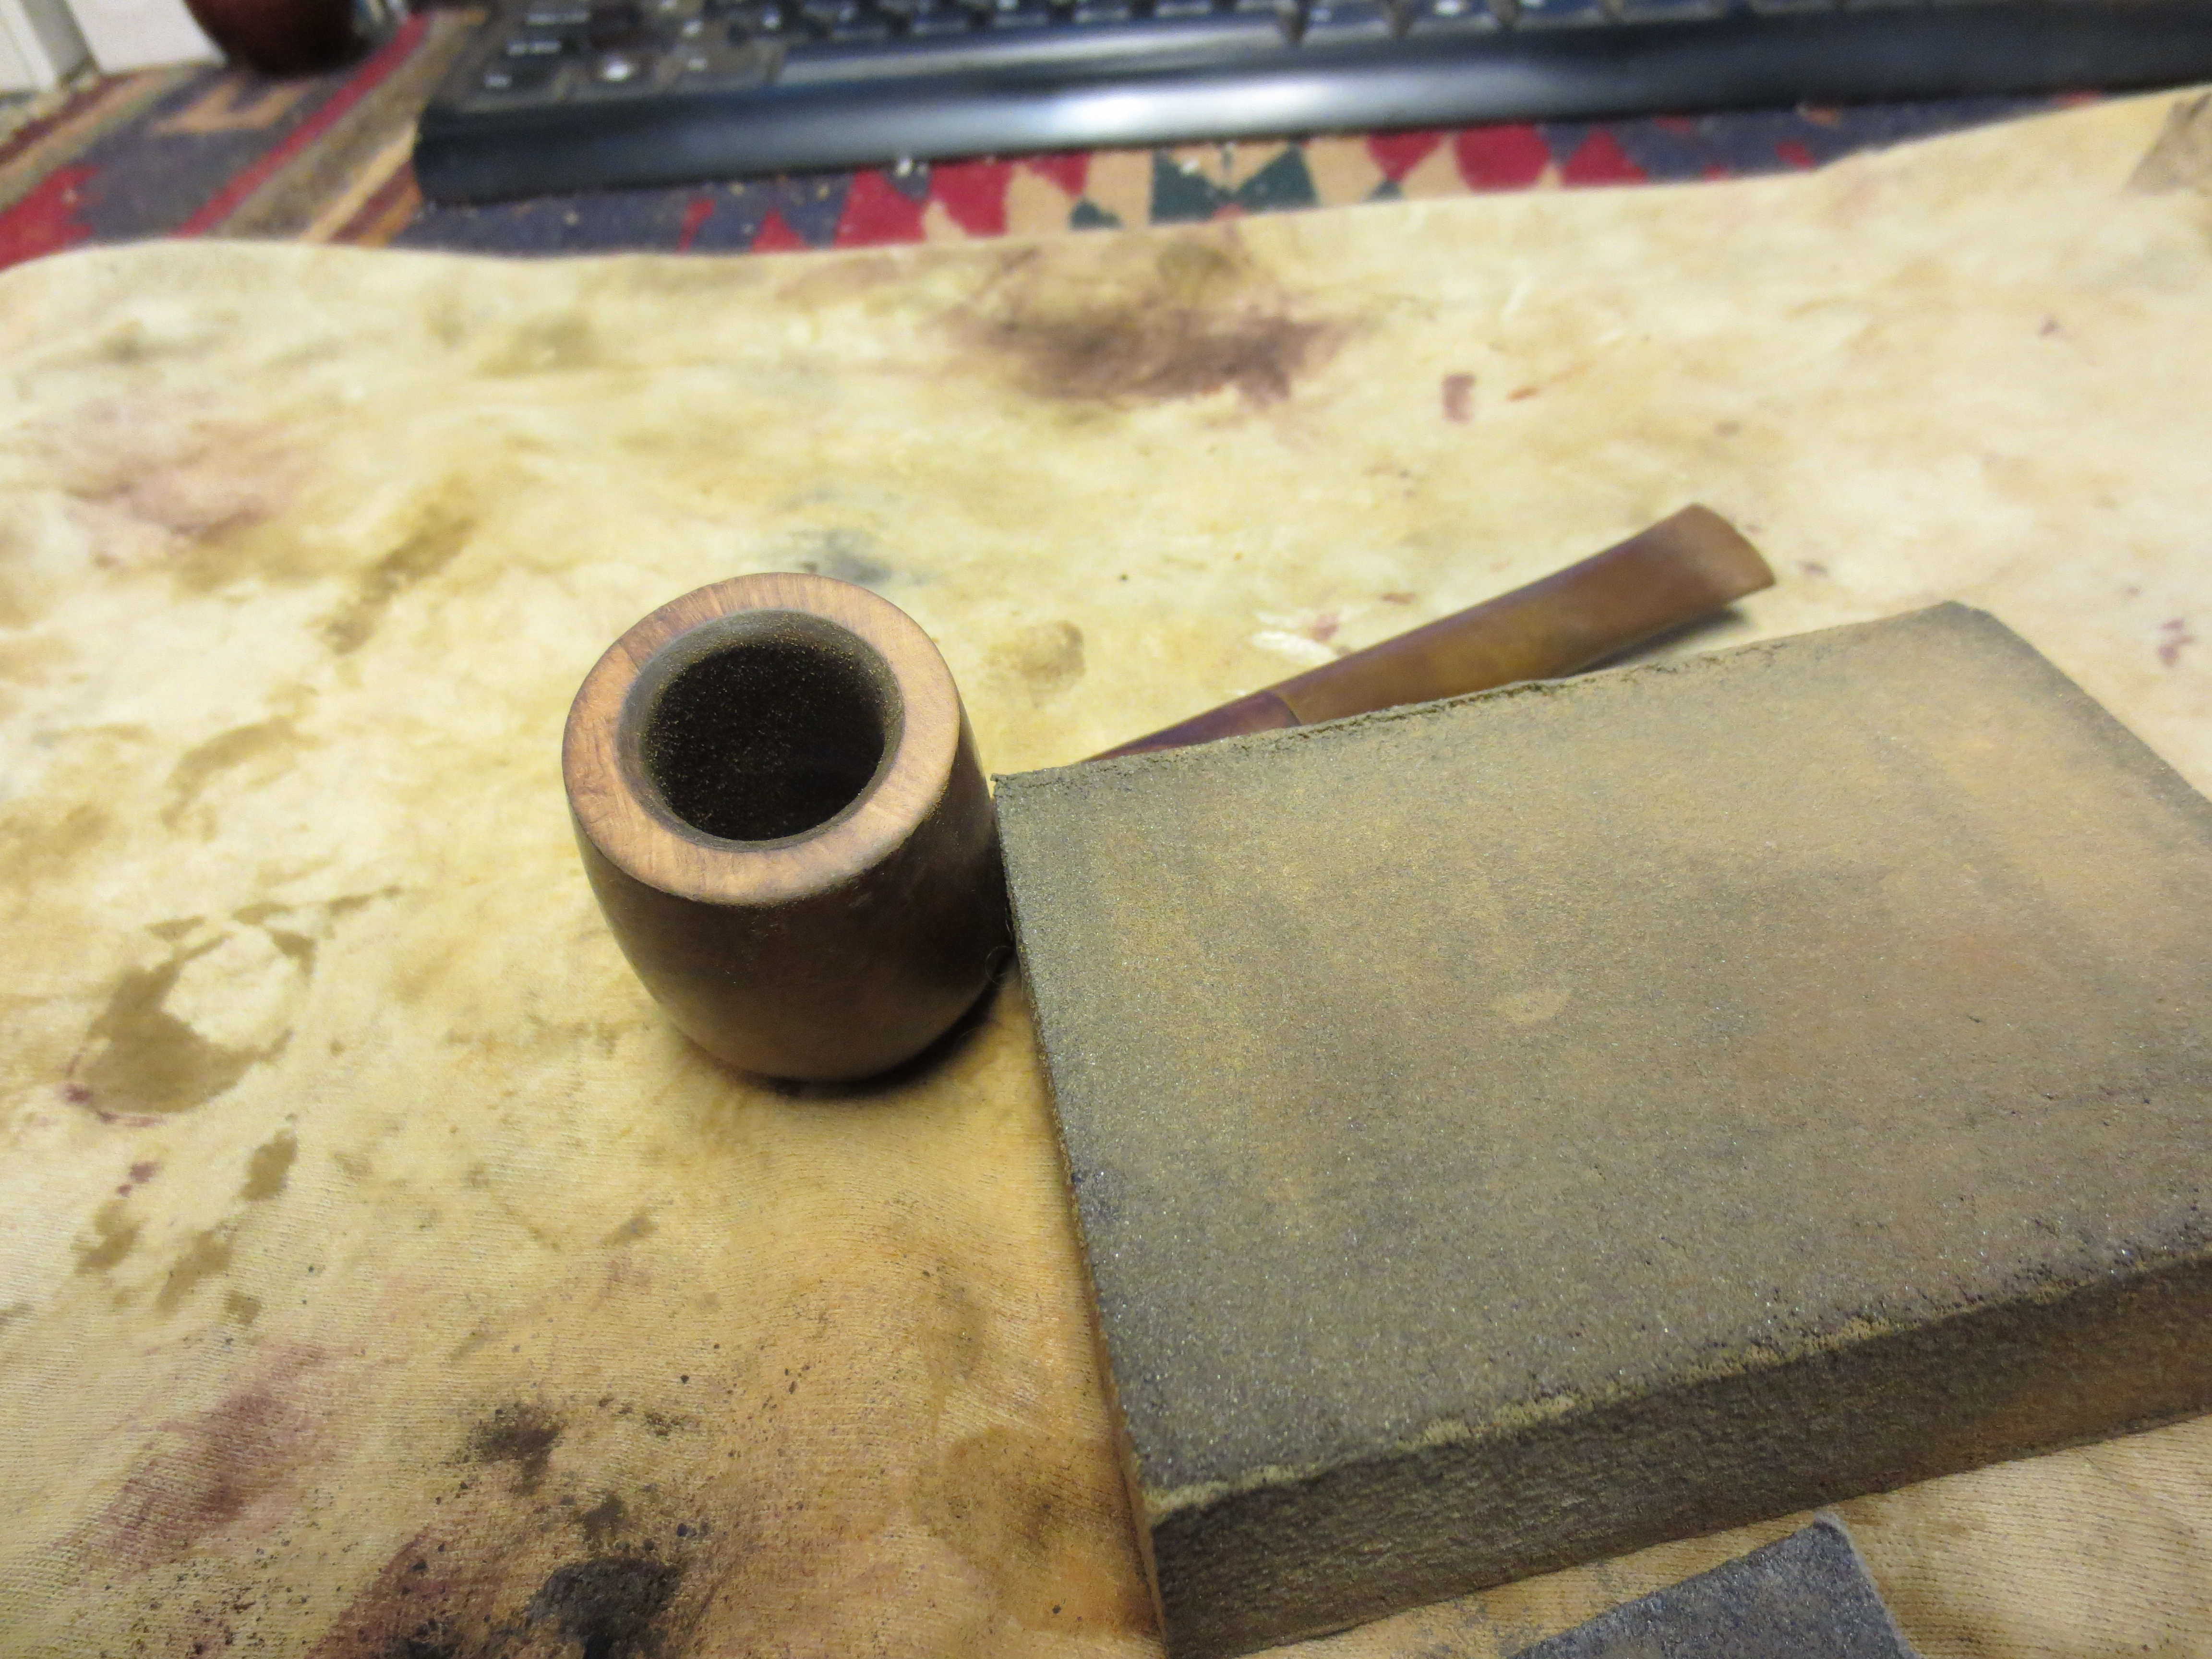
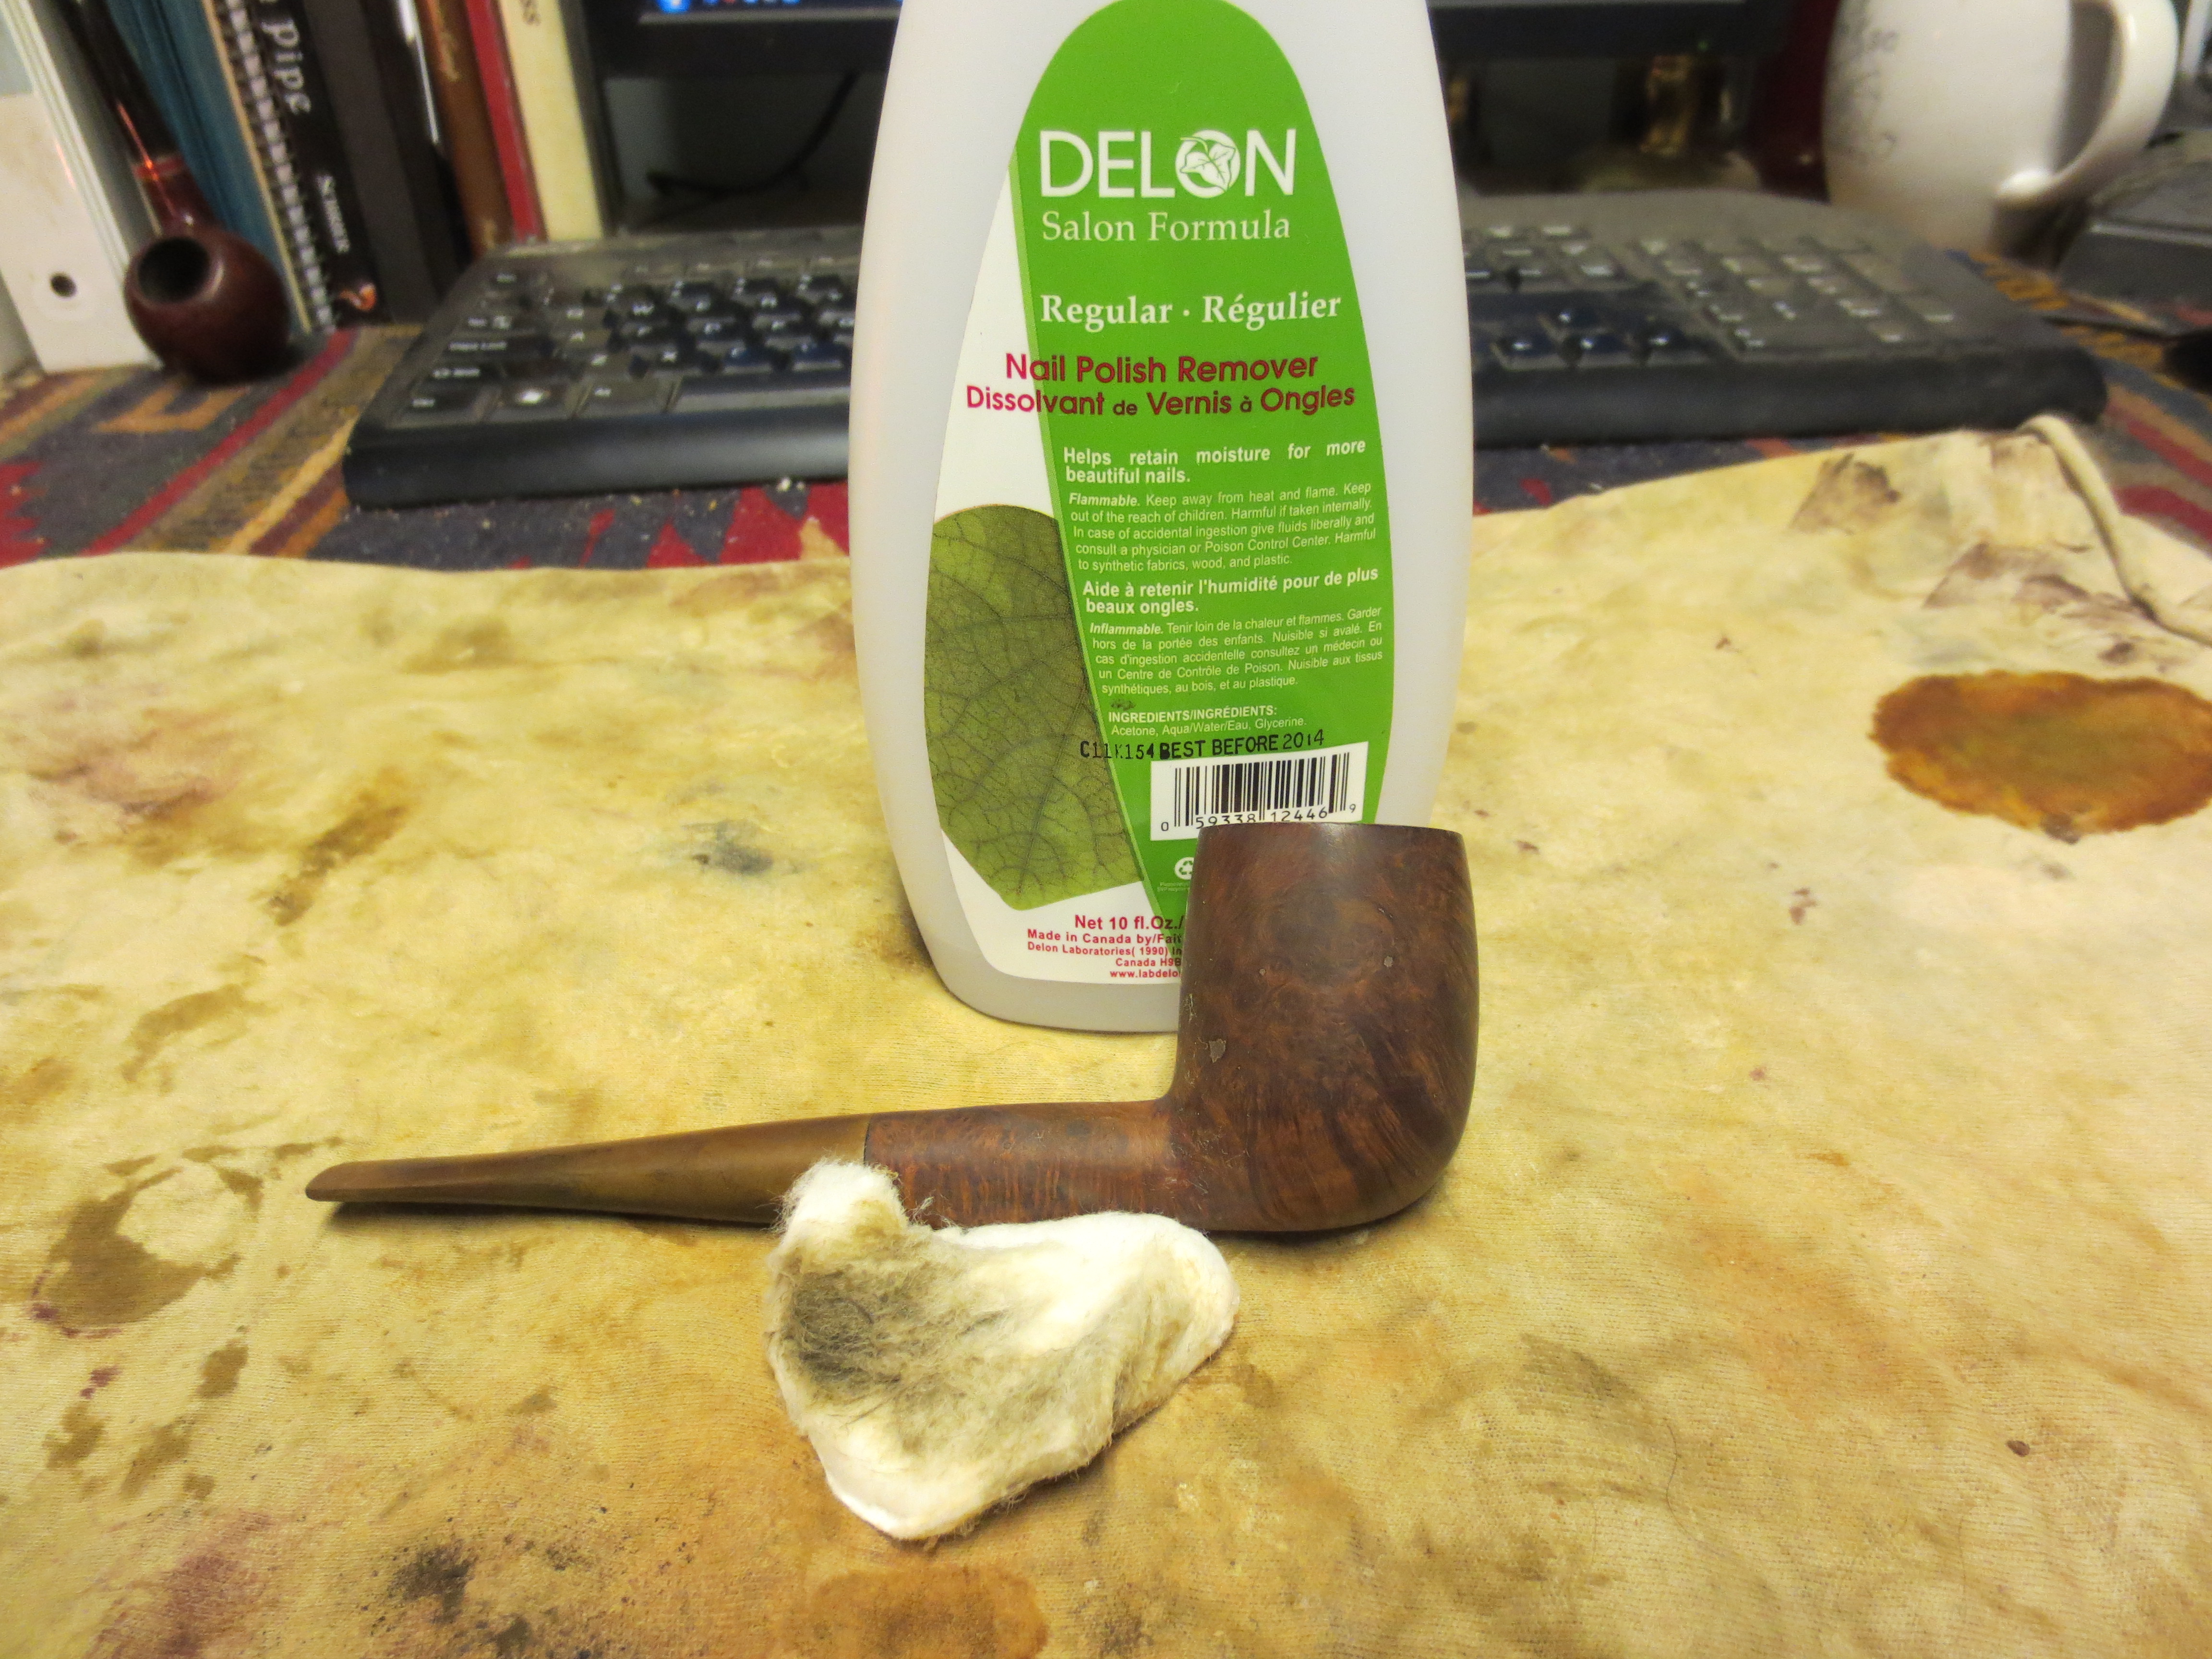
Once the top was cleaned and smooth I wiped the bowl down with acetone (finger nail polish remover) on a cotton pad to clean off the grime and remnants of finish on the bowl. The next two photos show the bowl after I have wiped it down. There was some beautiful birdseye on one side of the bowl and some great flame grain on the other side. In the second photo you can see the fill that is visible on the bowl.

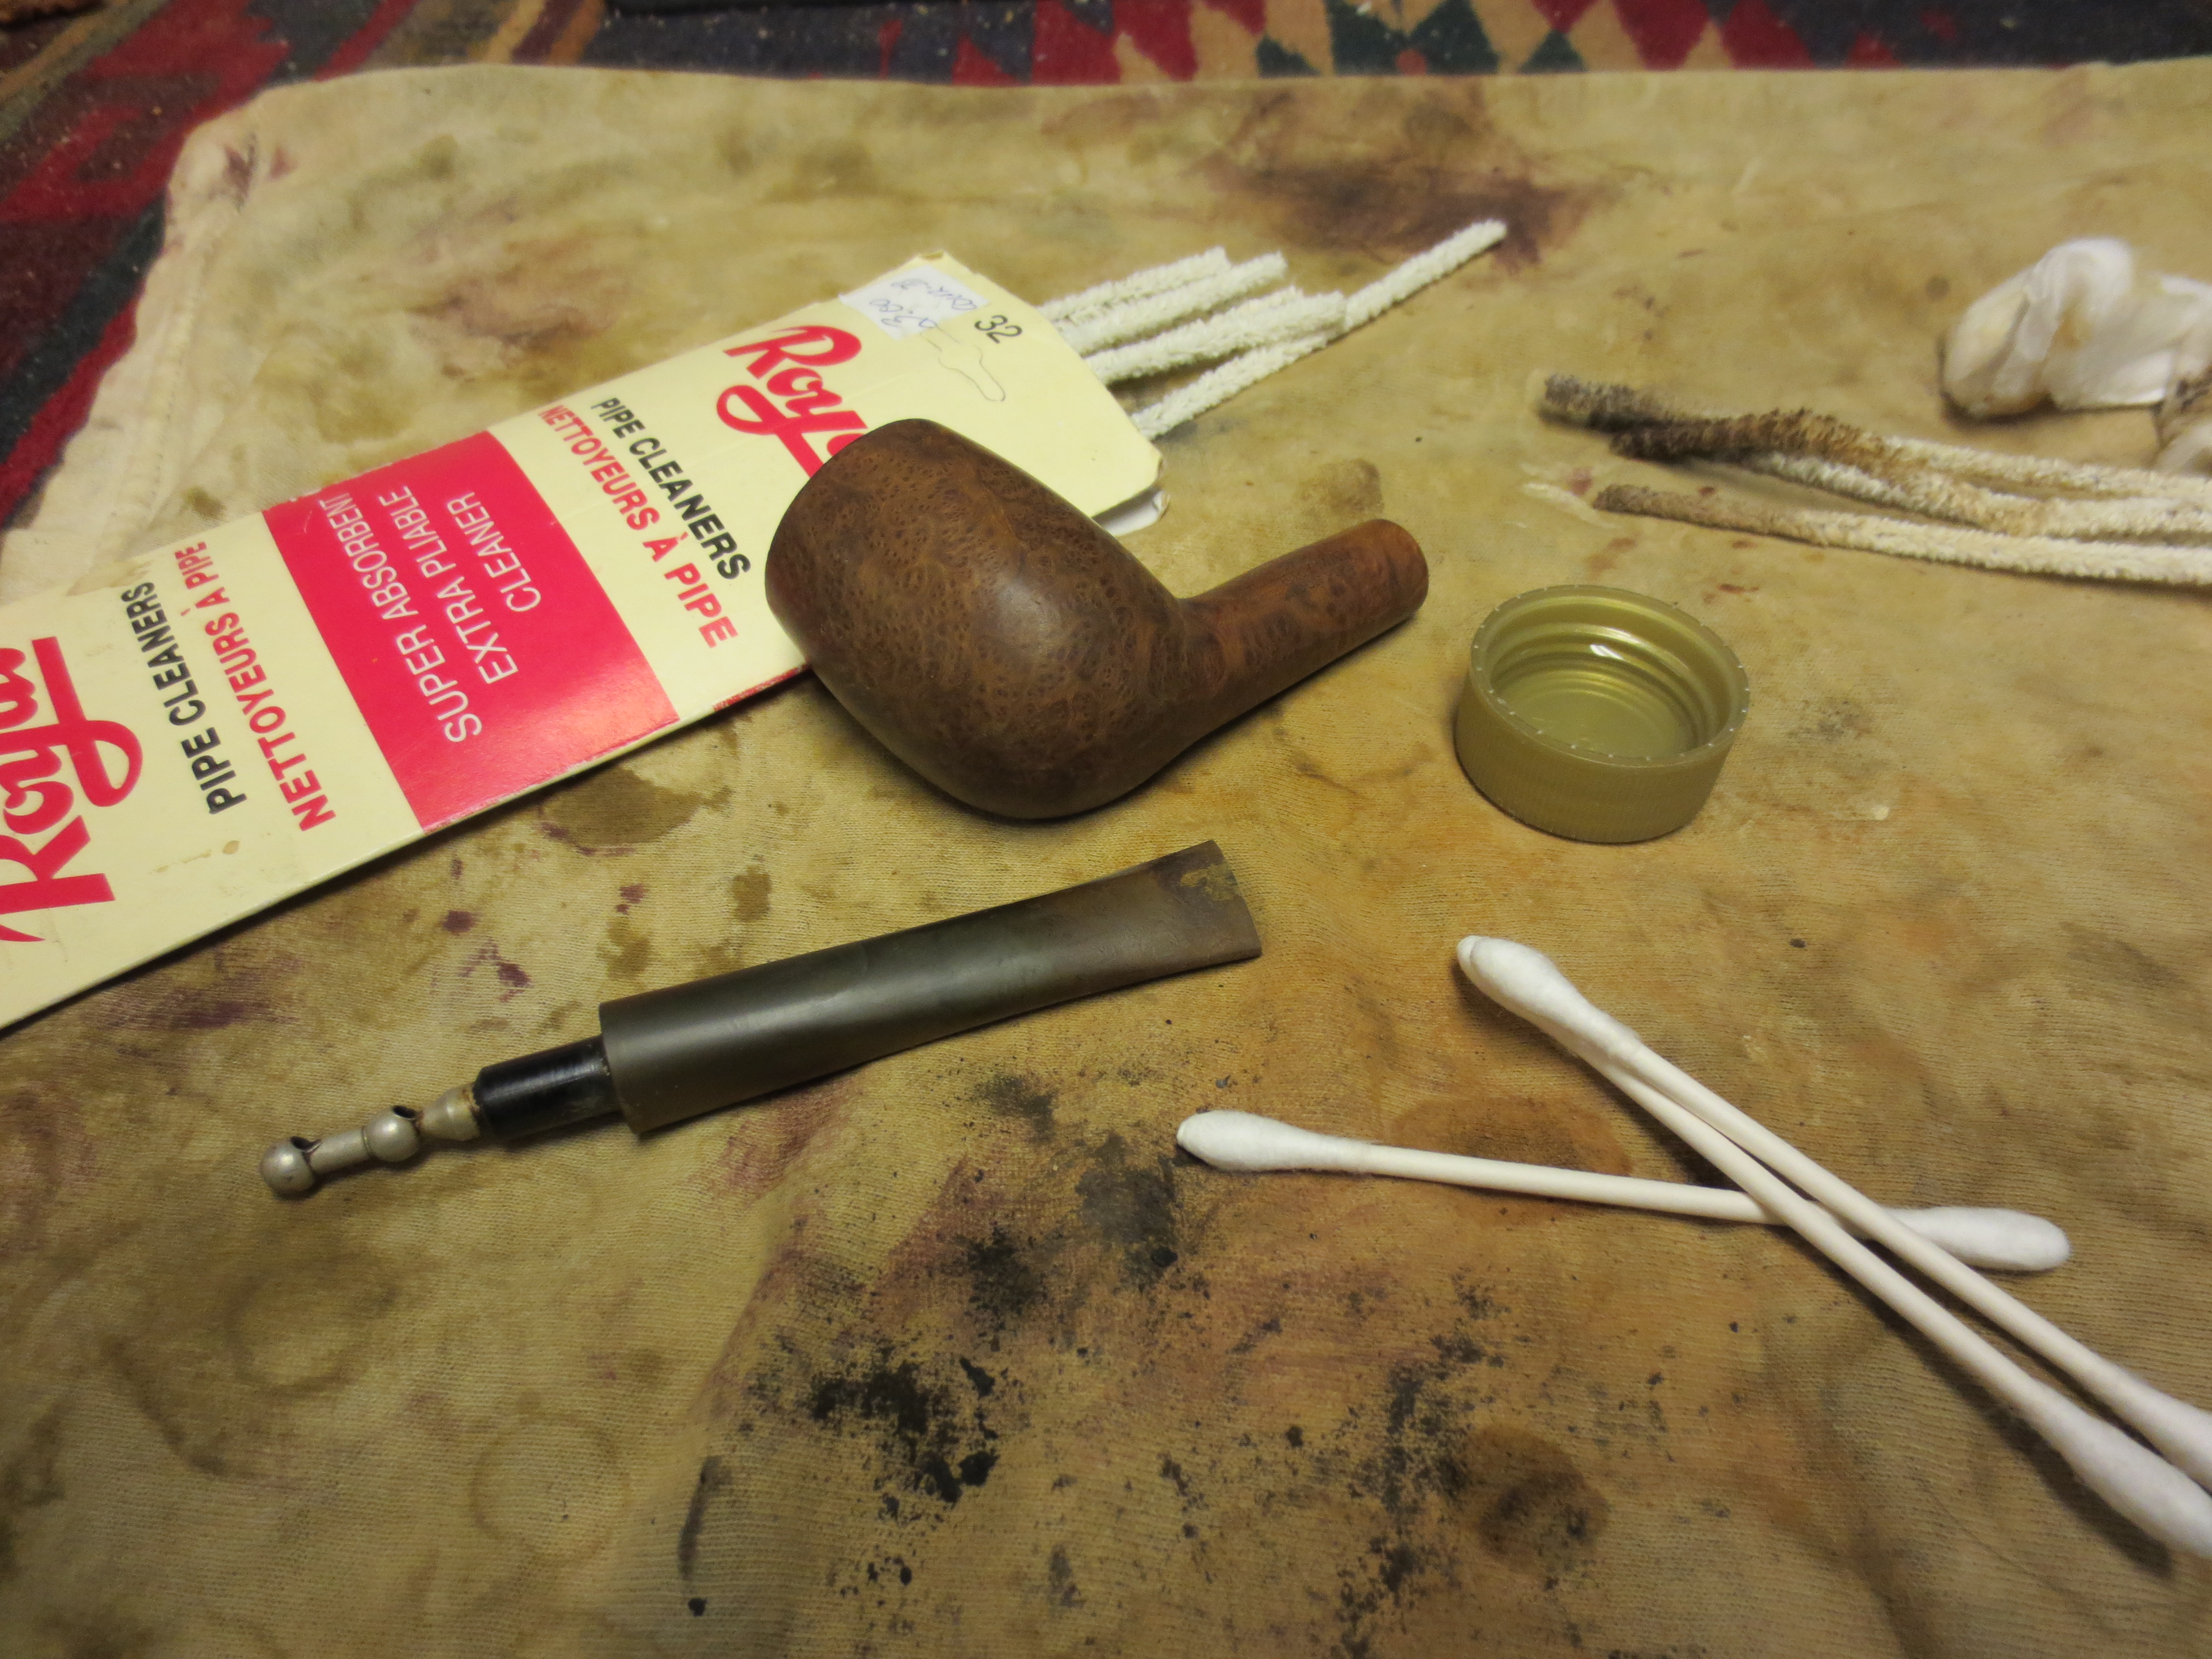
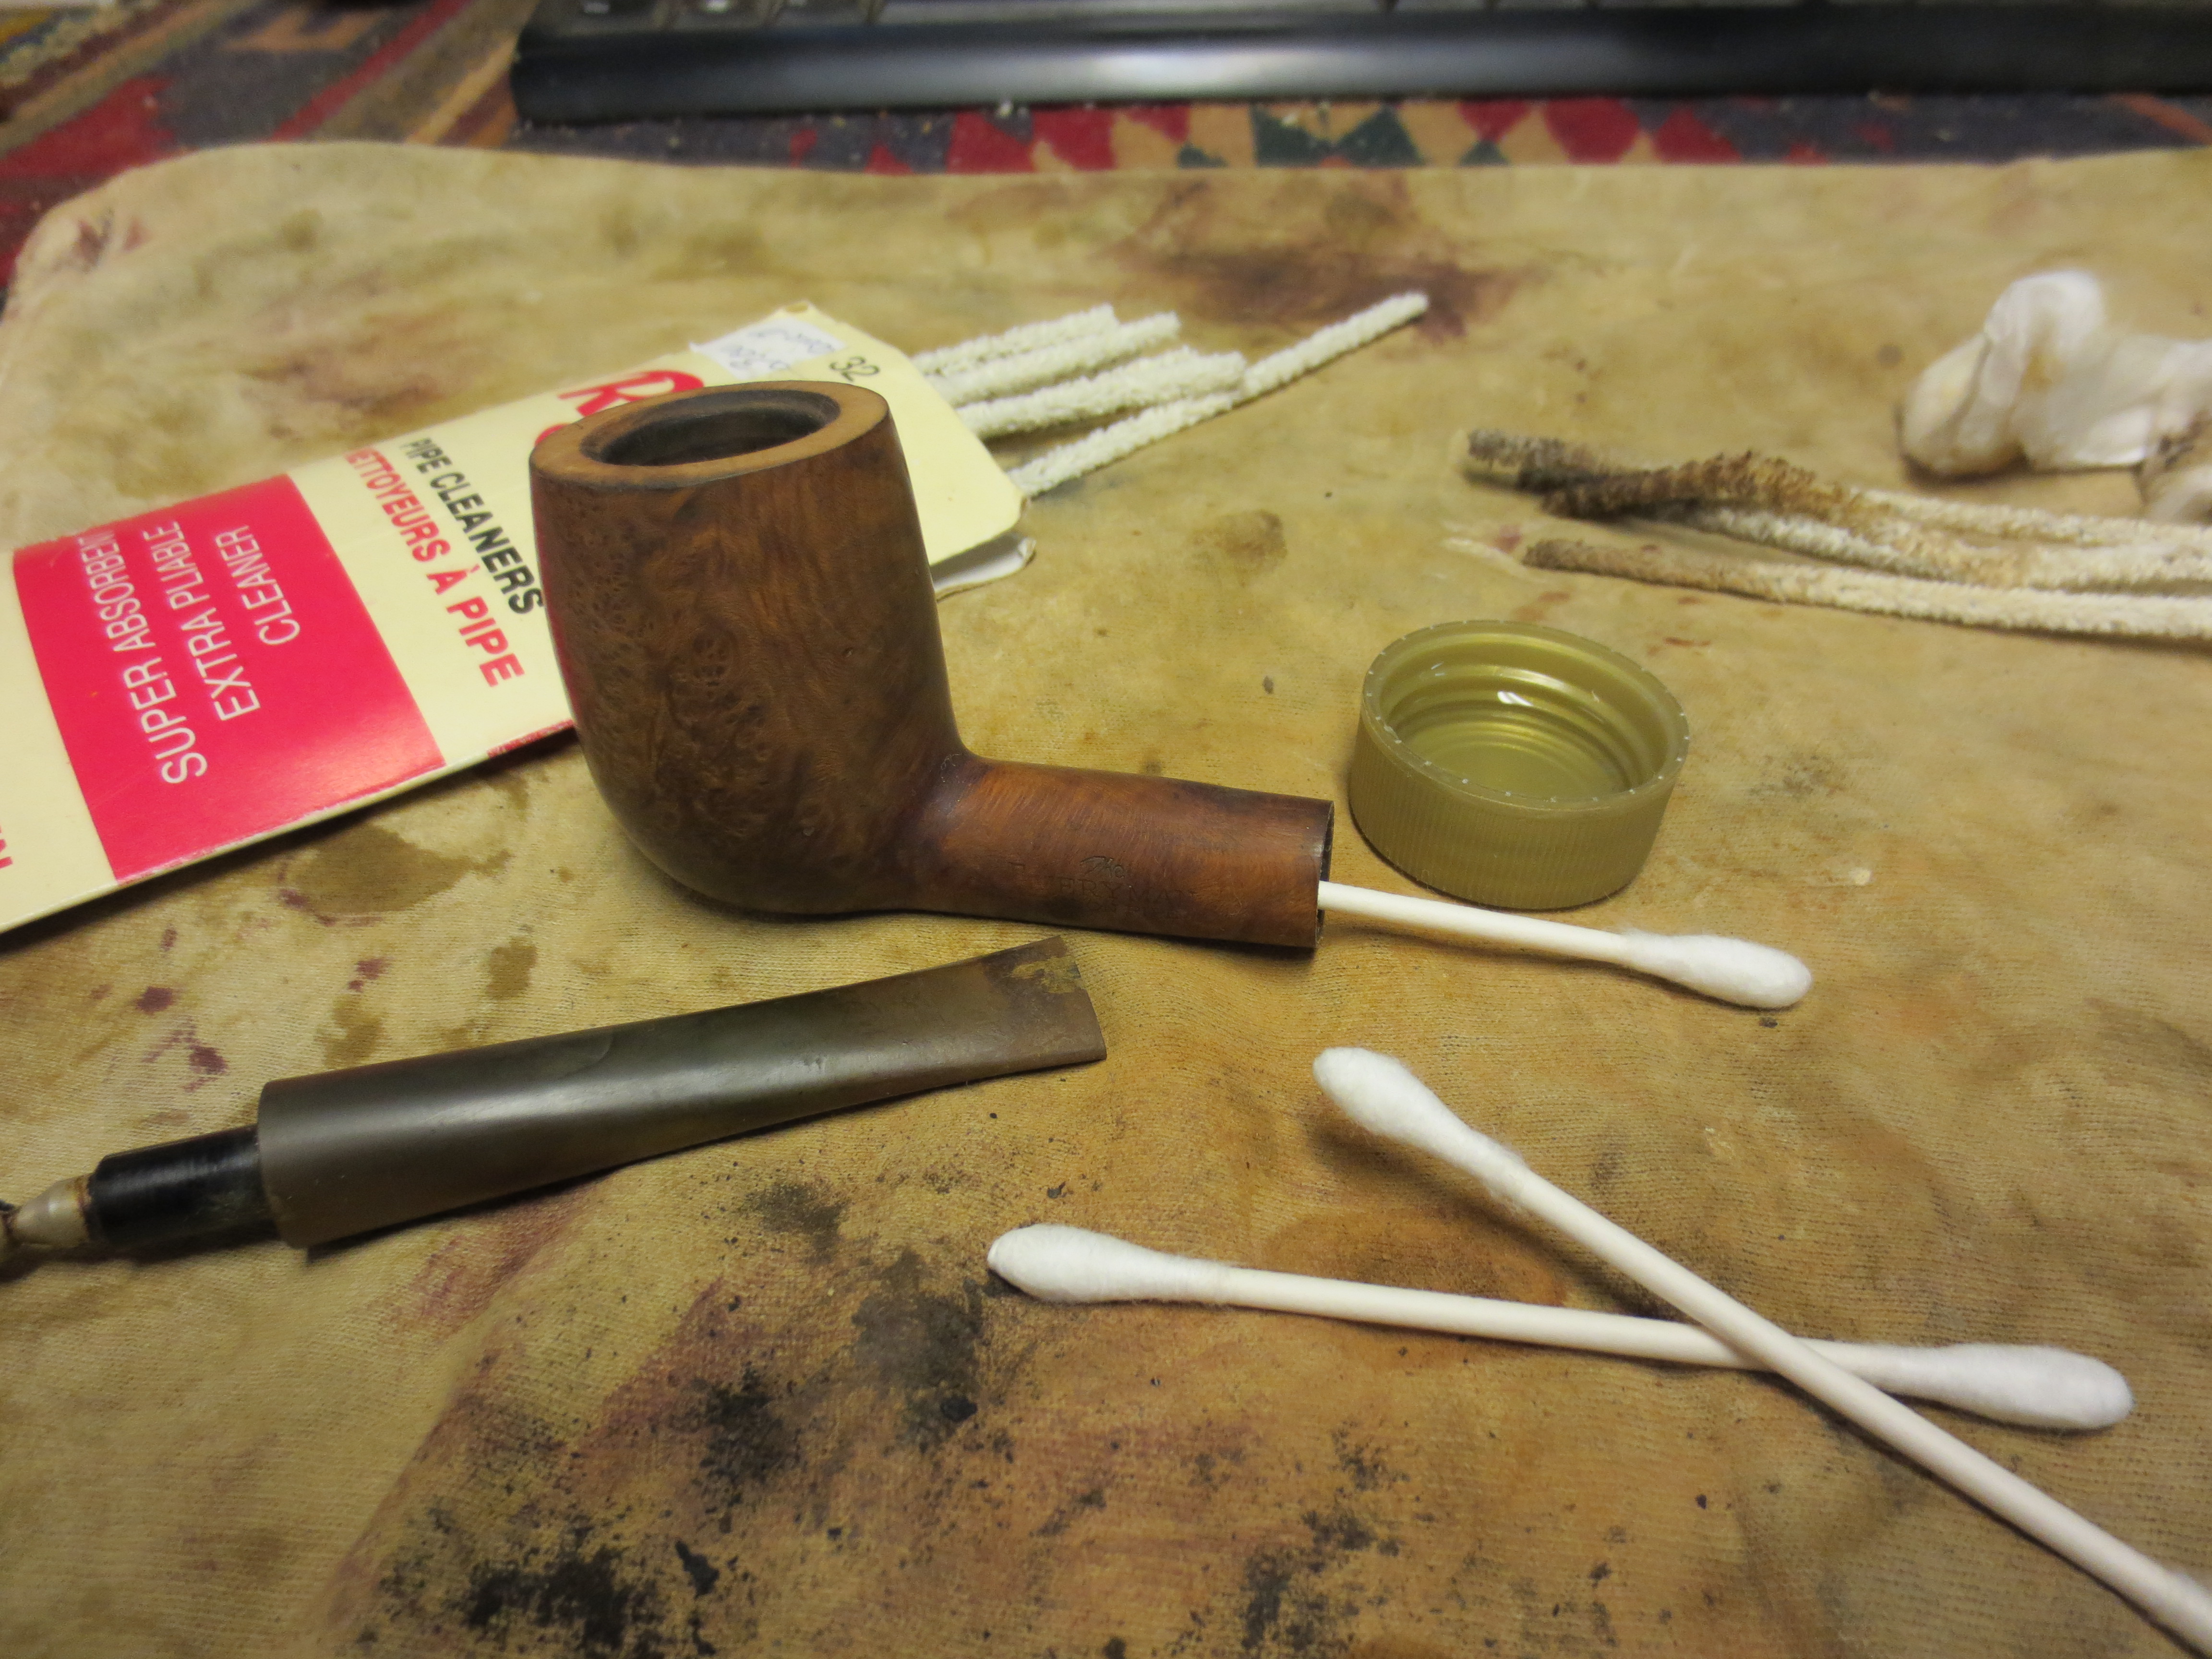
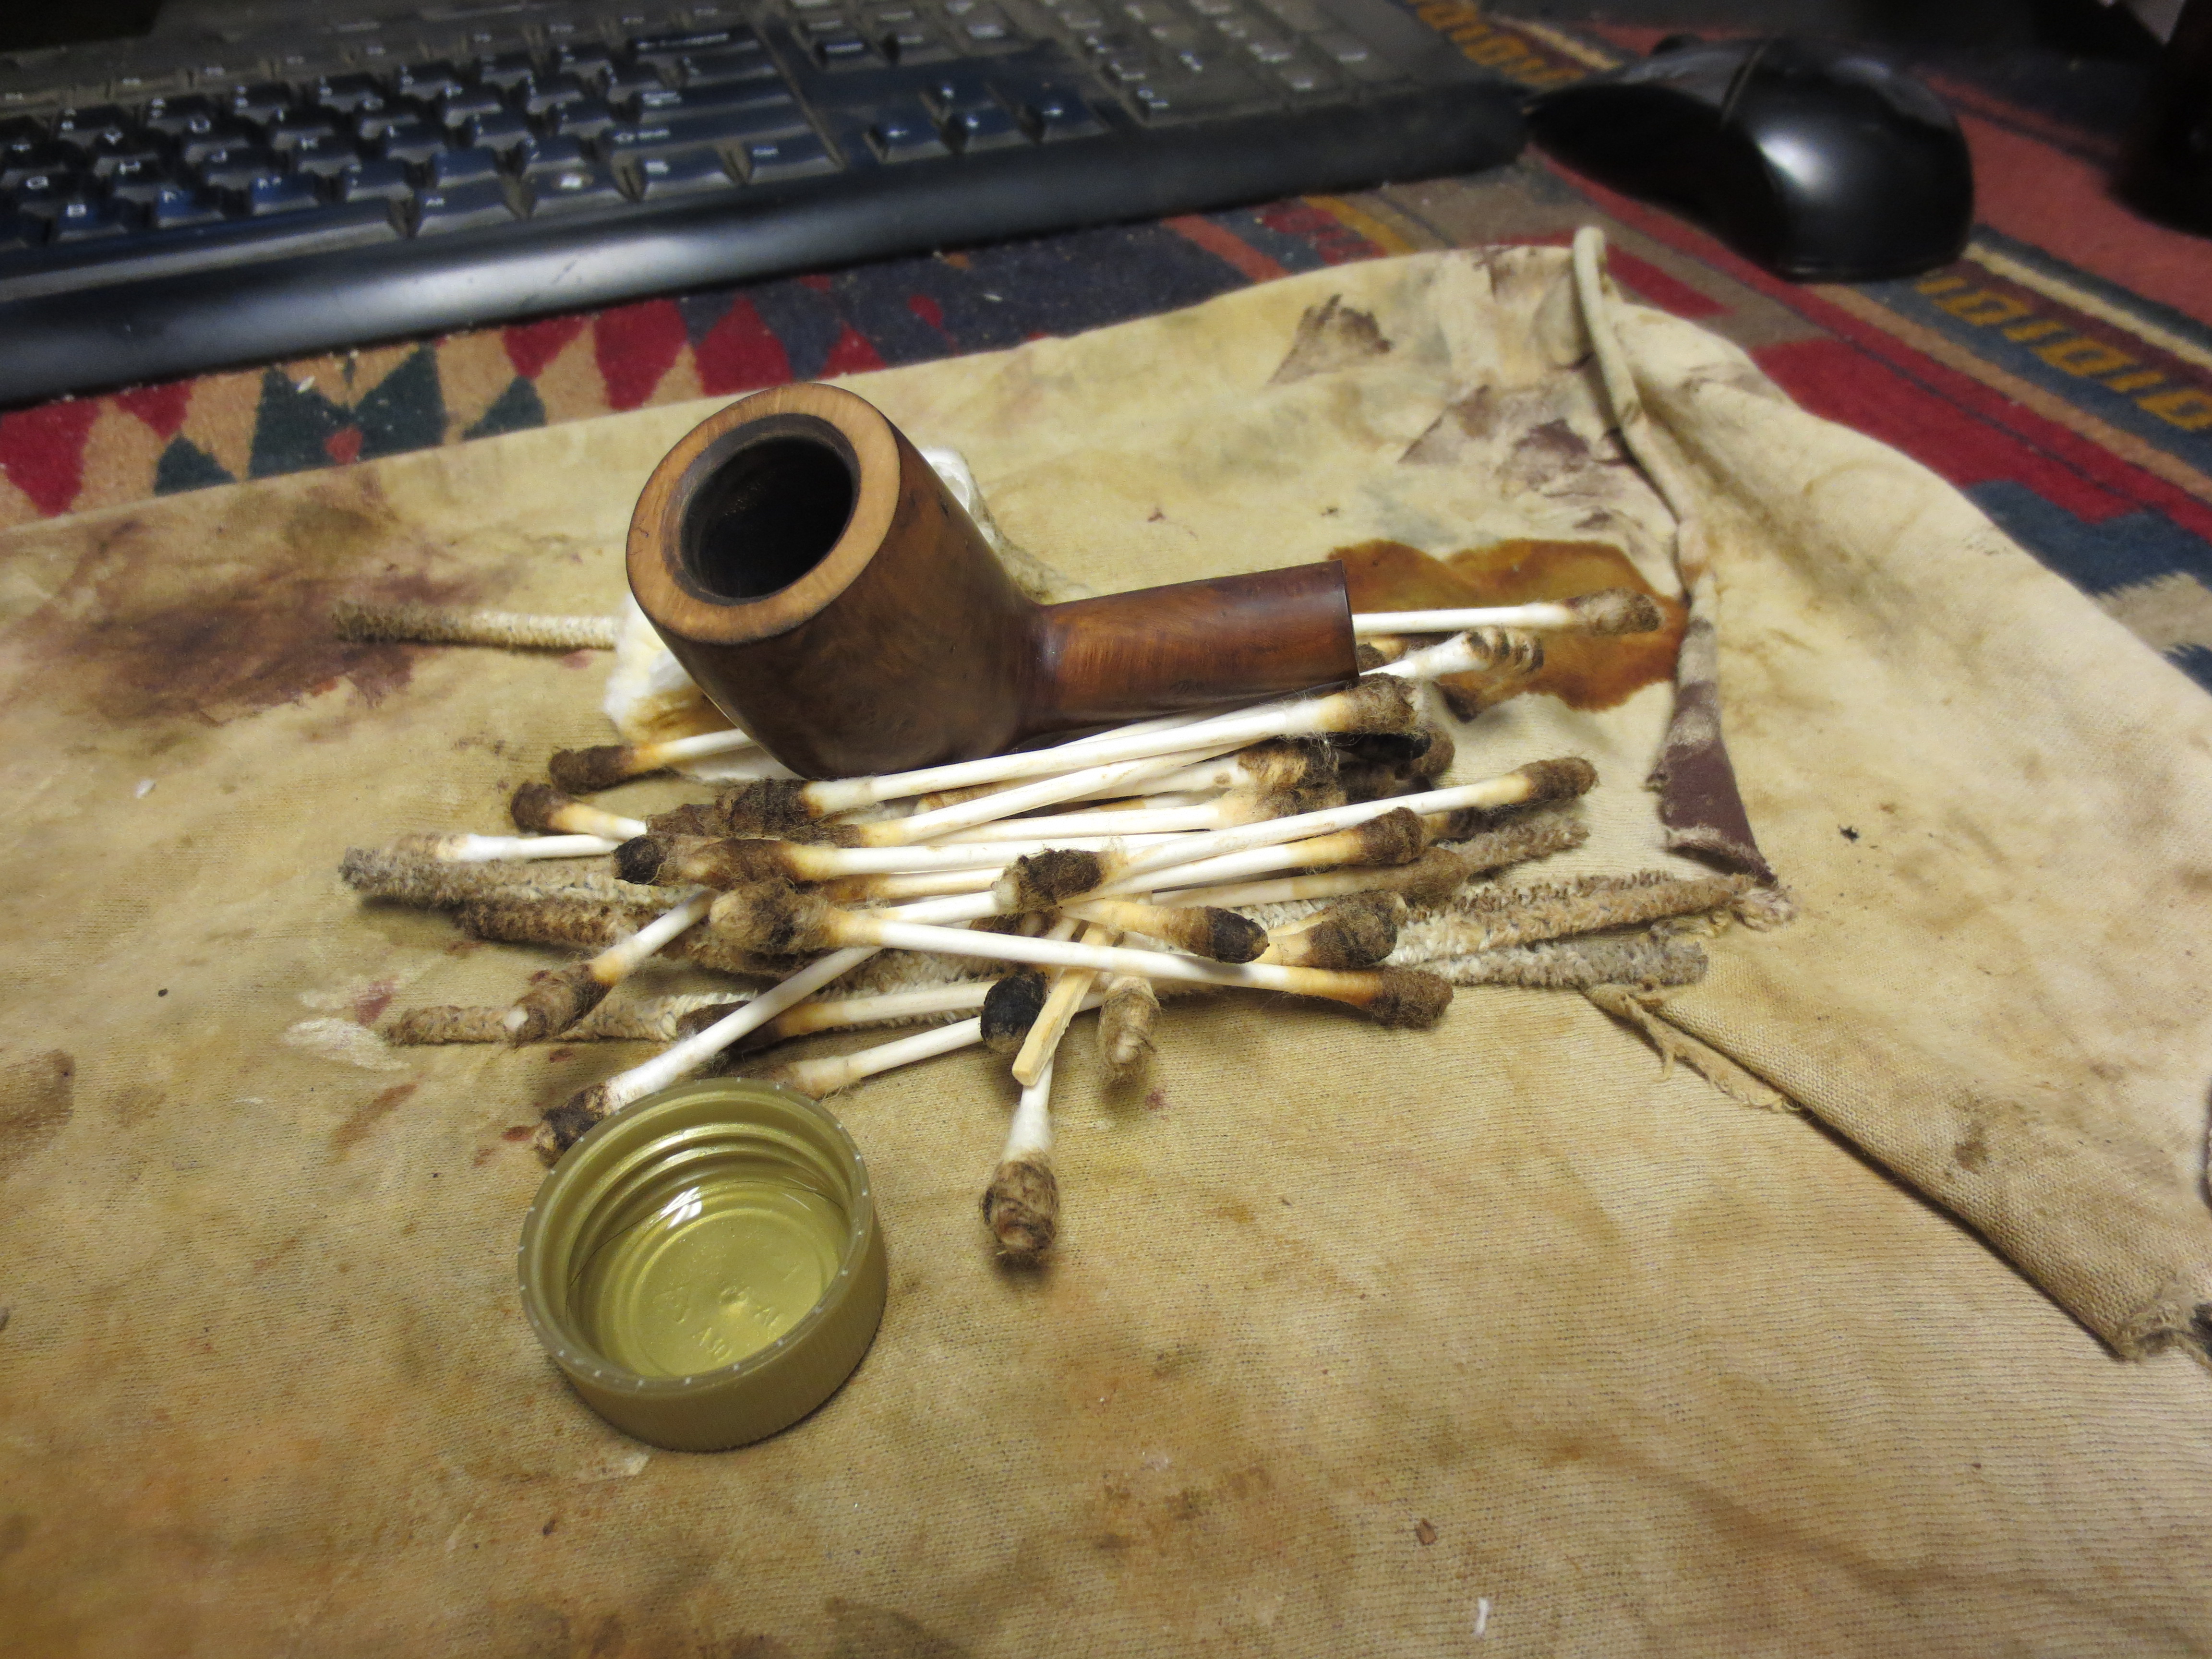
After cleaning the outside of the bowl it was time to clean the shank and bowl. I removed the stem and poured some Everclear into the cap to use to clean the airway. I used many cotton swabs to clean out the airway and the mortise. I also used a significant number of pipe cleaners in the process. The next three photos show the cleaning materials I use and the final photo of the threesome shows the pile of cotton swabs and pipe cleaners used to clean the shank.
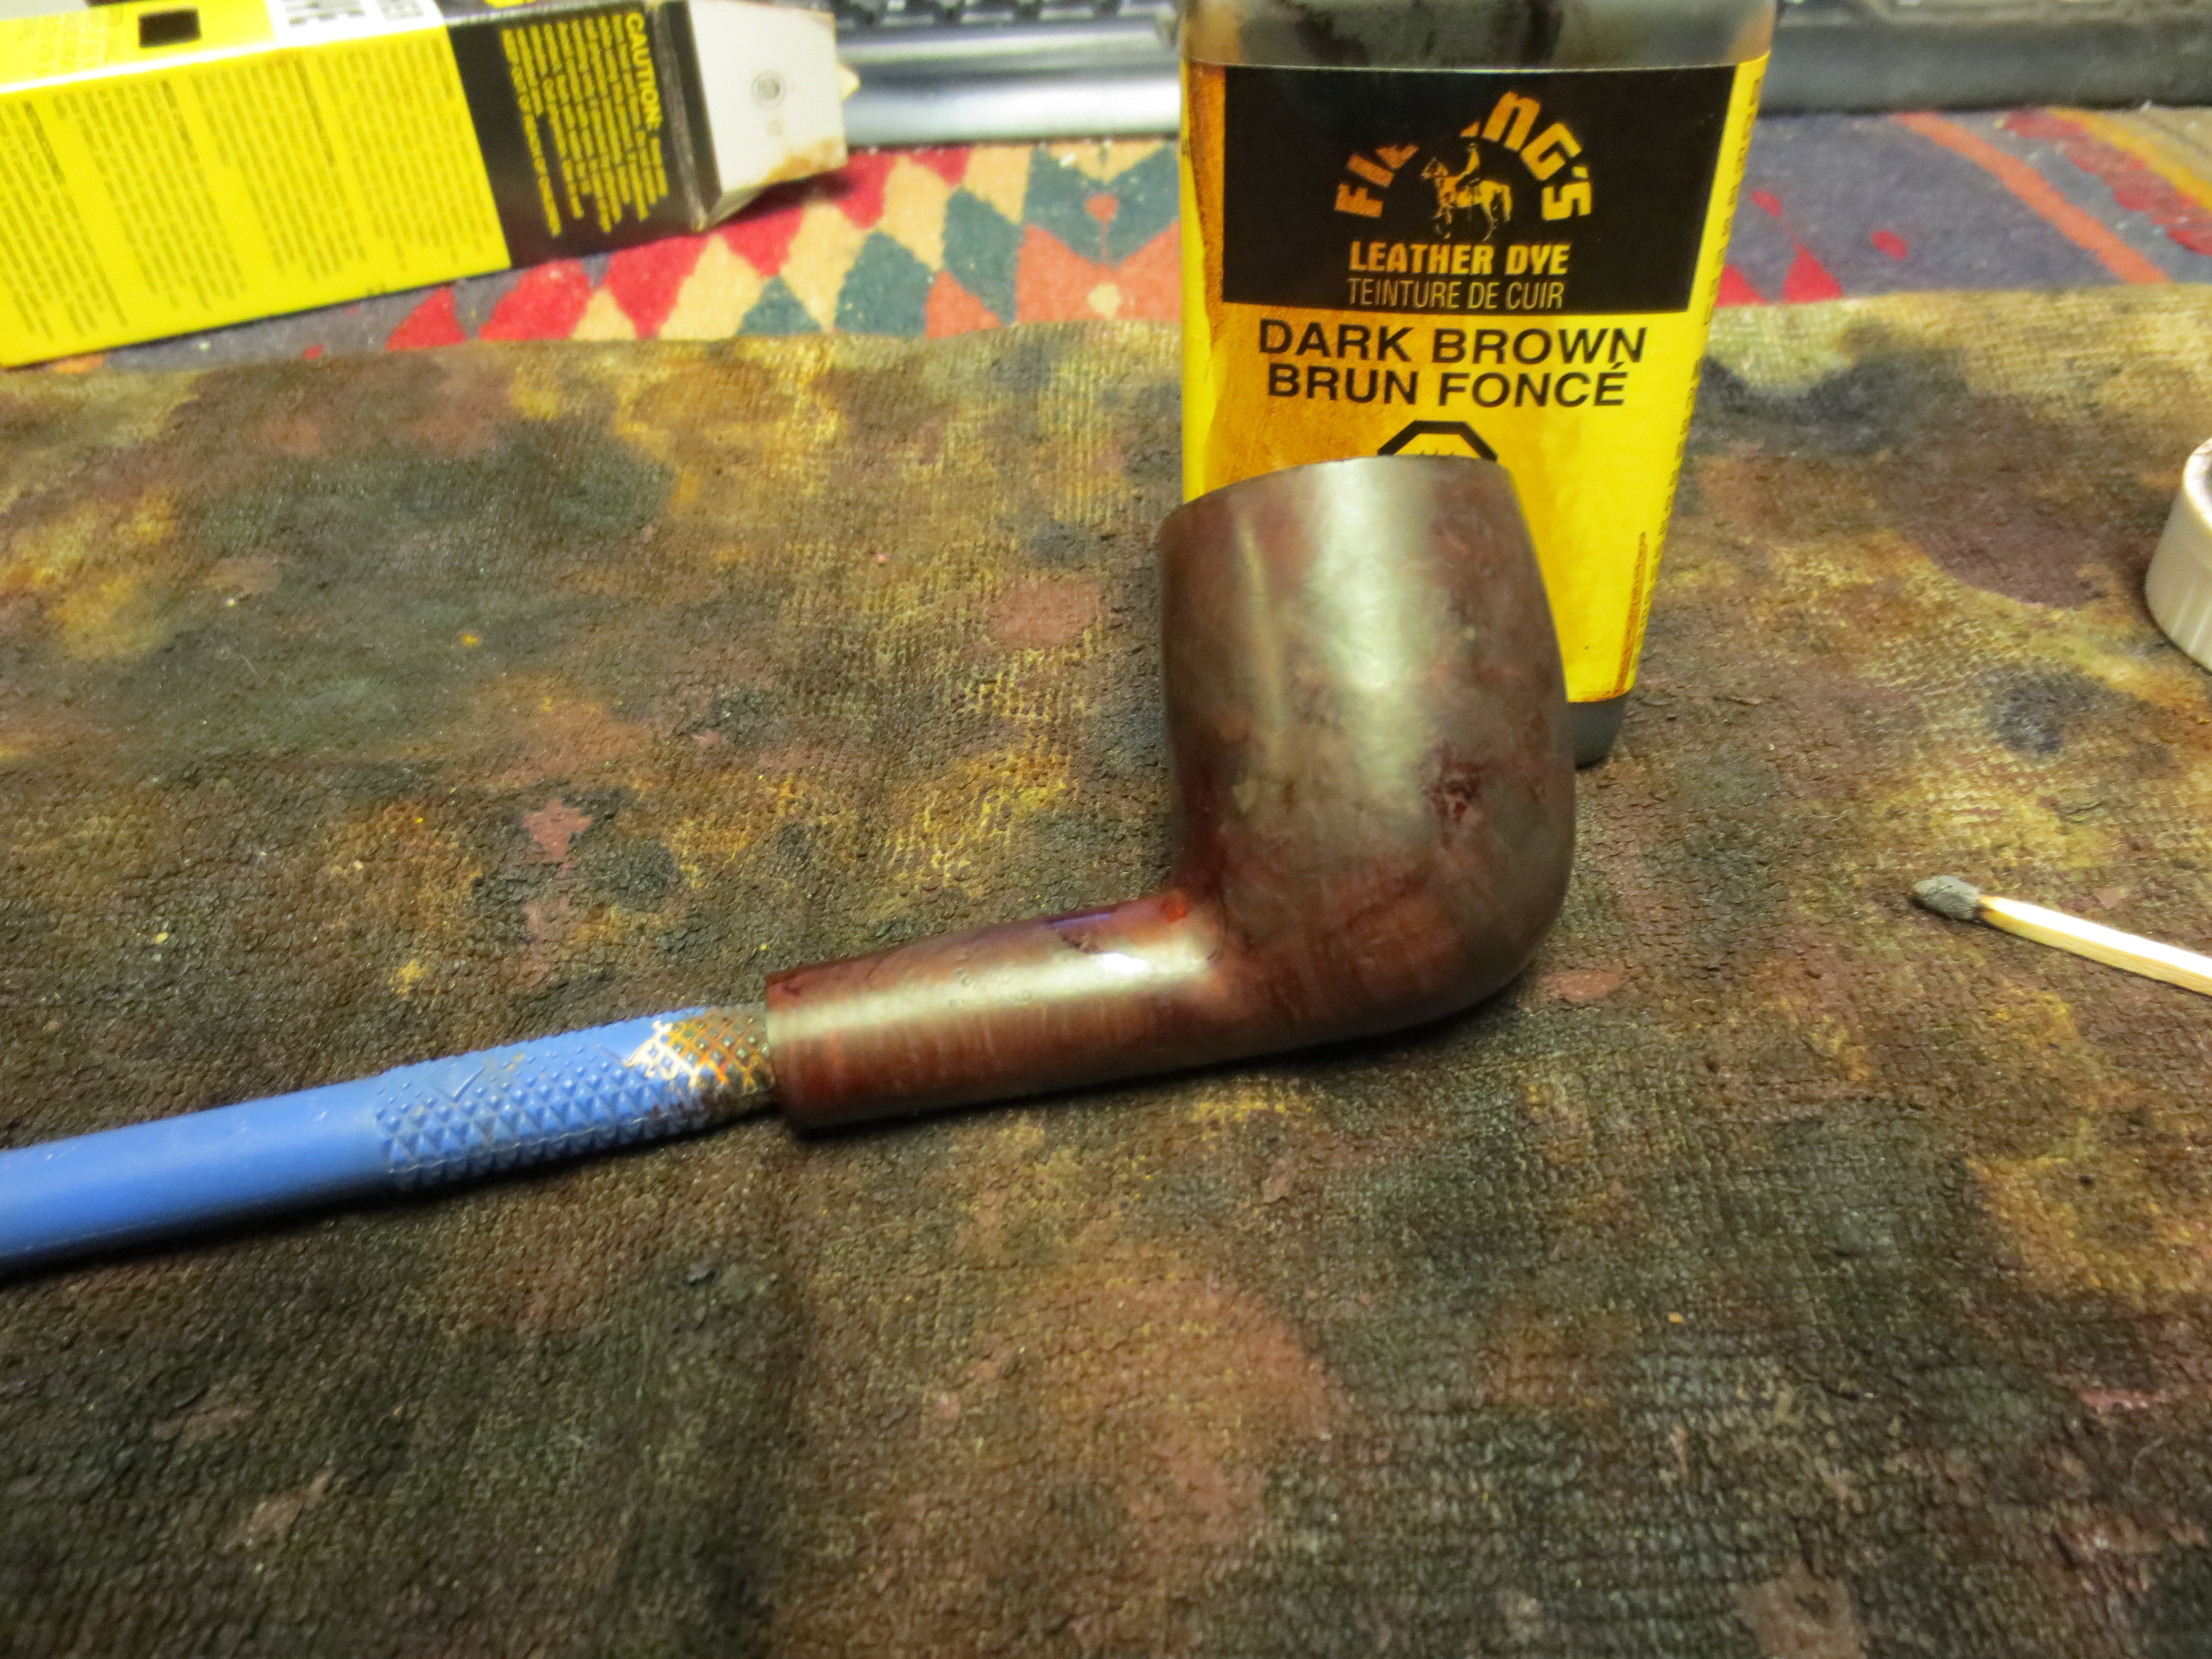
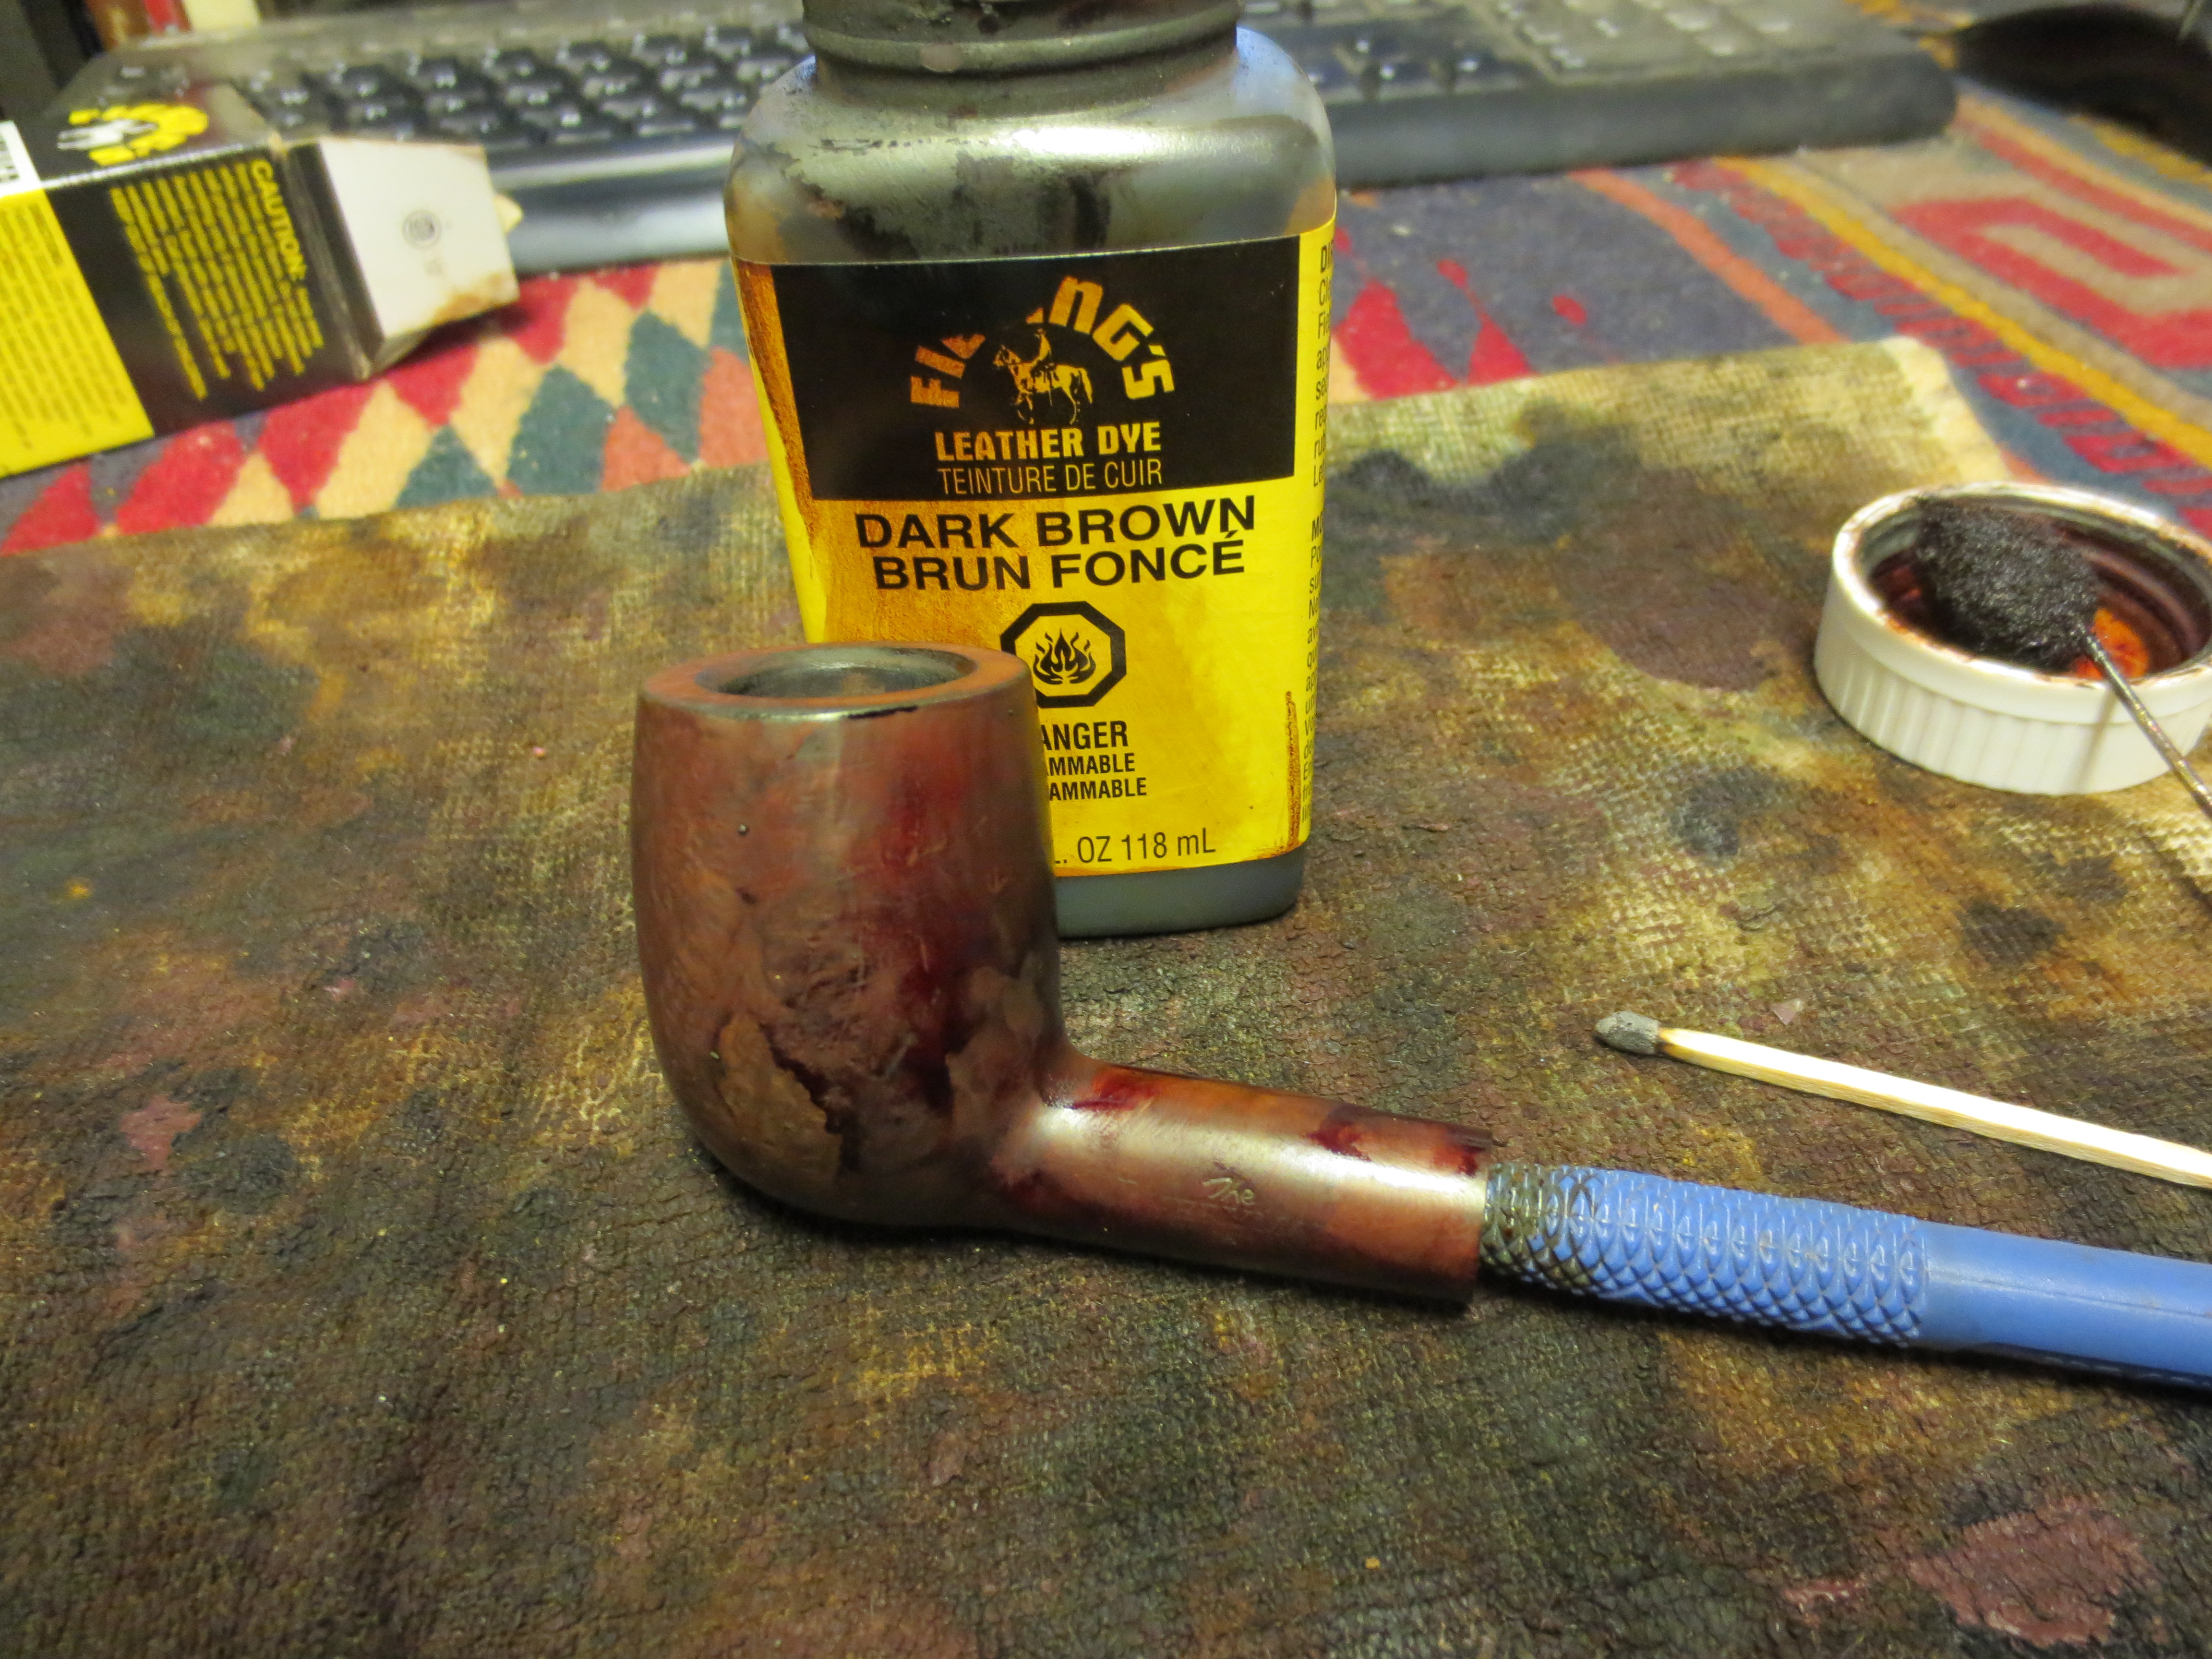
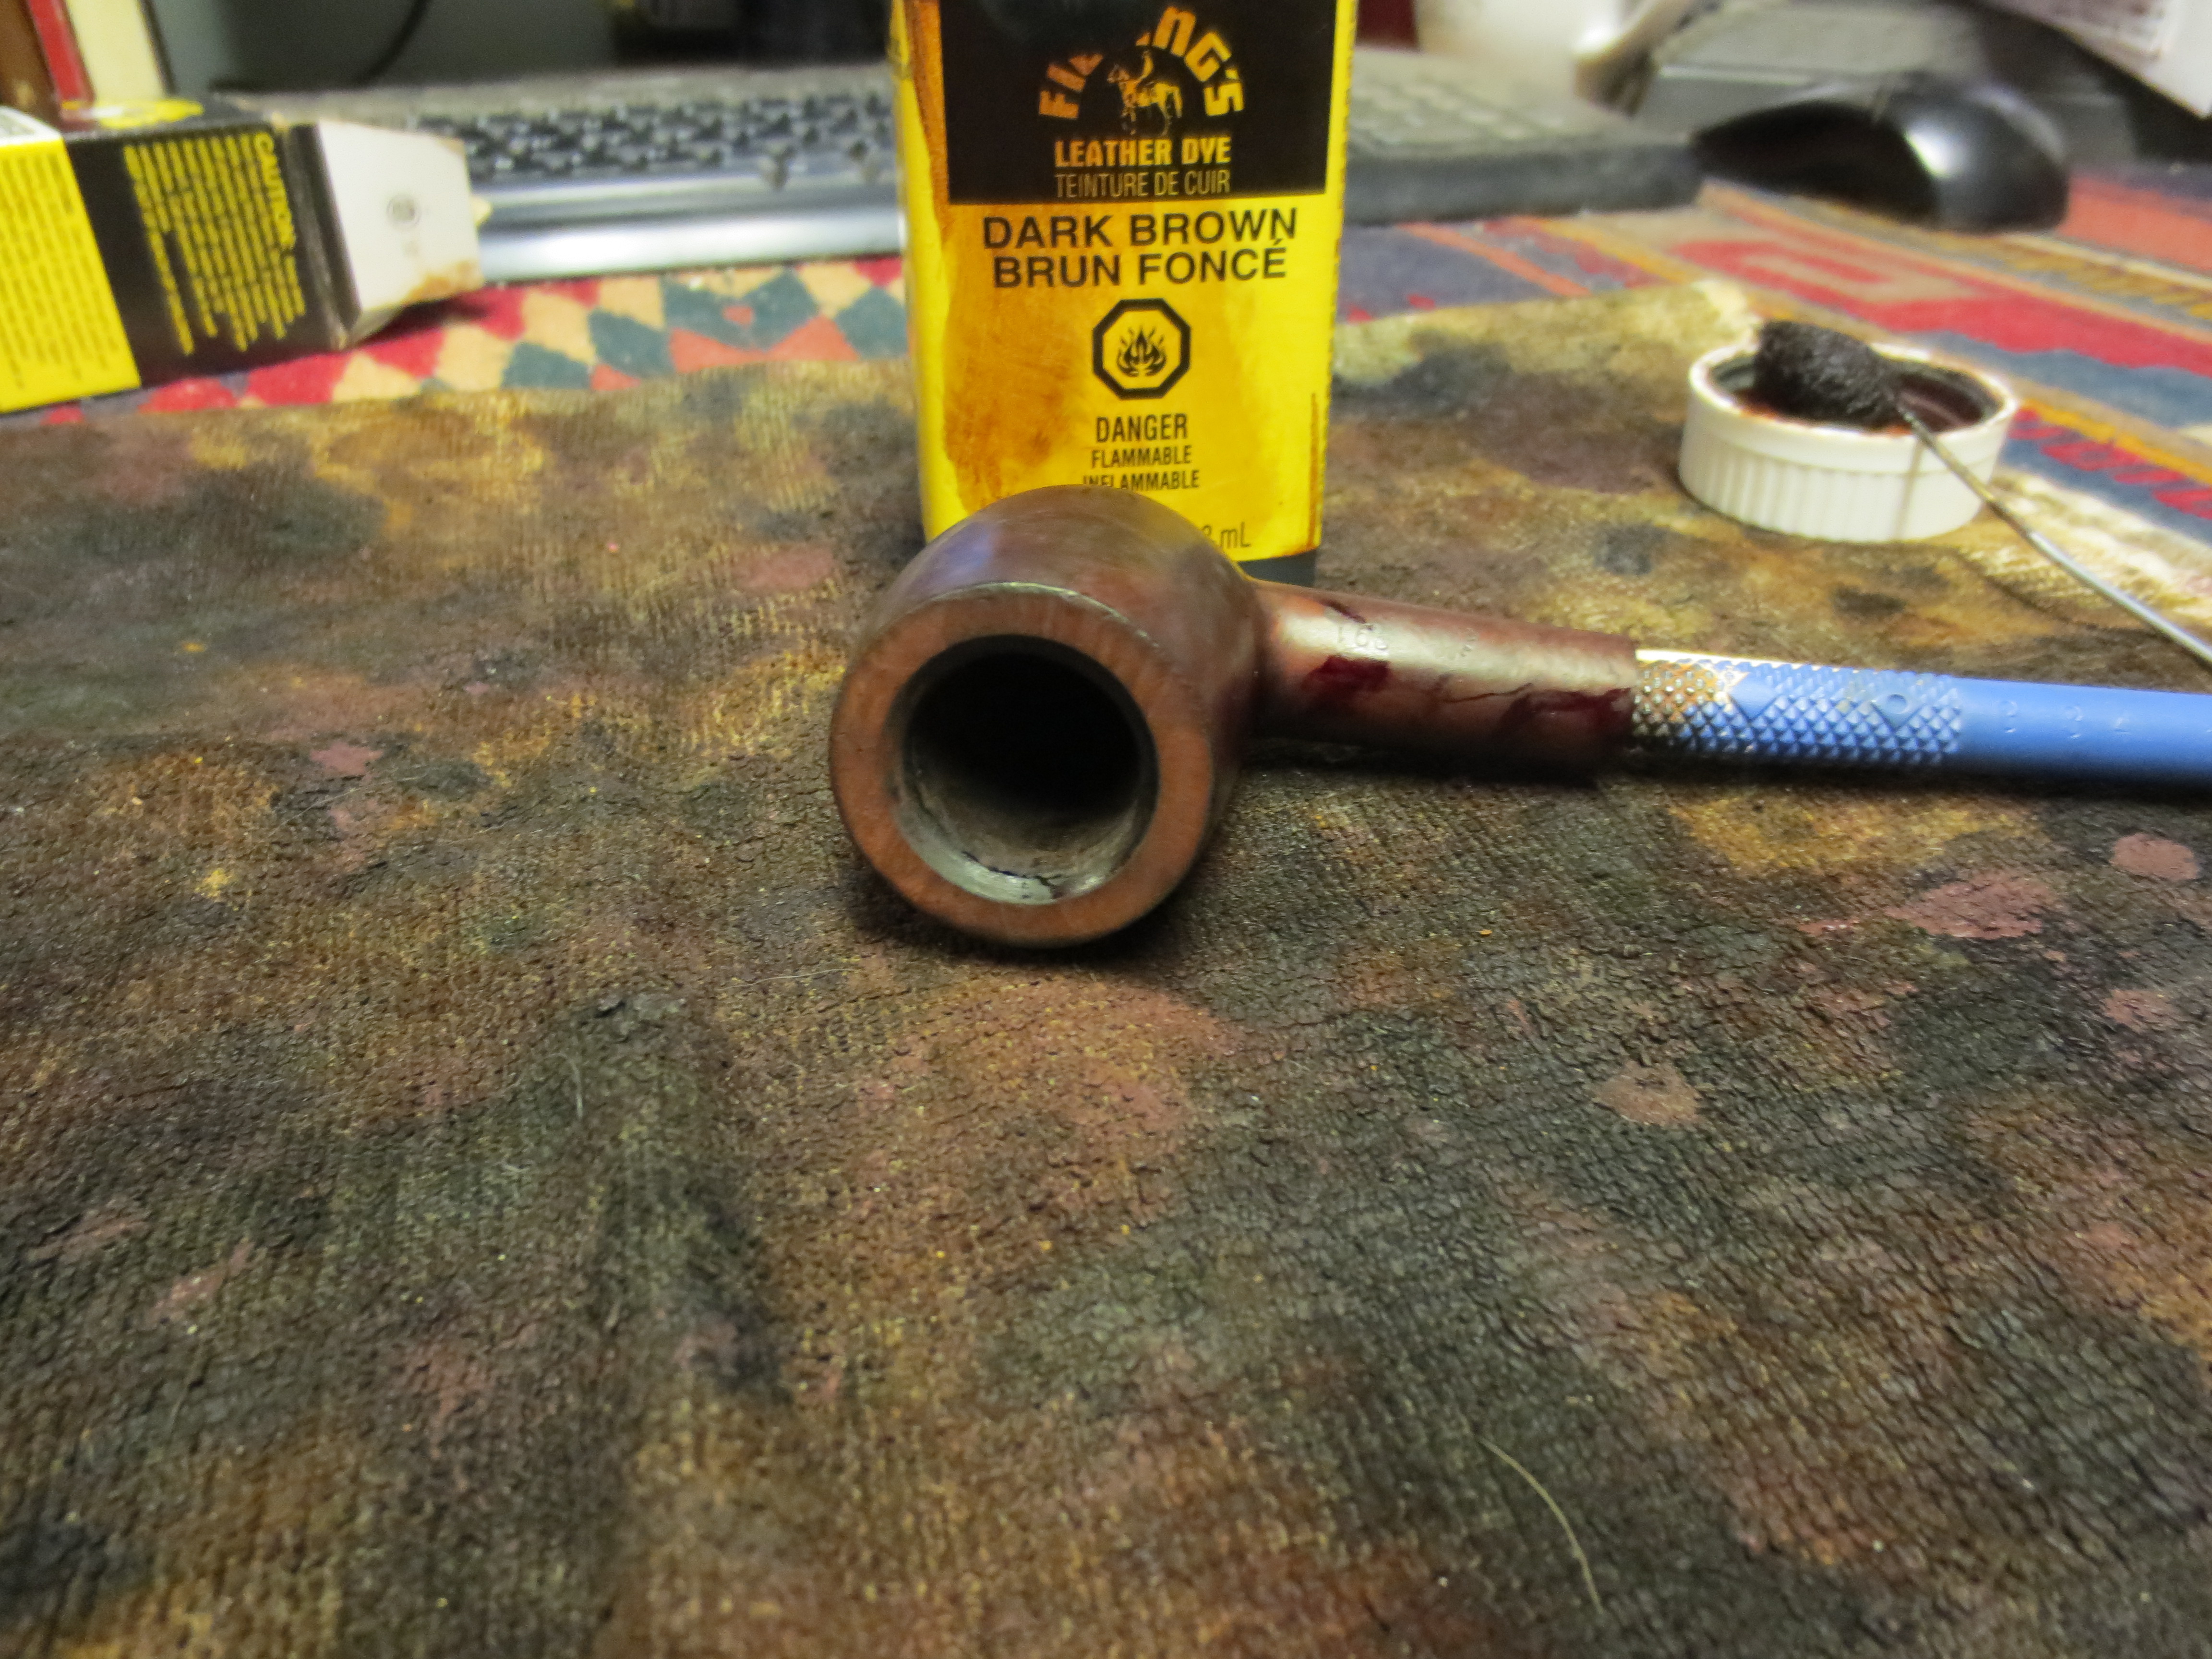
I used a black permanent marker to draw the grain pattern over the fill to make it less obvious once I stained it. I stained the bowl next using a dark brown aniline stain (Feibings Shoe Dye) and applied the stain with the dauber in the box. I flamed it with a match to set the stain, restained it and then flamed it a second time. I paid particular attention to putting the stain on heavy on the rim. The next three photos show the pipe after staining.
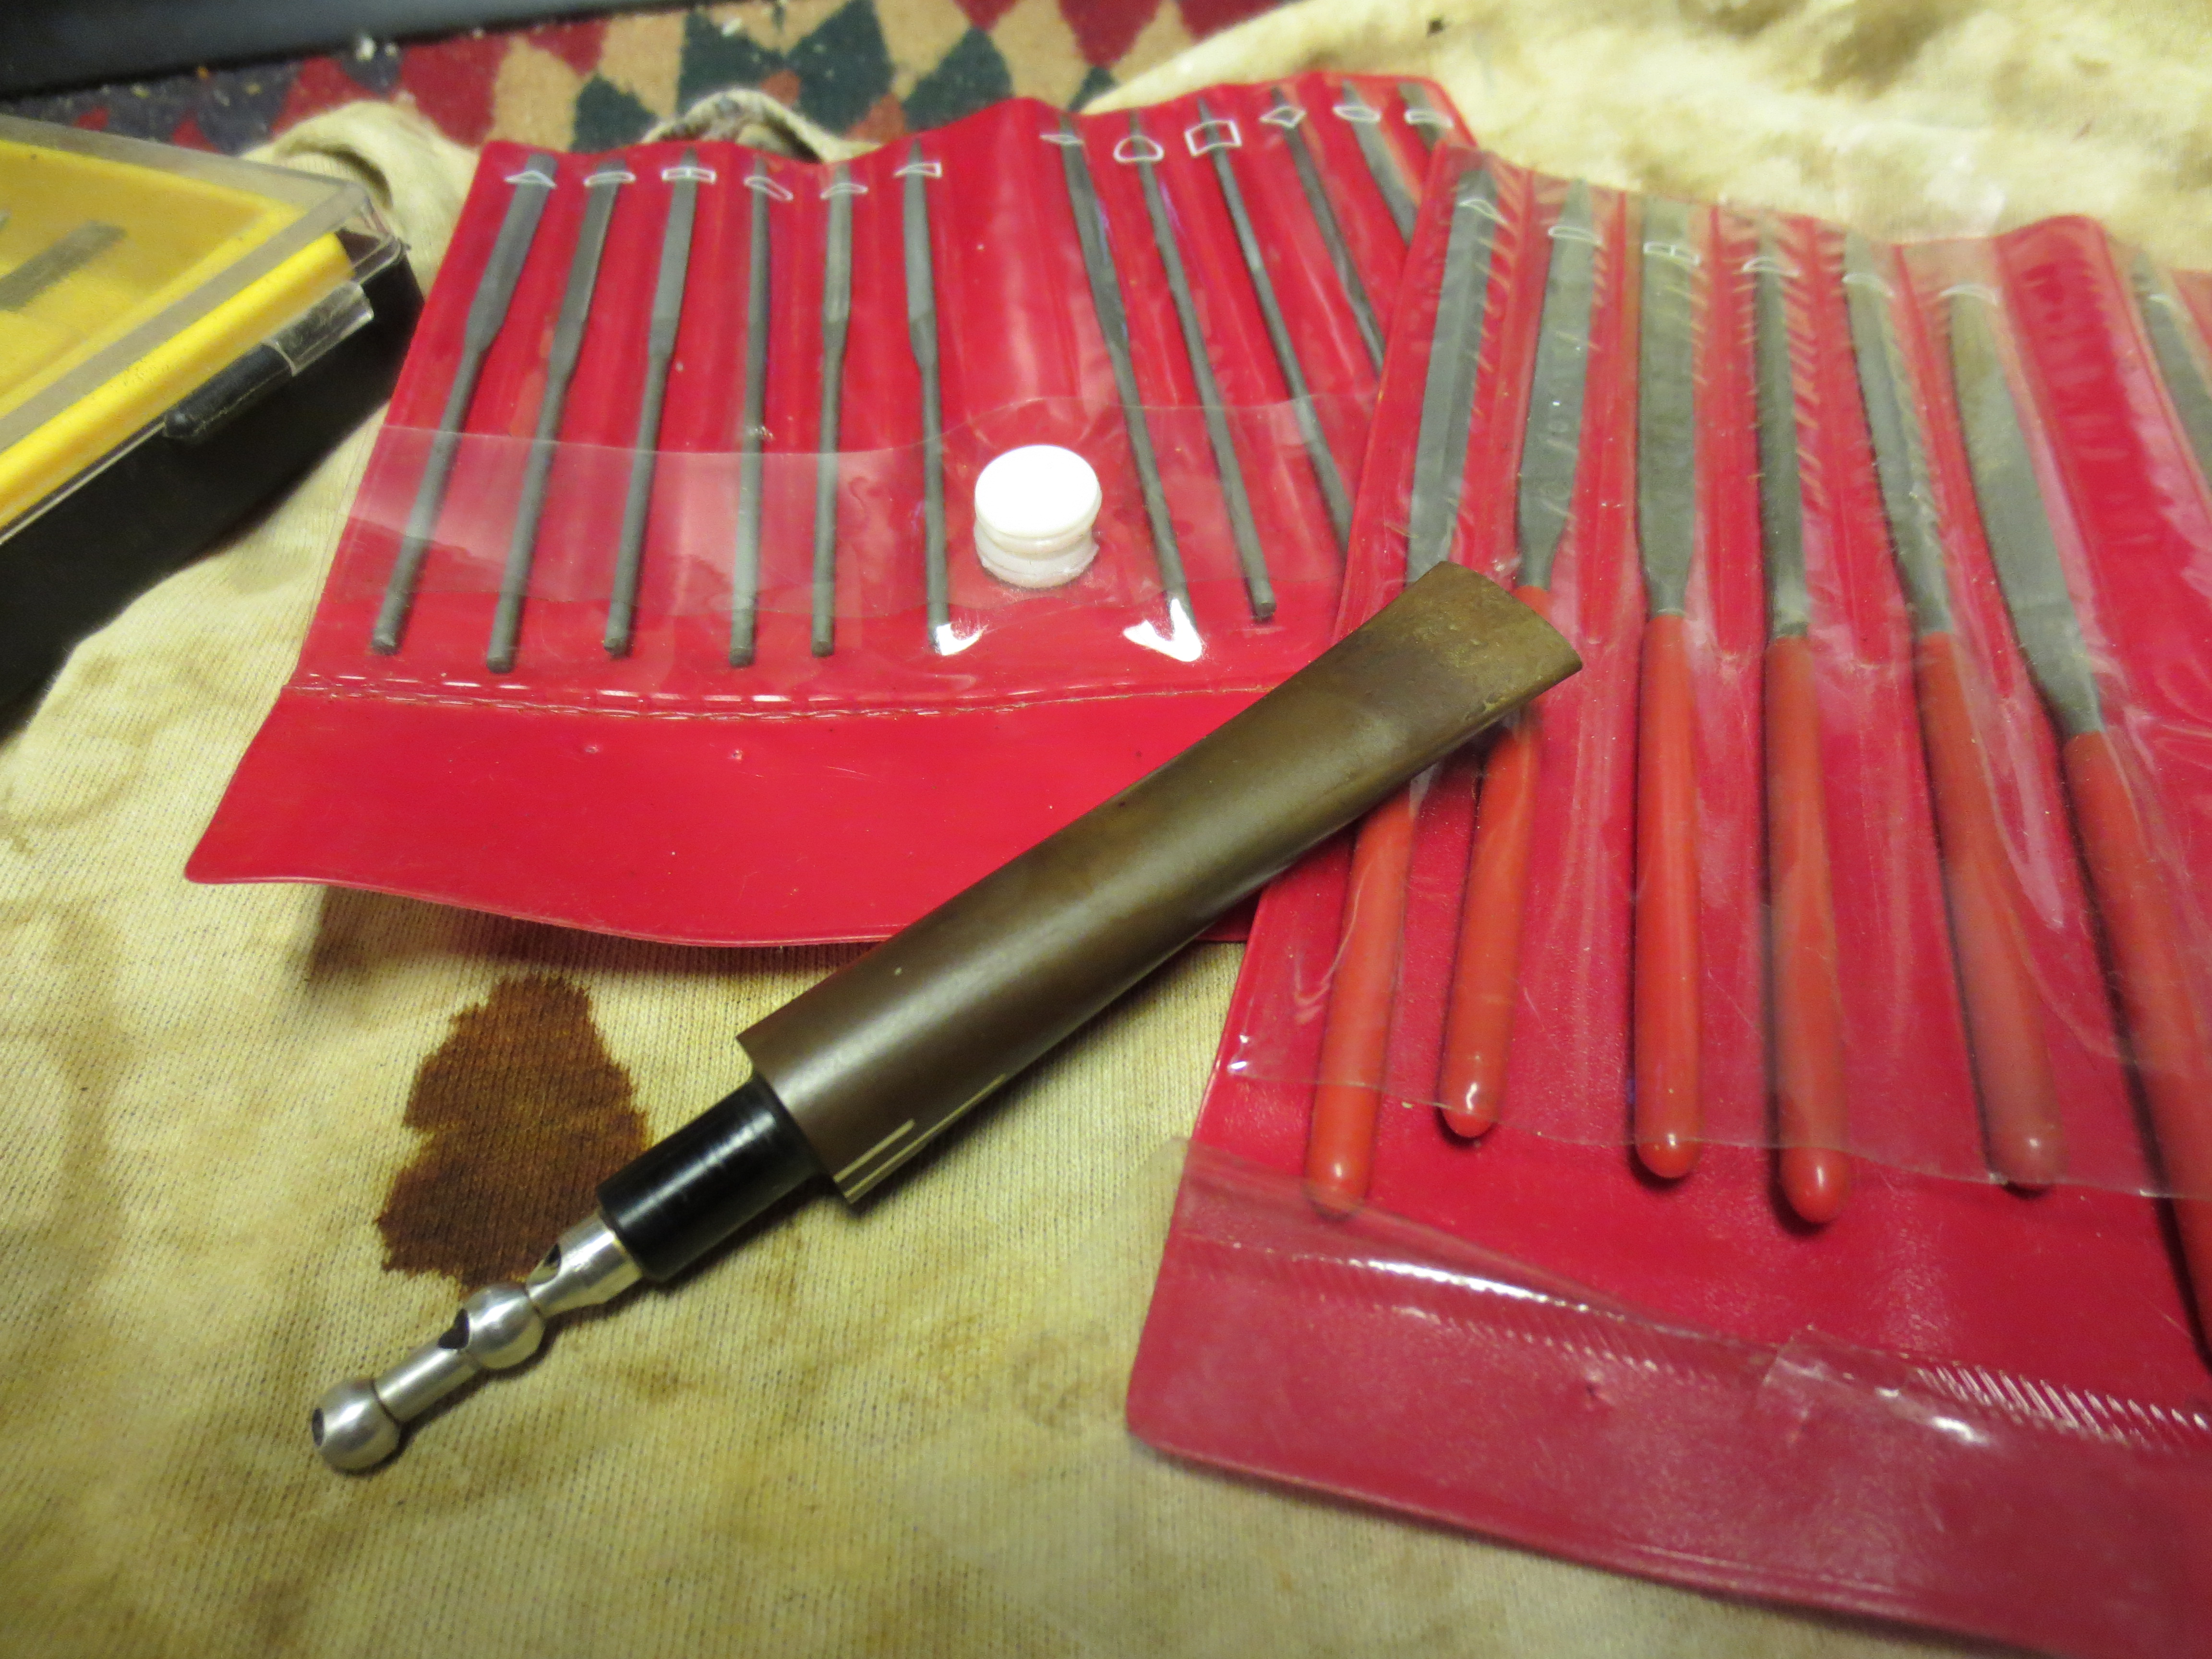
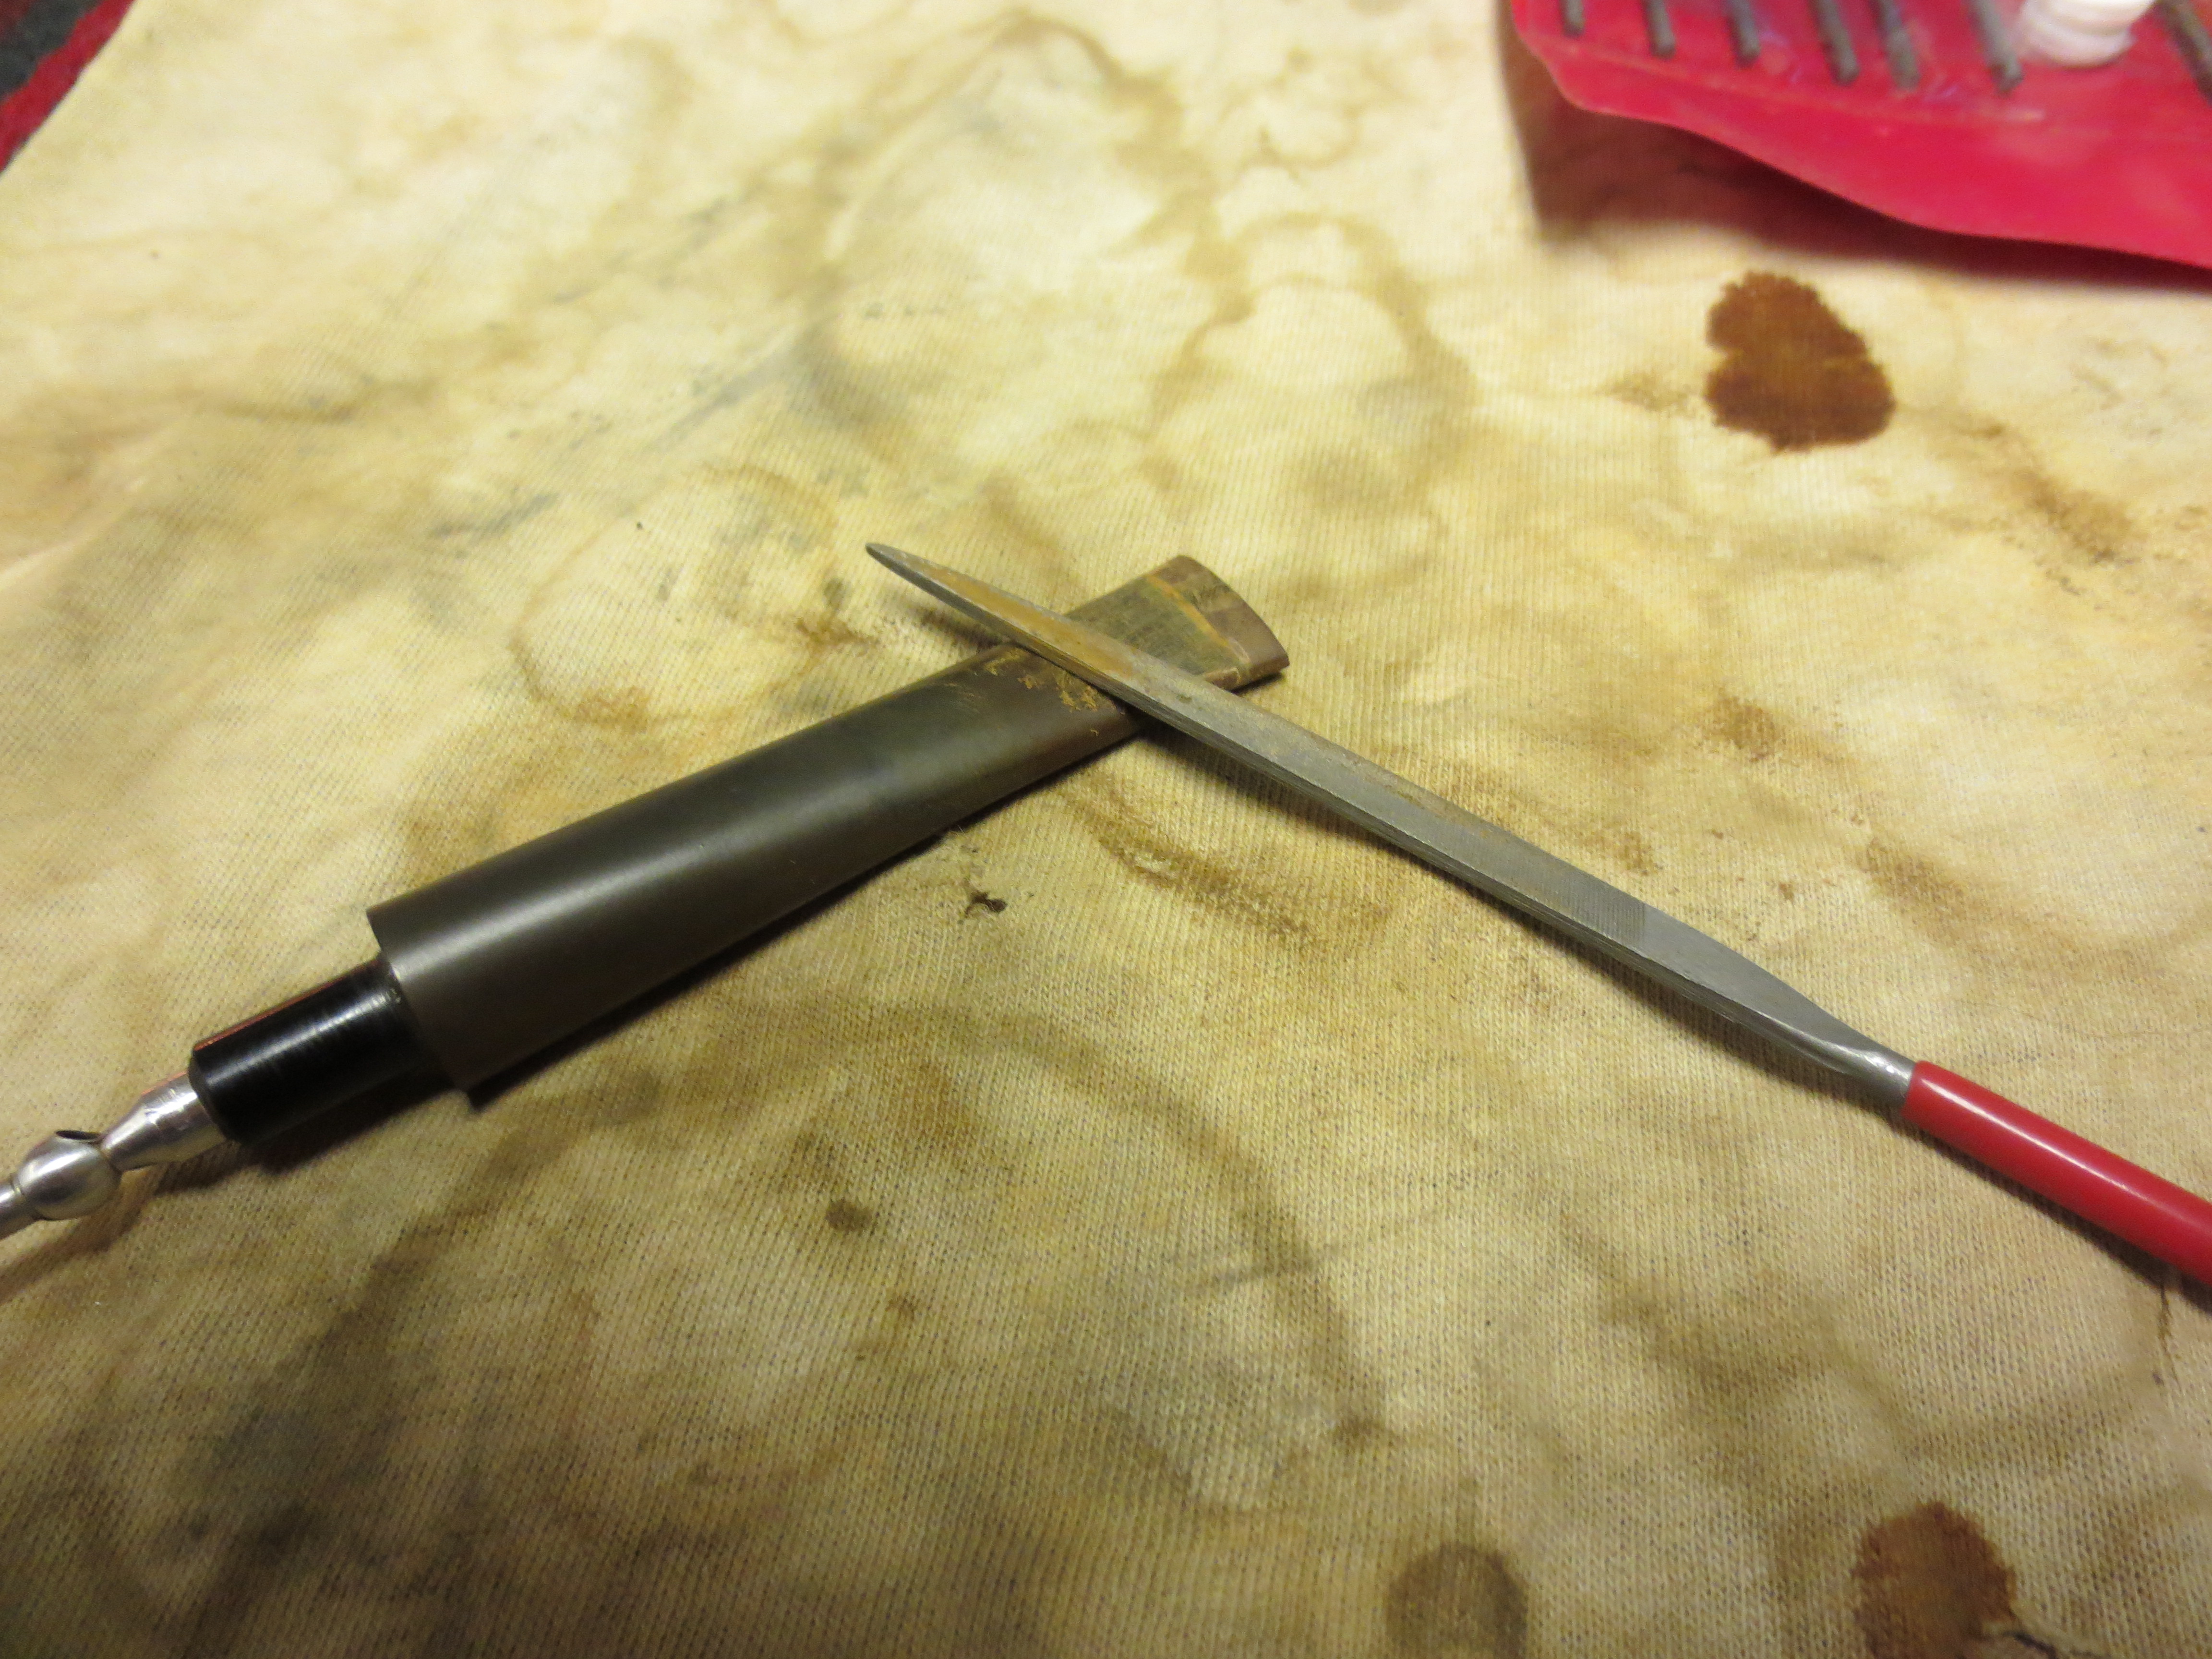
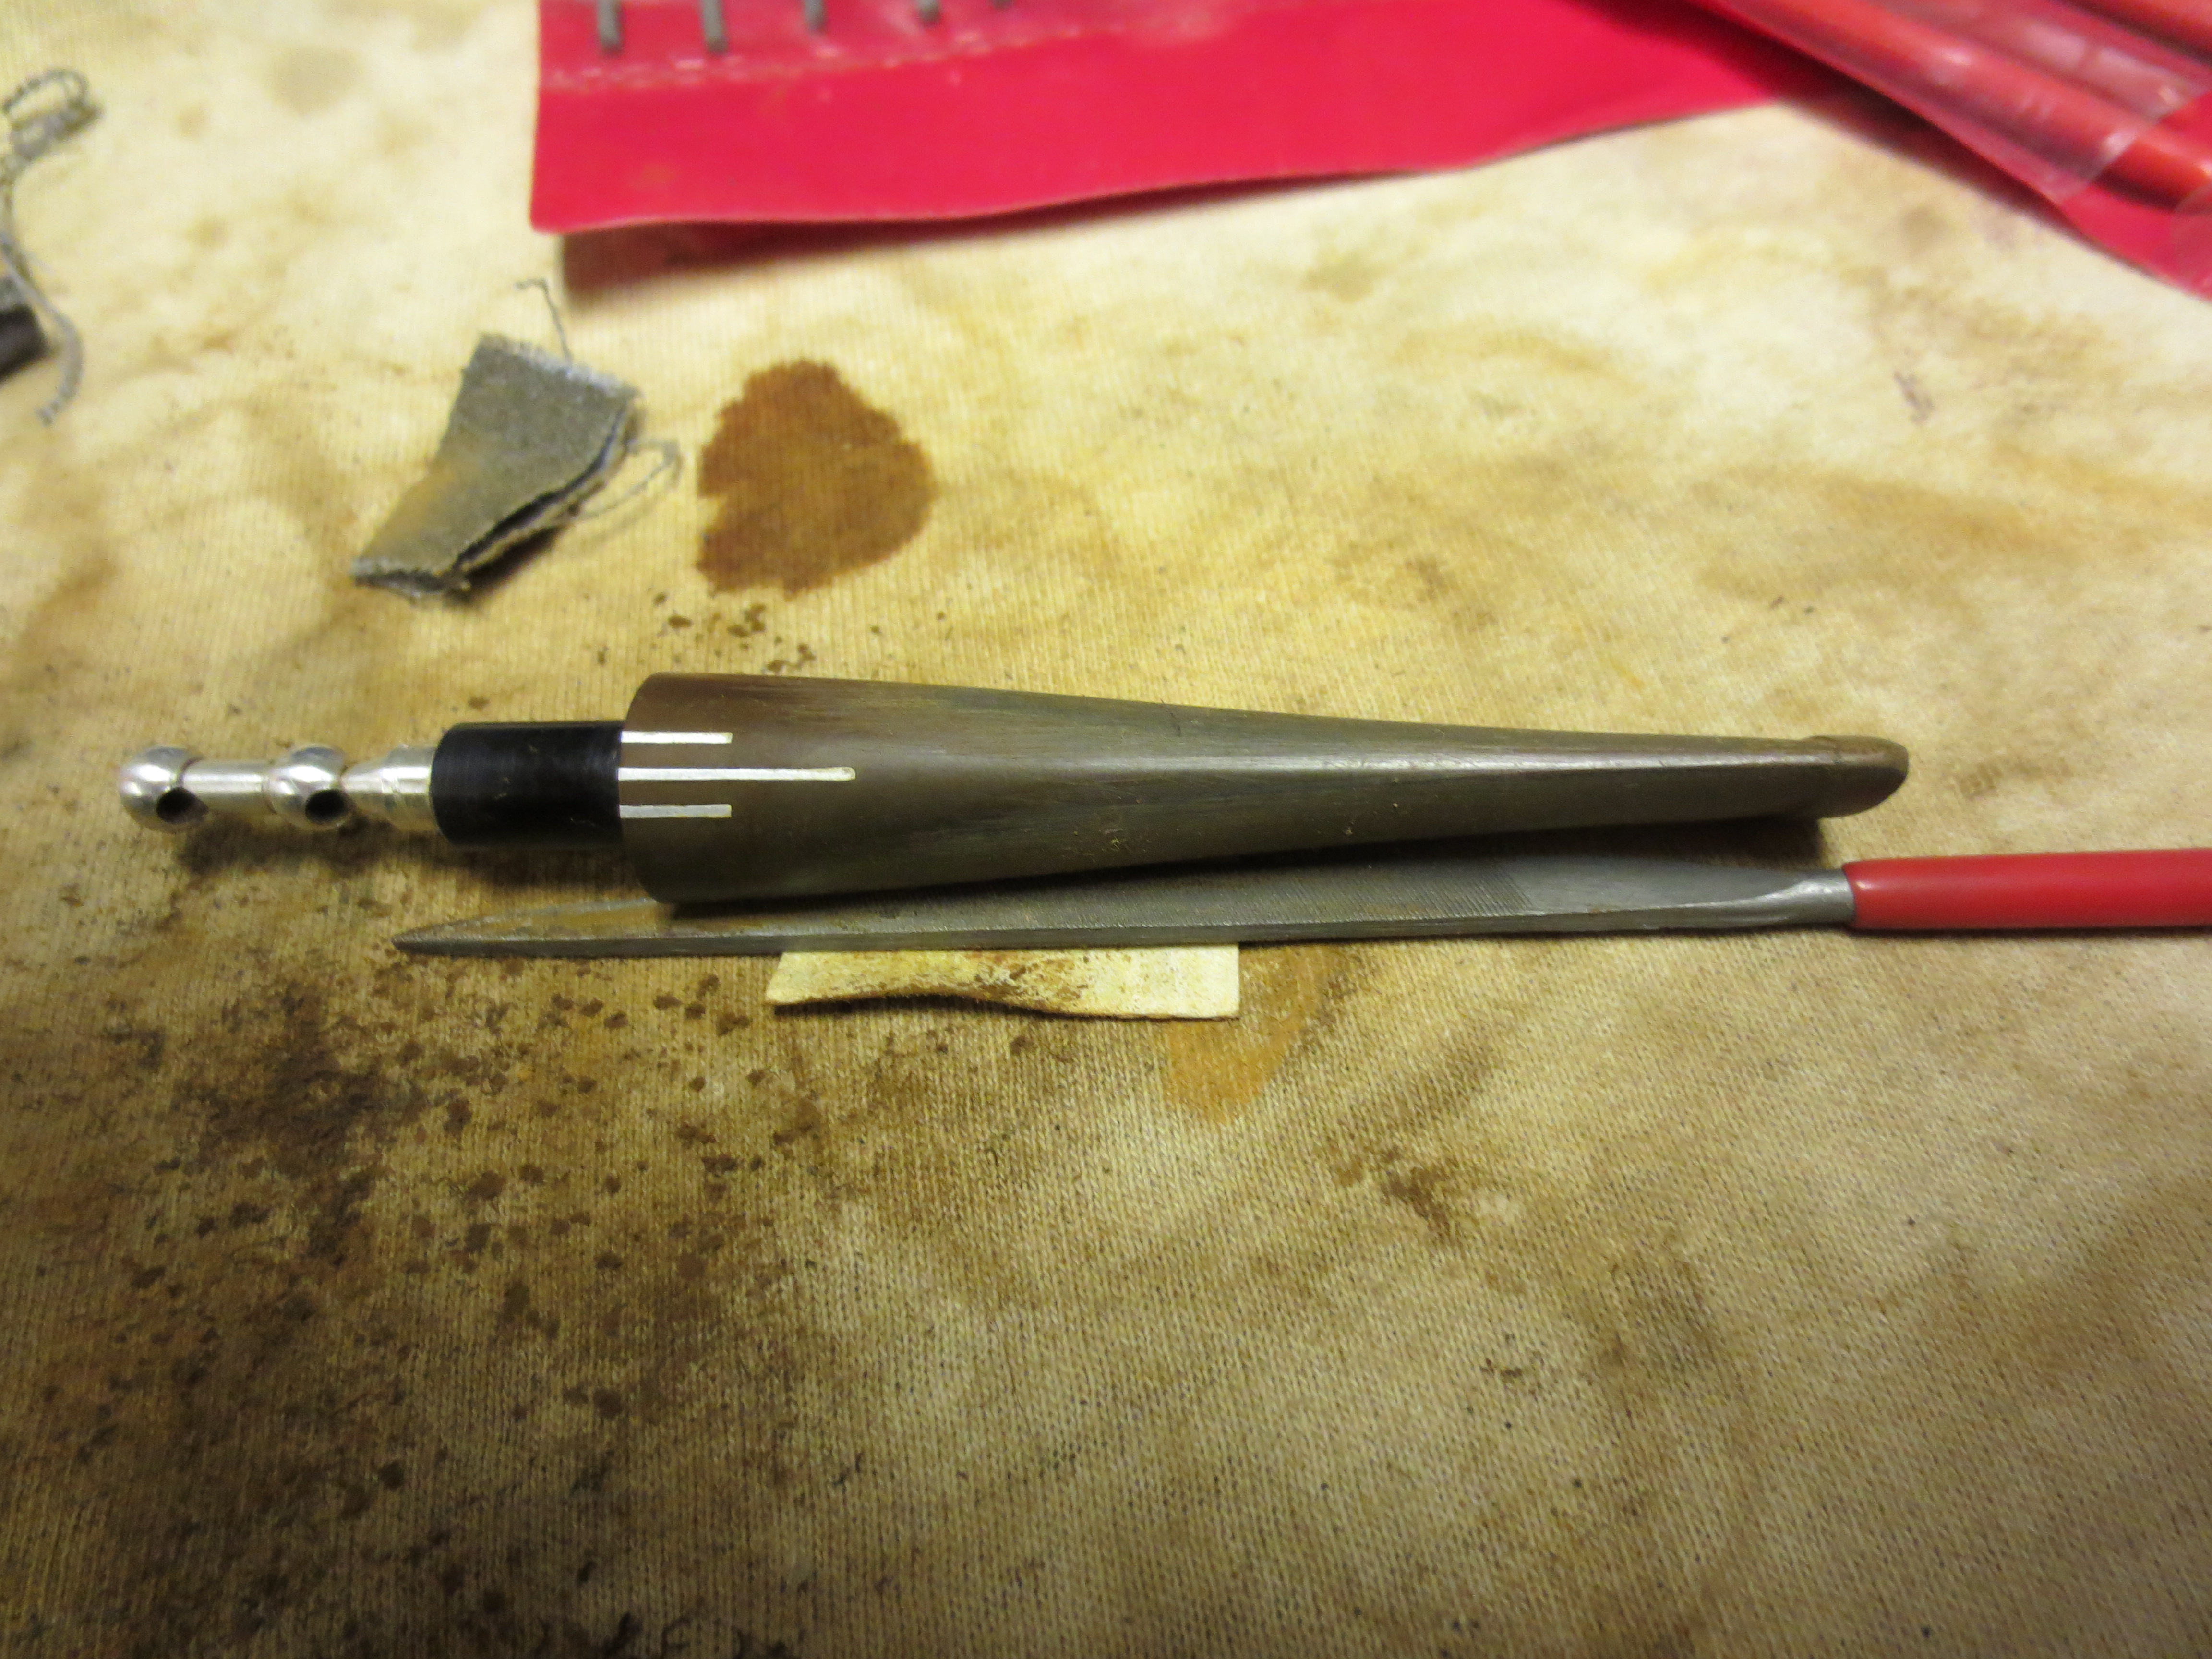
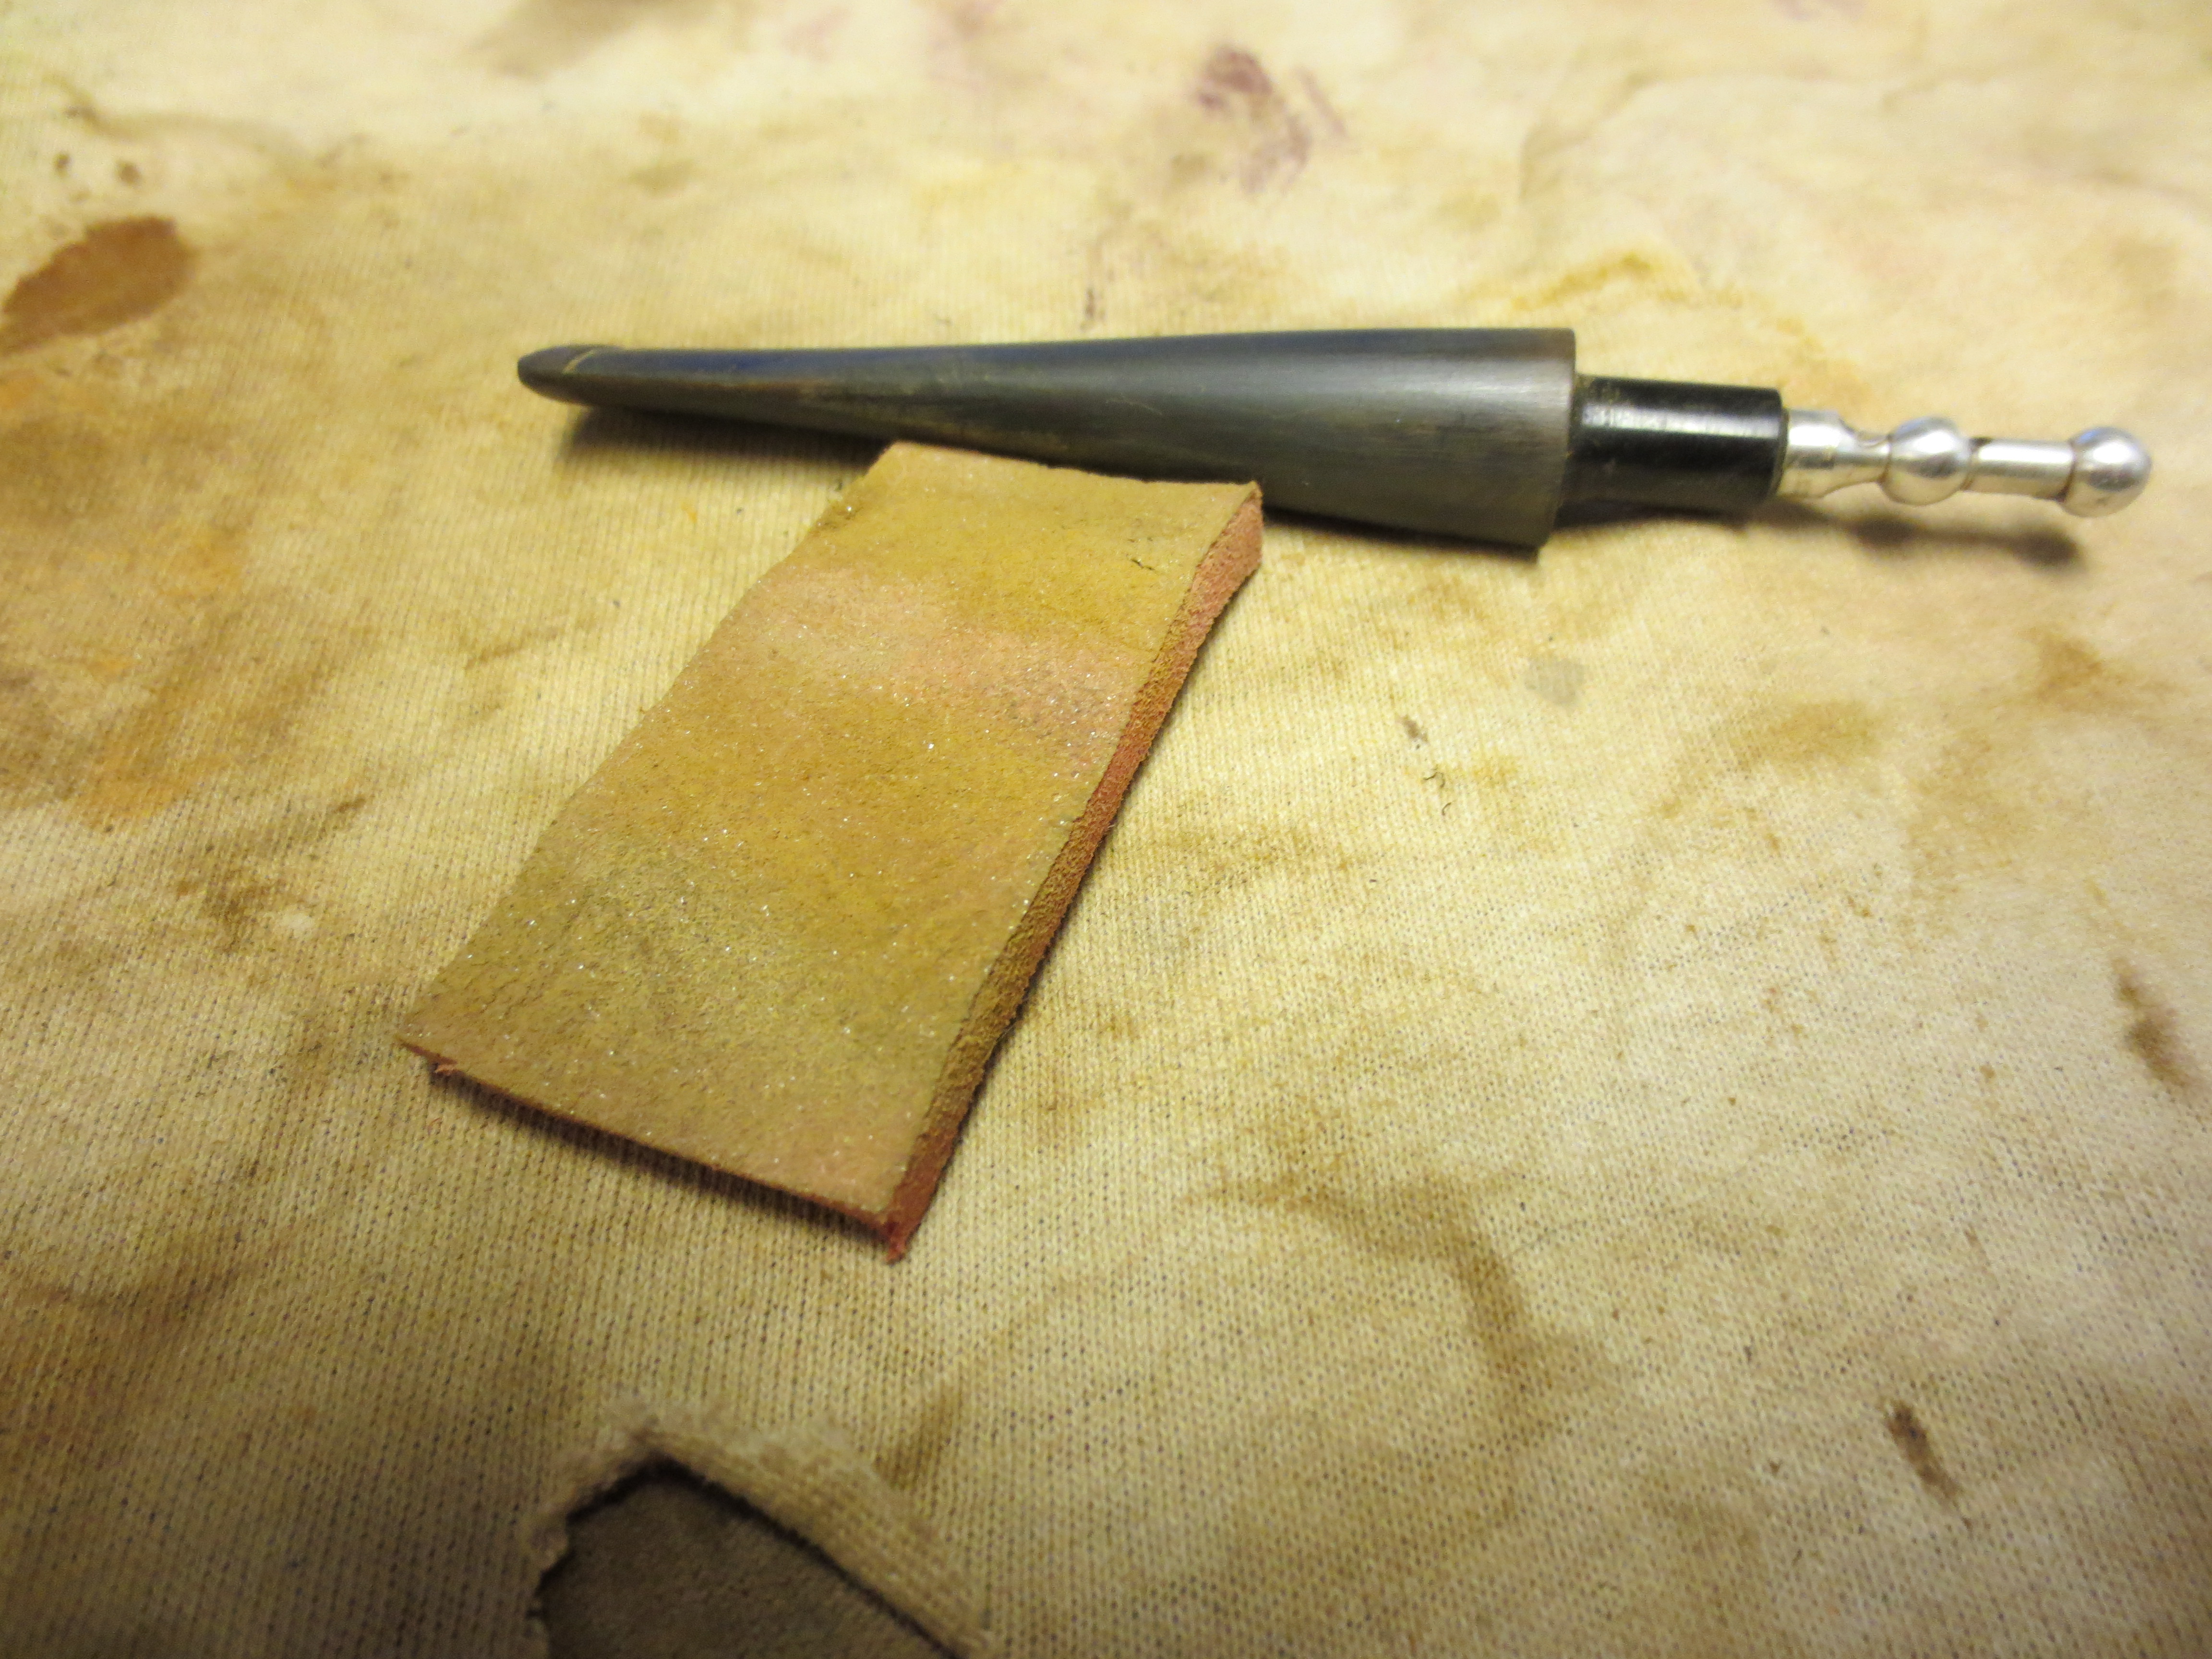
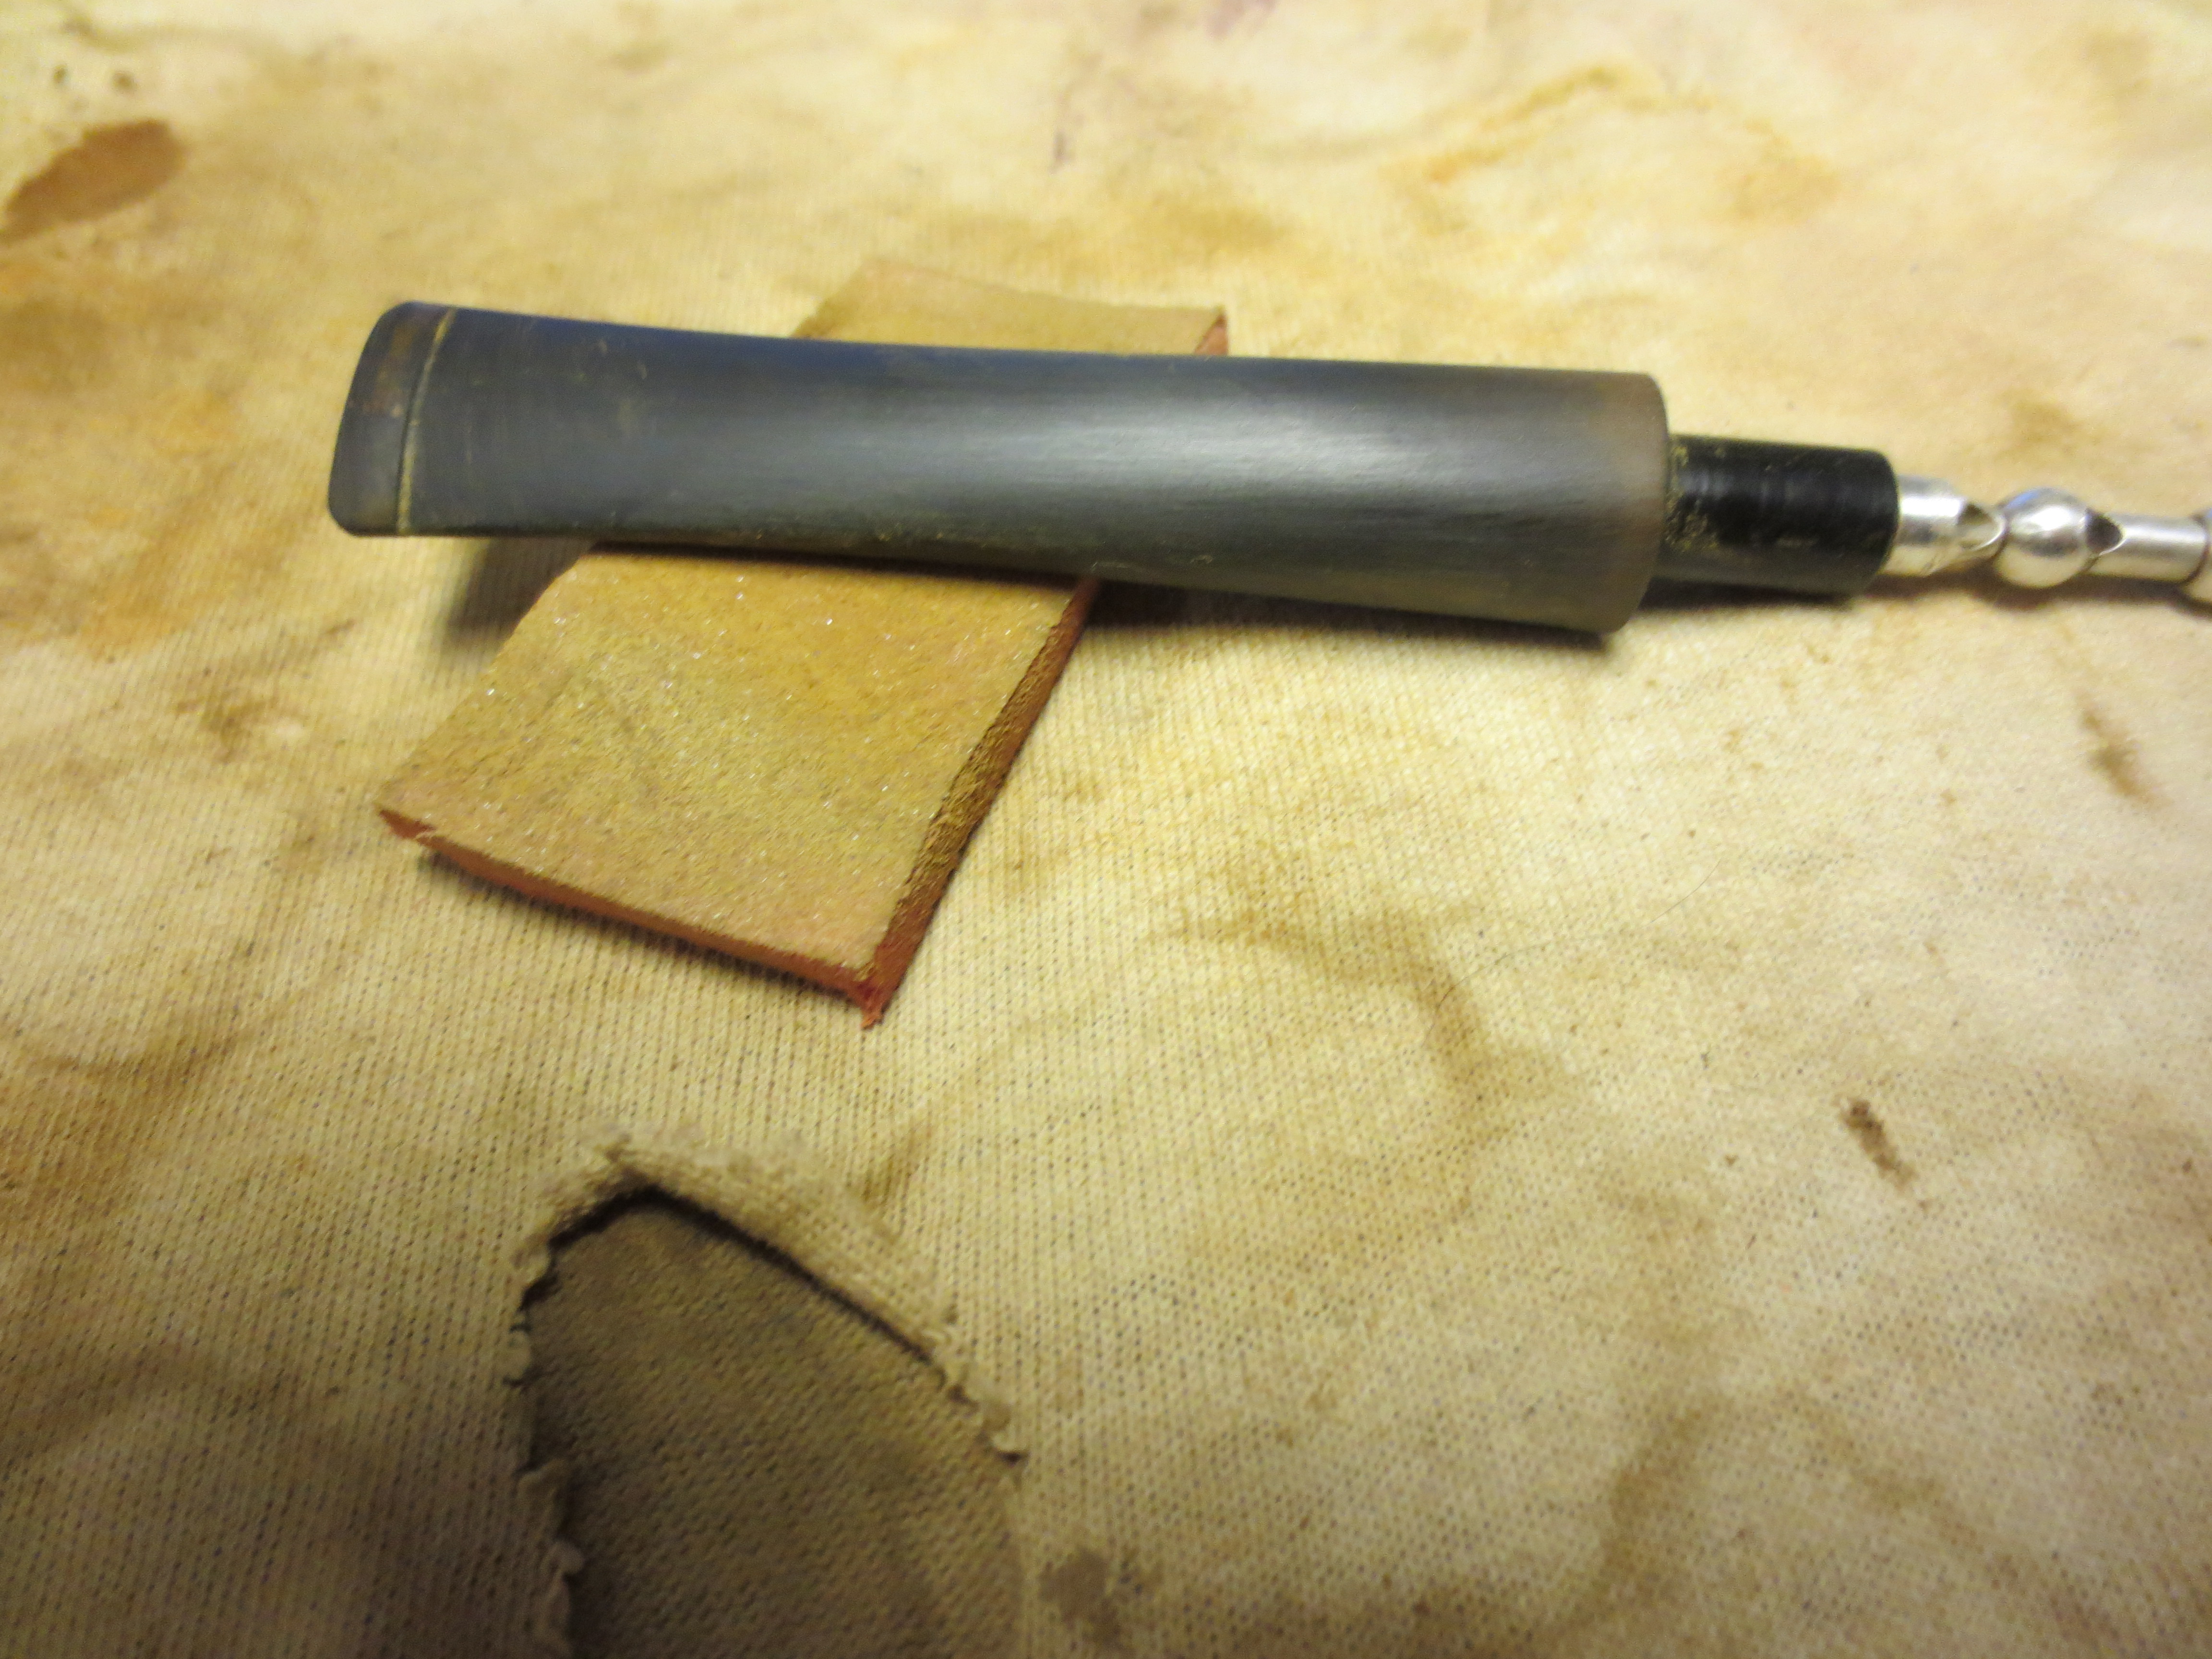
After staining I set the bowl aside to thoroughly dry and went to work on reshaping/cutting the new button on the stem. I use needle files to cut the button and work to keep it even on both sides of the stem and to also modify the taper from the stem backward to the button. After cutting the edge with the files and working the slope to make a smooth transition with the files I use a fine grit emery paper to sand out the scratches left by the file and to remove the oxidation. I am careful as I near the stem shank joint to not remove too much material as I do not want to round the shoulders on the stem or reduce the diameter of the stem in the process. I follow that by sanding with 320 grit sandpaper to yet again reduce the scratching. The next eleven photos show the progress of shaping the button and modifying the stem.

Once the button is cut and the taper modified I set the stem aside to work again on the bowl. There is no logic to this in terms of timing. I just need to give my hands and wrists a rest after working on the vulcanite. I wipe the bowl down with some isopropyl alcohol as the dark brown stain is too dark and opaque for what I wanted the finished pipe to look like. I find that the alcohol will remove the surface stain while leaving the undercoat. I work at this carefully to get the finish to the colour I want and then set it aside to dry yet again. The next three photos show the bowl after the wash.

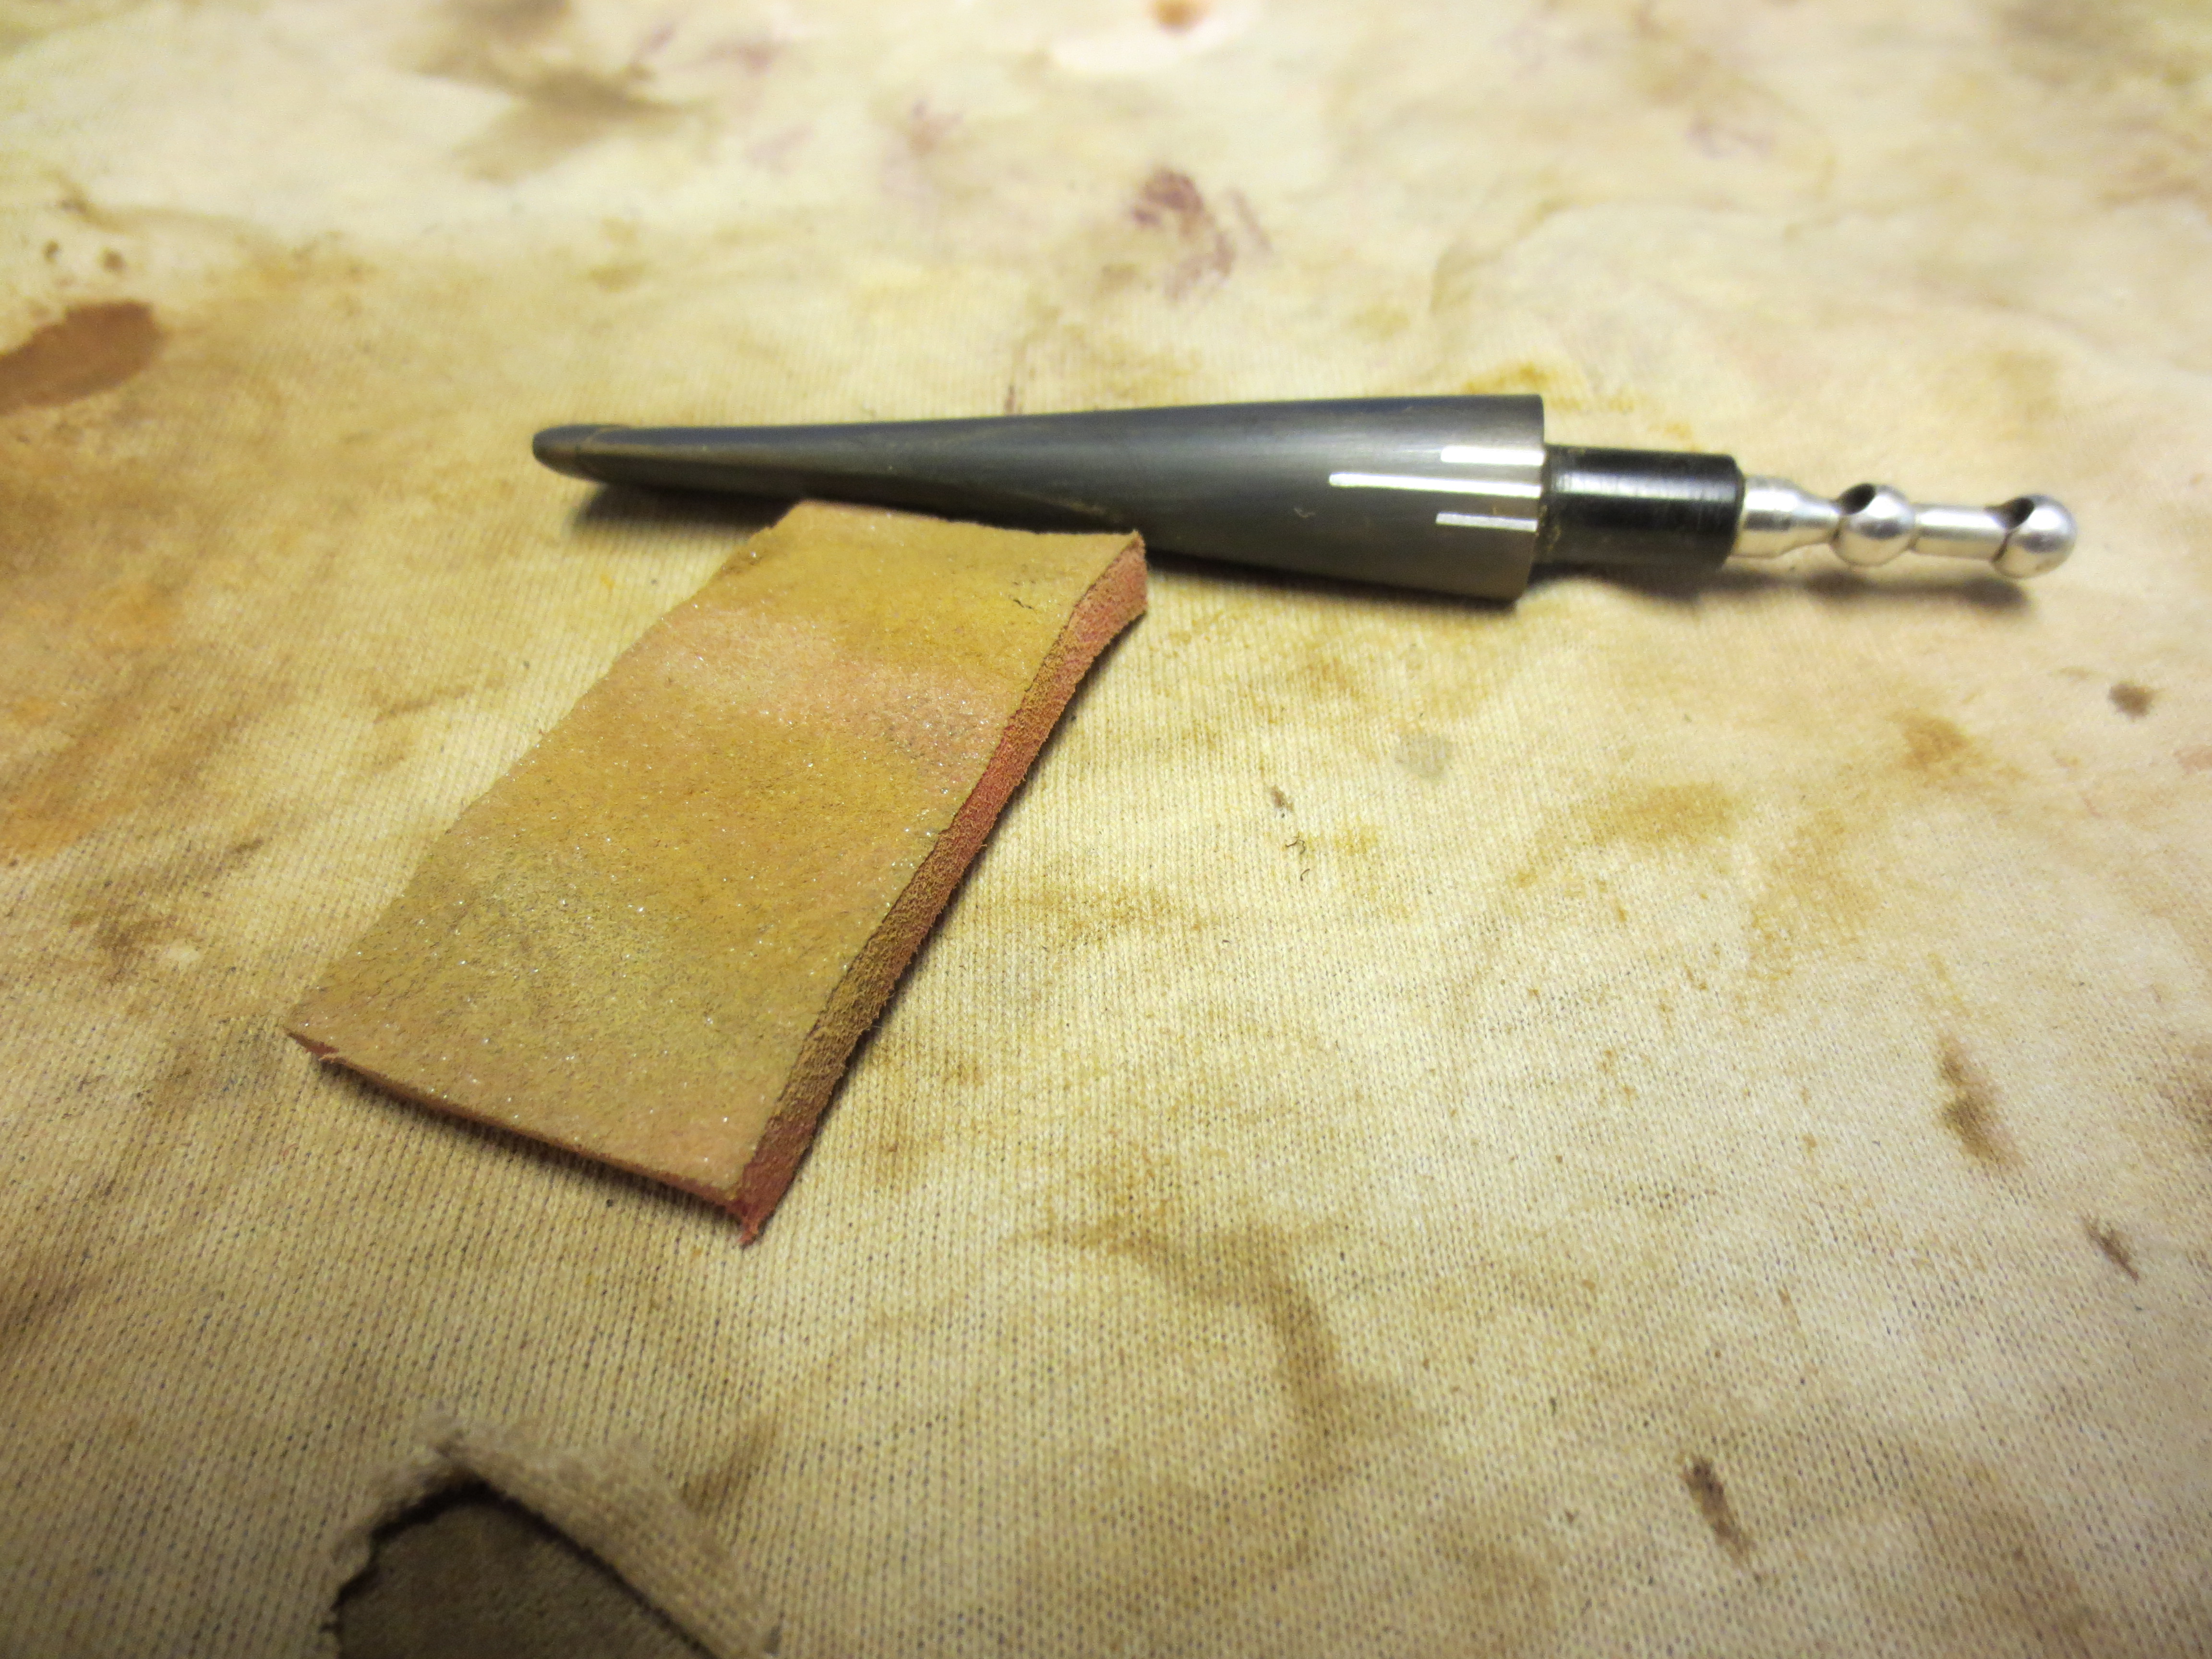
I went back to the stem and worked on it with 320 grit sandpaper again. I worked to remove the oxidation and the scratches. I also used 0000 steel wool to scrub the stinger apparatus that is present in the Everyman pipes.
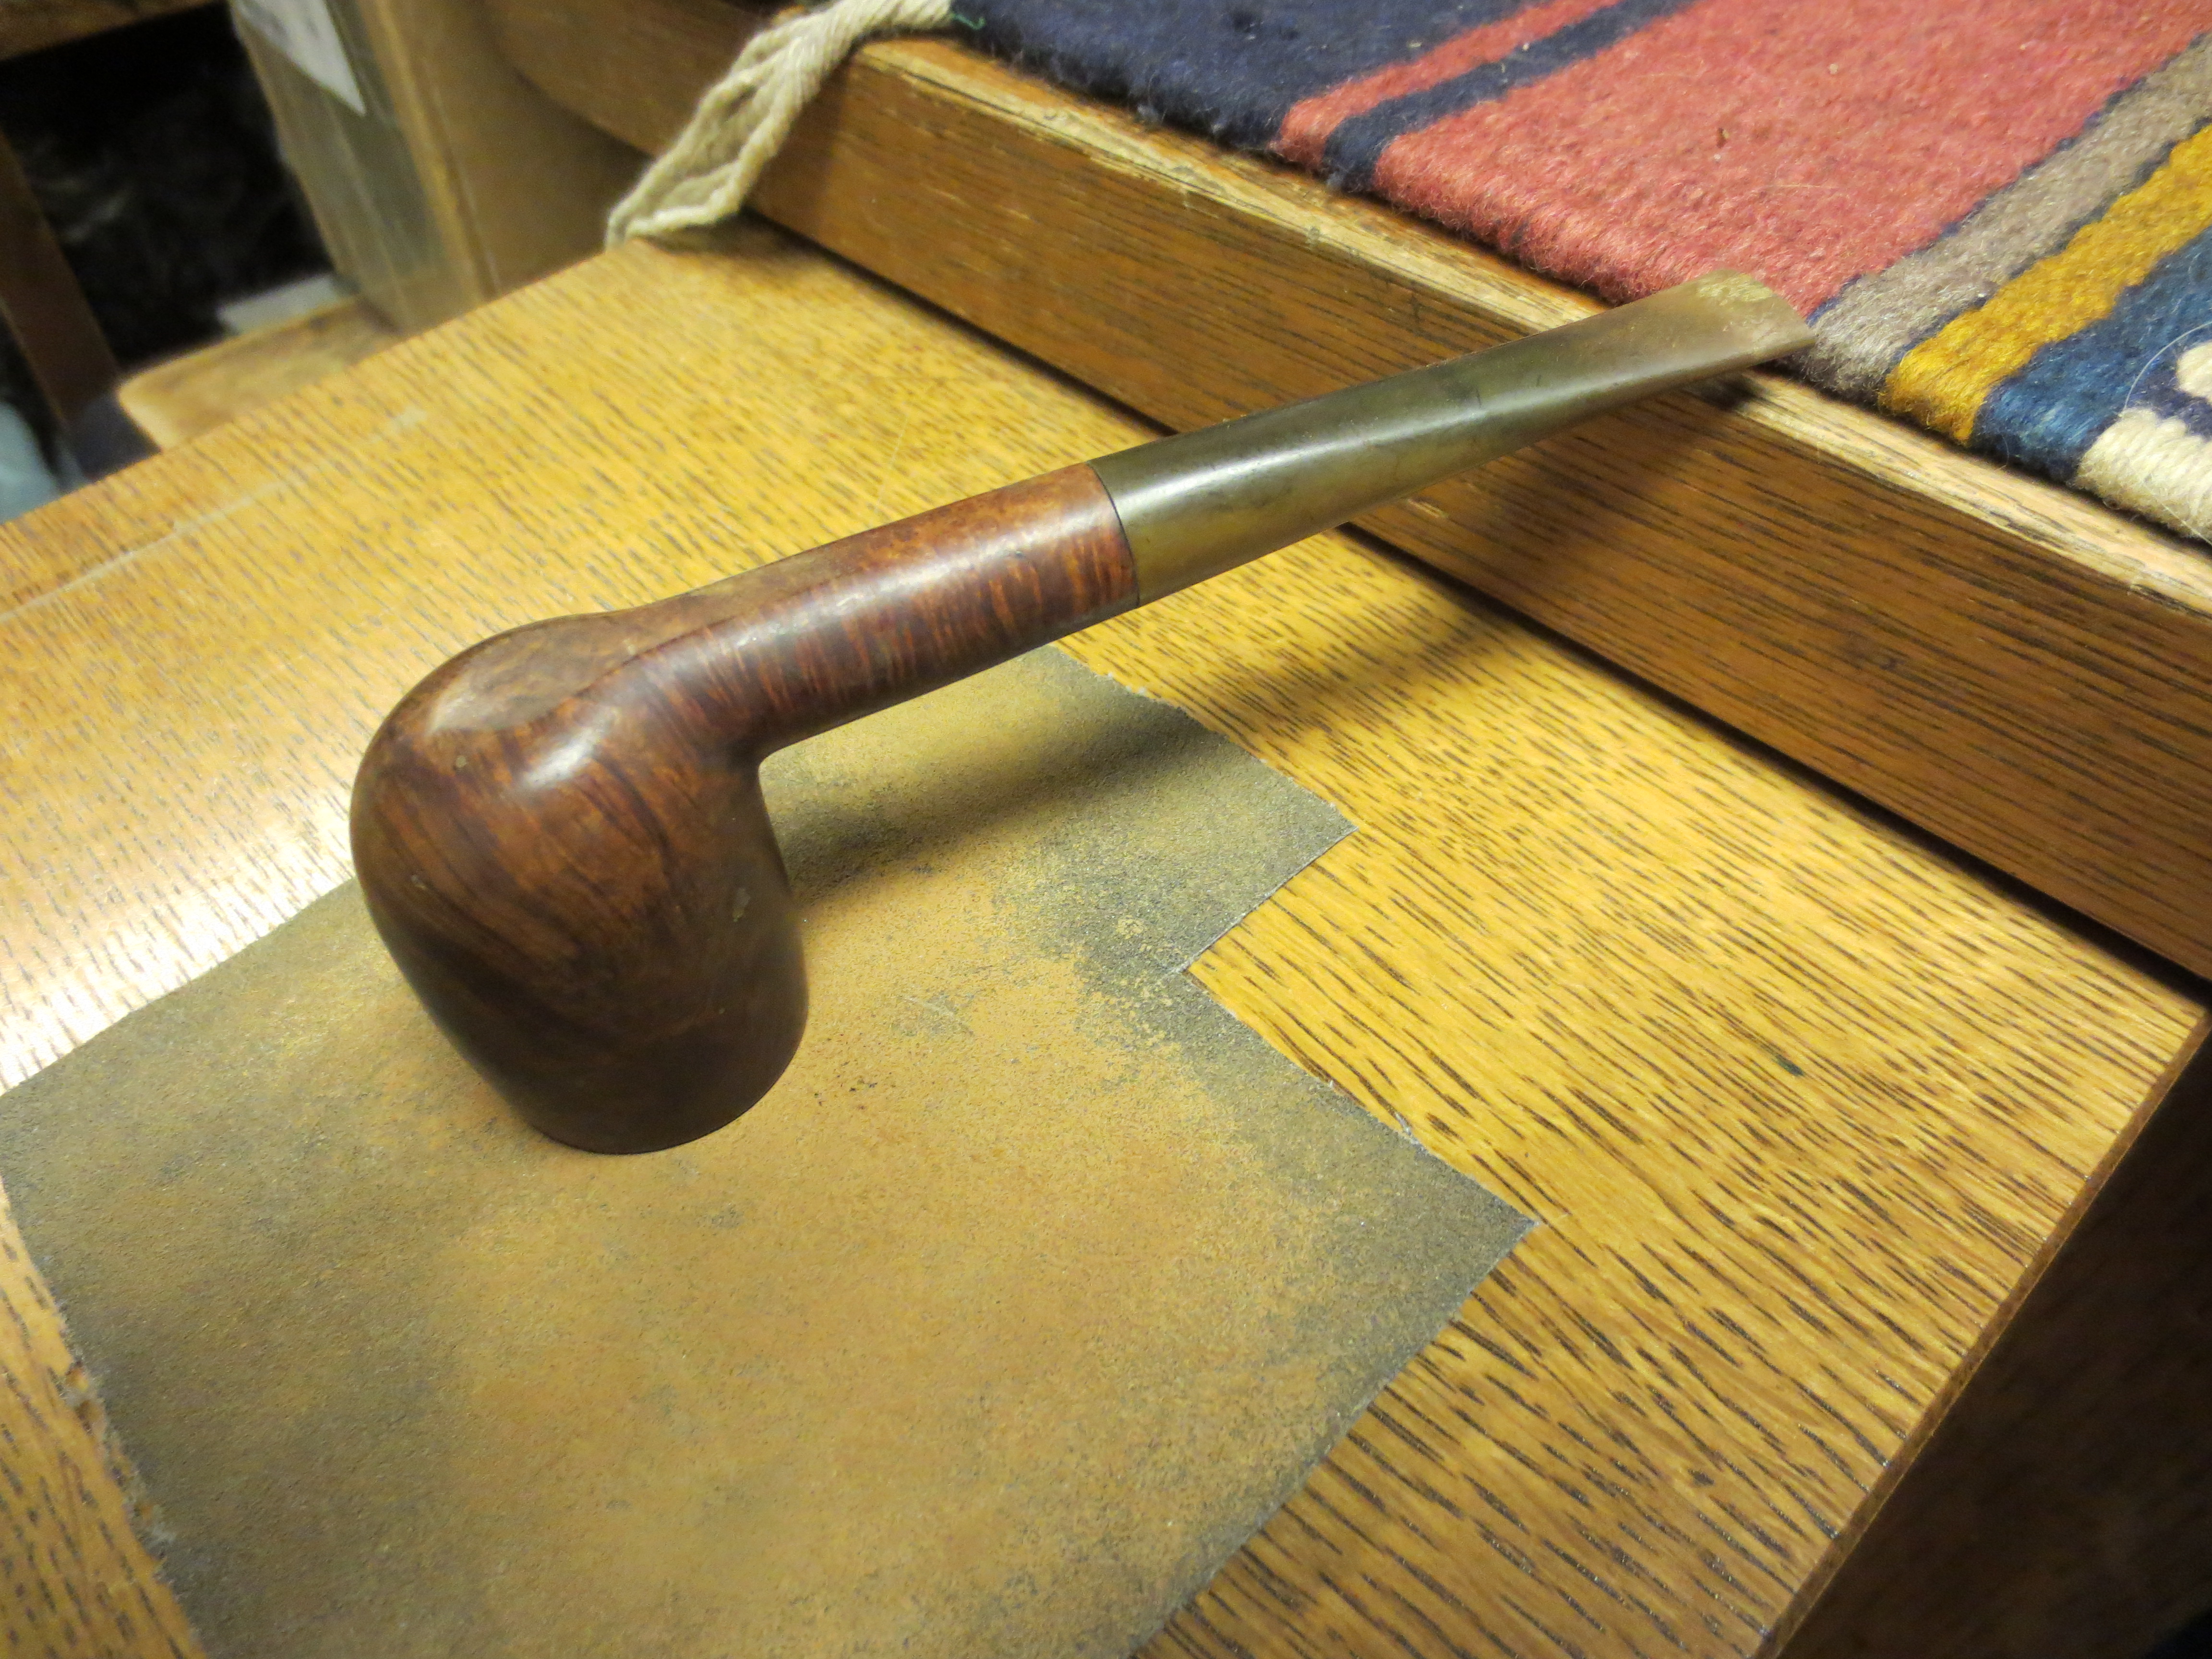
I then put the stem back on the pipe to check the fit and the profile of the pipe. I wanted to make sure that the angles looked right on the slope and also that the shank and stem junction still was smooth. The next three photos show the look that I had been aiming for in the process of reshaping the stem.

I once again removed the stem and sanded it again with a fine grit sanding sponge (pink sponge backed sanding medium). The scratches and oxidation are becoming less pronounced. The next four photos show that progress.

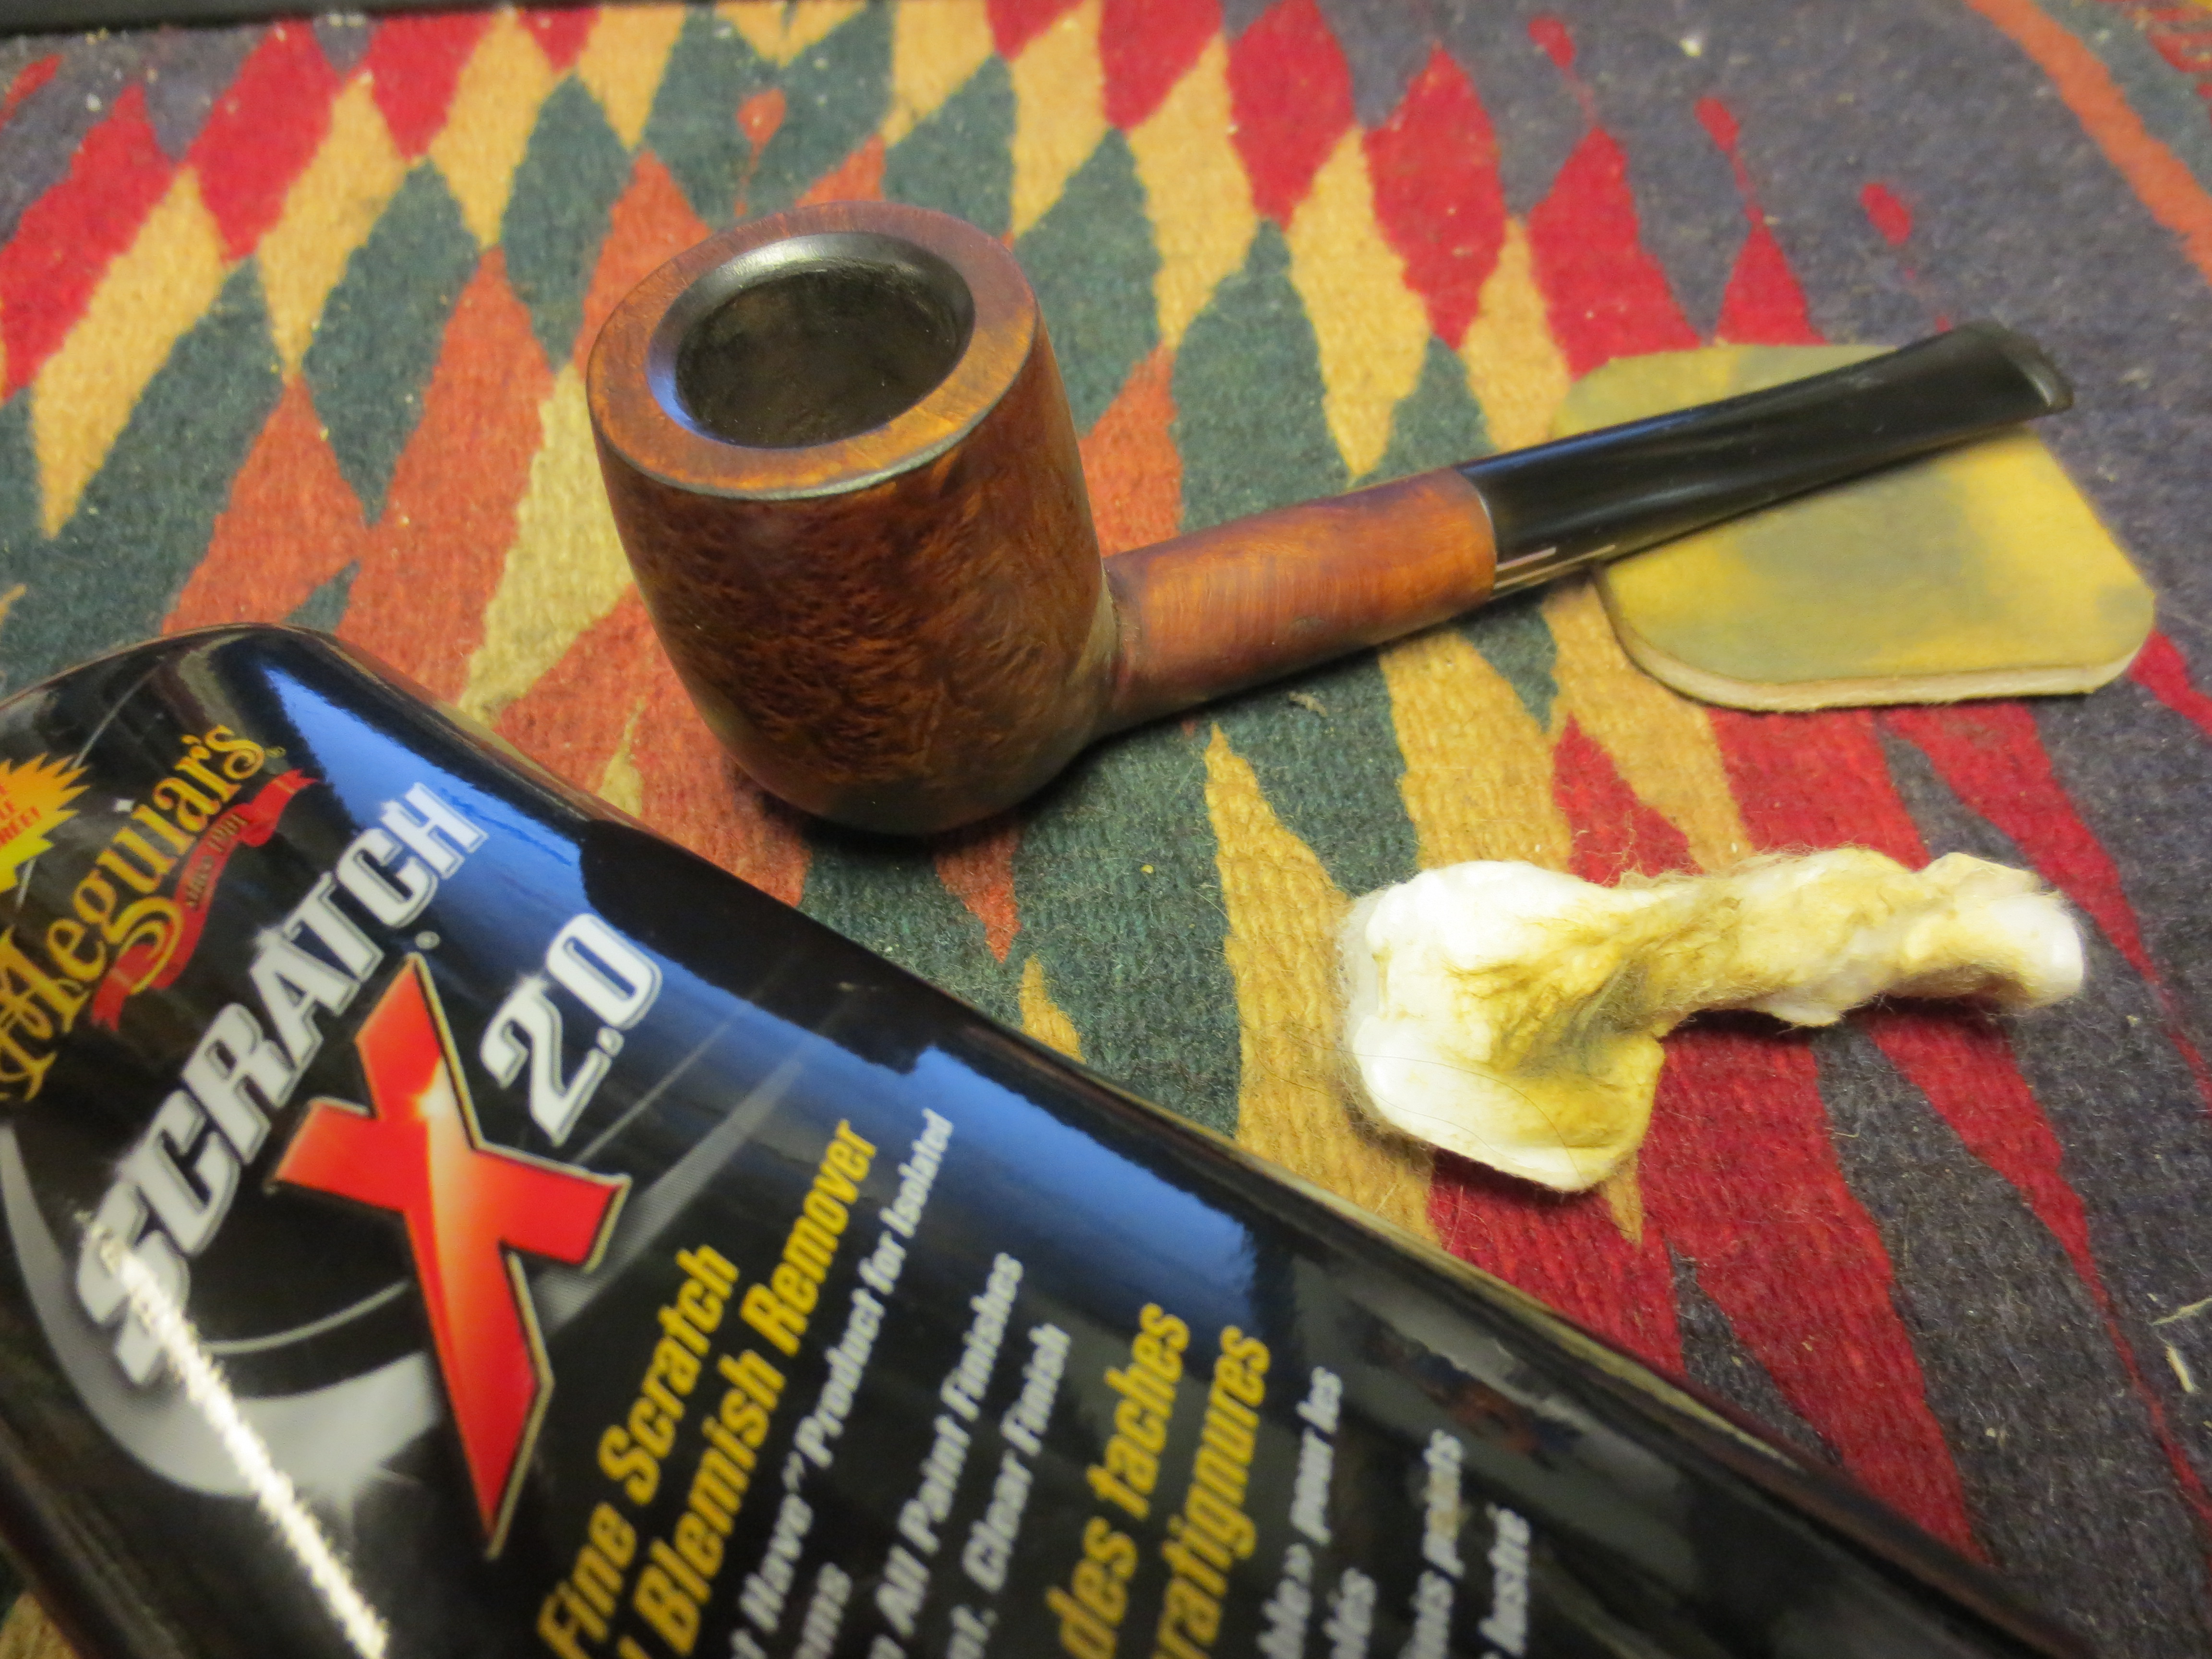
I reinserted the stem and polished it with some Maguiar’s to see where I stood on the scratches. I also buffed the bowl and stem to get an idea of the finished look. The next series of four photos show the state of the pipe after that work. The fill on the right side of the bowl is almost invisible and the pipe is beginning to look like the final product. There still remained much to do to get the stem back to a new look.


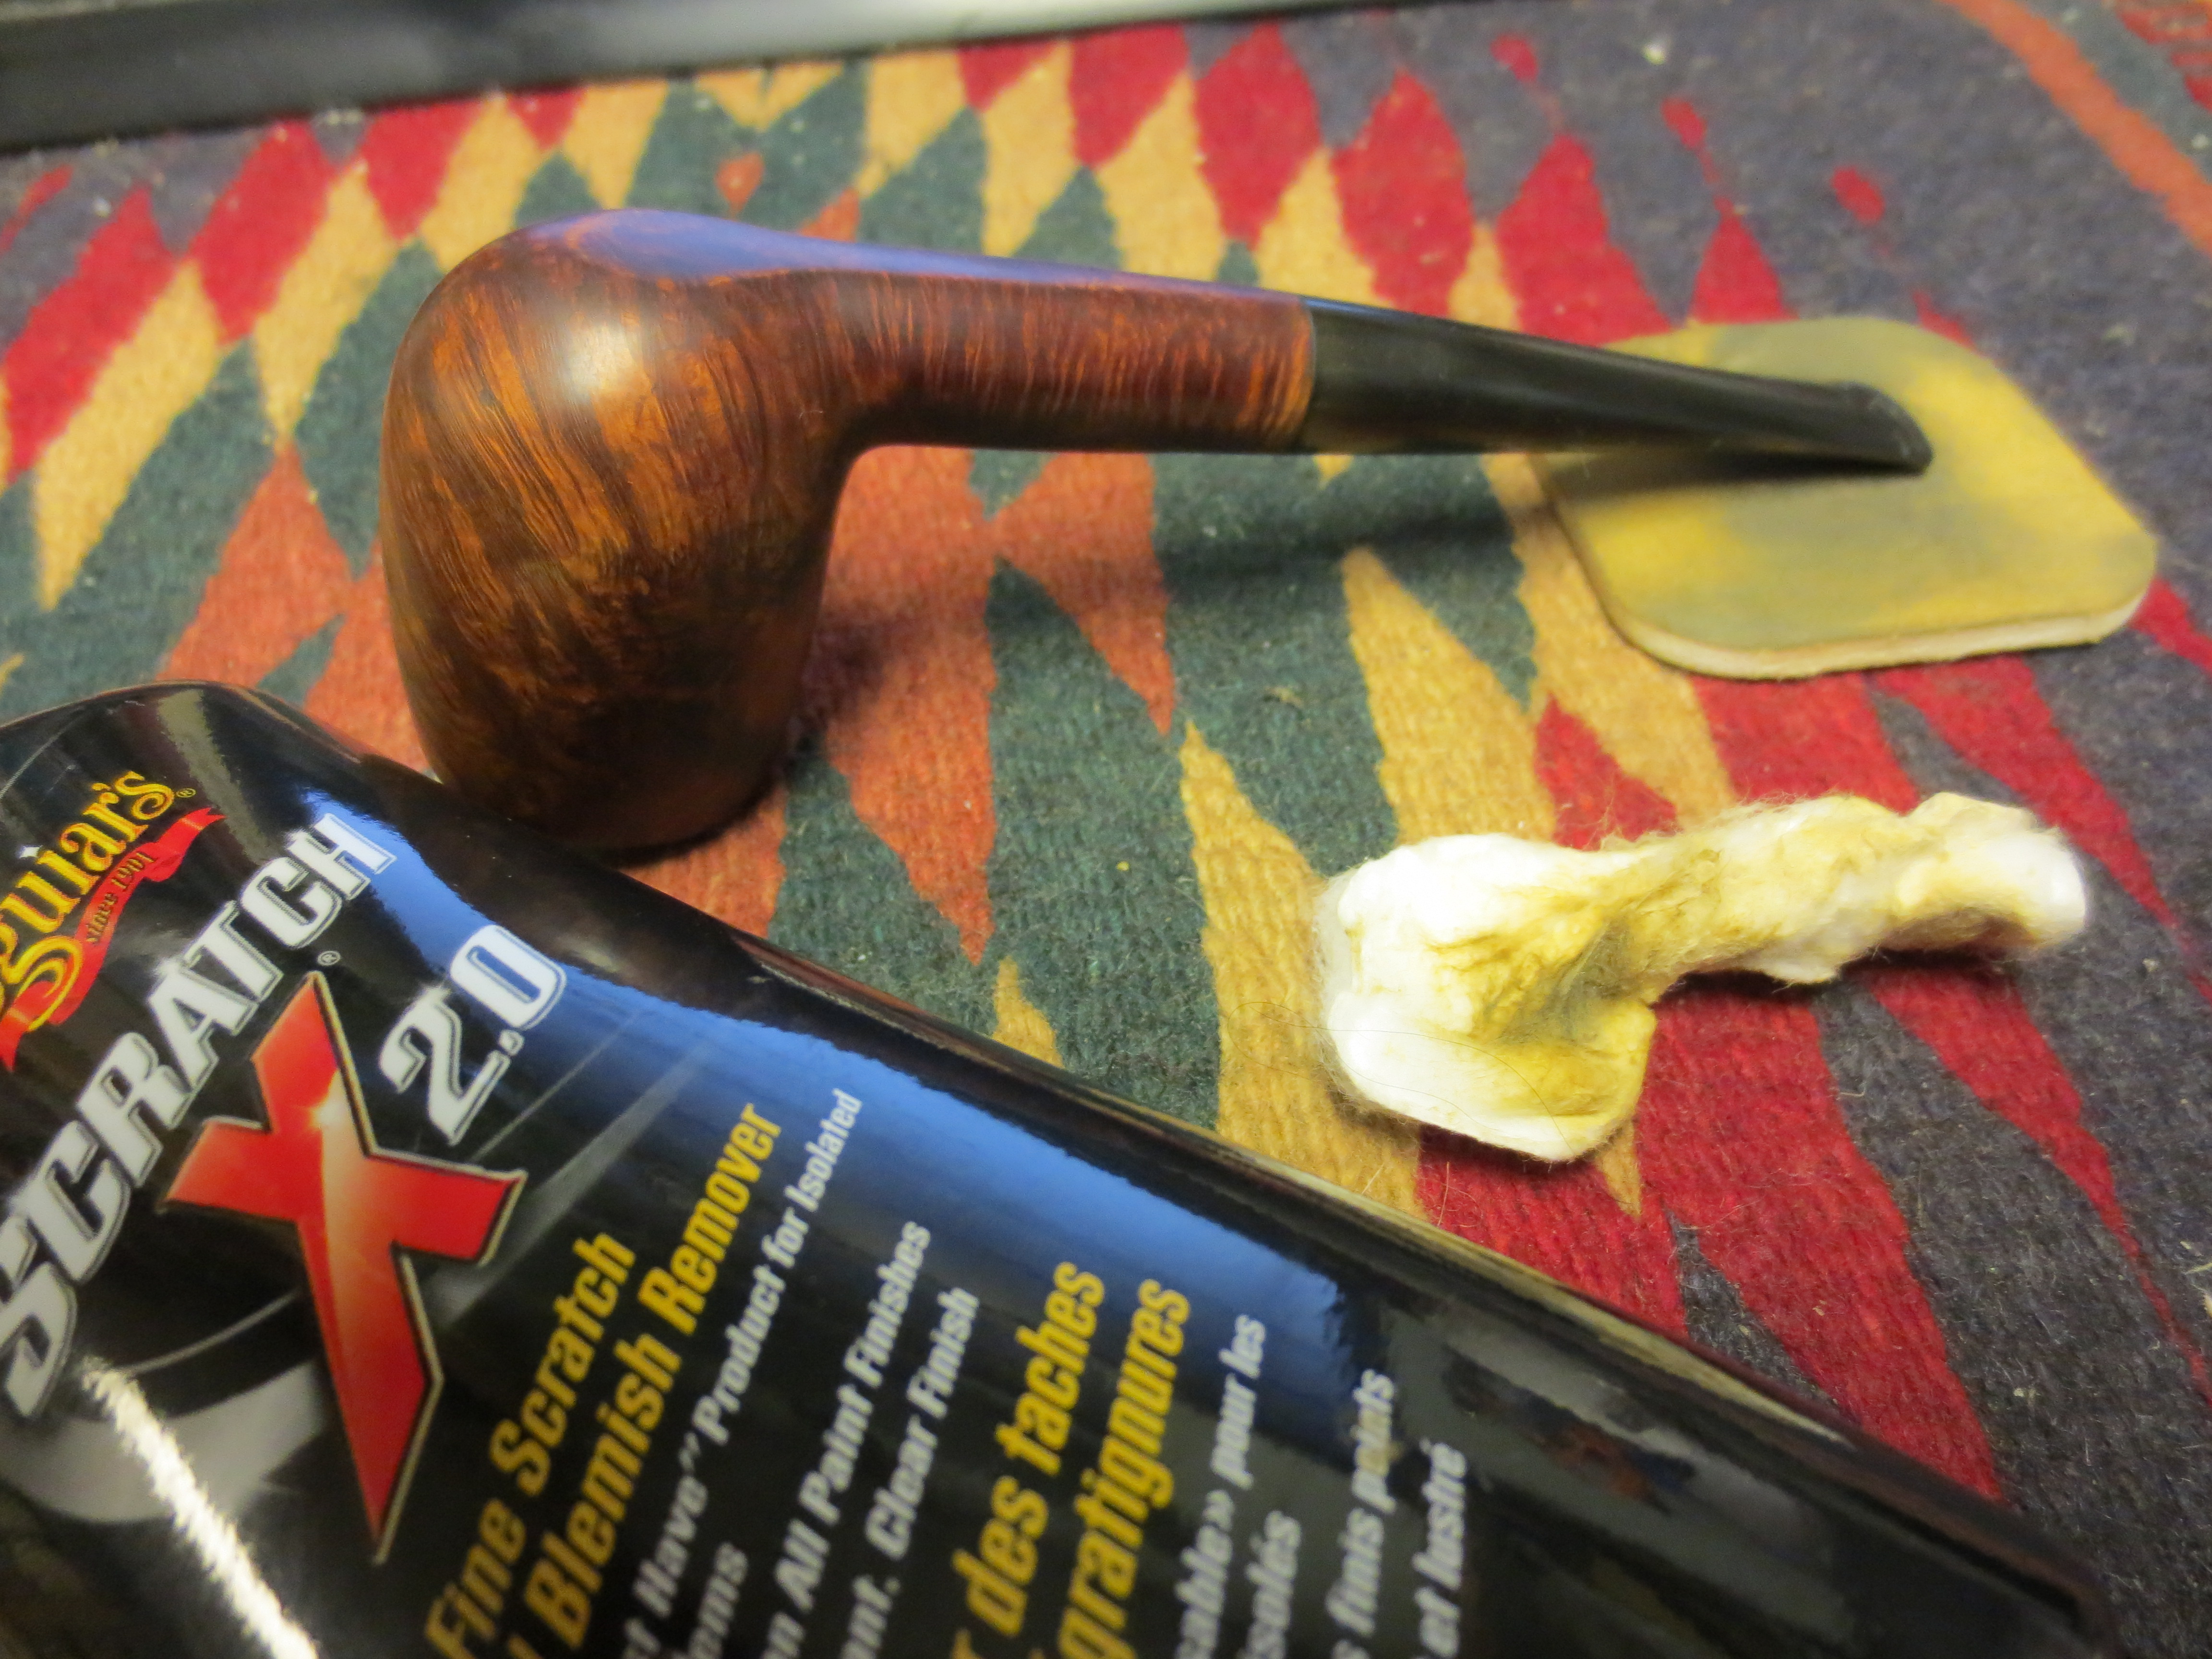
I wet sanded the stem with 1500, 1800 and 2400 grit micromesh sanding pads and also dry sanded the bowl with the same pads. I wanted a bit lighter and translucent finish on the pipe. The next four photos show the bowl and stem after this treatment. The fifth and sixth photos below show the stem and bowl after I had once again polished the stem with the Maguiar’s. You can see the new look of the finish on the bowl. The grain really is beginning to pop through.
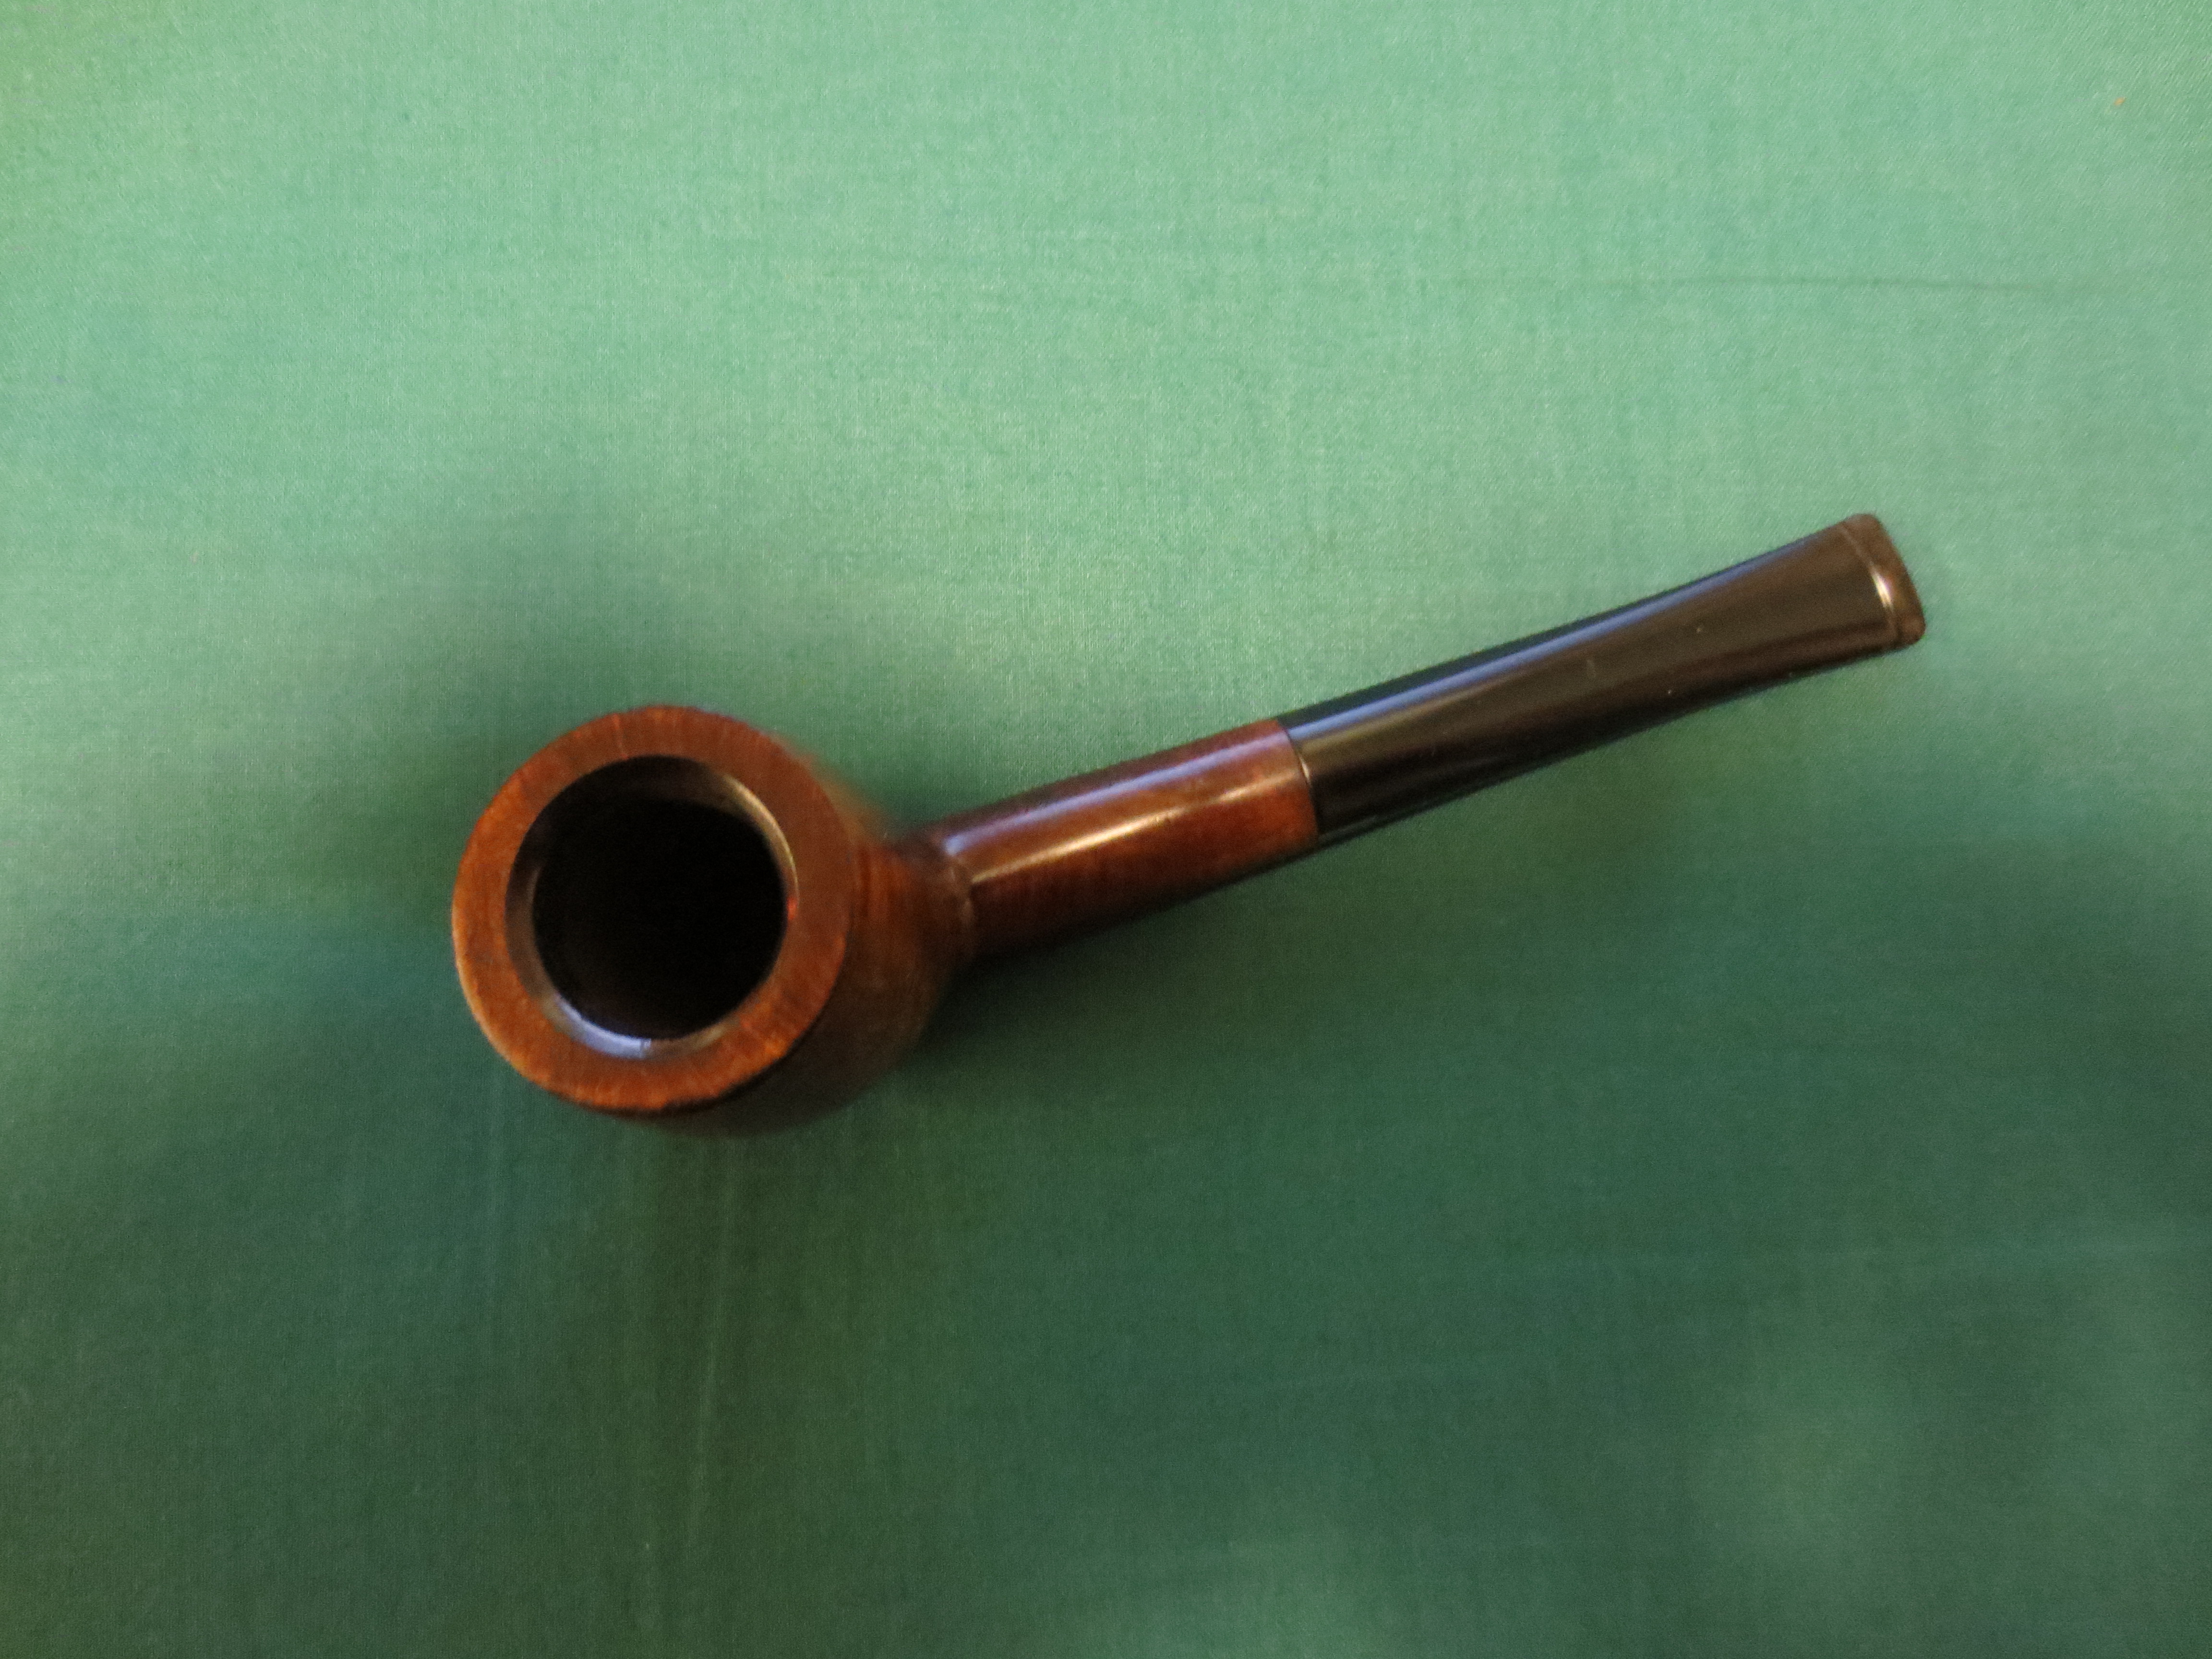
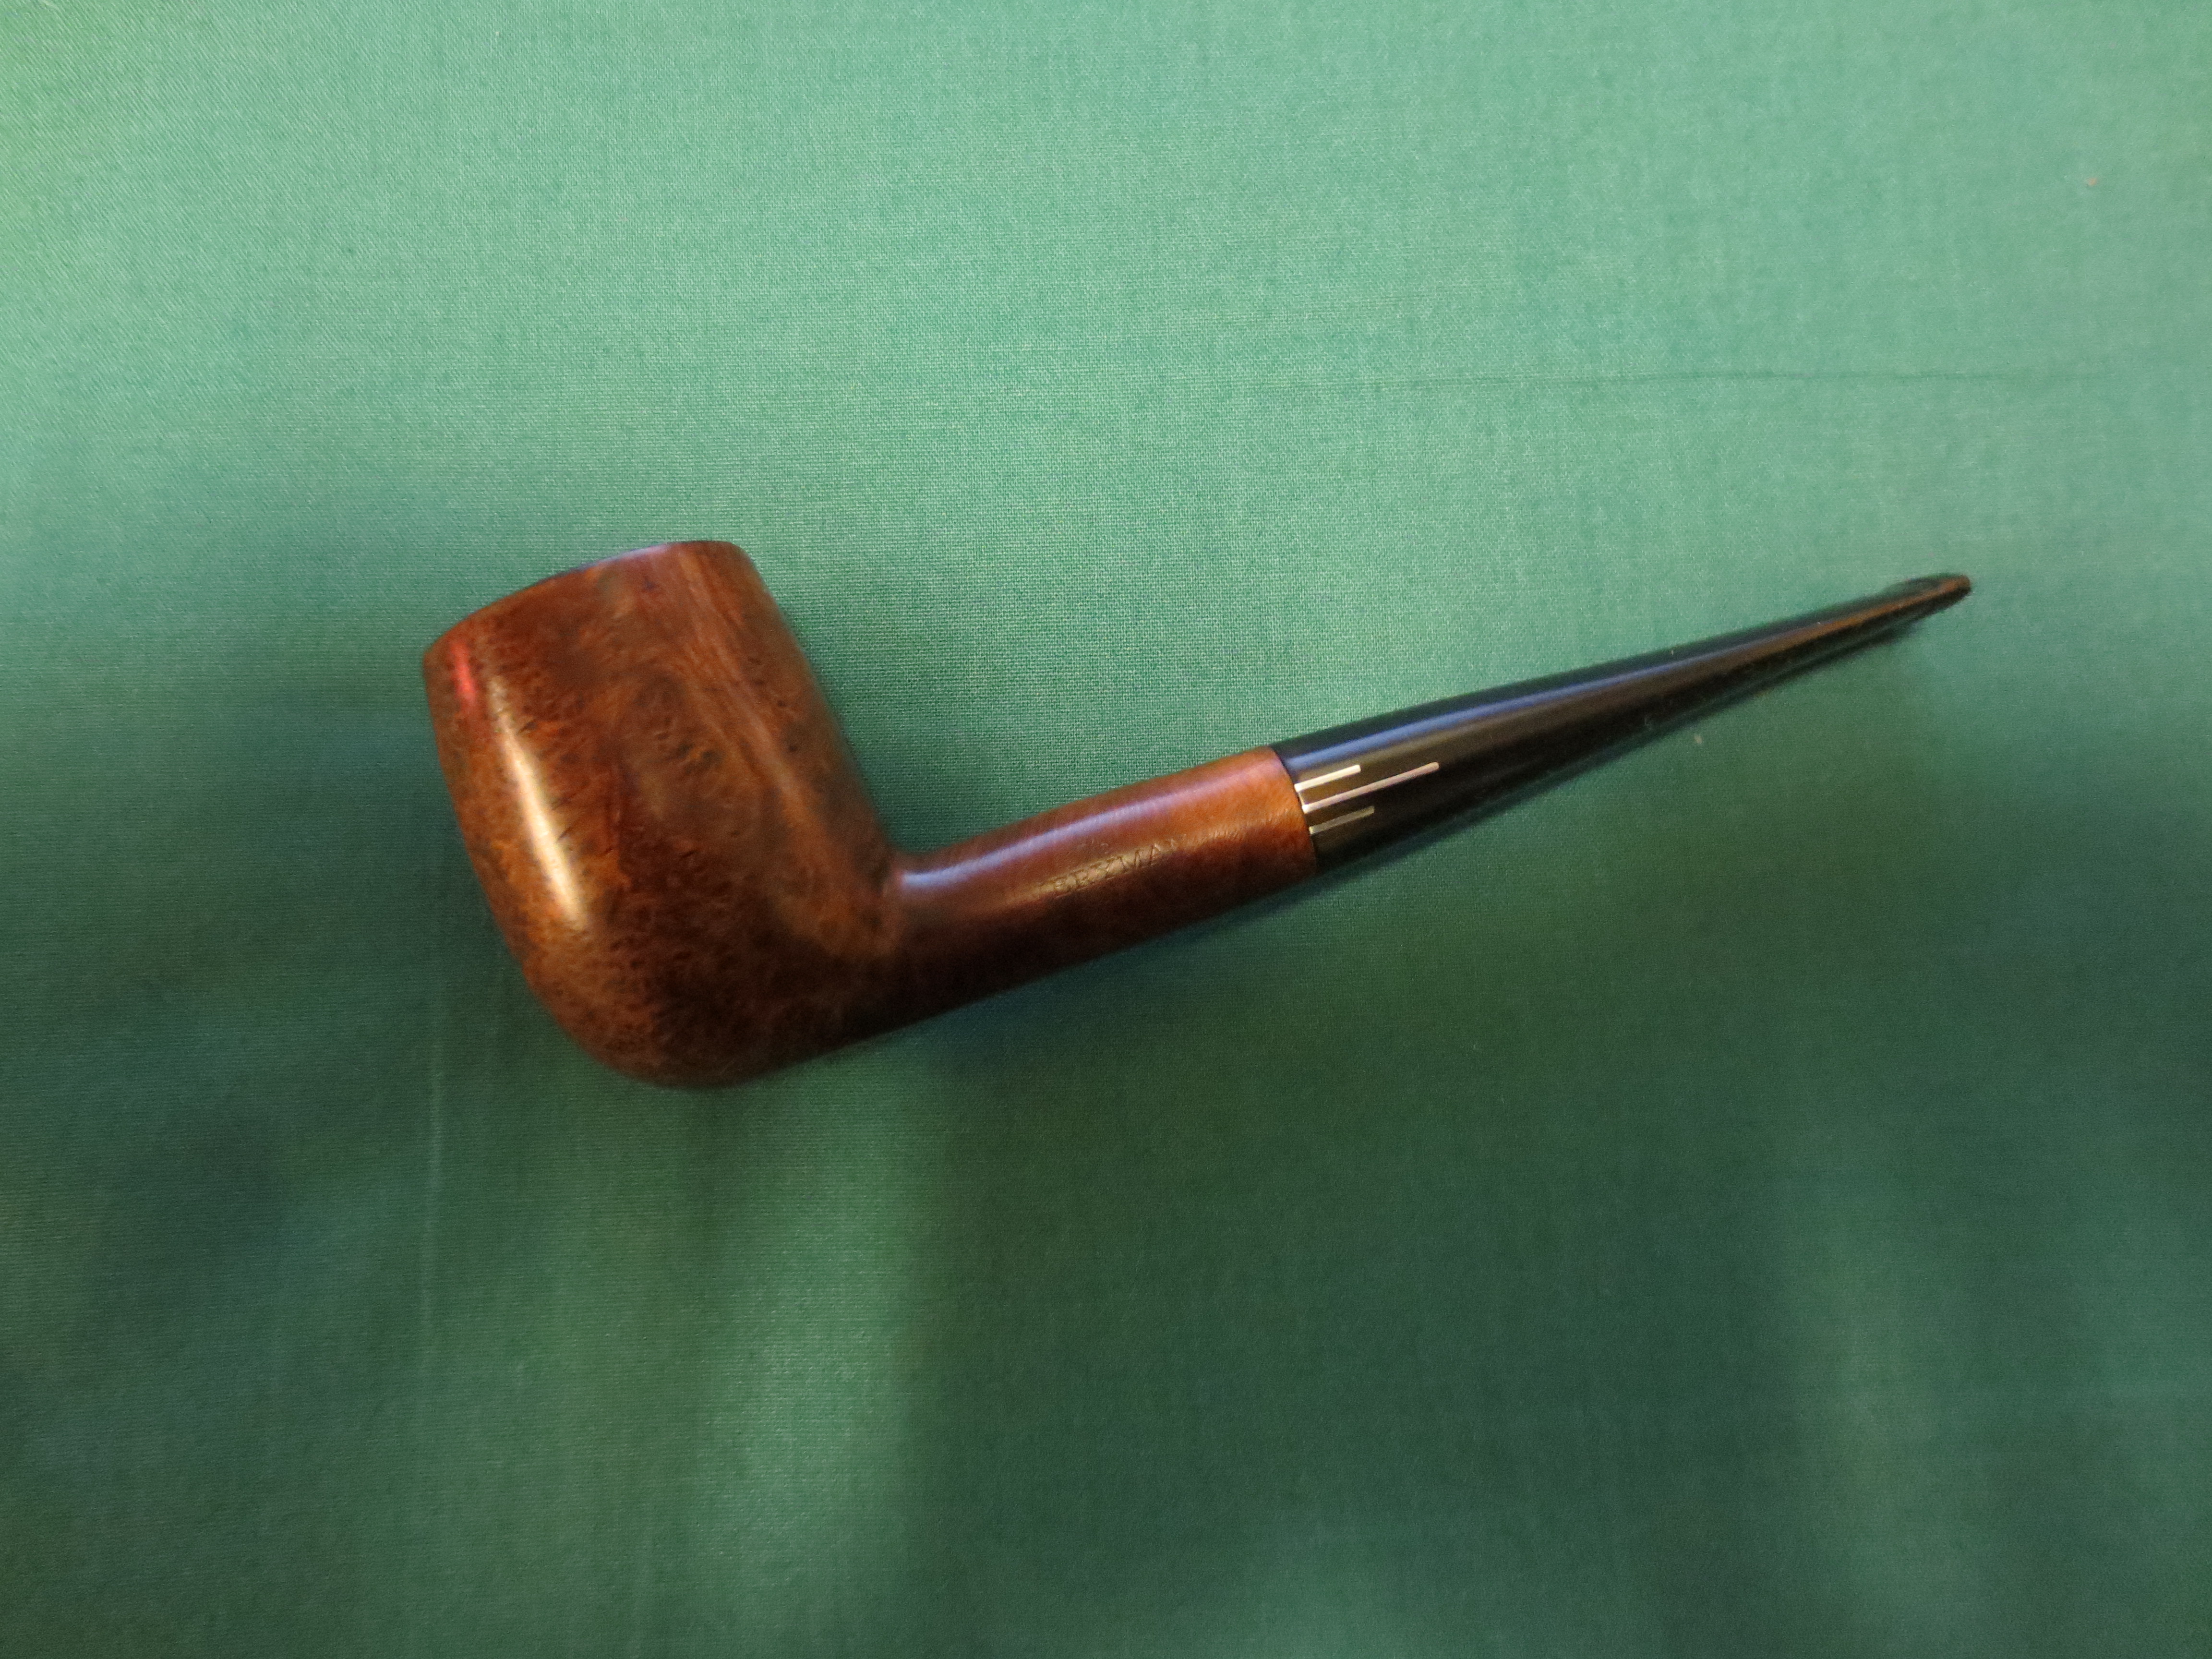
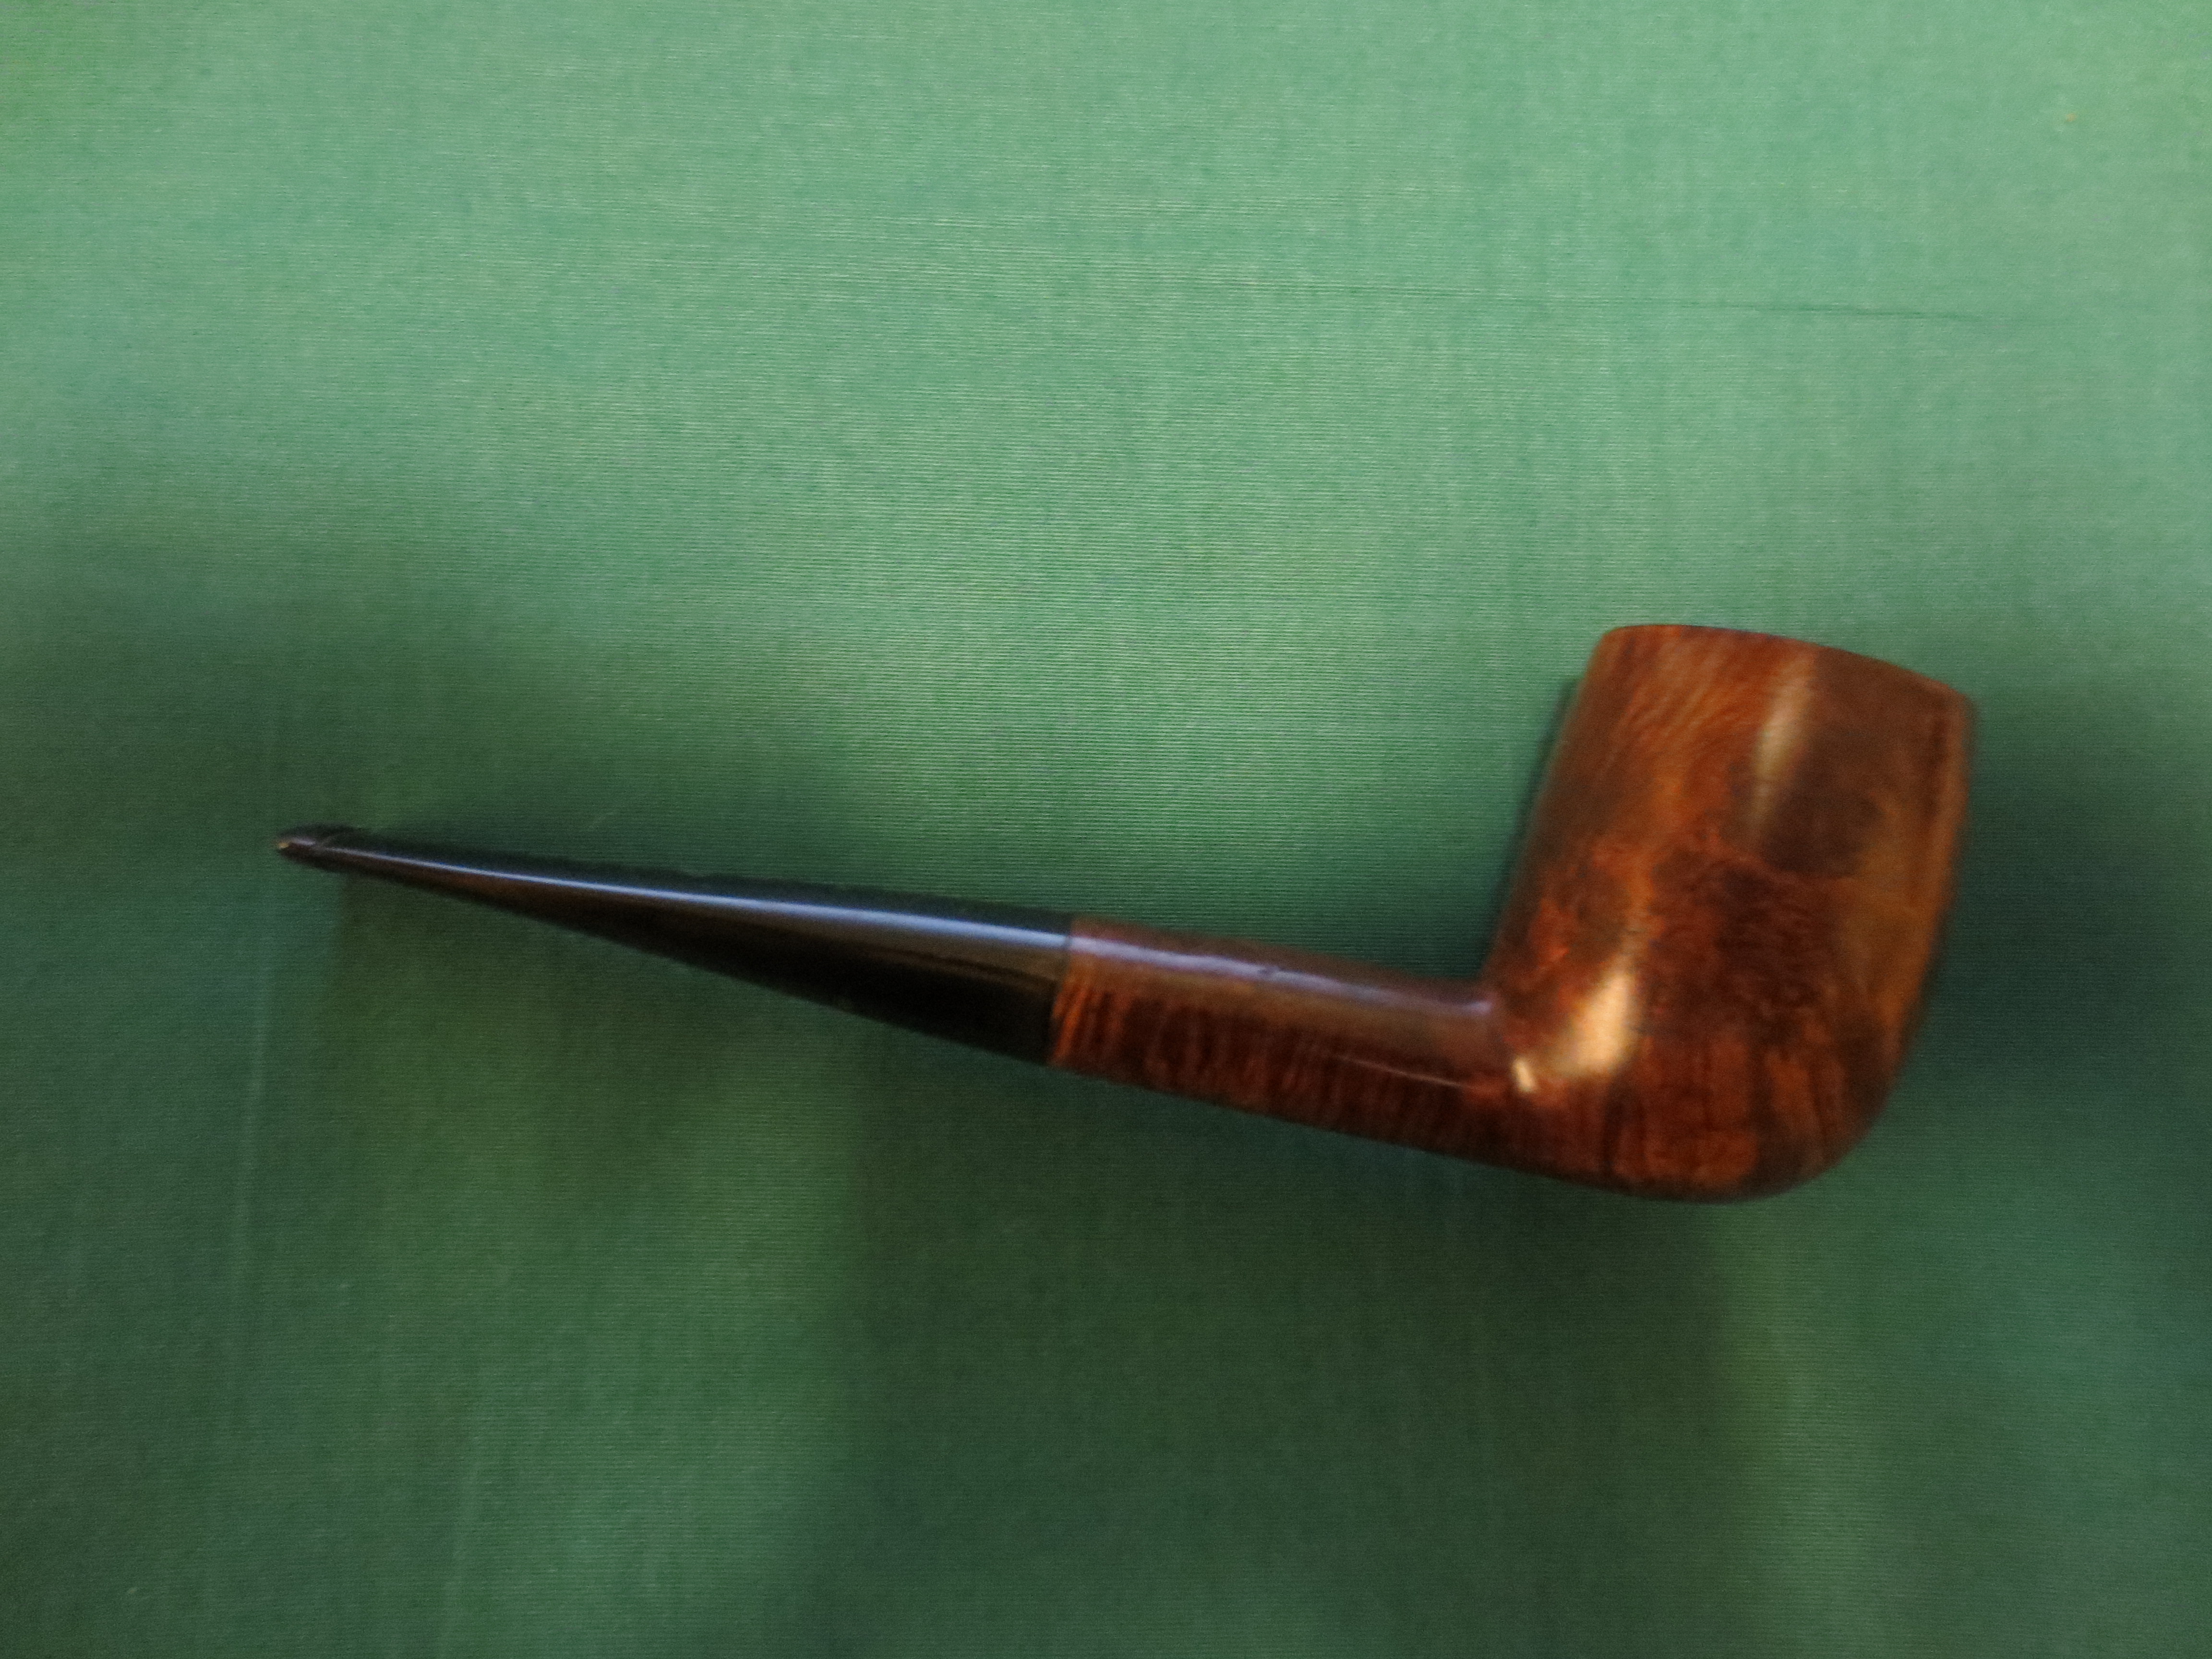
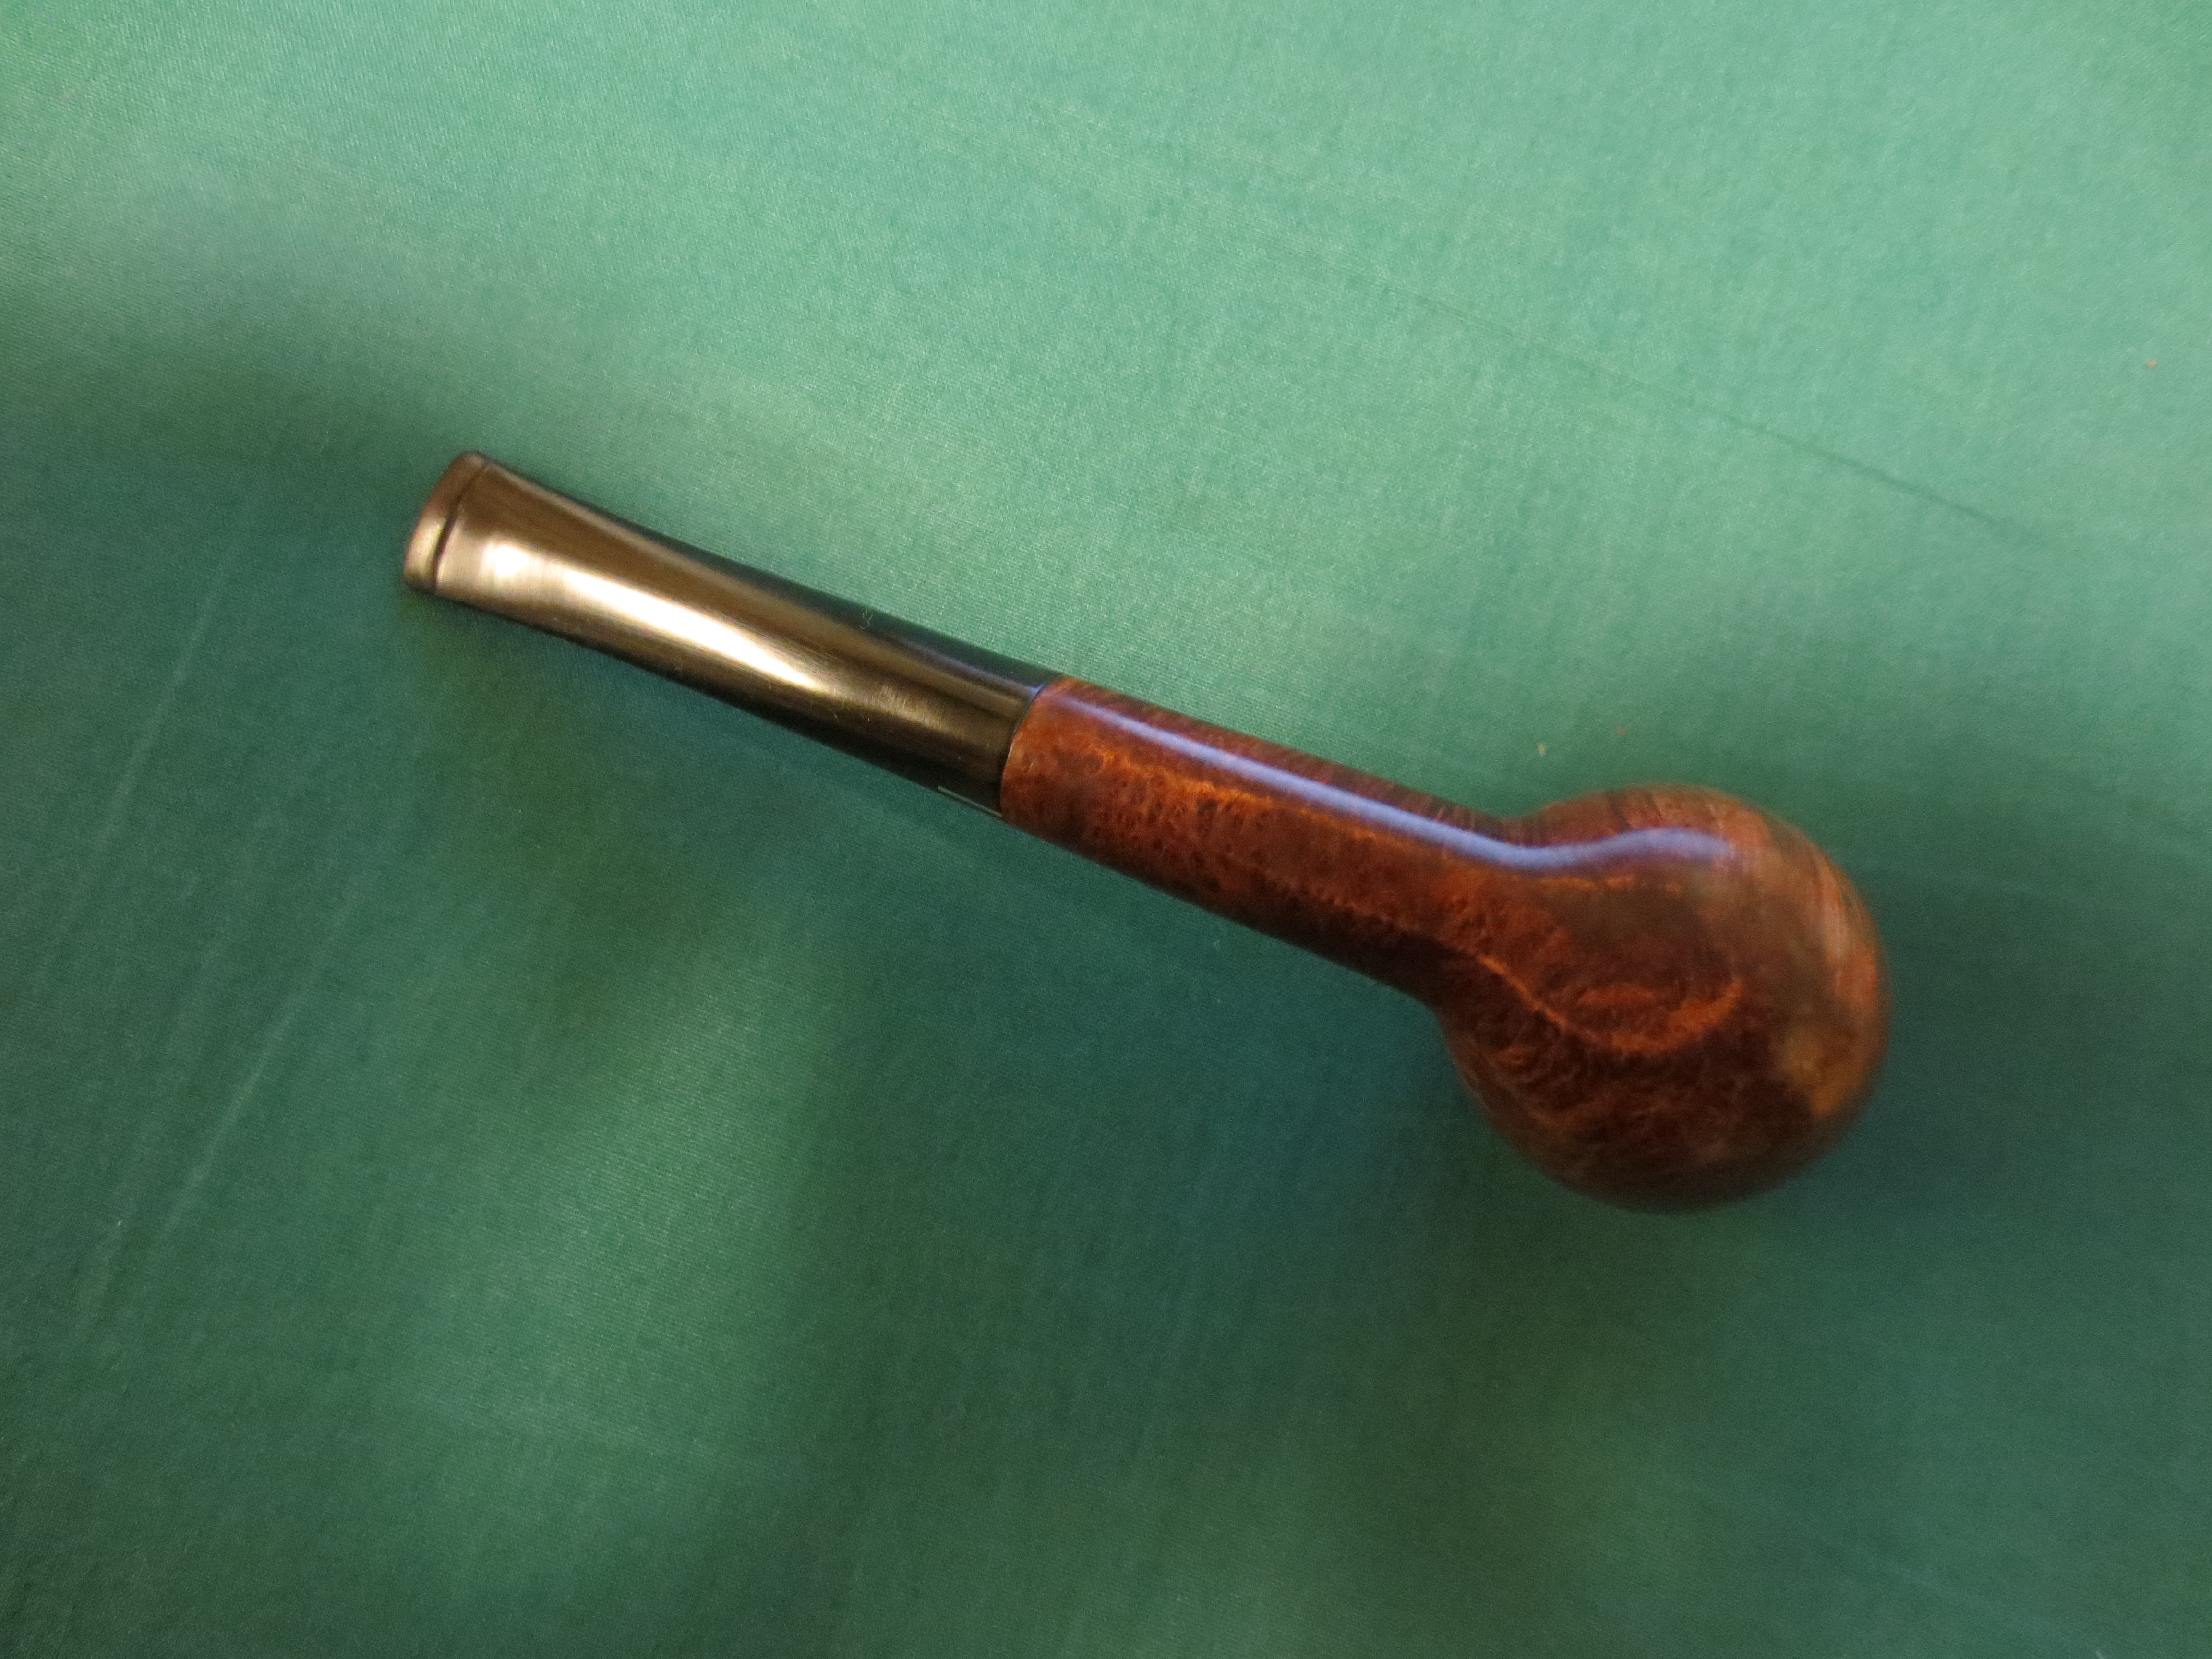
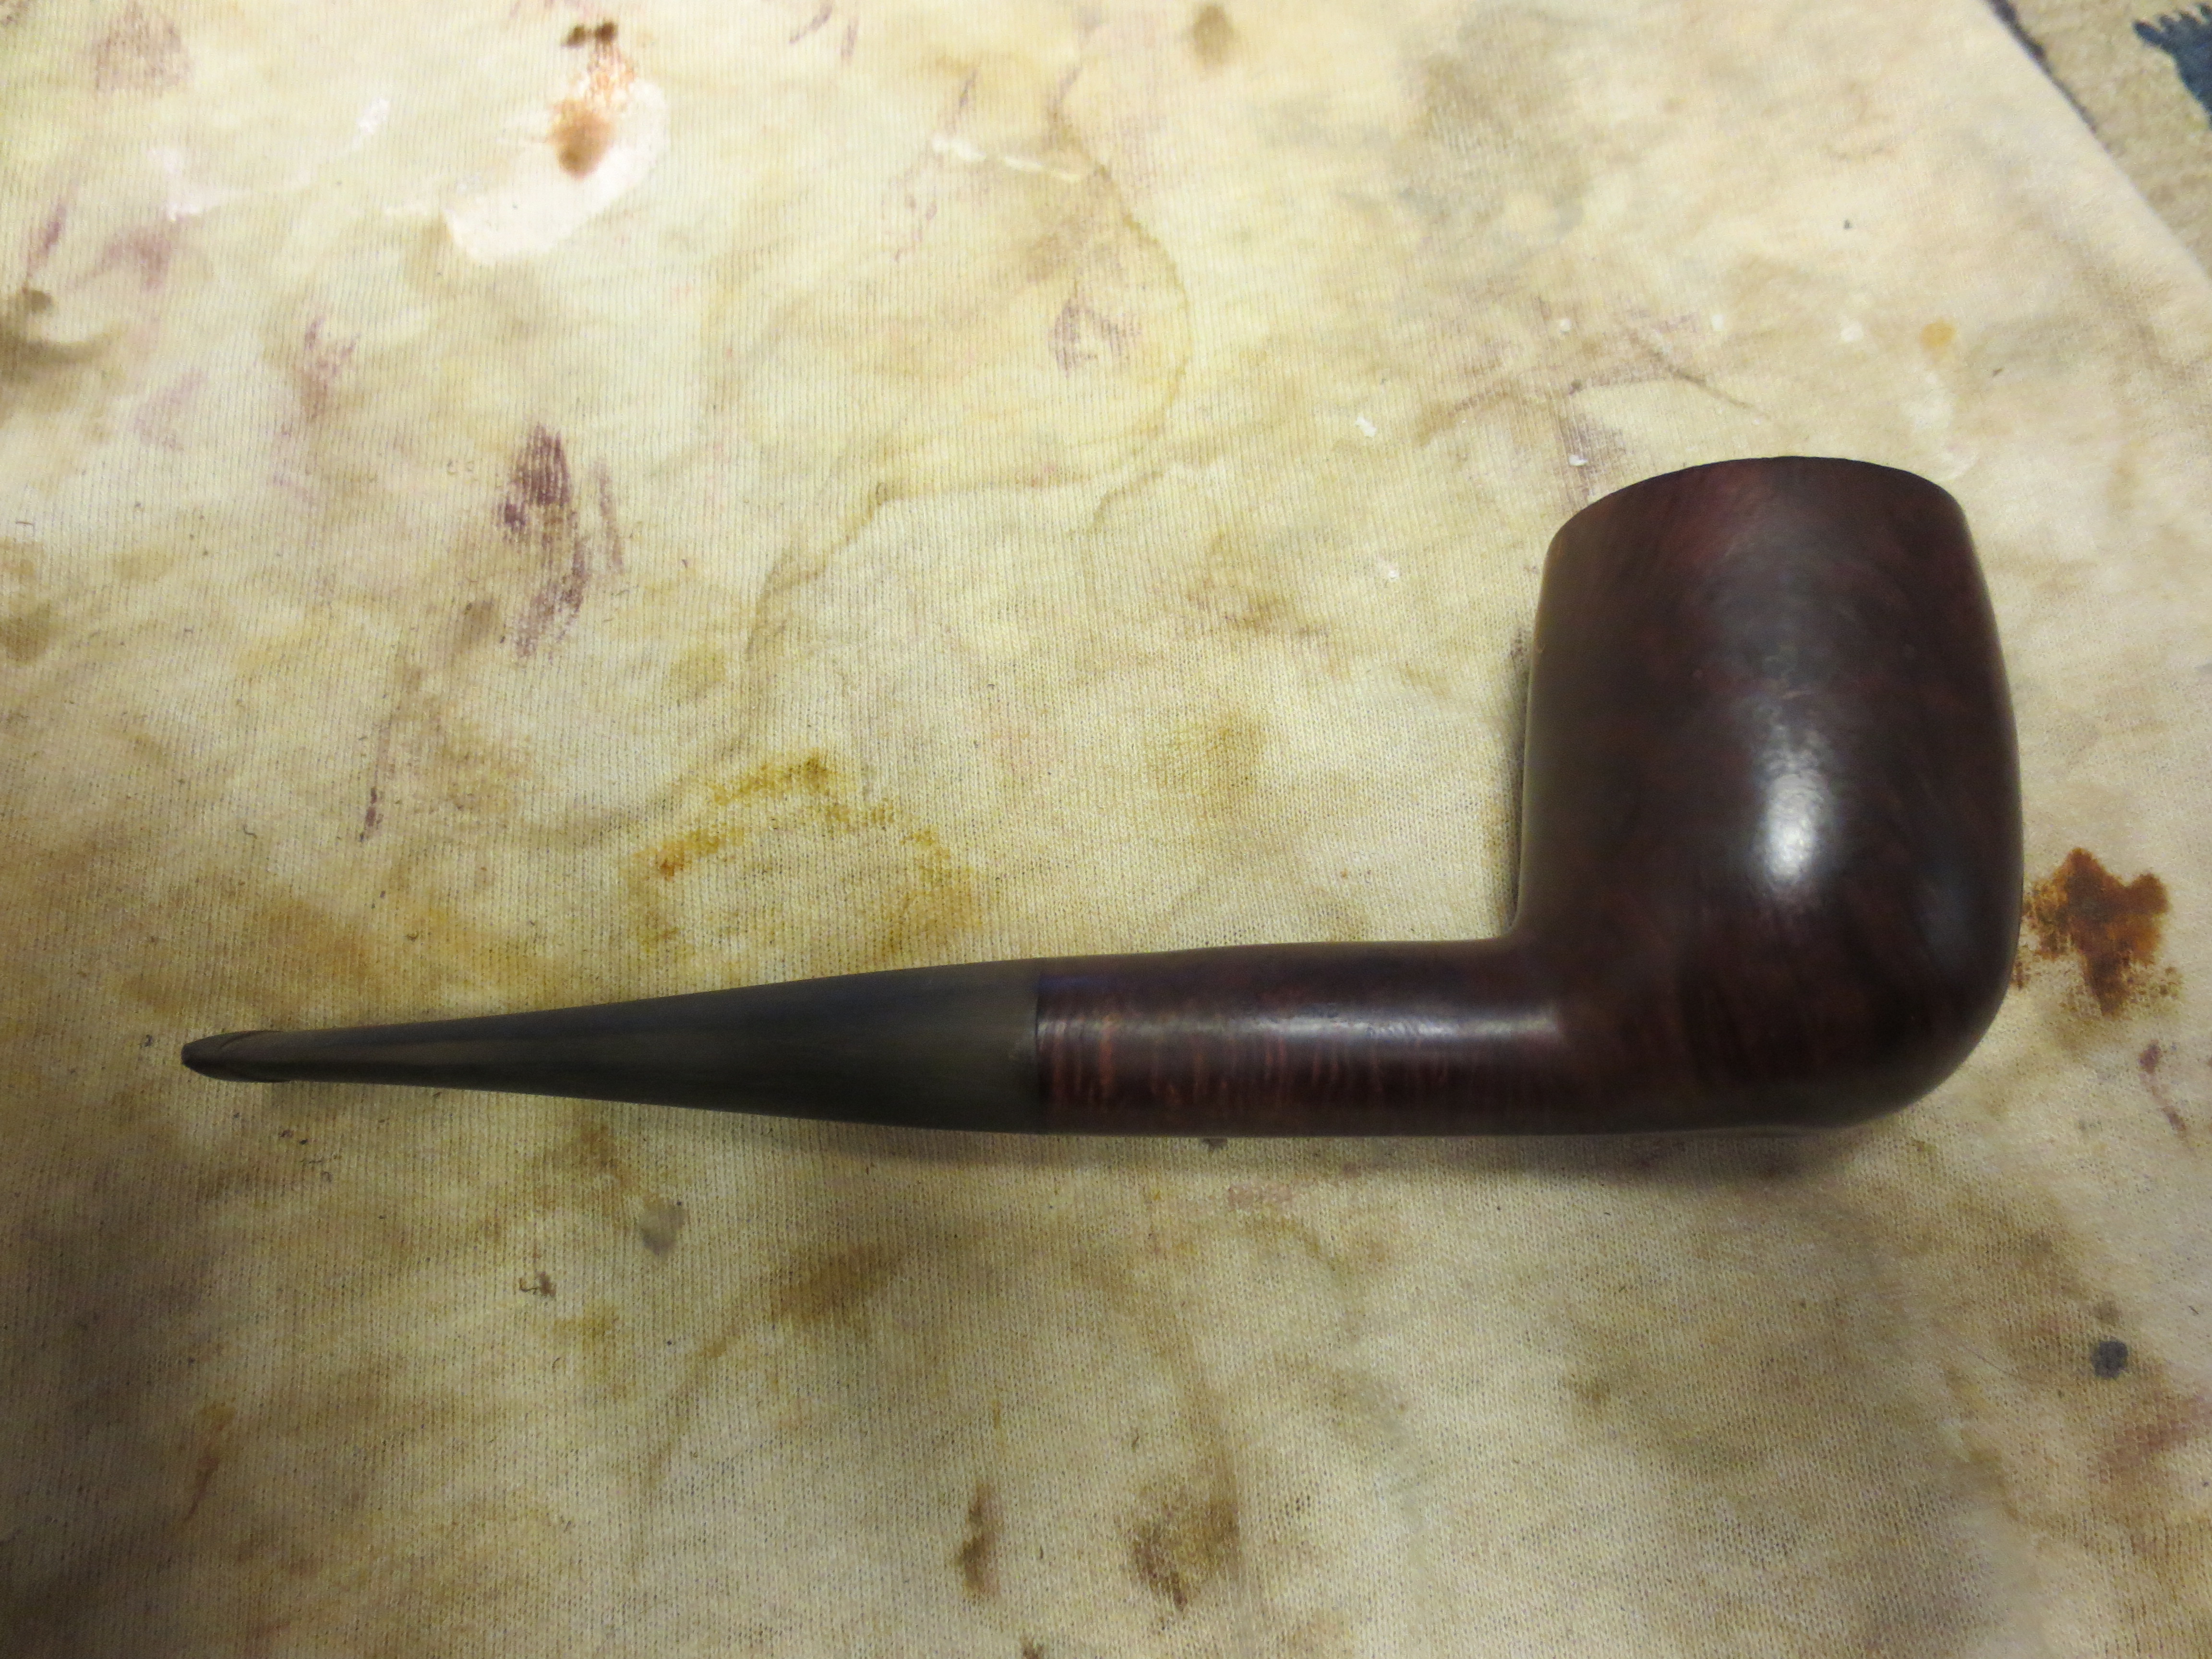
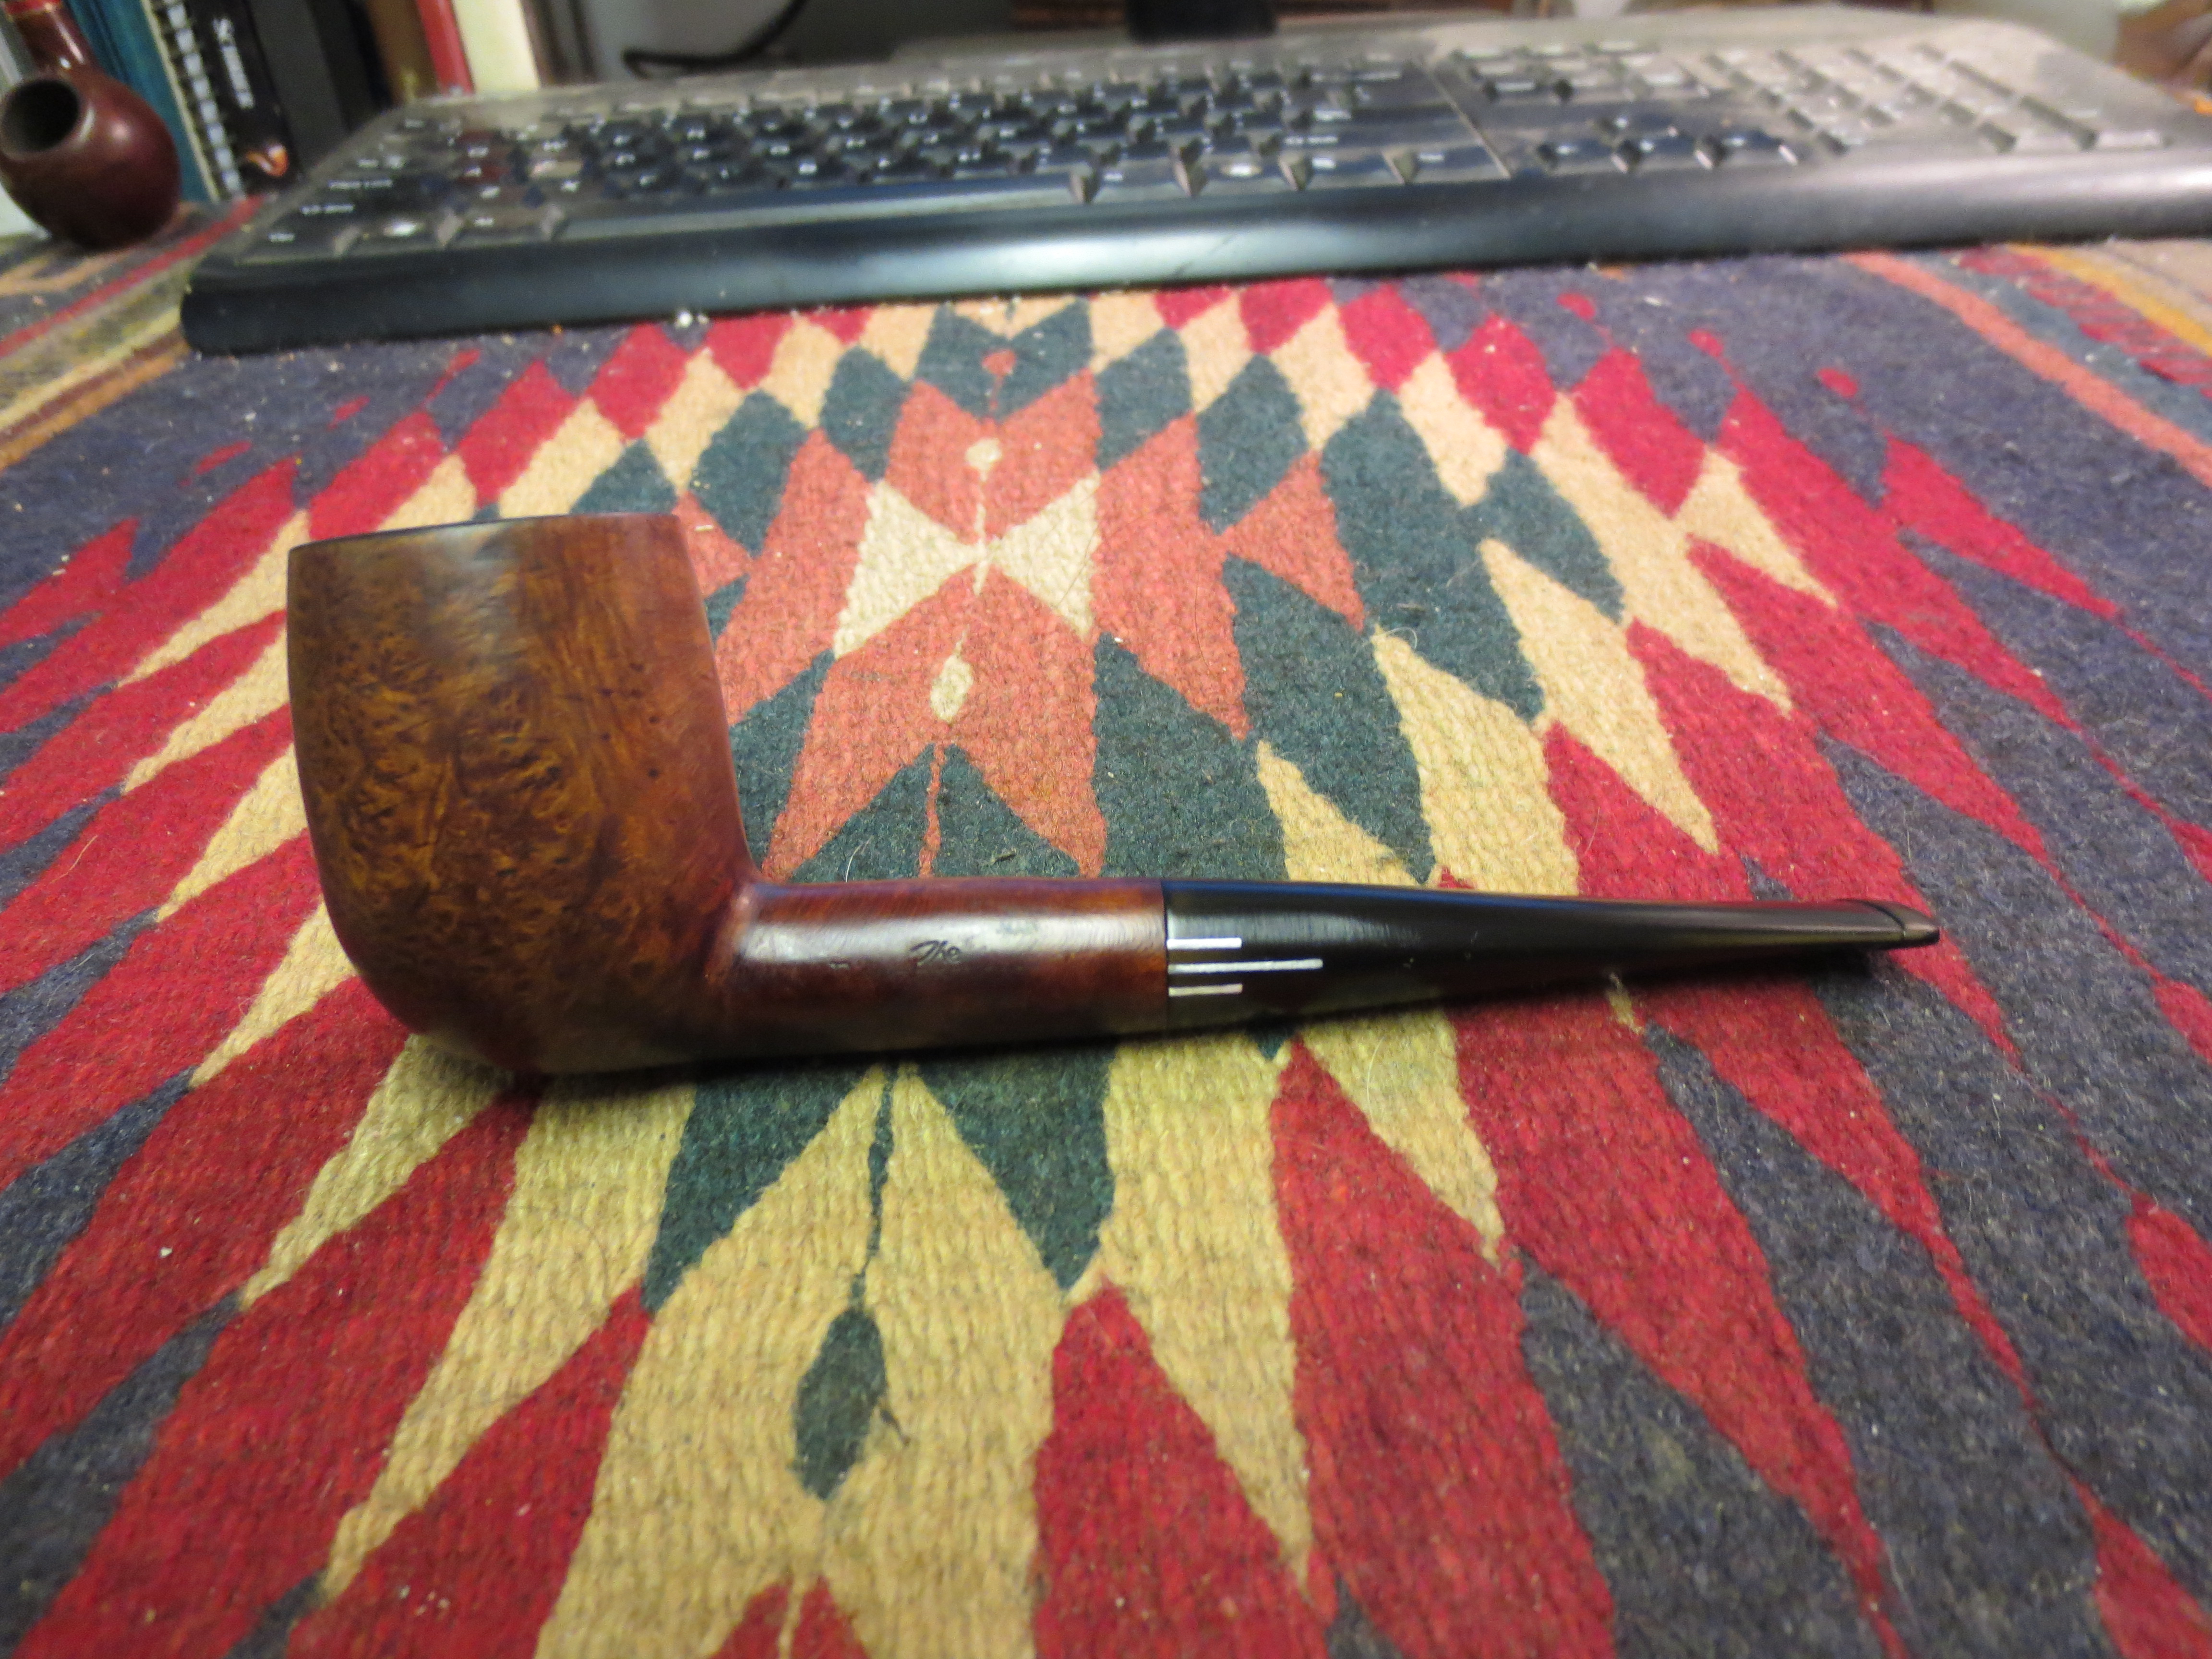
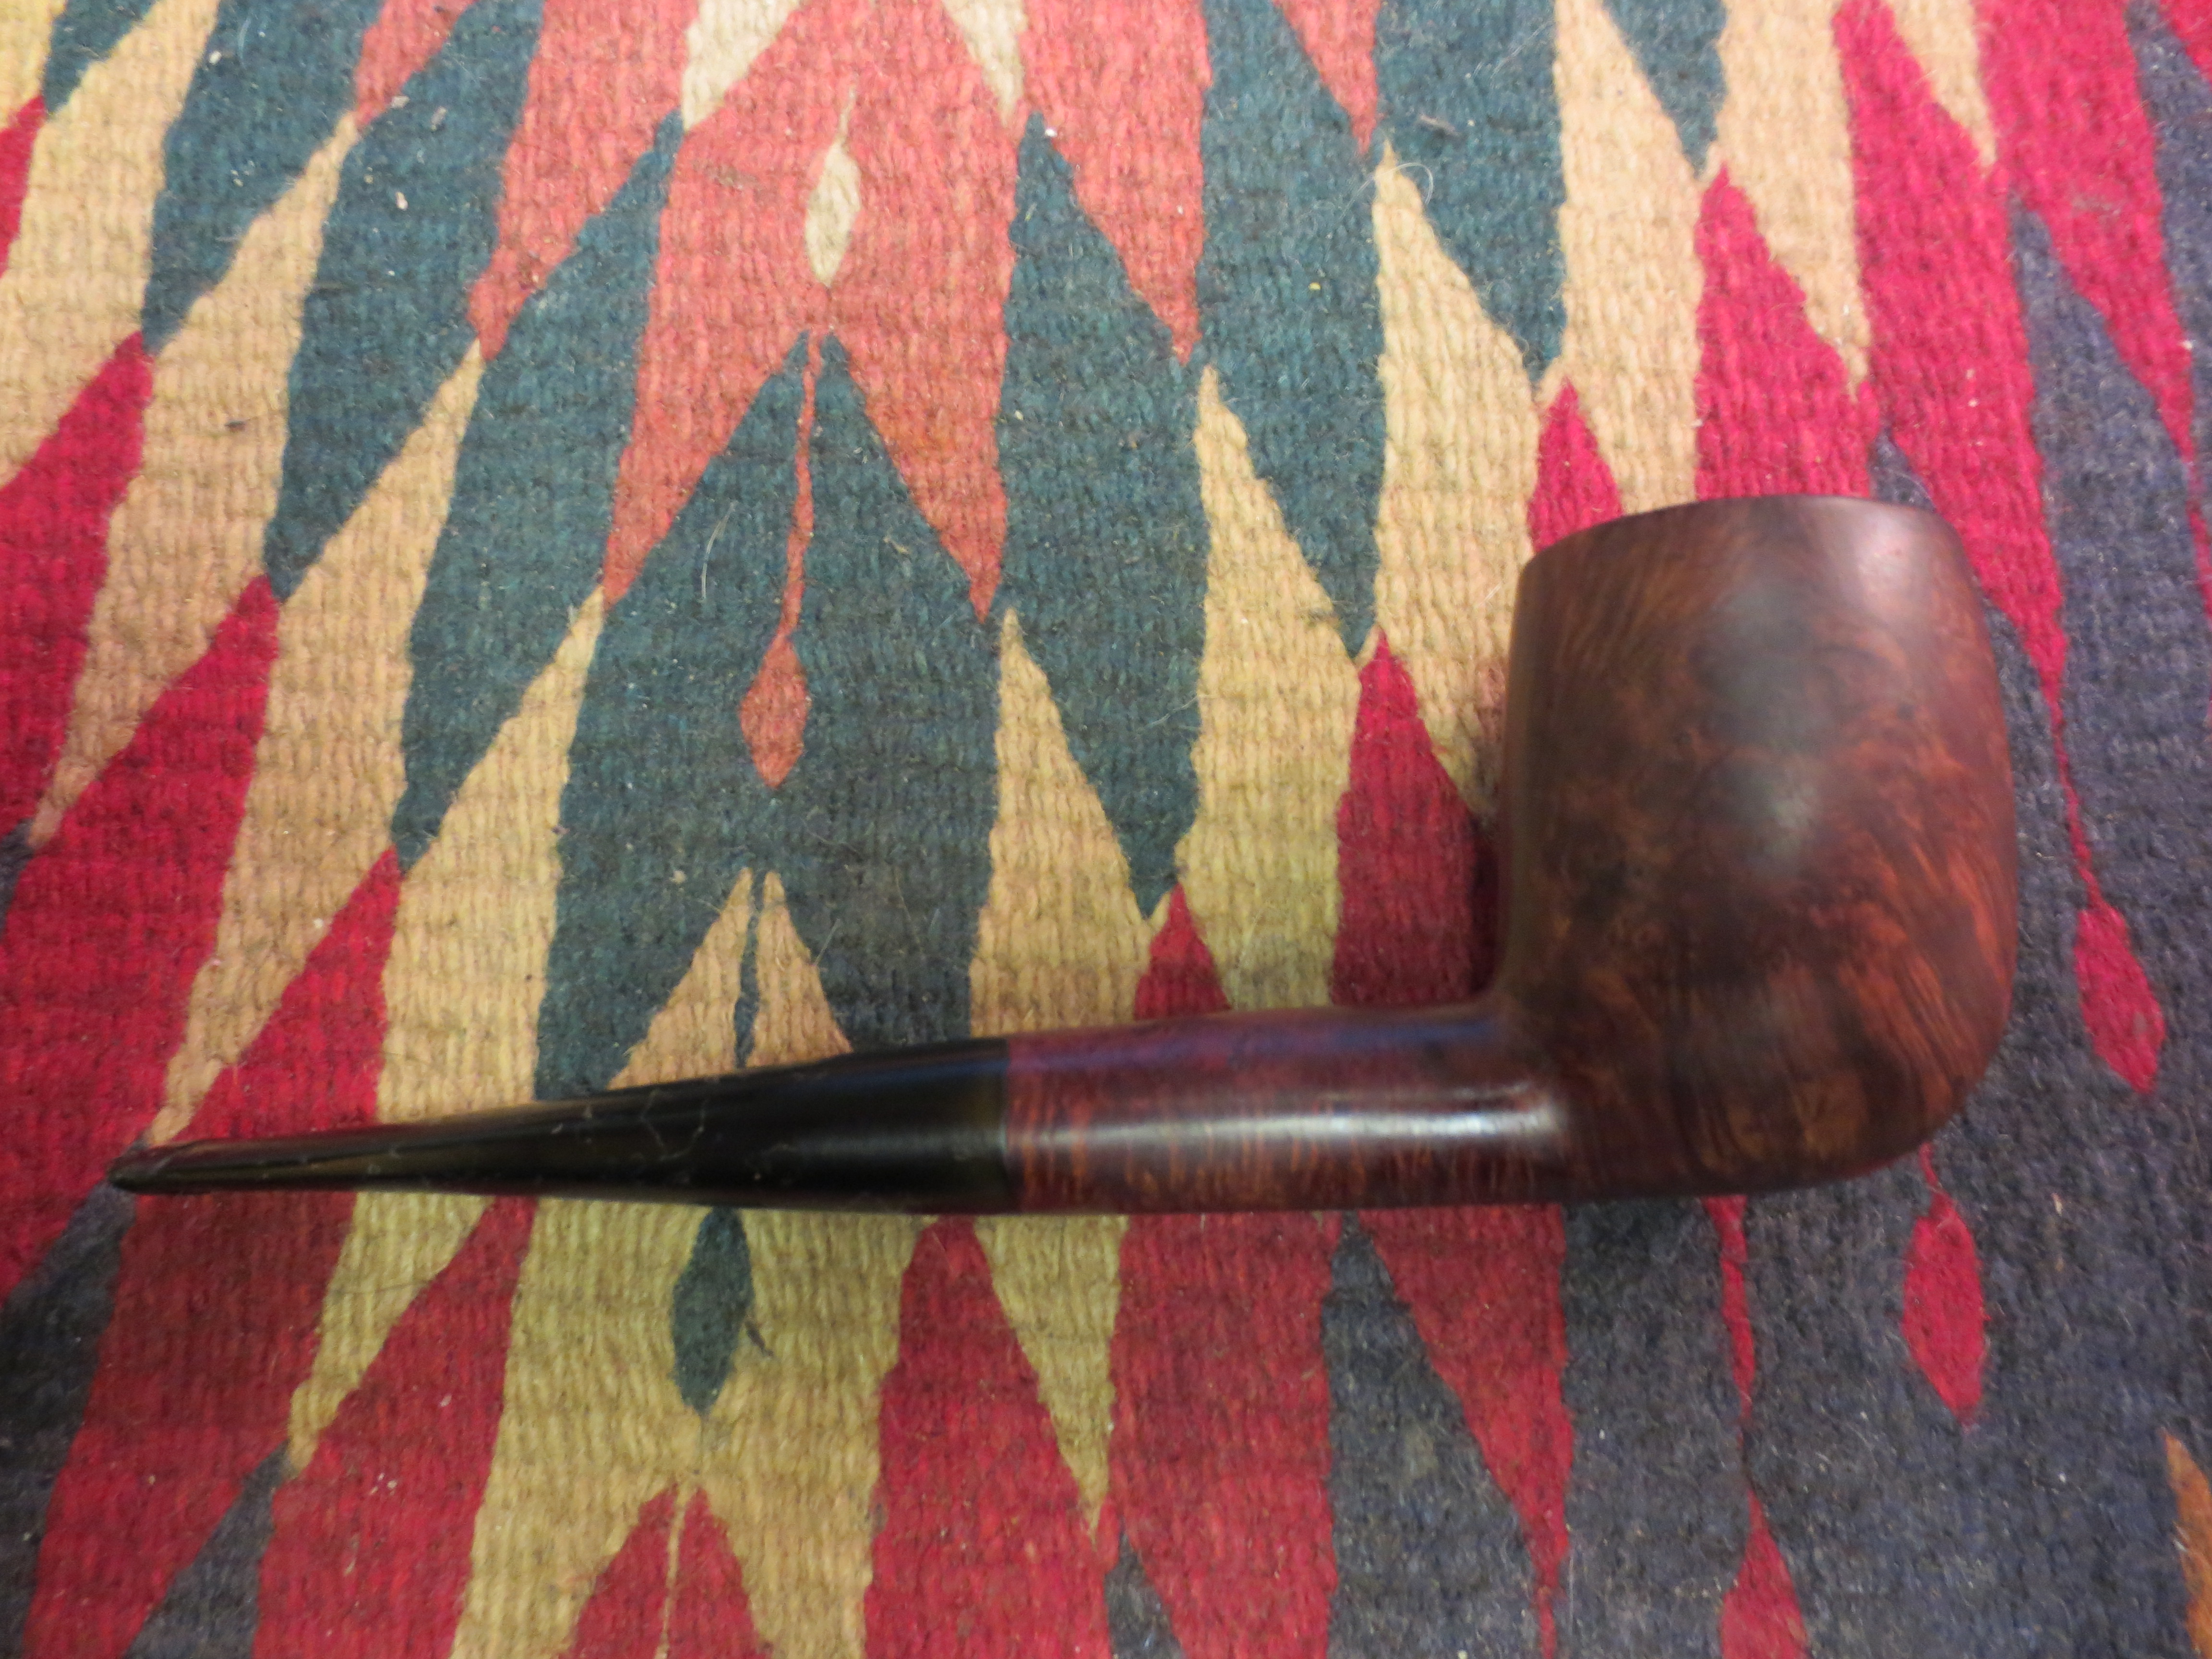
I continued sanding with 3200-12,000 grit micromesh to finish the stem work and then polished the stem a last time with Maguiar’s before taking it to the buffer and polishing the stem and bowl. I brought it back to the work table, wiped down the stem with Obsidian Oil and then applied multiple coats of carnauba wax to the stem and bowl. The first two photos below show the state of the pipe after the sanding, buffing and application of Obsidian Oil. The stem and bowl are looking very good in my estimation. The final four photos show the finished pipe with the newly adjusted stem and many coats of wax. It is ready for its inaugural smoke.