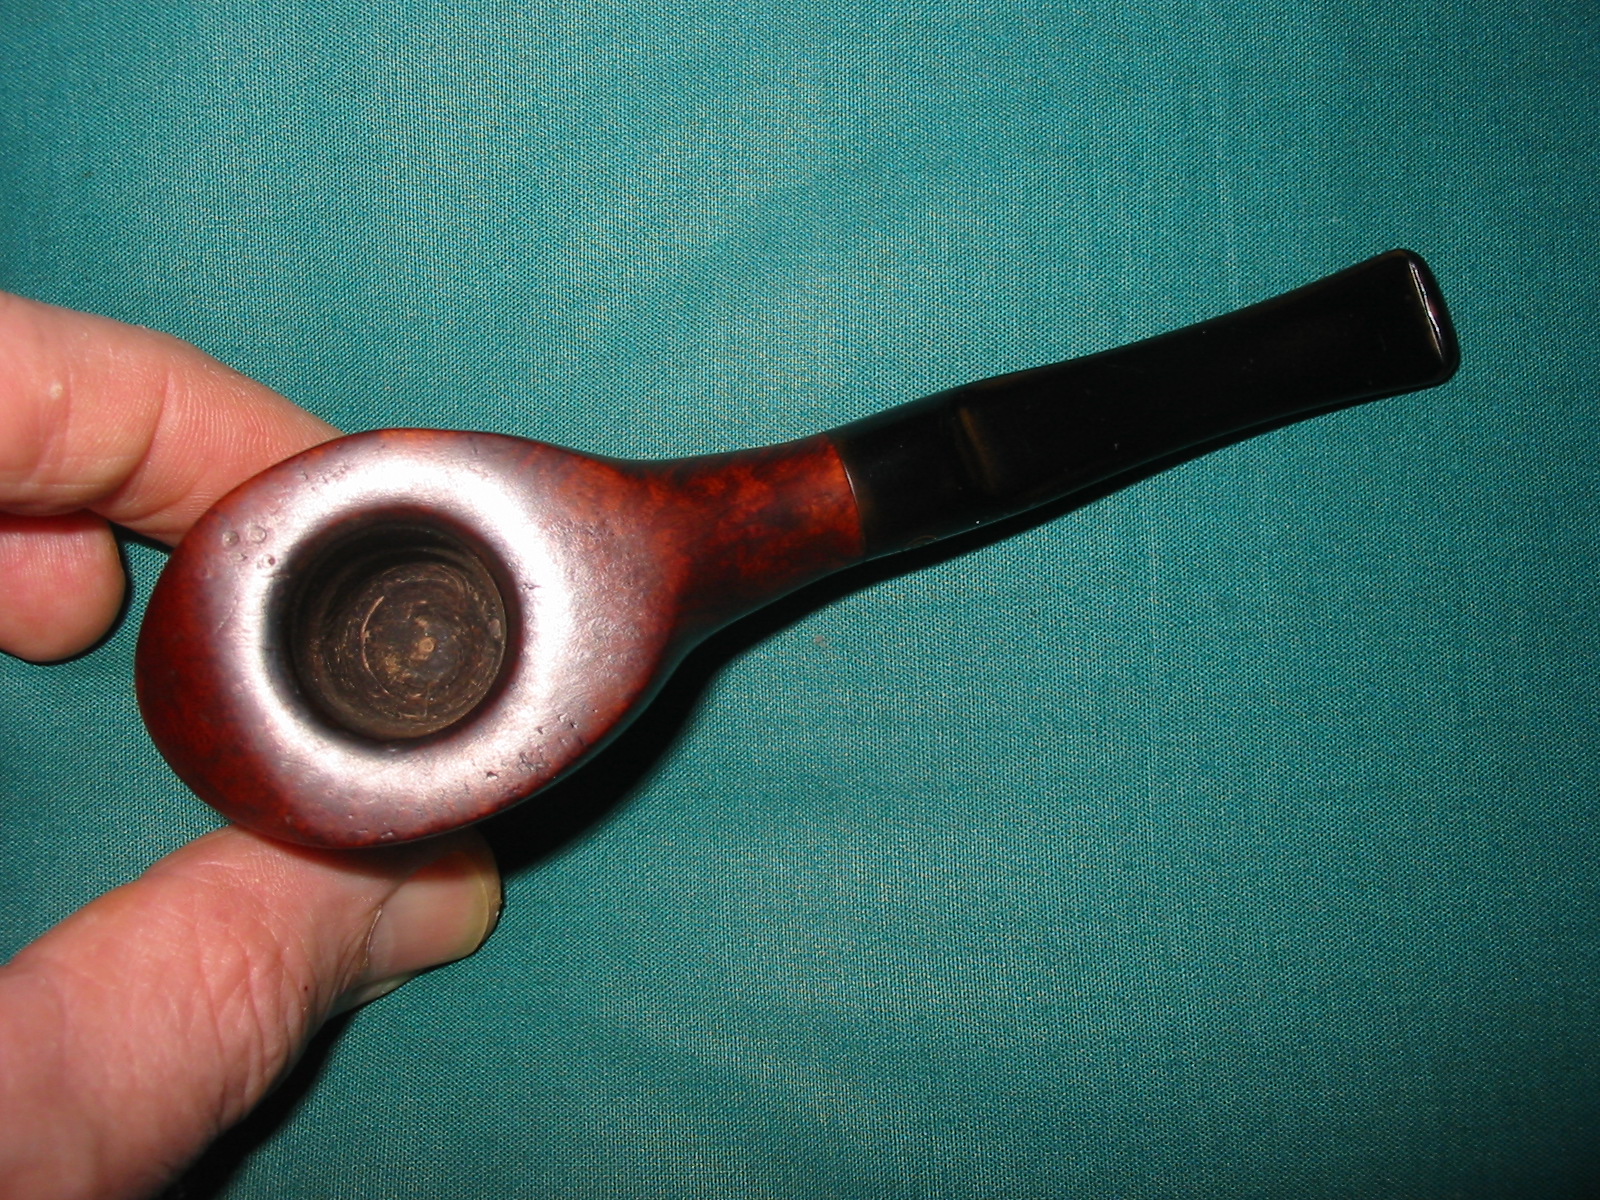
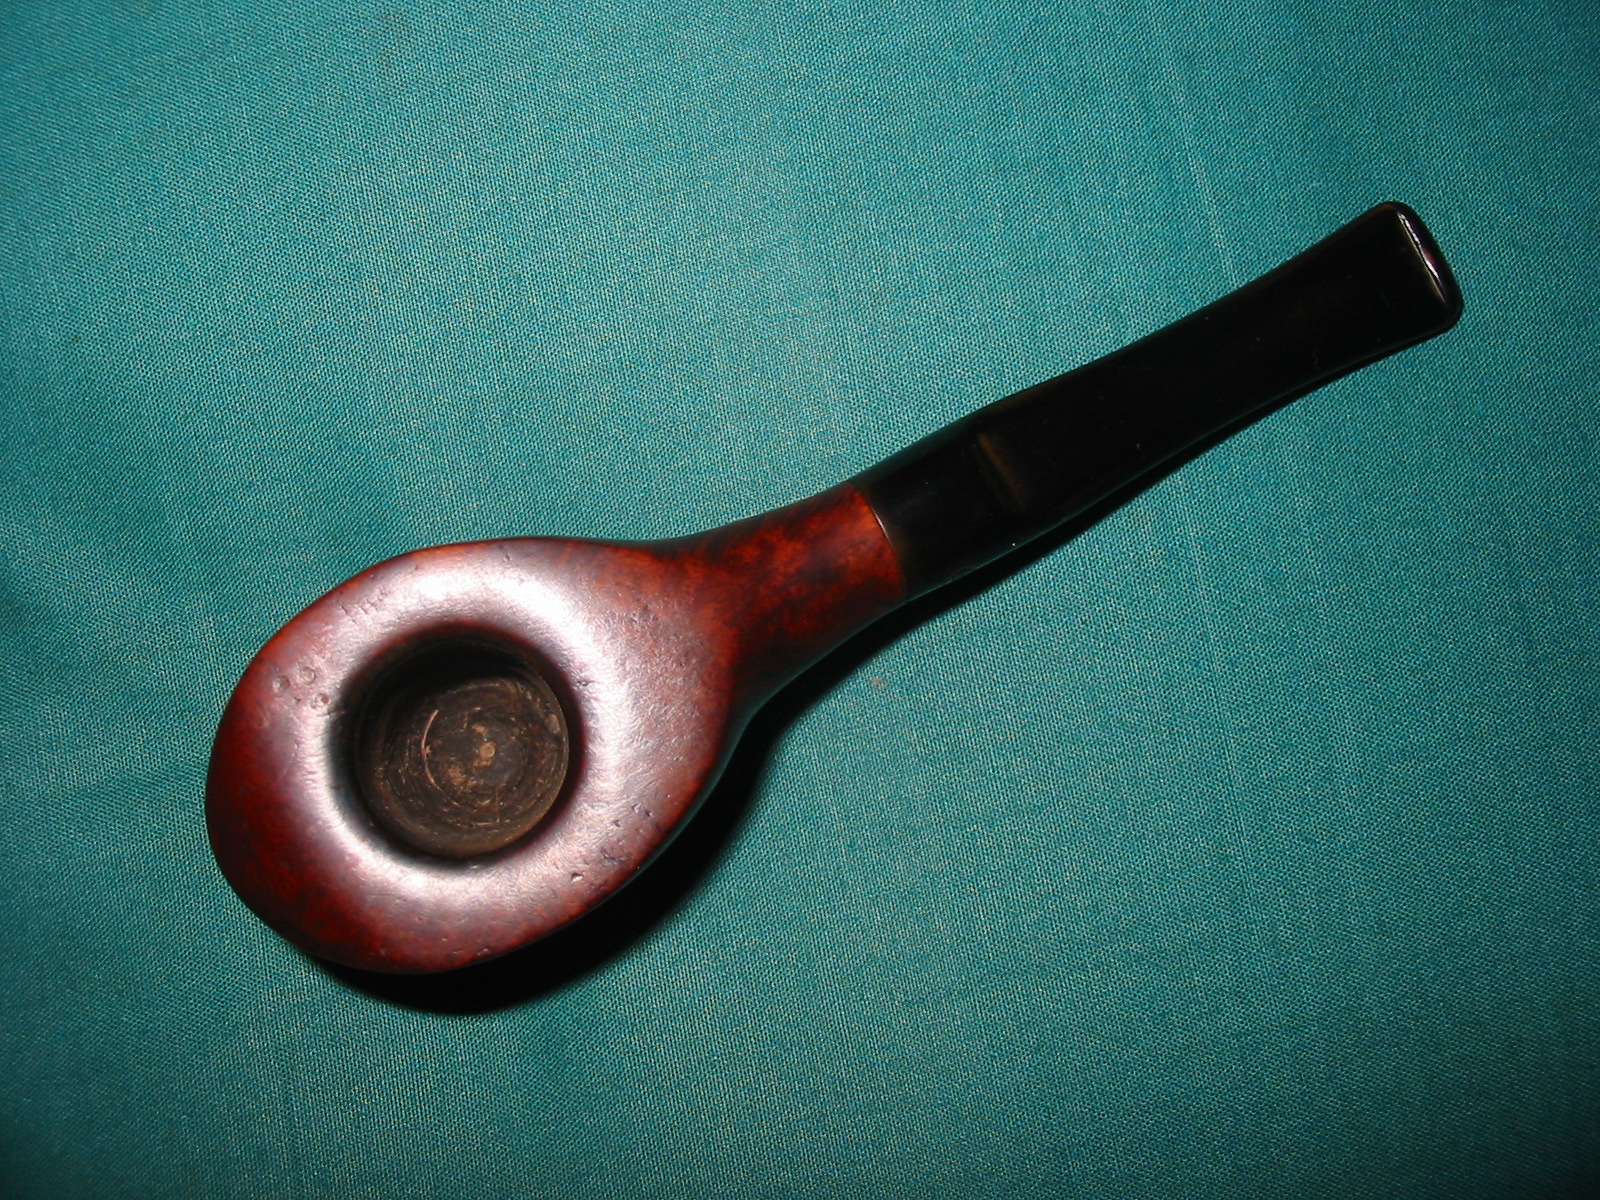
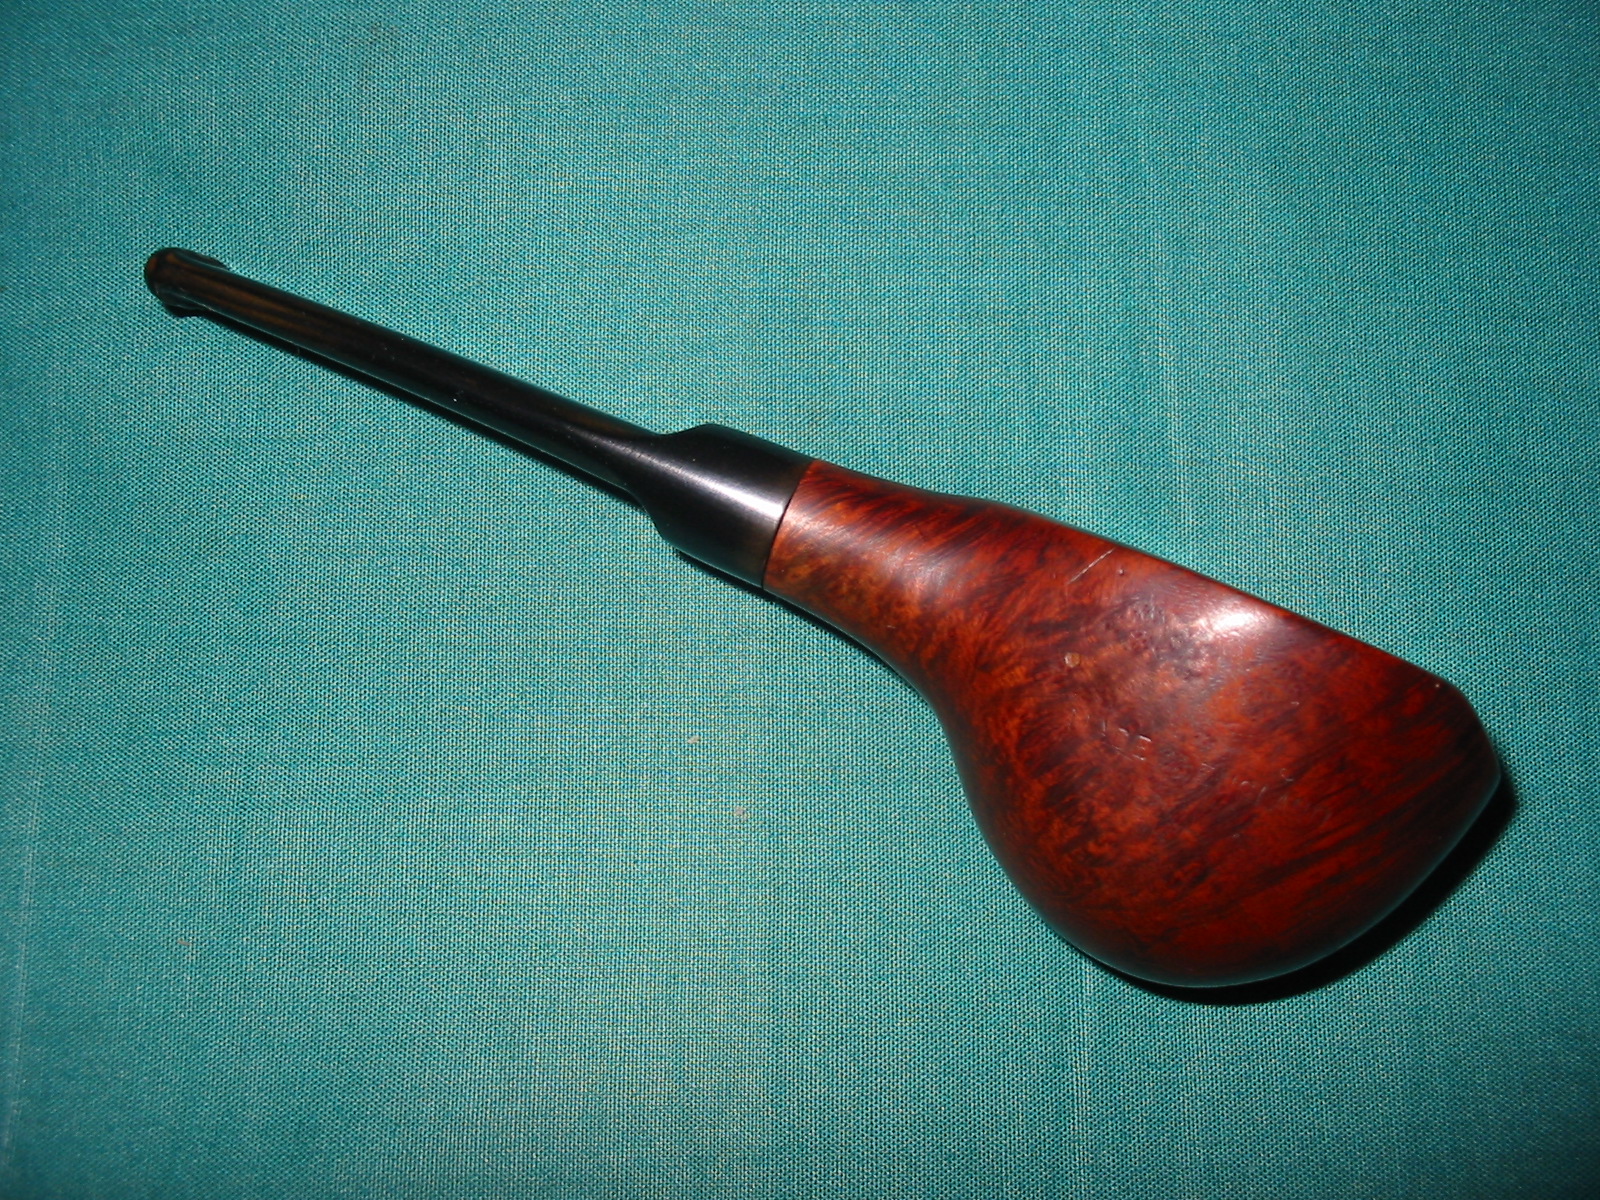
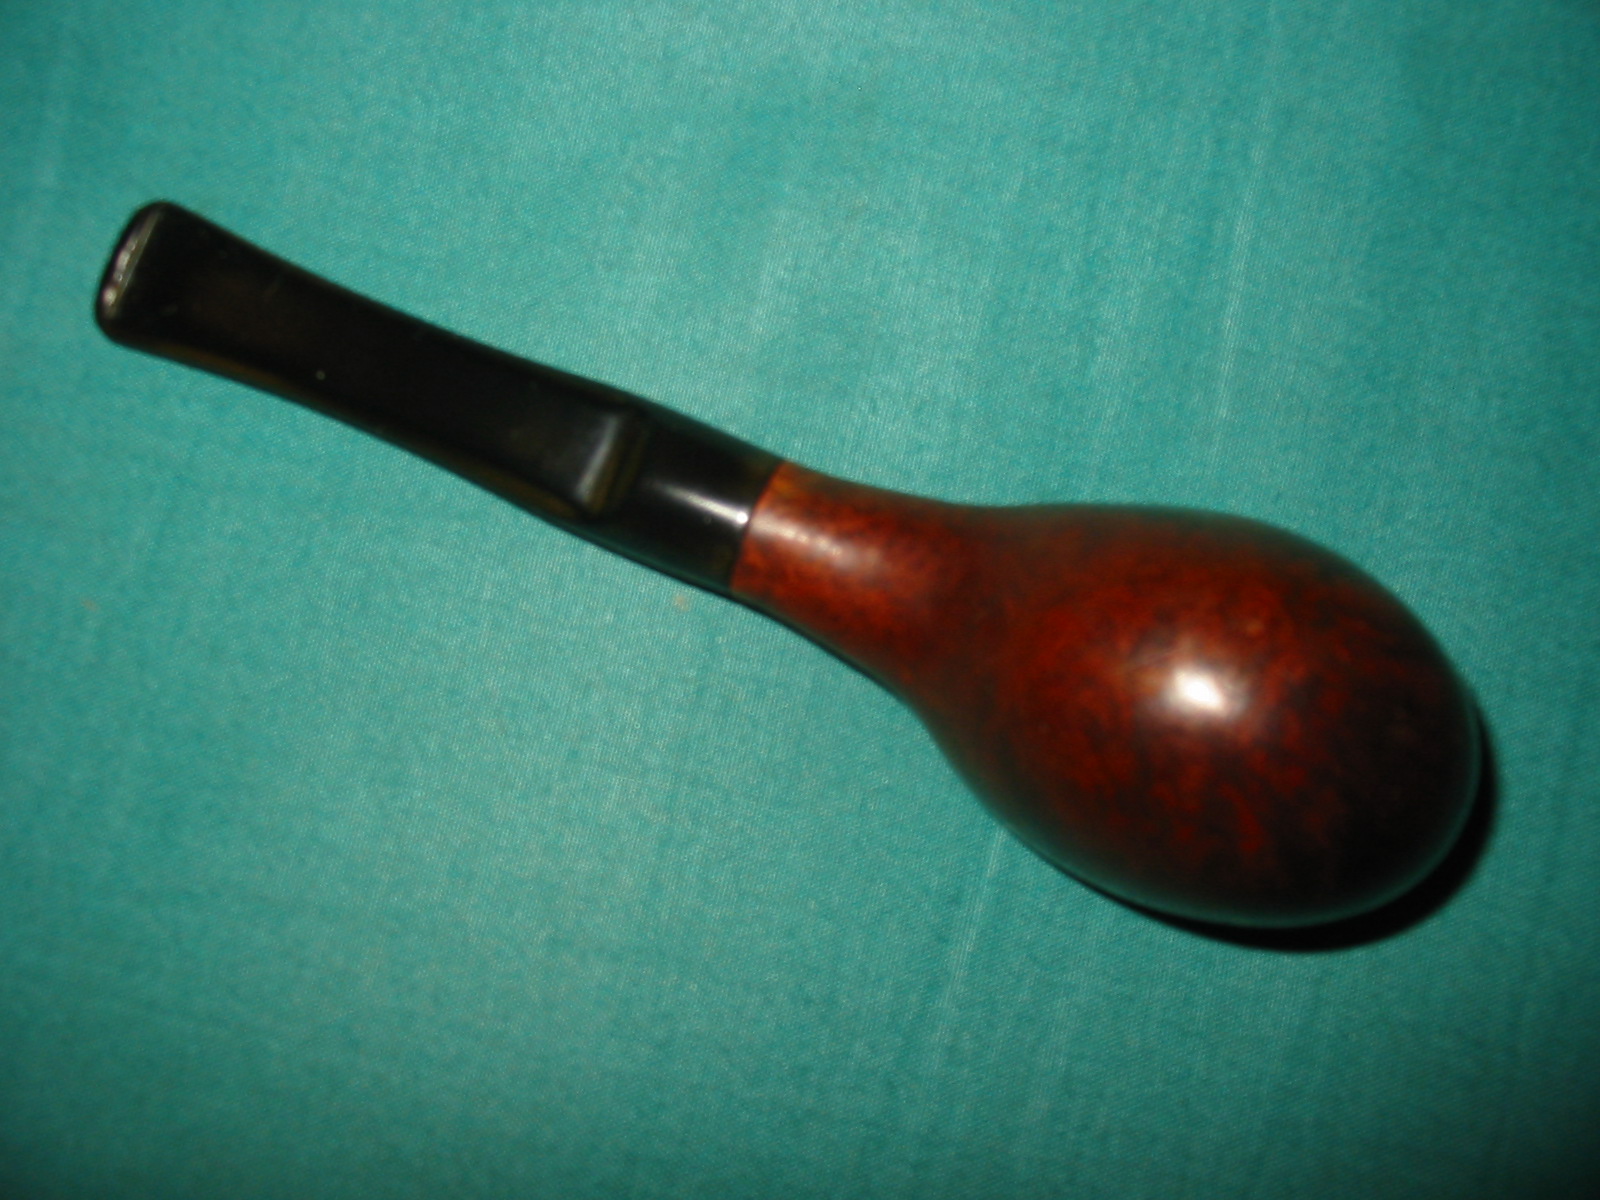
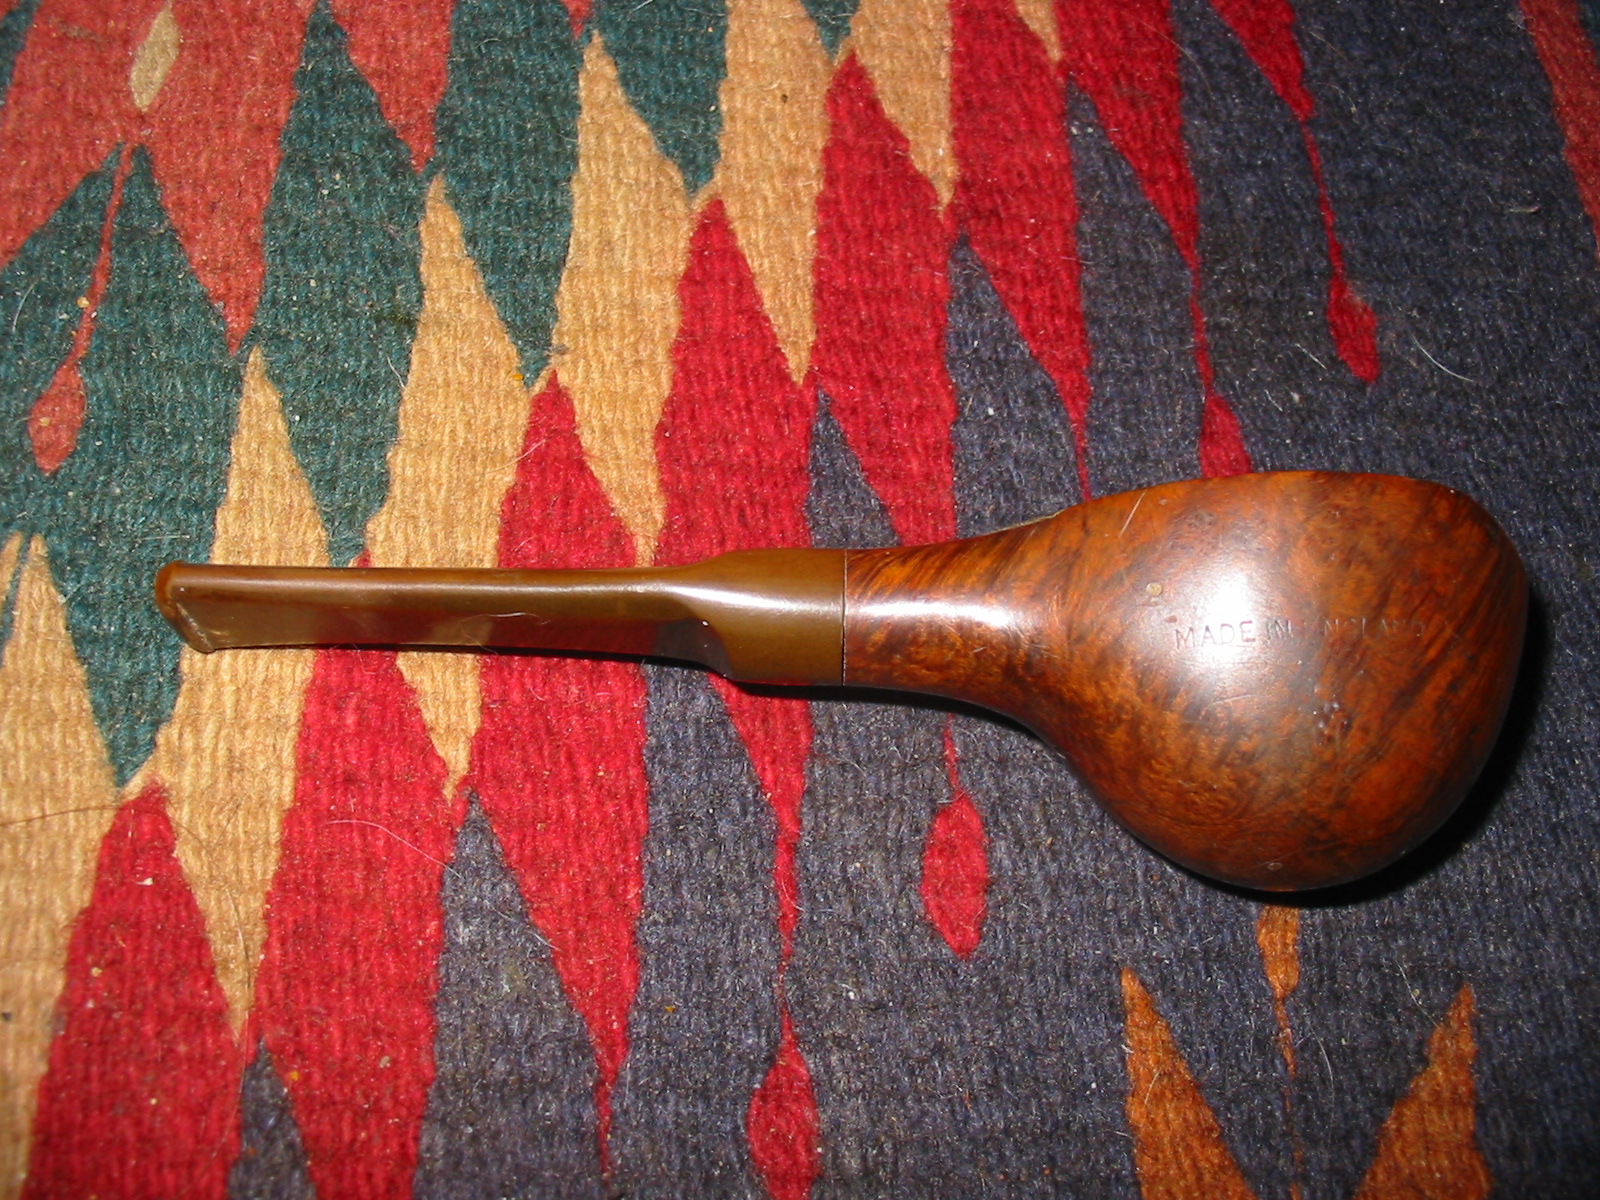
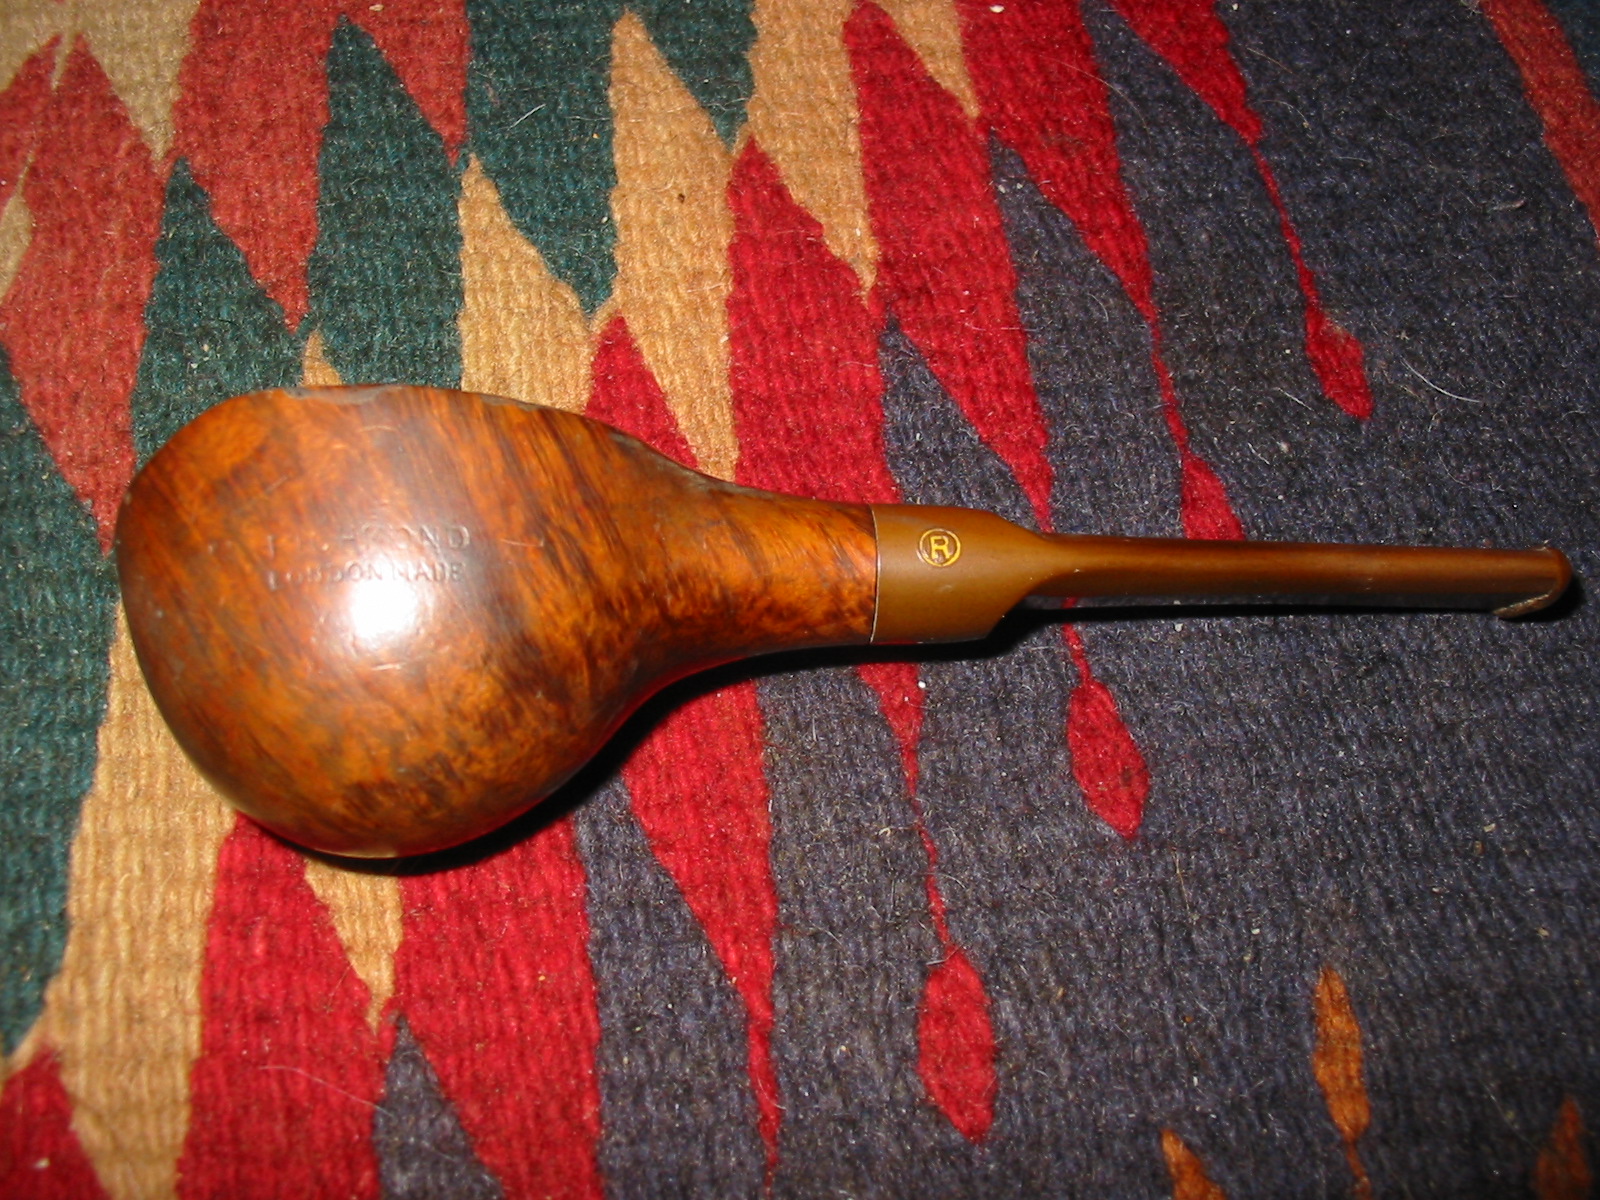
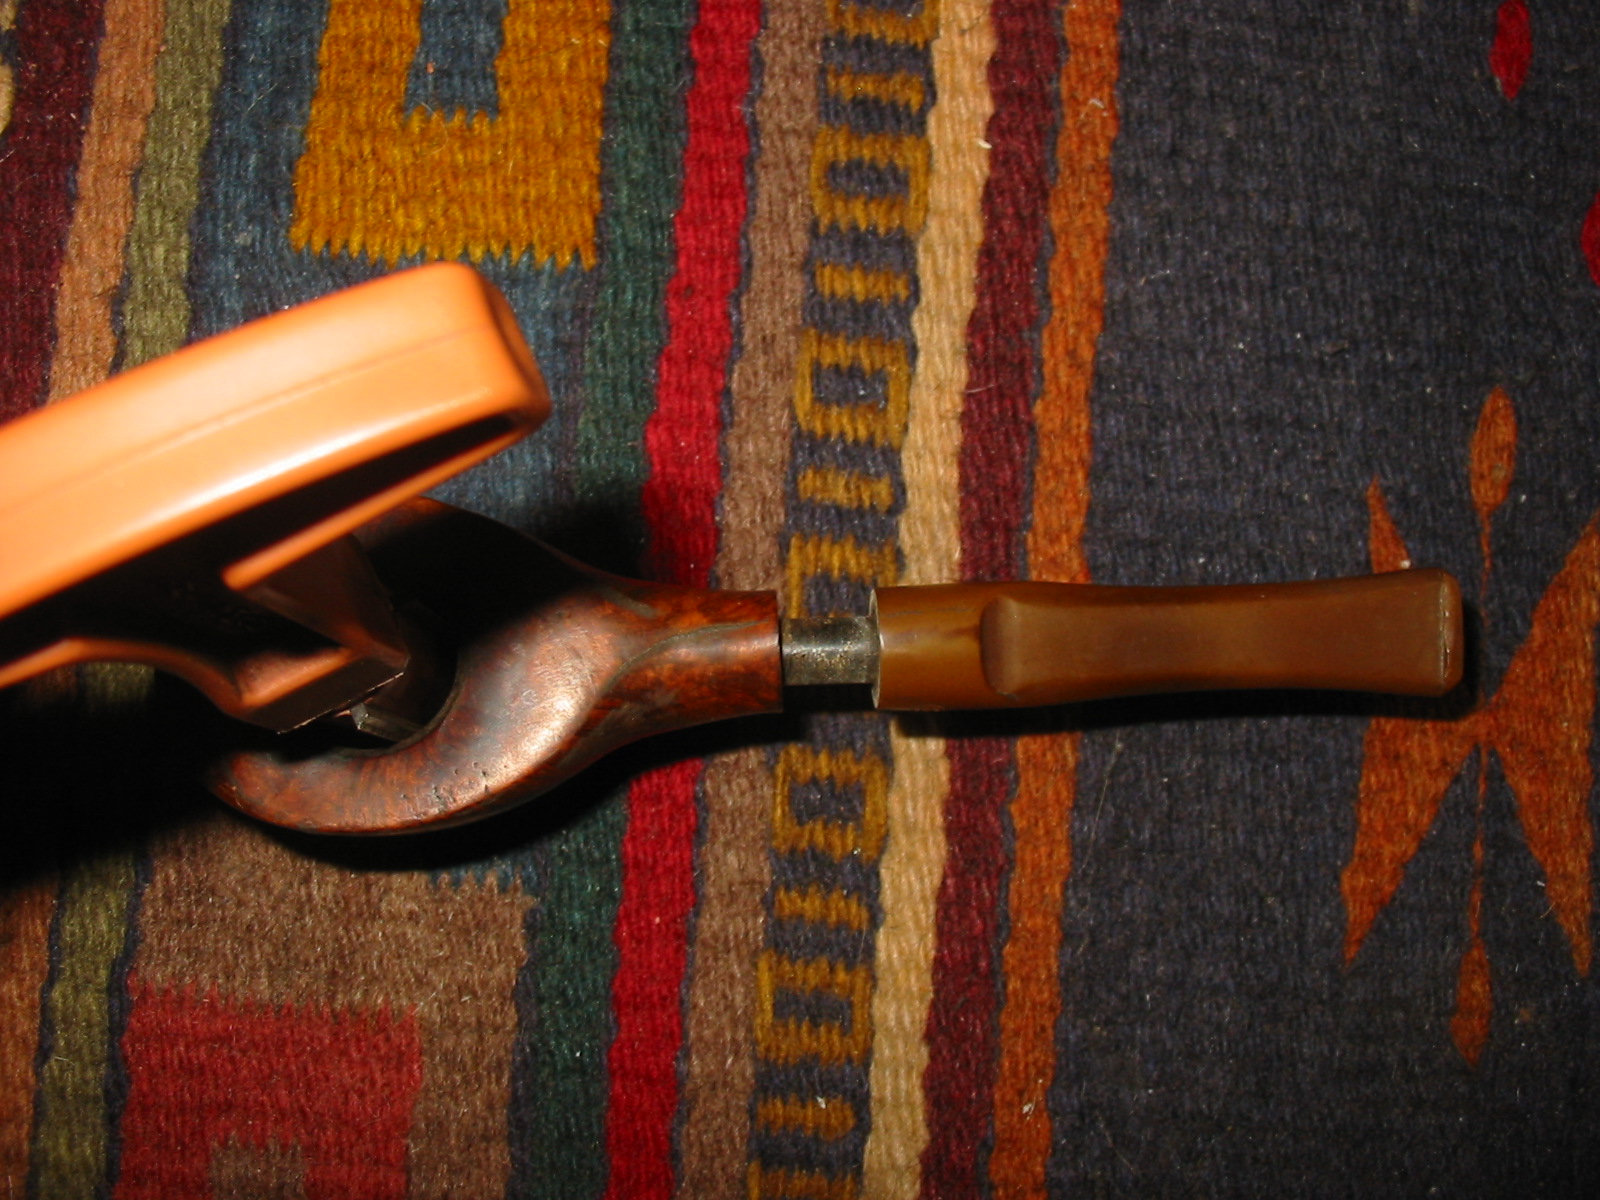
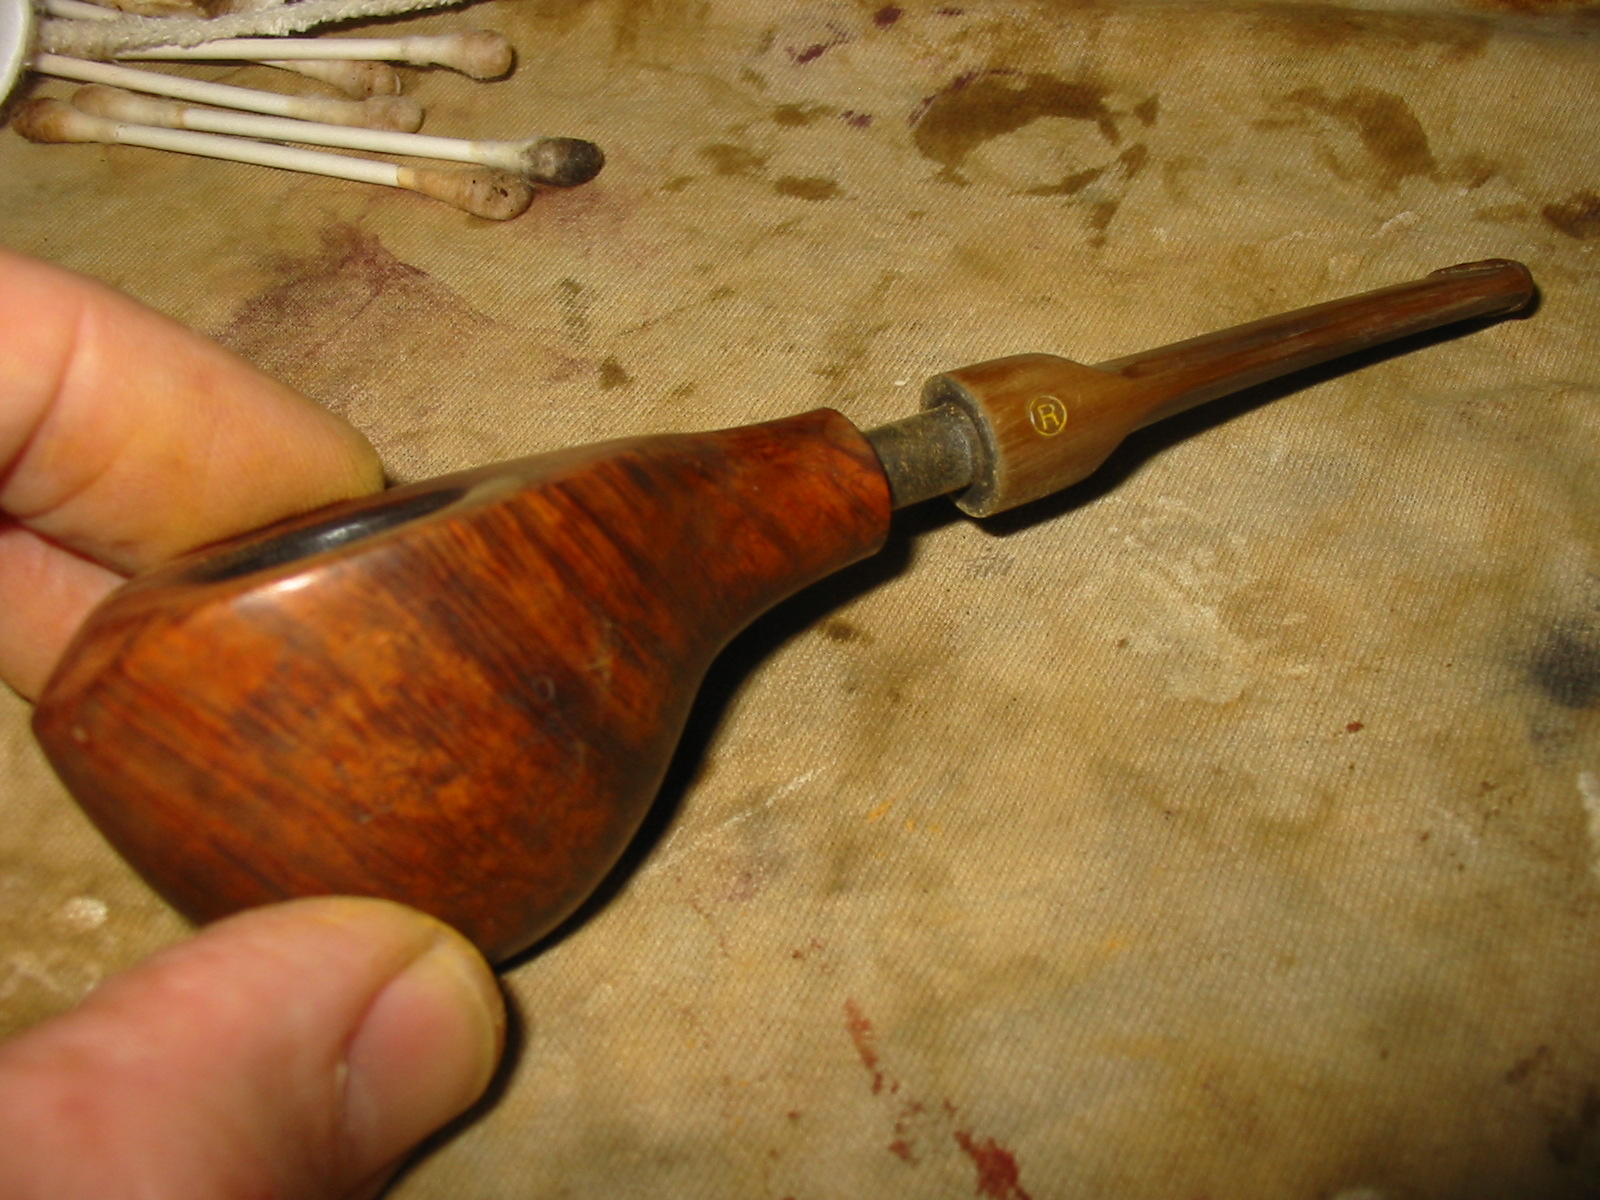
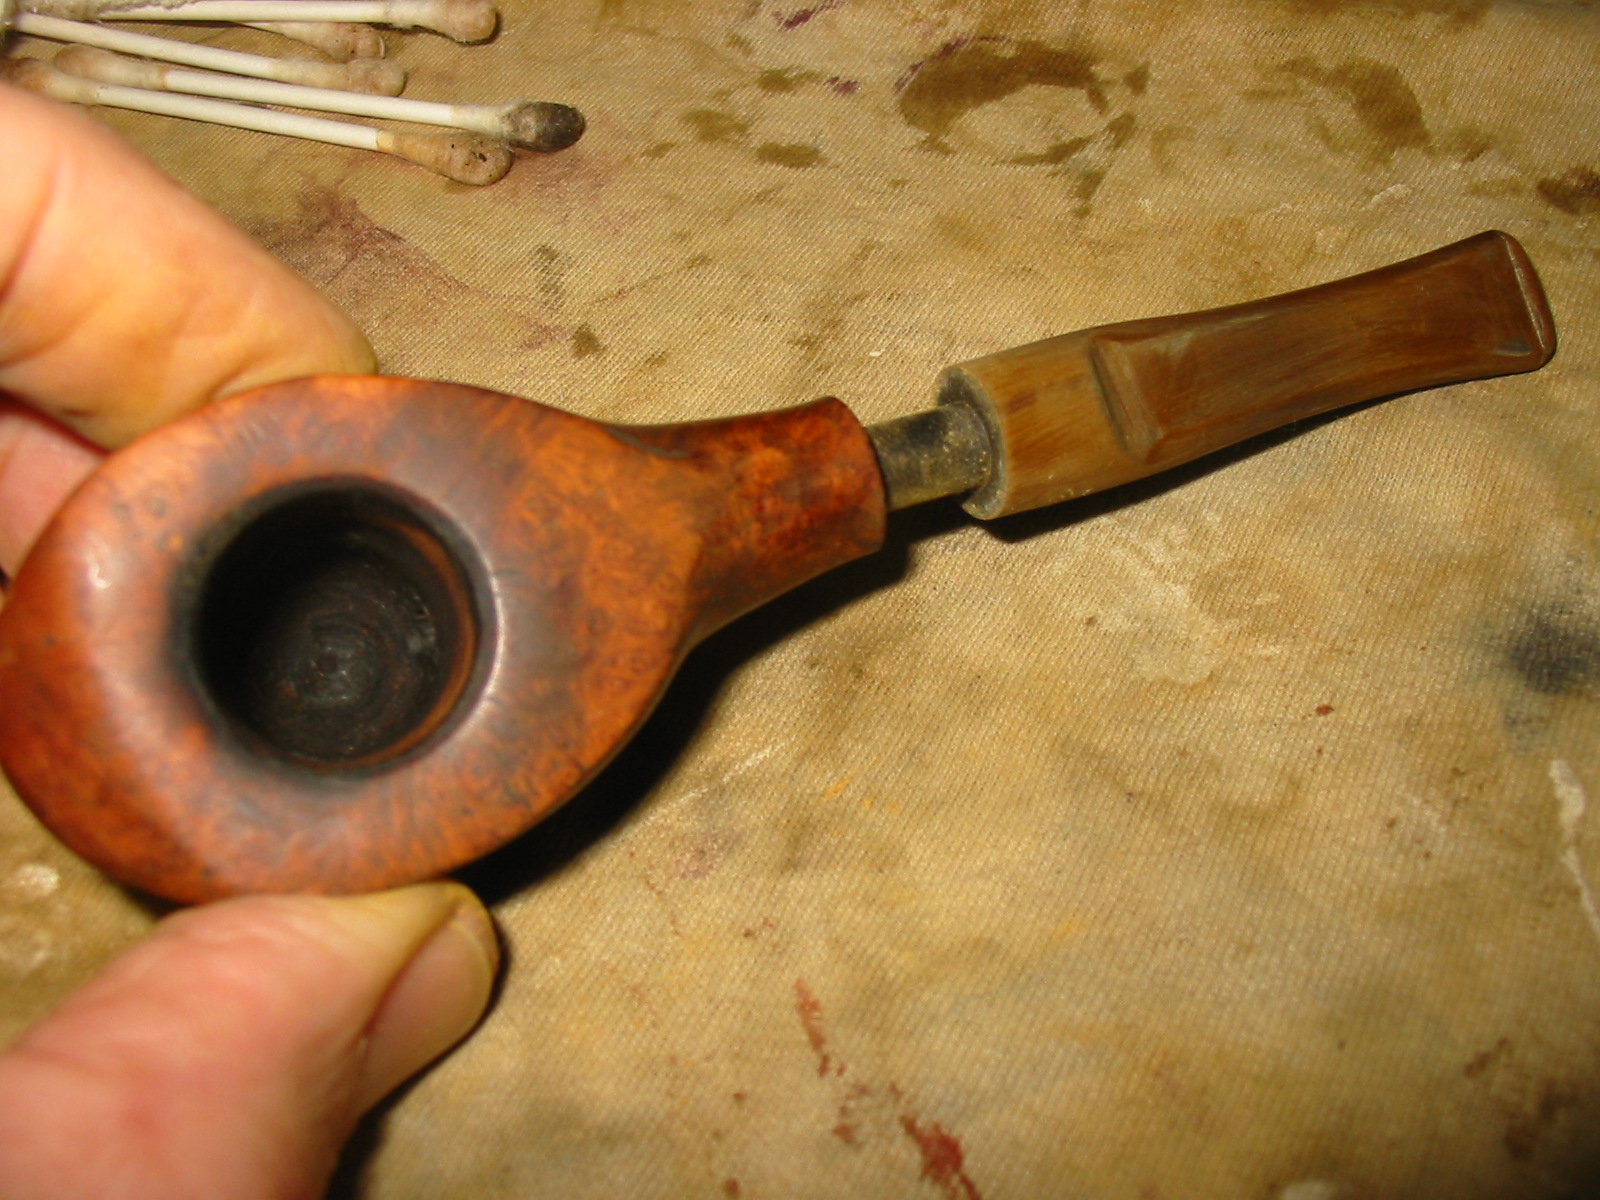
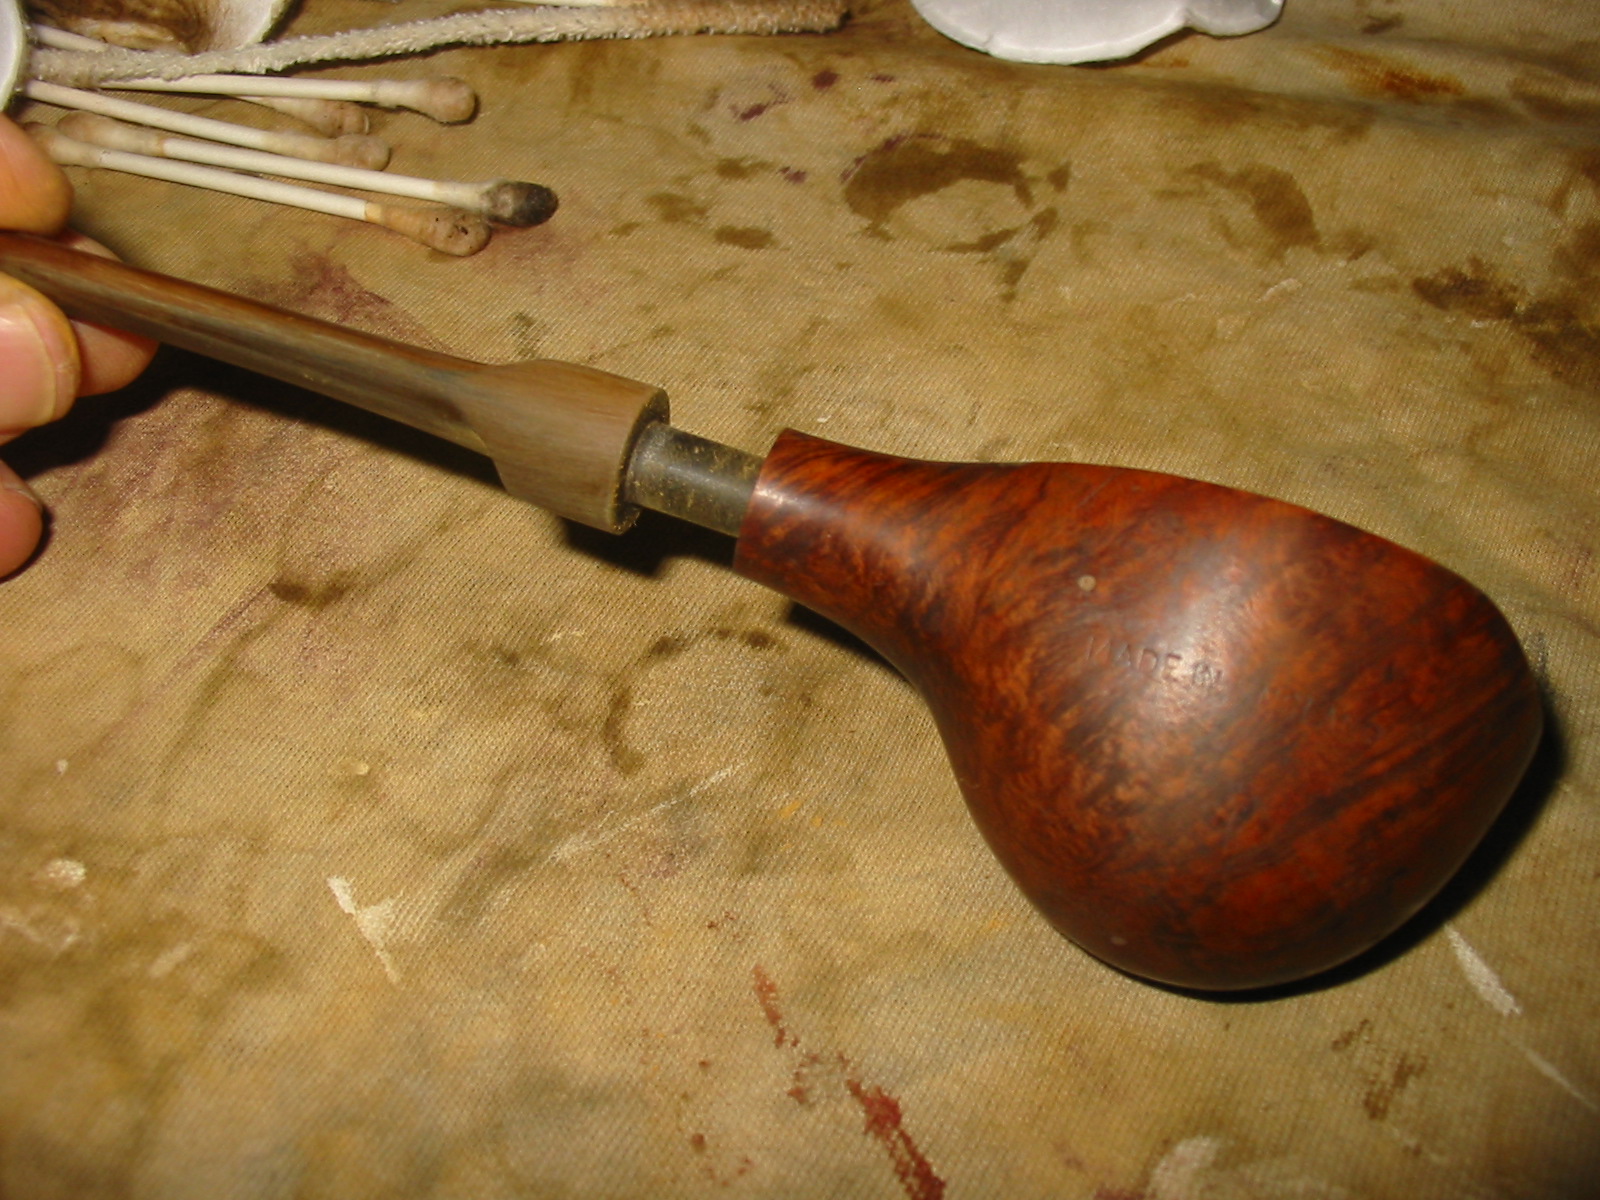
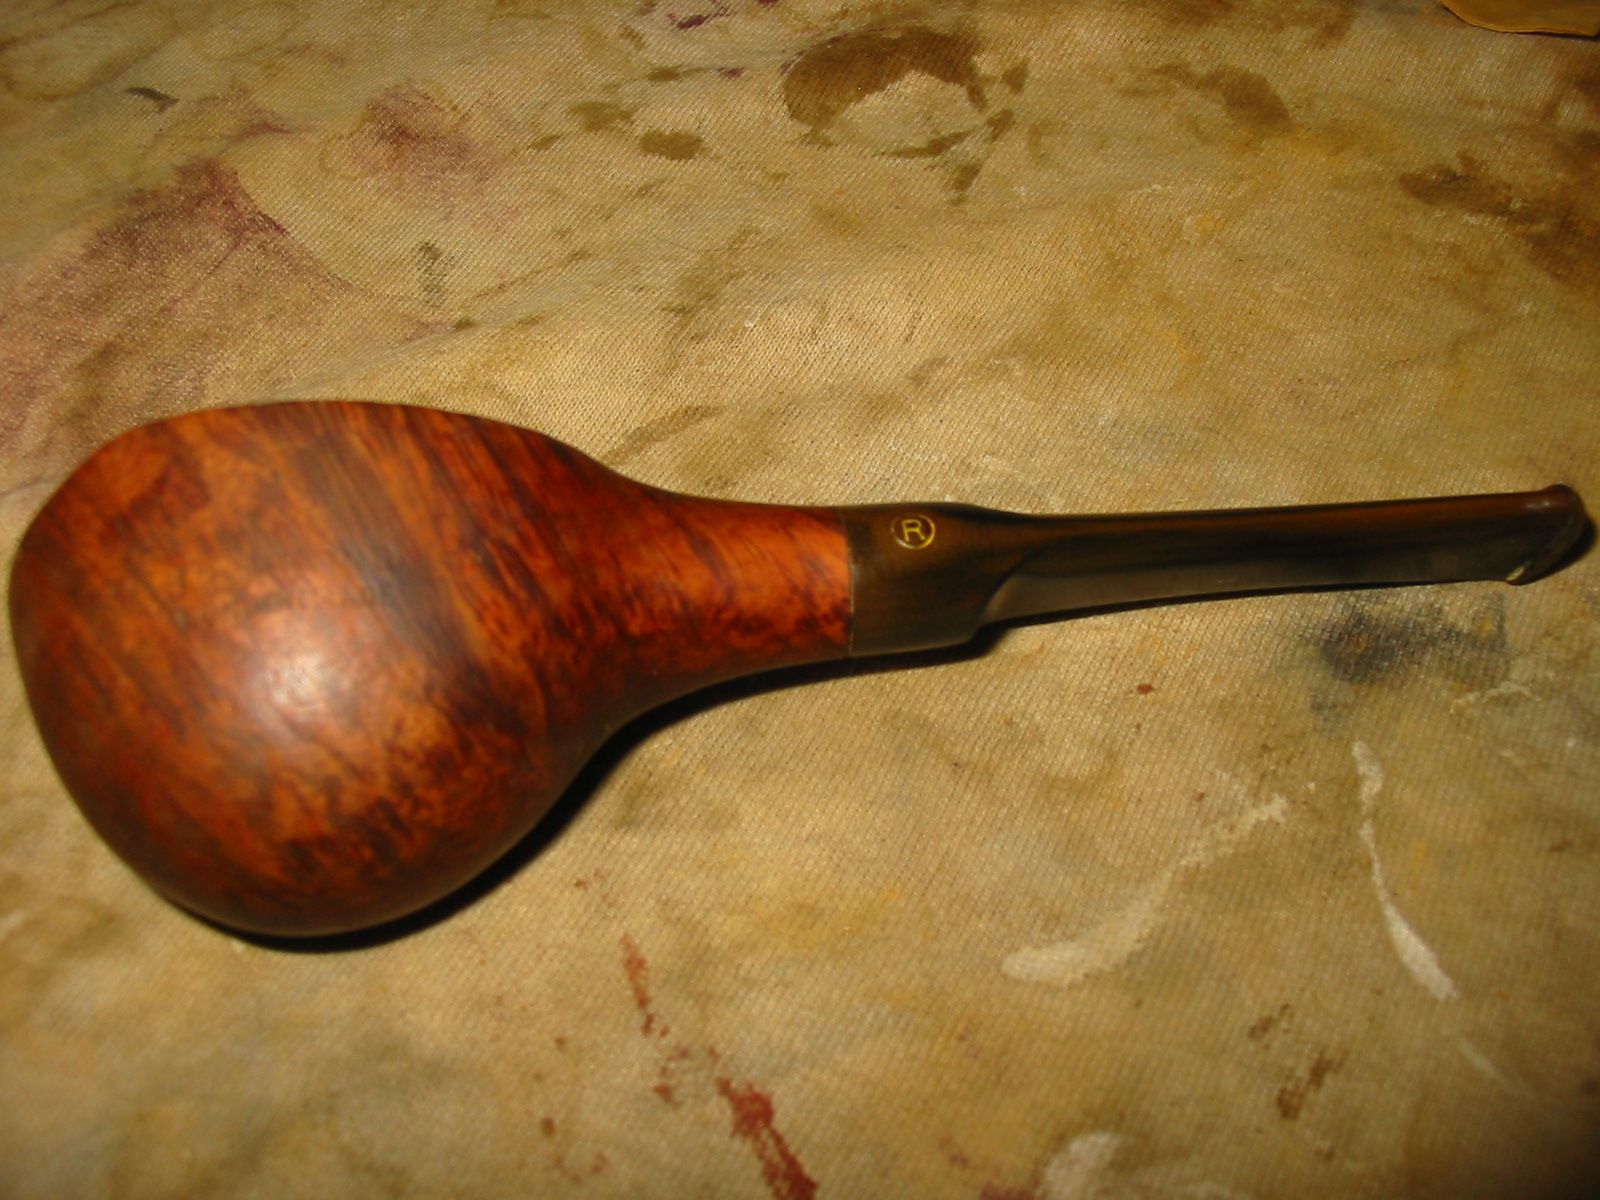
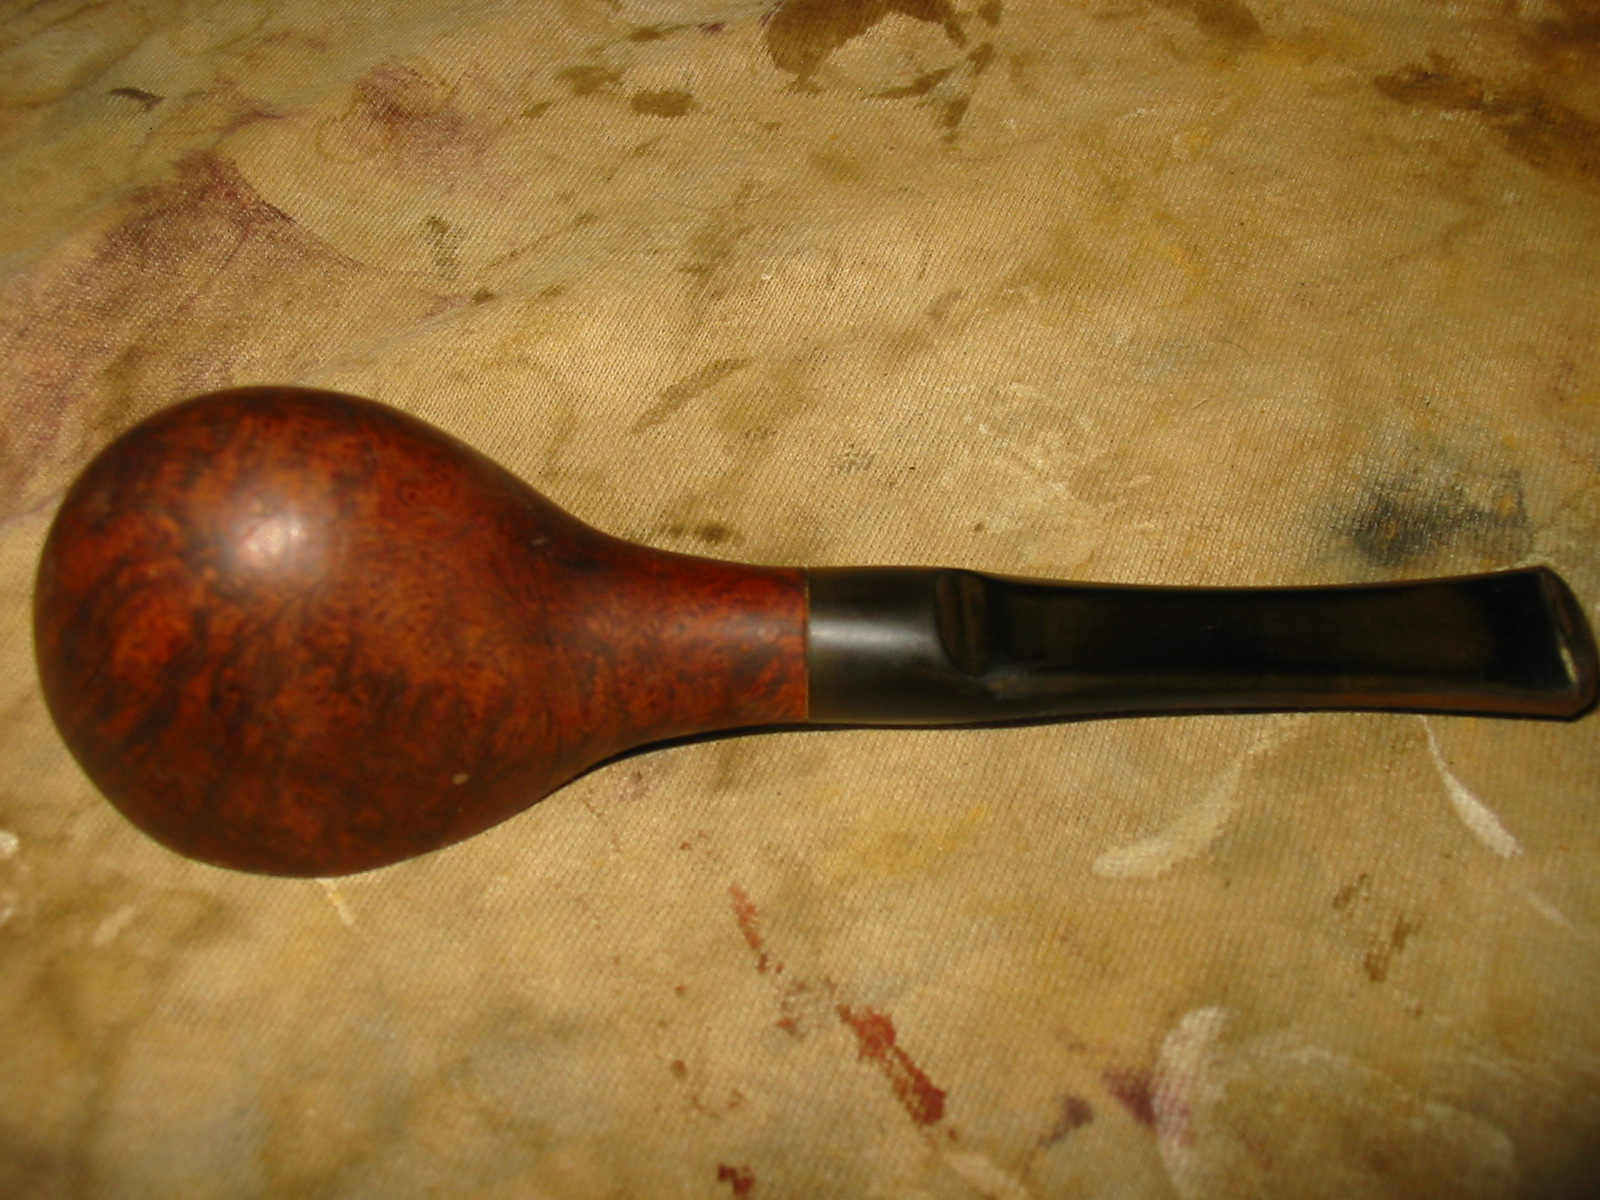
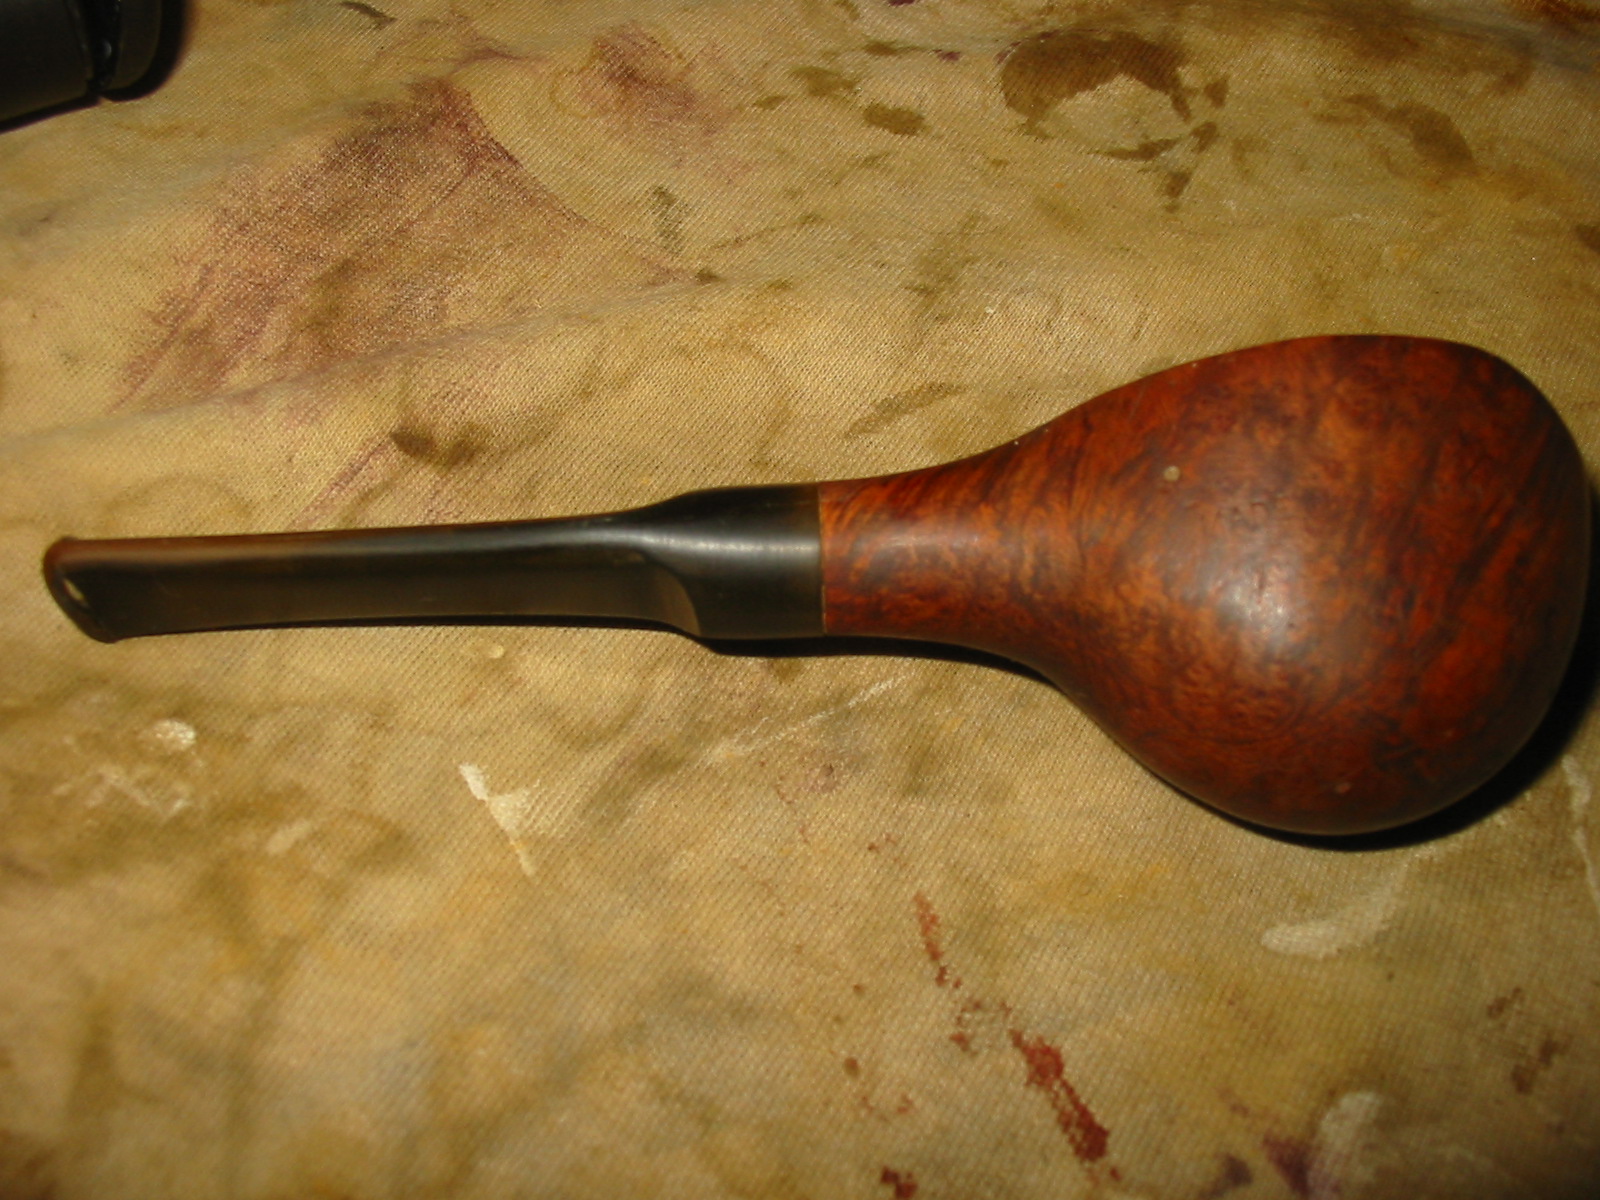
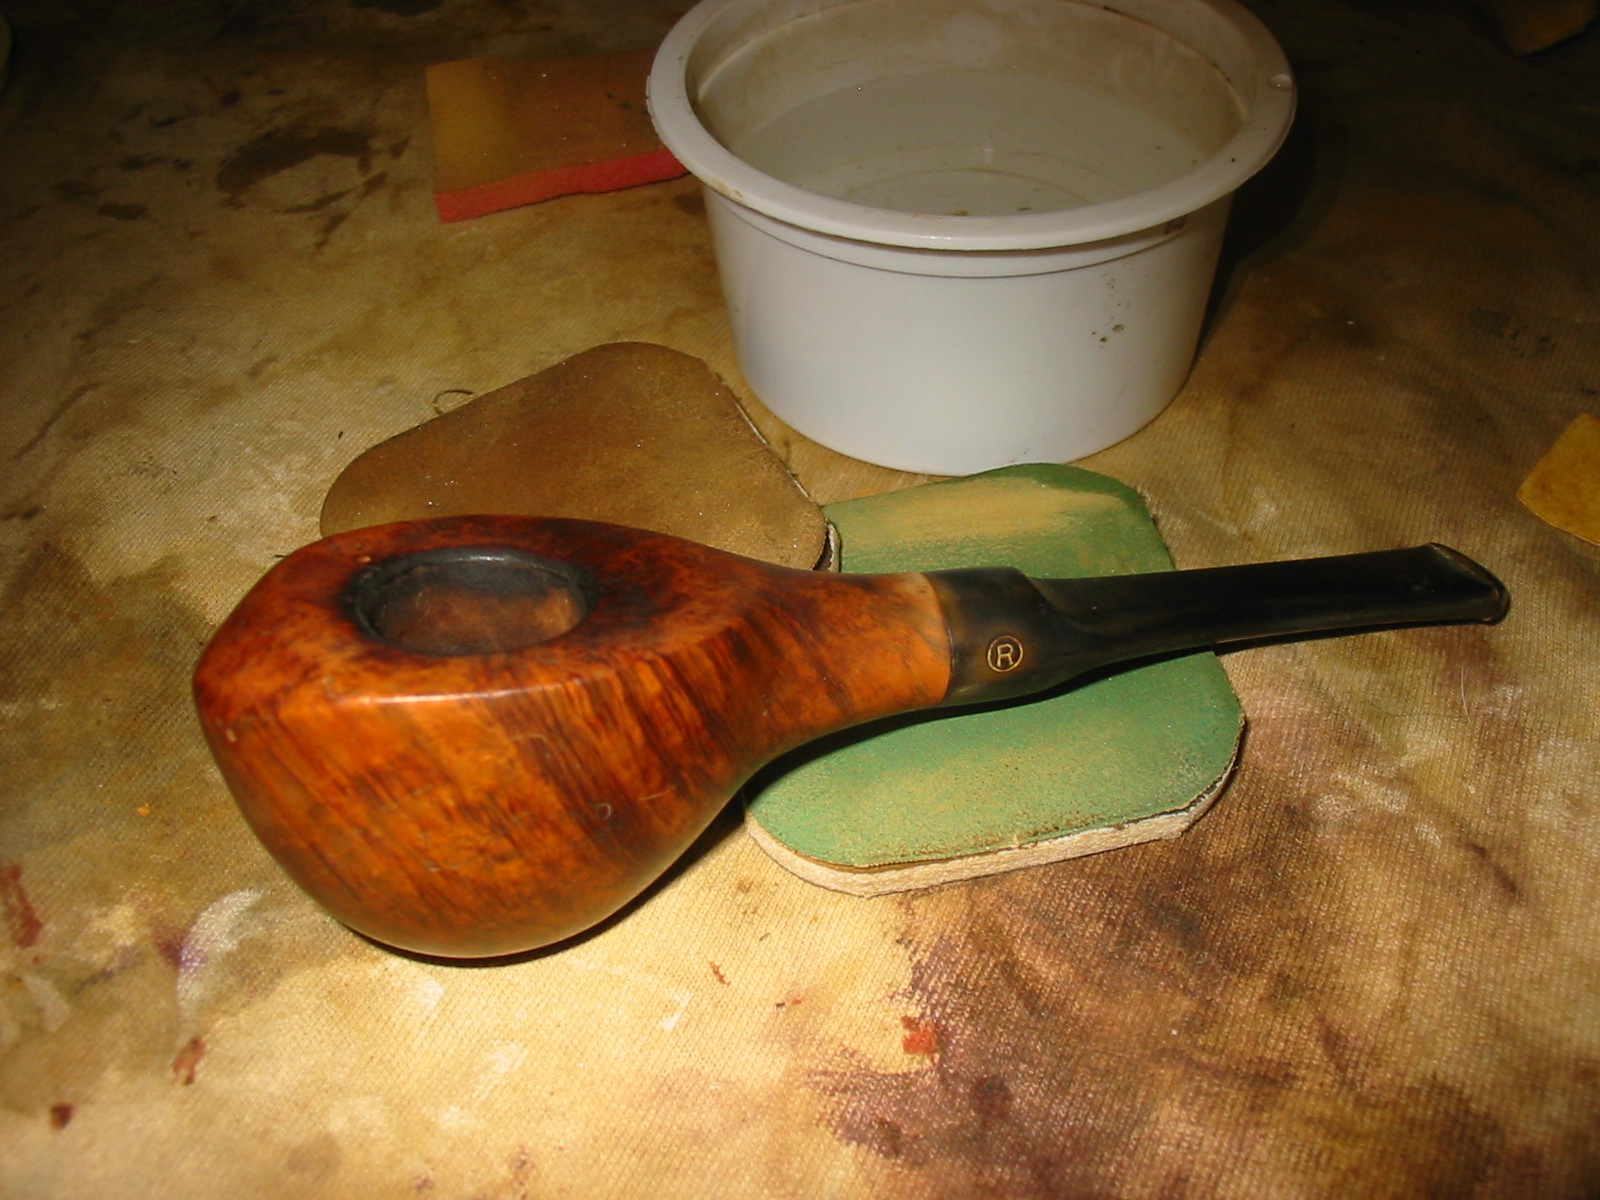
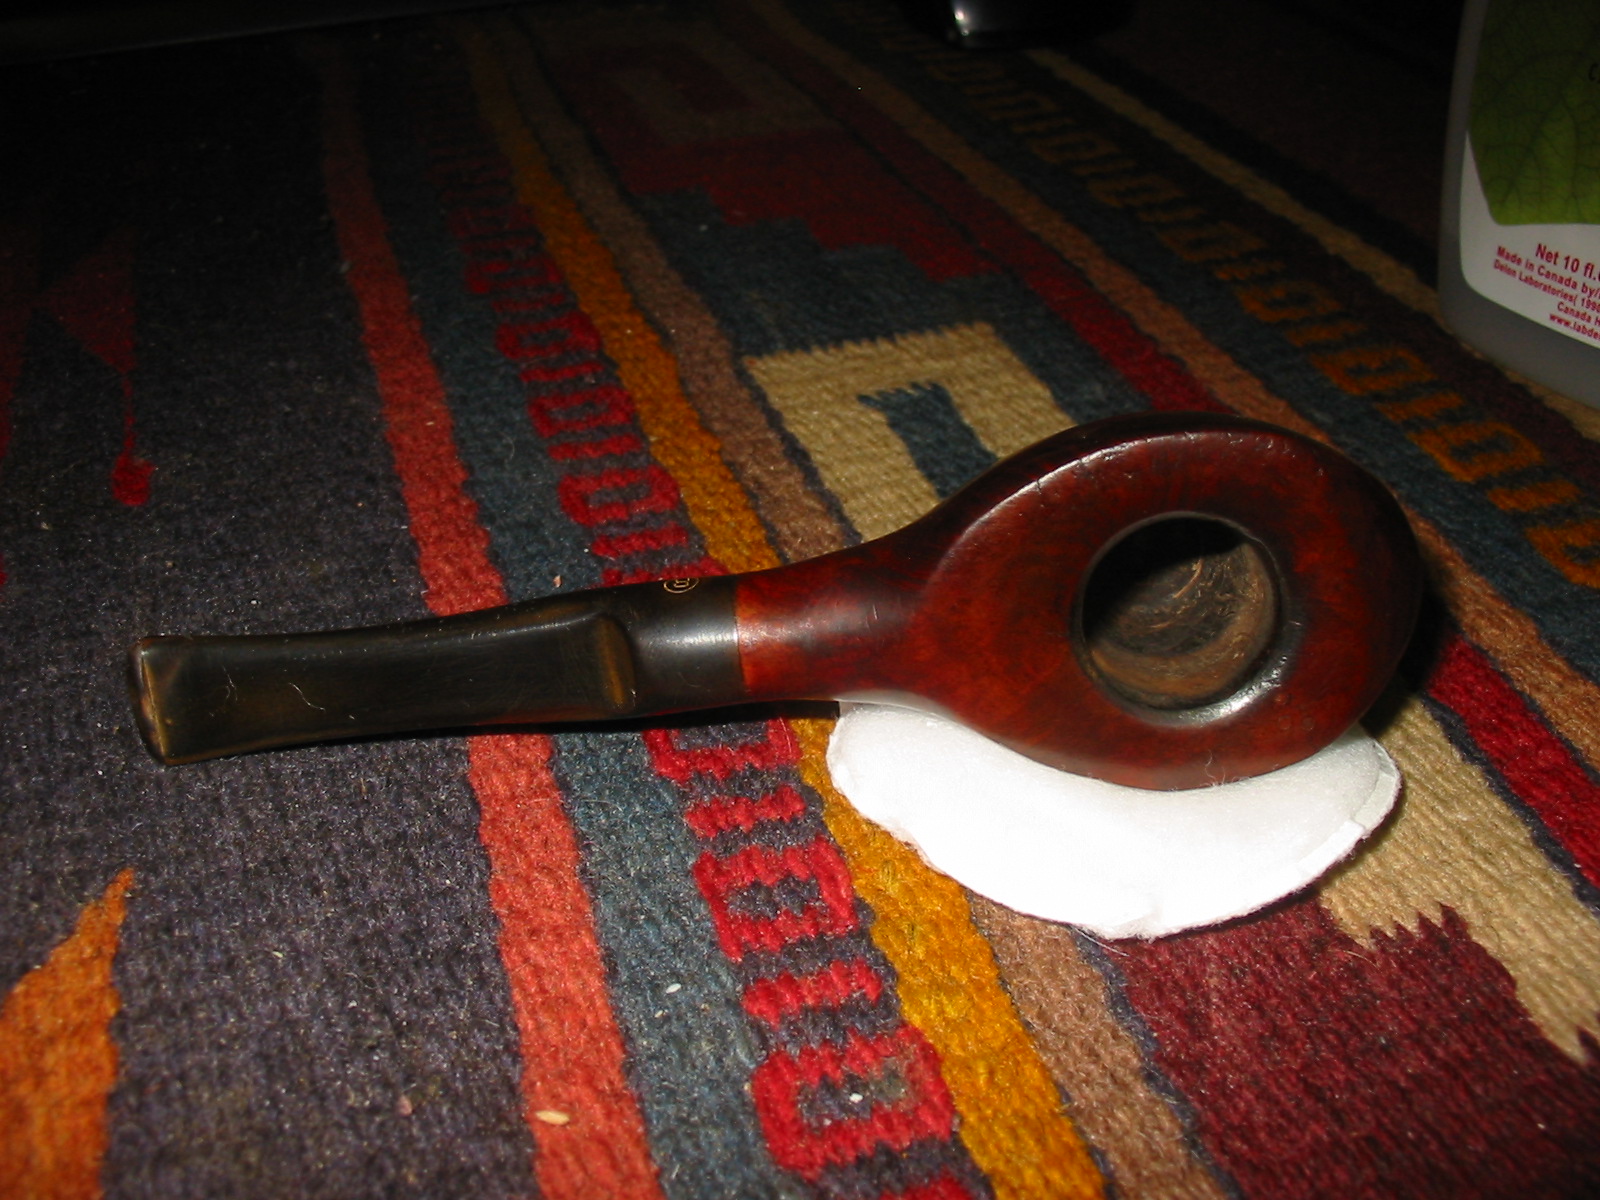
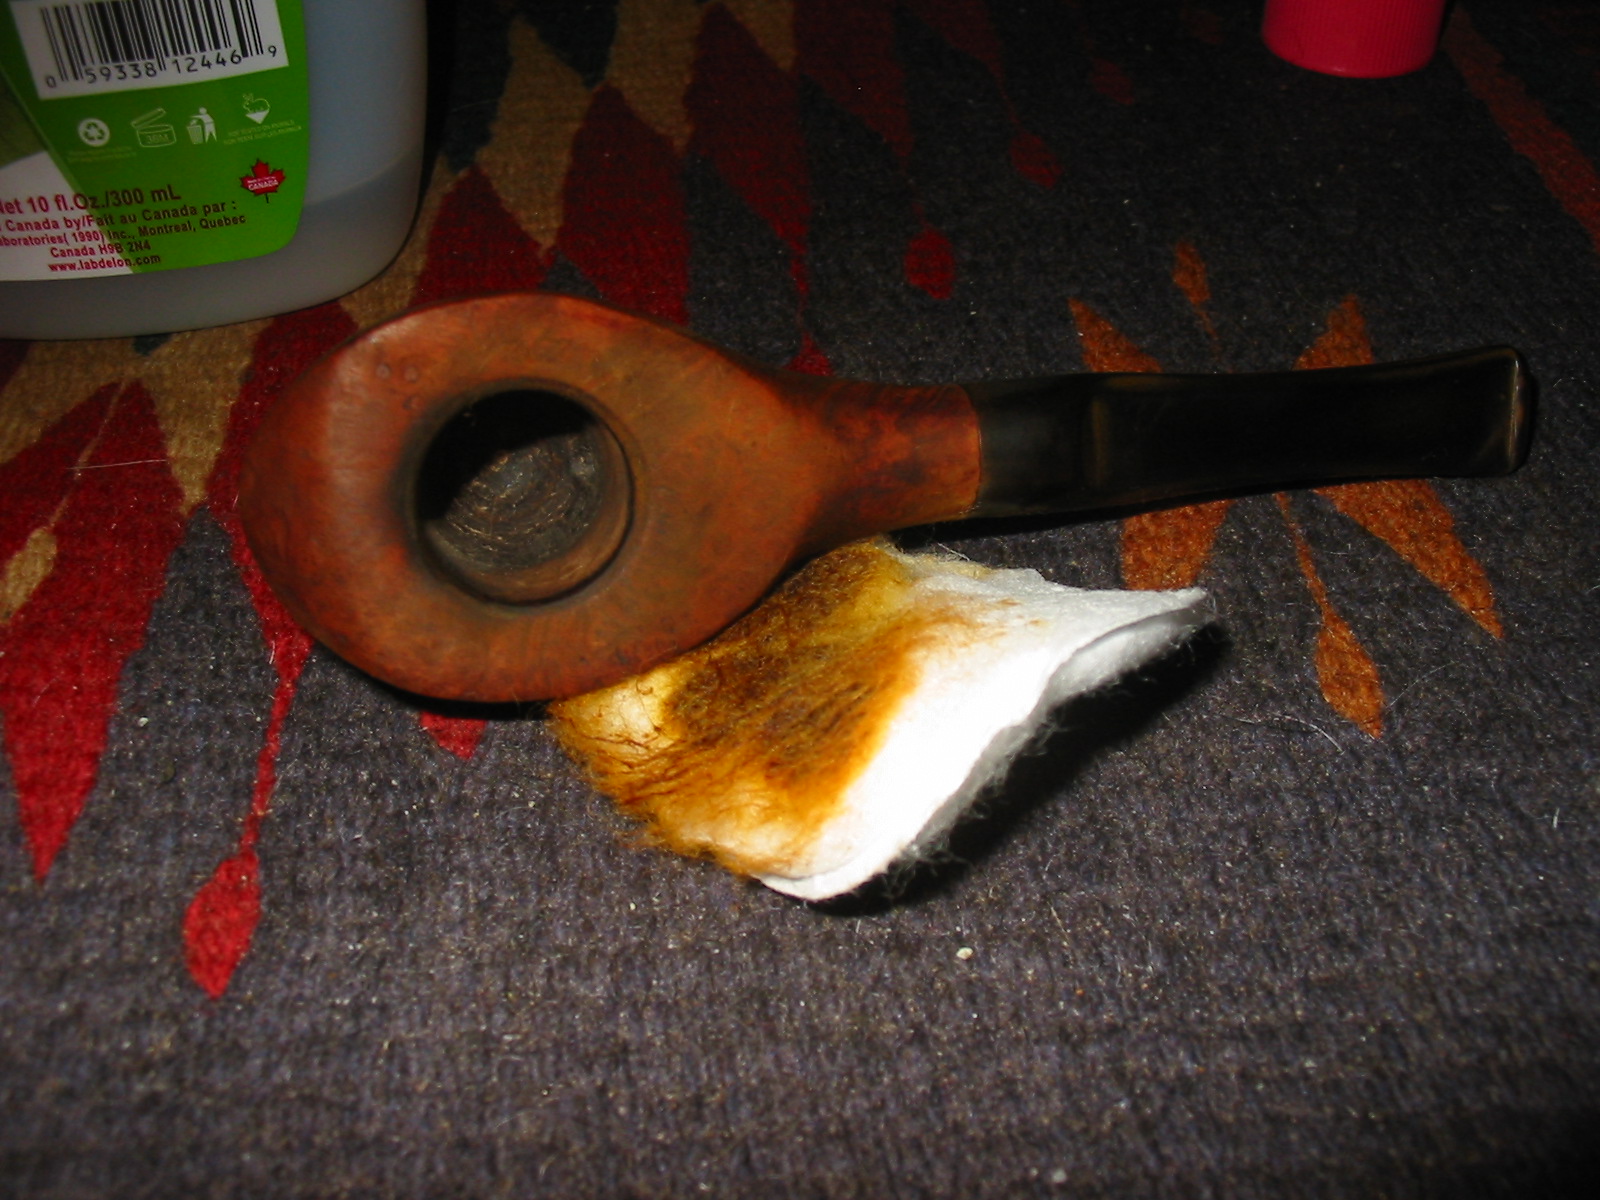
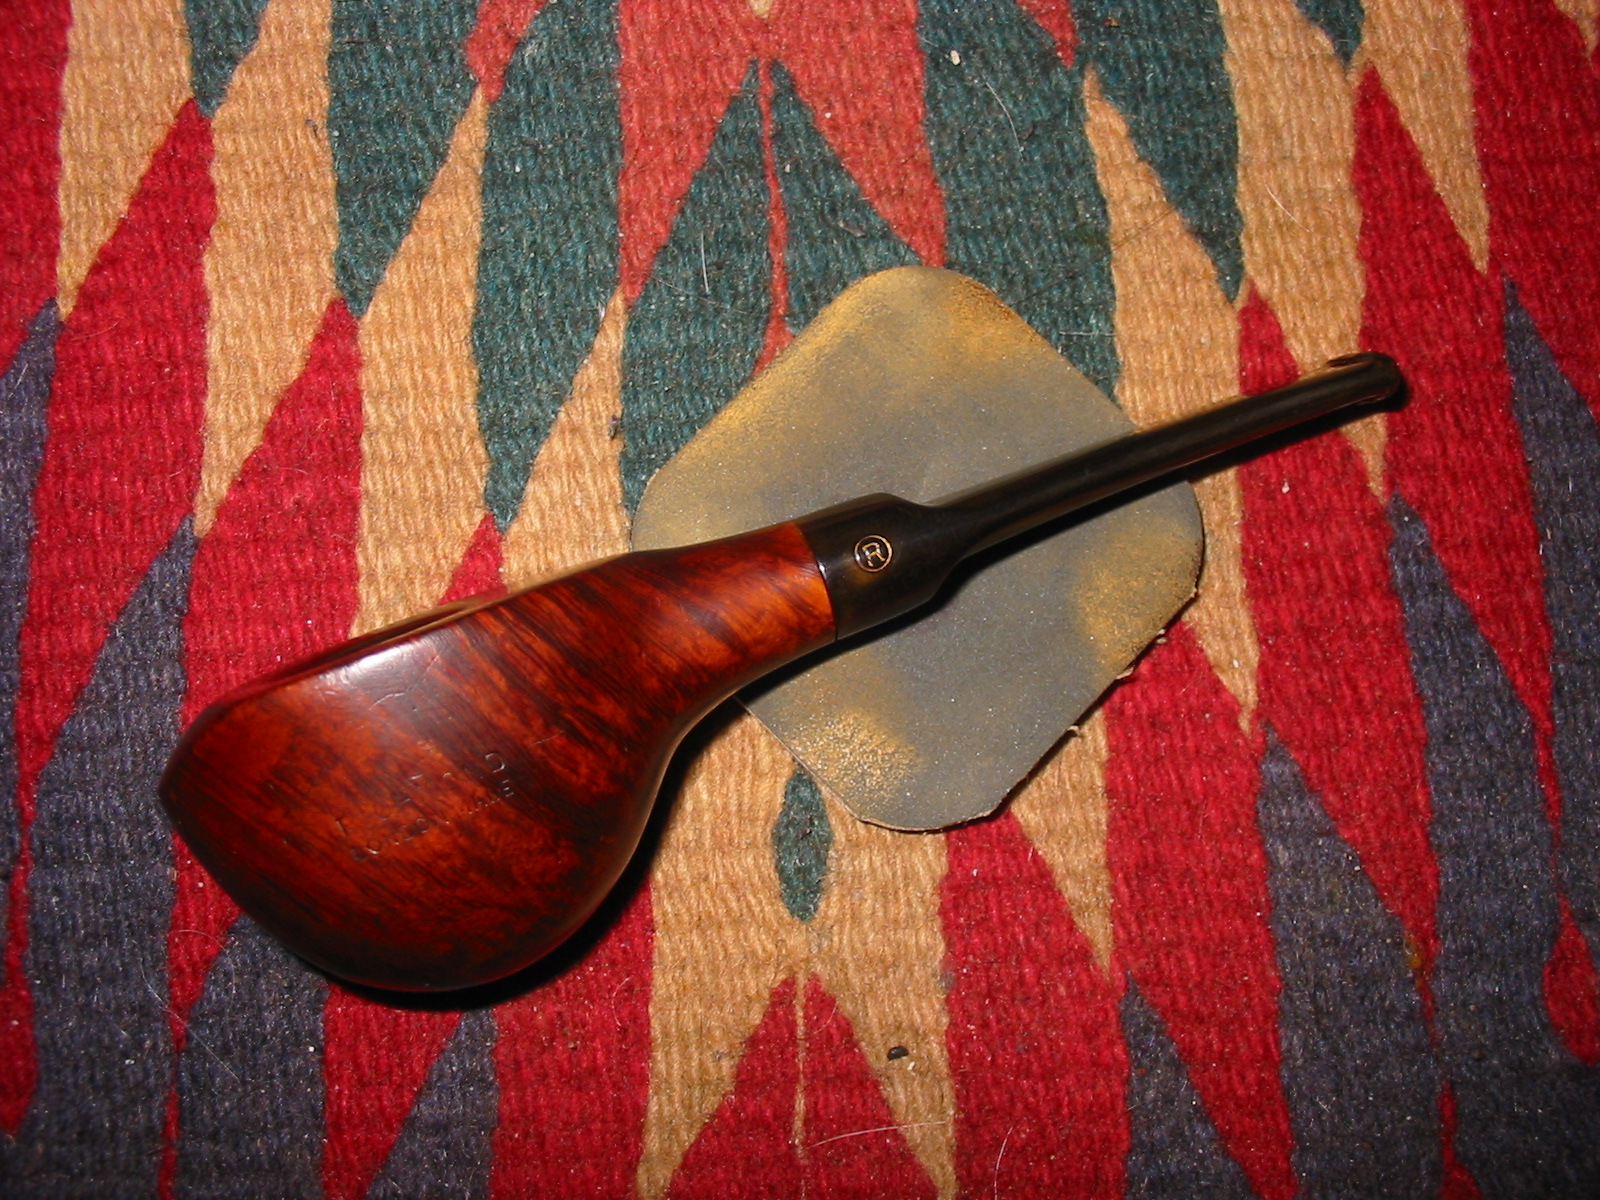
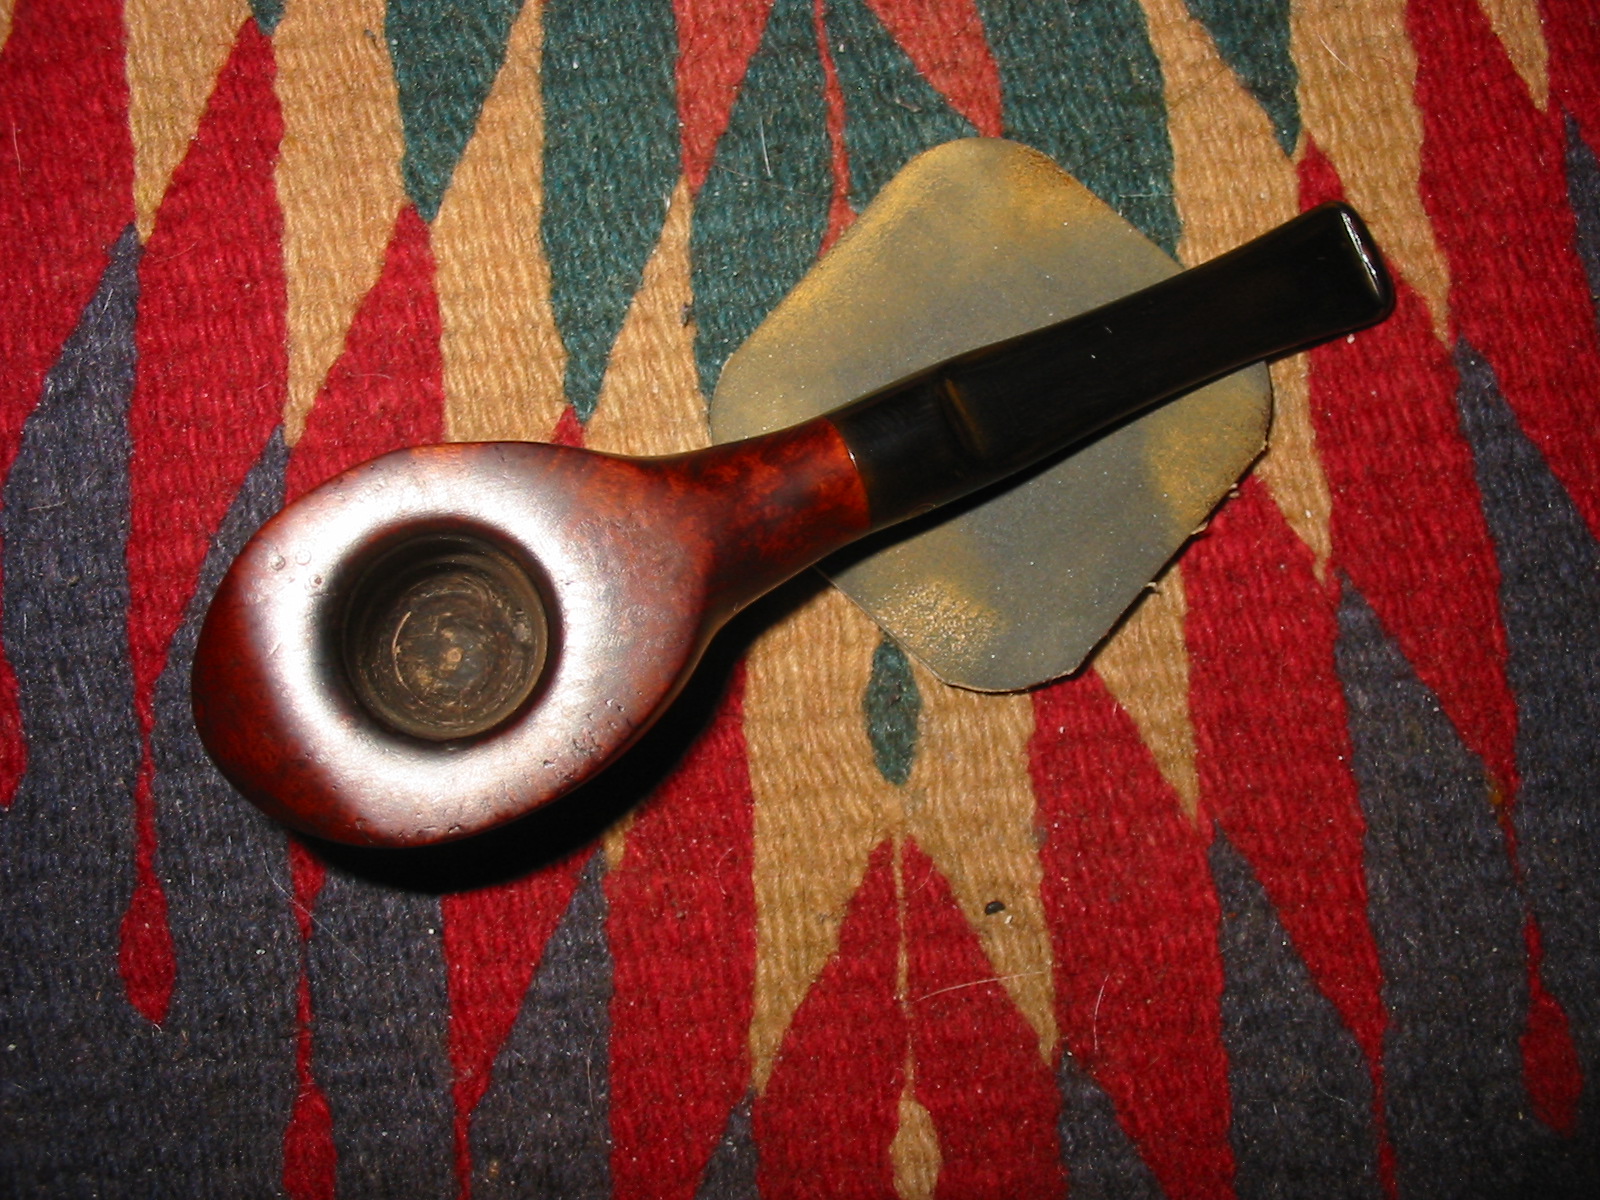
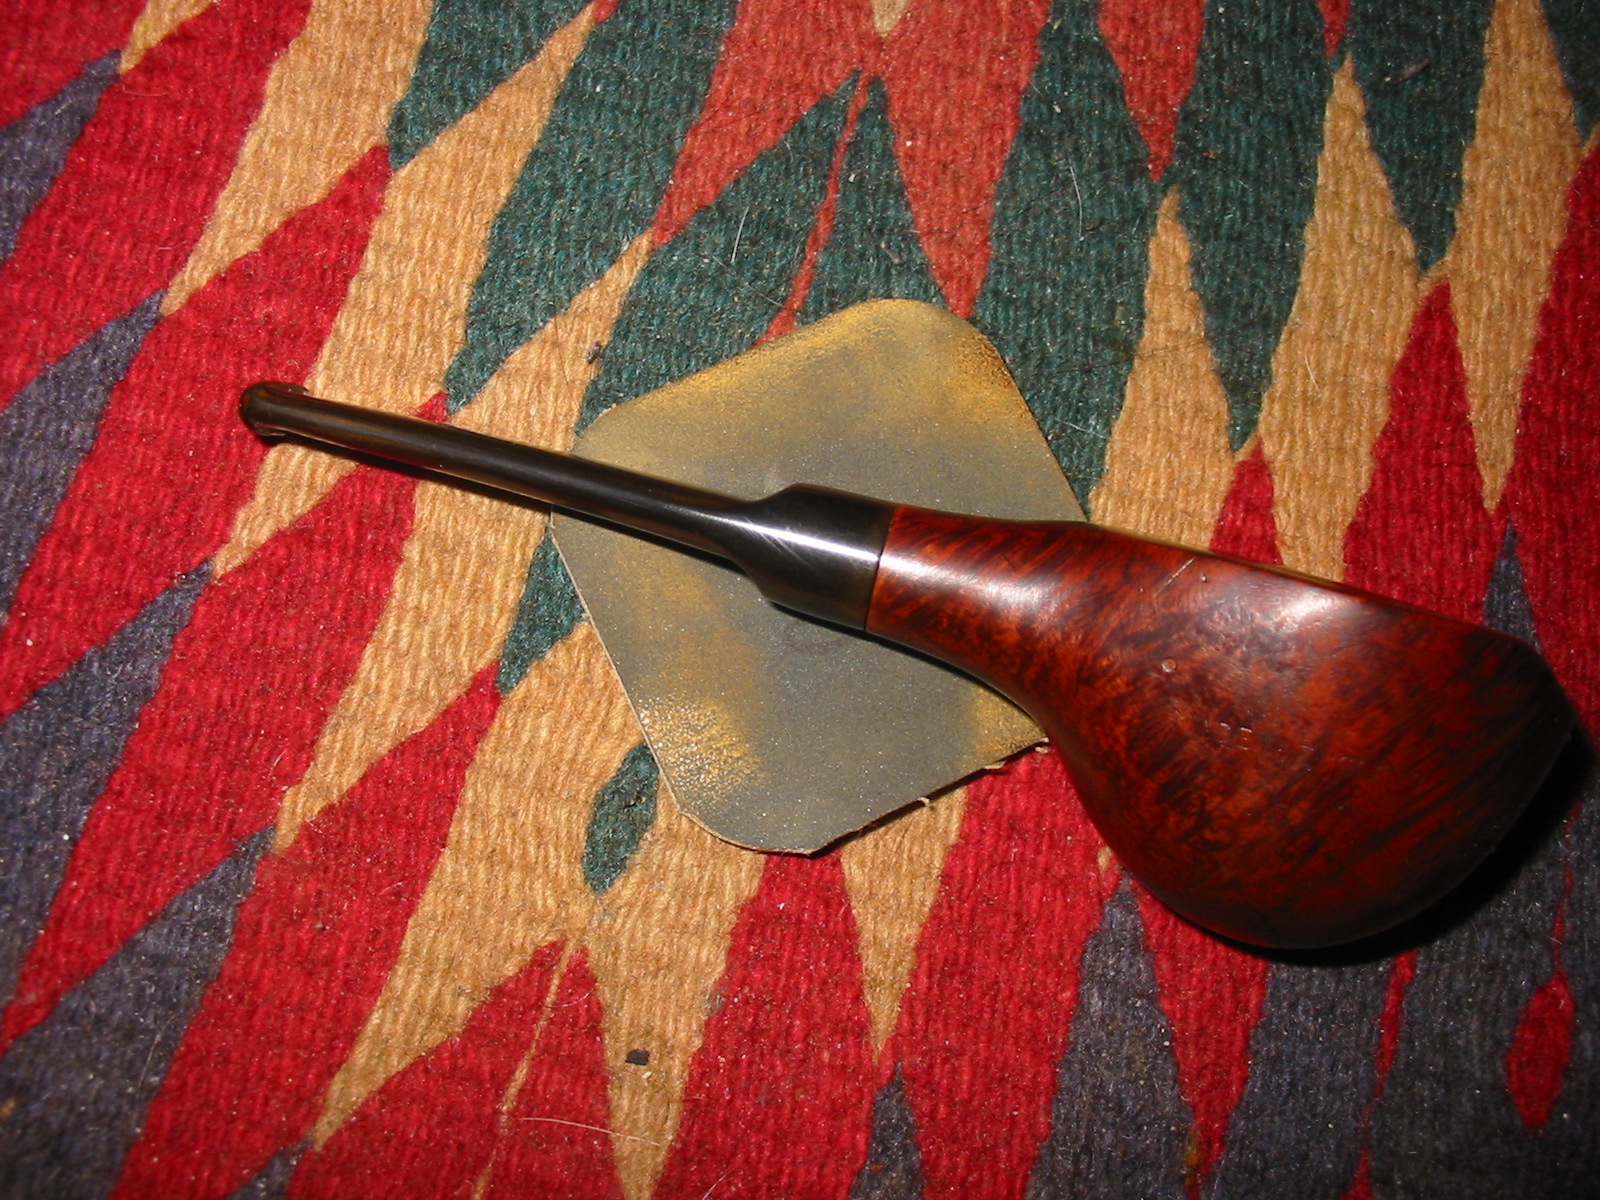
This old timer is an odd shaped pipe with the bowl hanging below the height of the shank. The line from the rim to the stem is straight and the bowl hangs below that. It is stamped Richmond over London Made on the left side of the bowl and on the right it is stamped Made in England. From the information that I can find the pipe was made by either Saseini or Comoys. Both stamped pipes with the Richmond label. The first series of four photos show the pipe as it was when it arrived here at my workbench.

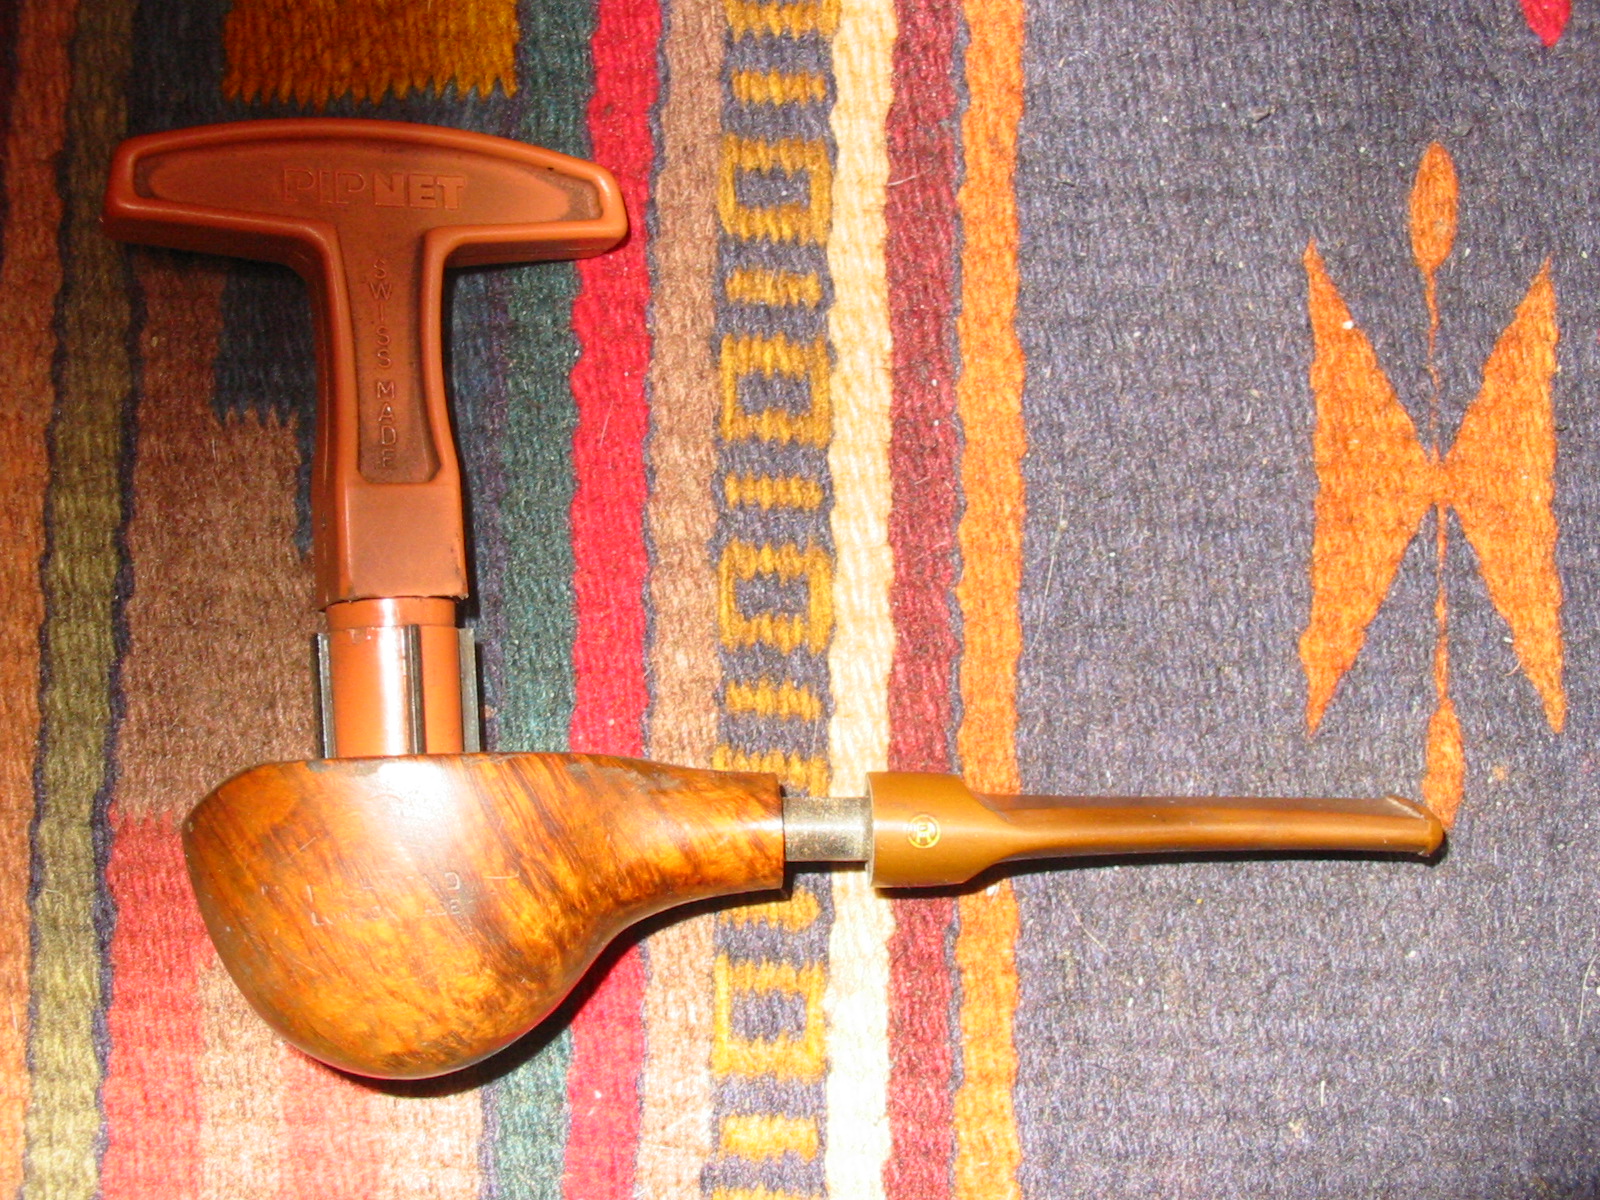
I cleaned the bowl and shank with Isopropyl alcohol. I reamed out the cake in the bowl. I use a Pipnet T handle reamer. In this case I started with the smallest blade set and worked up to the one that is pictured below in the next two photos.
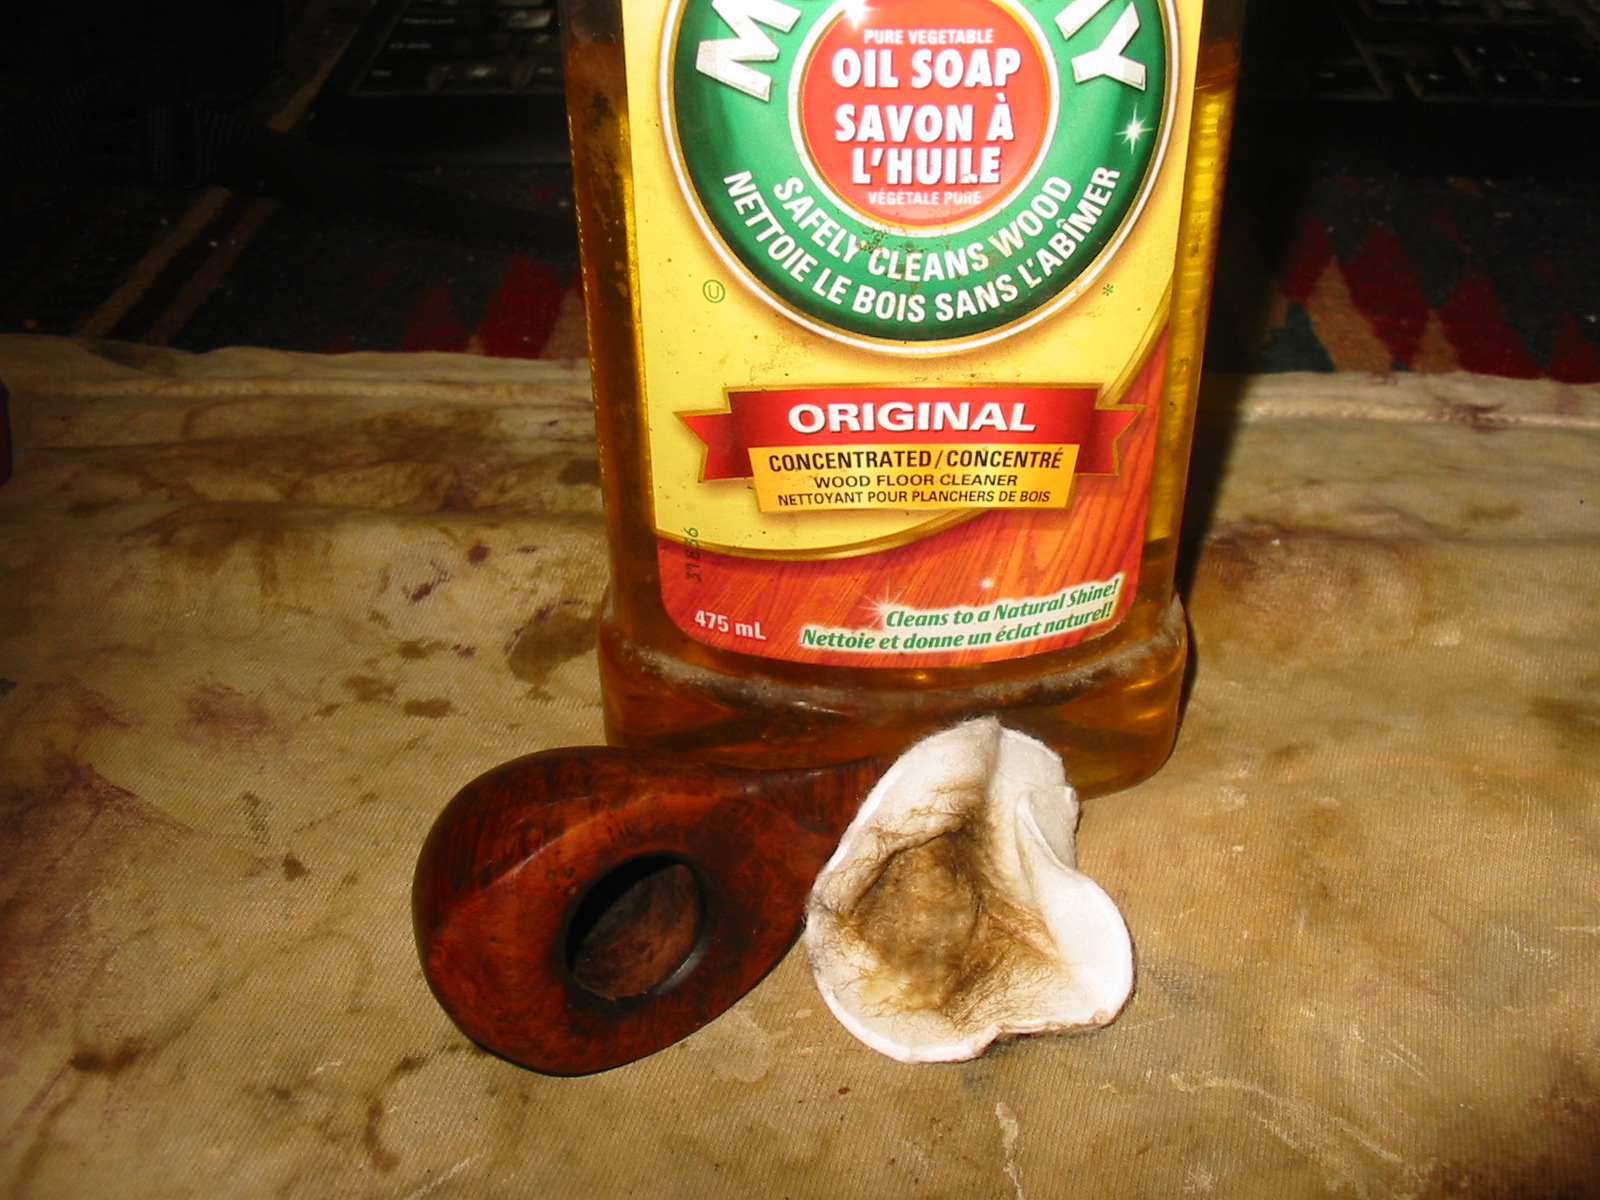
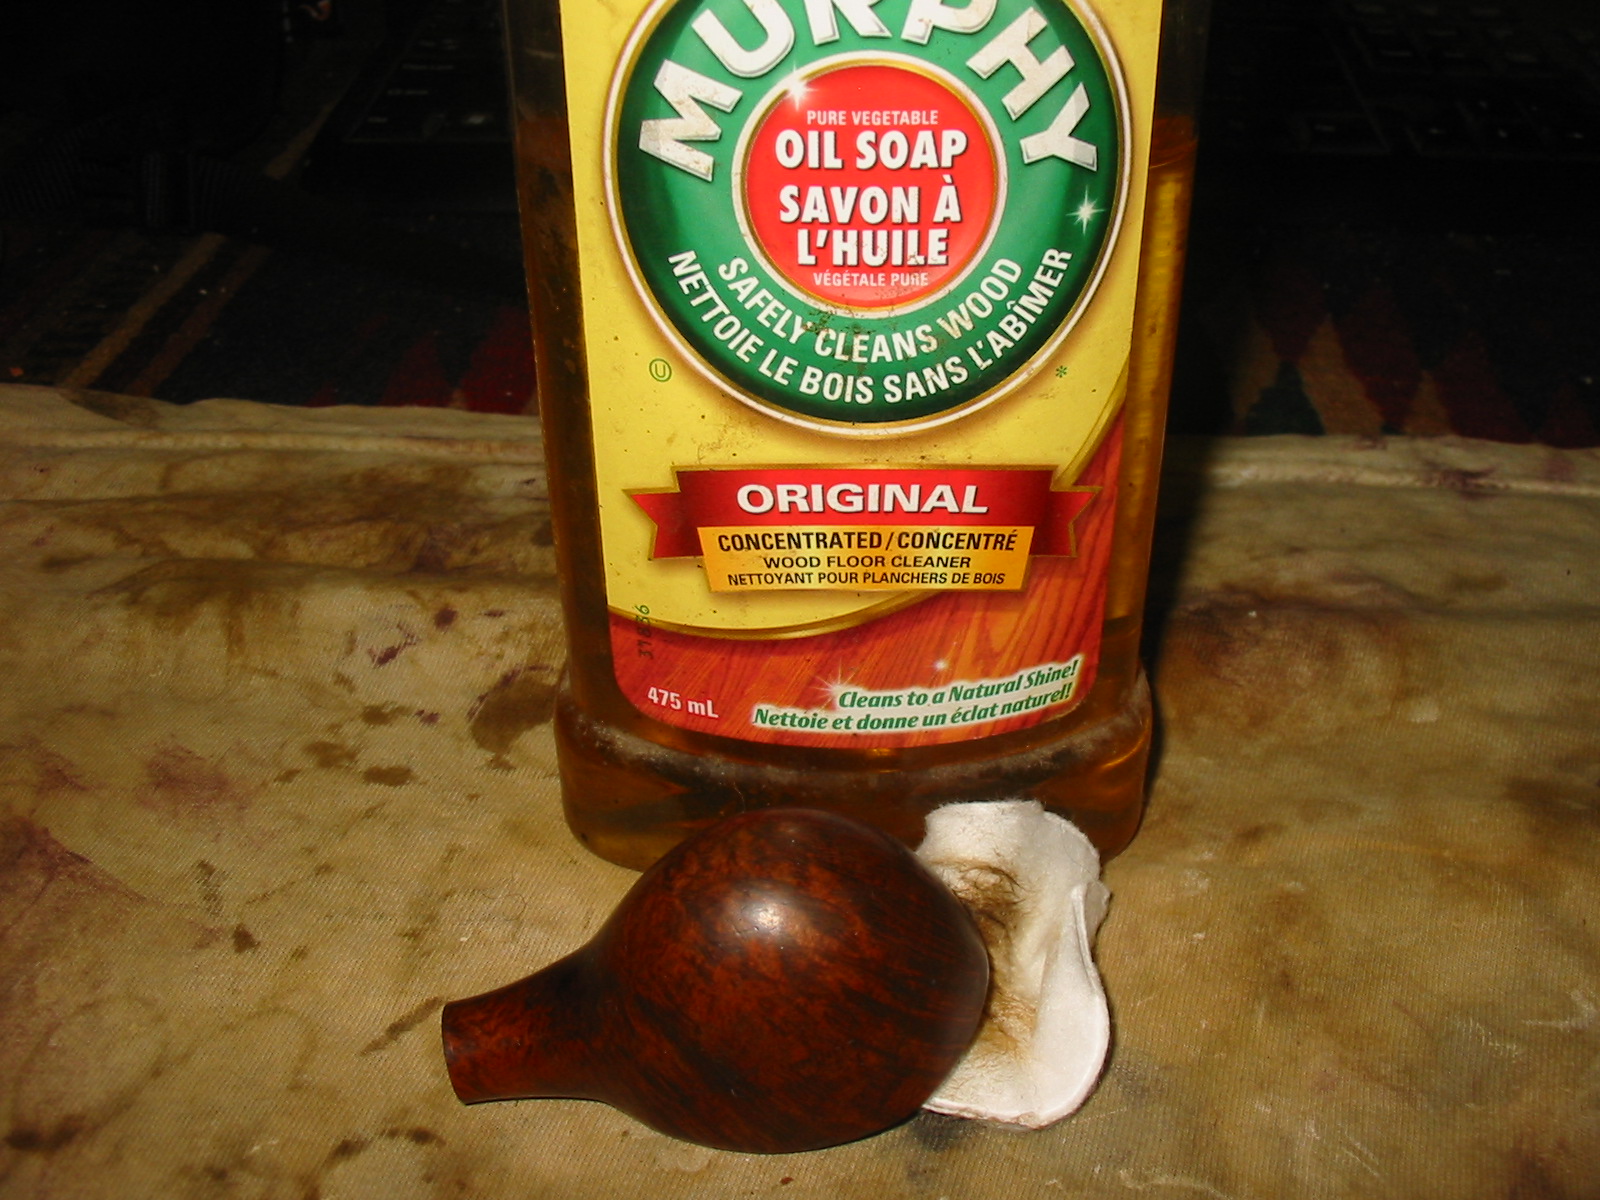
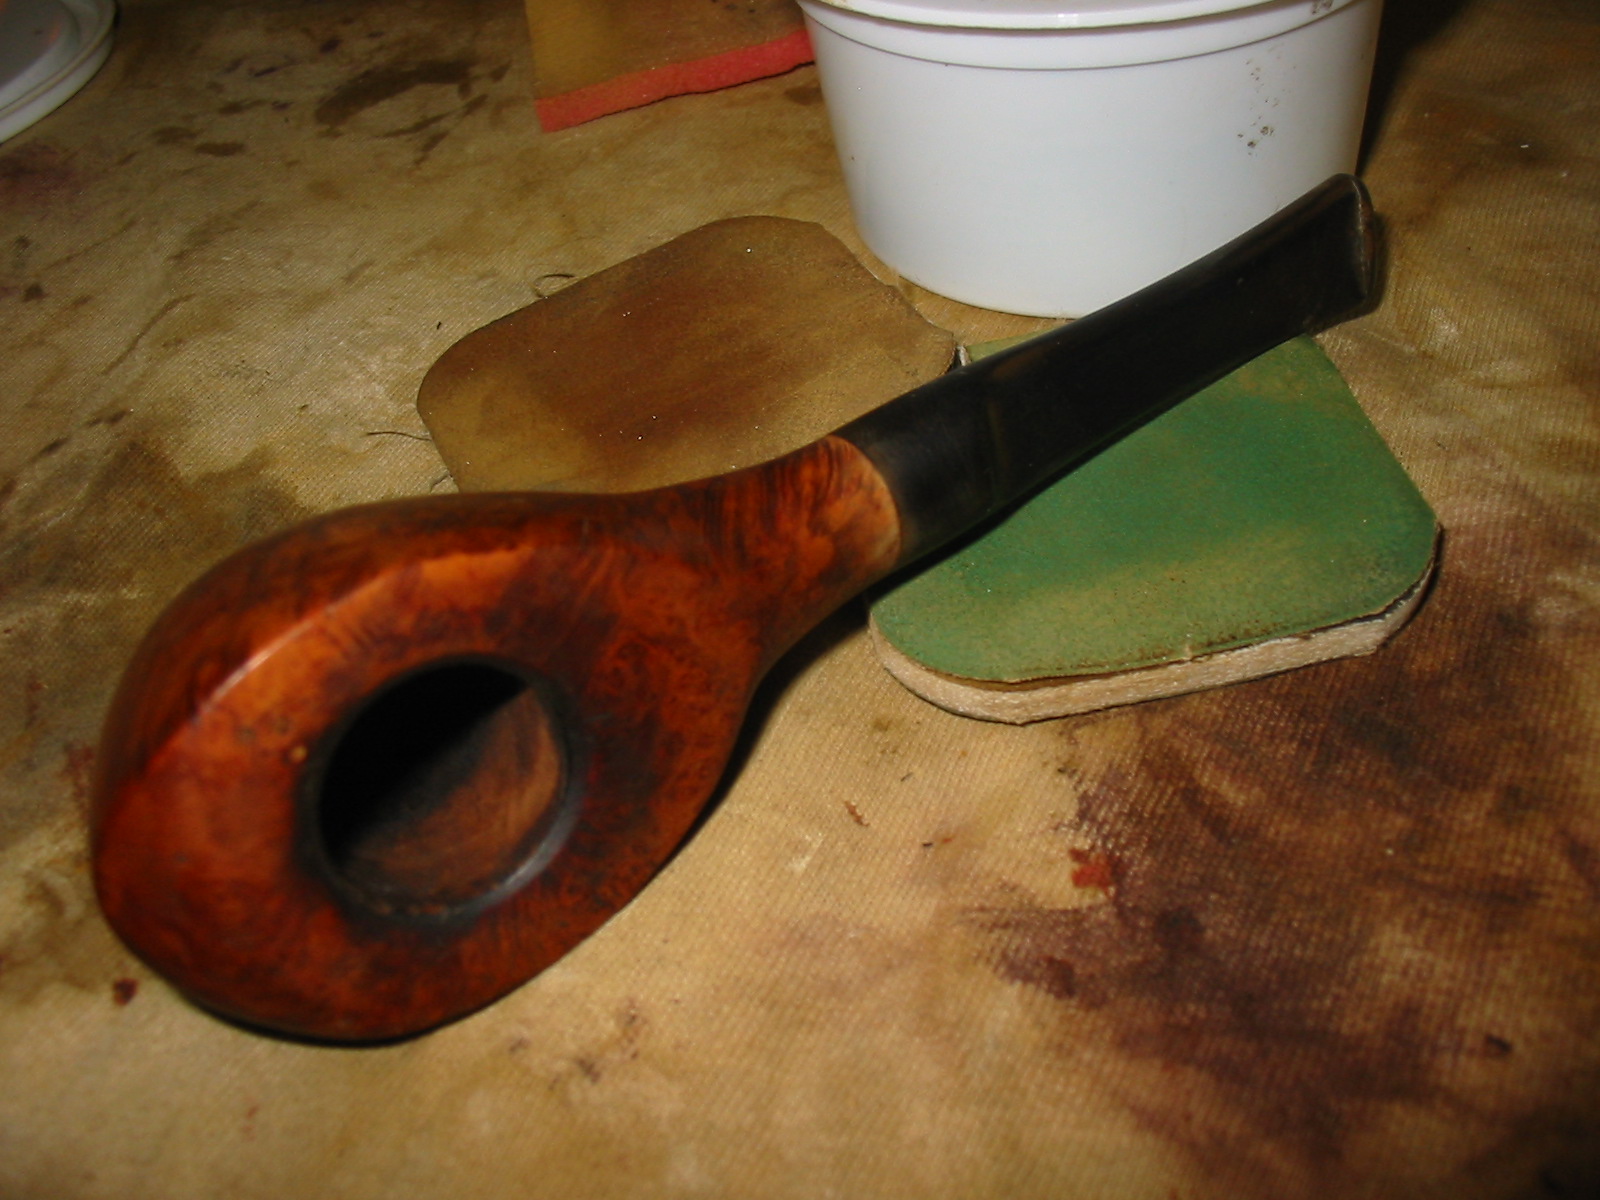
After reaming the bowl I scrubbed the outside of the bowl with Murphy’s Oil Soap on a cotton pad. I wanted to remove as much of the old waxes and grime that was on the surface of the bowl and the rim.
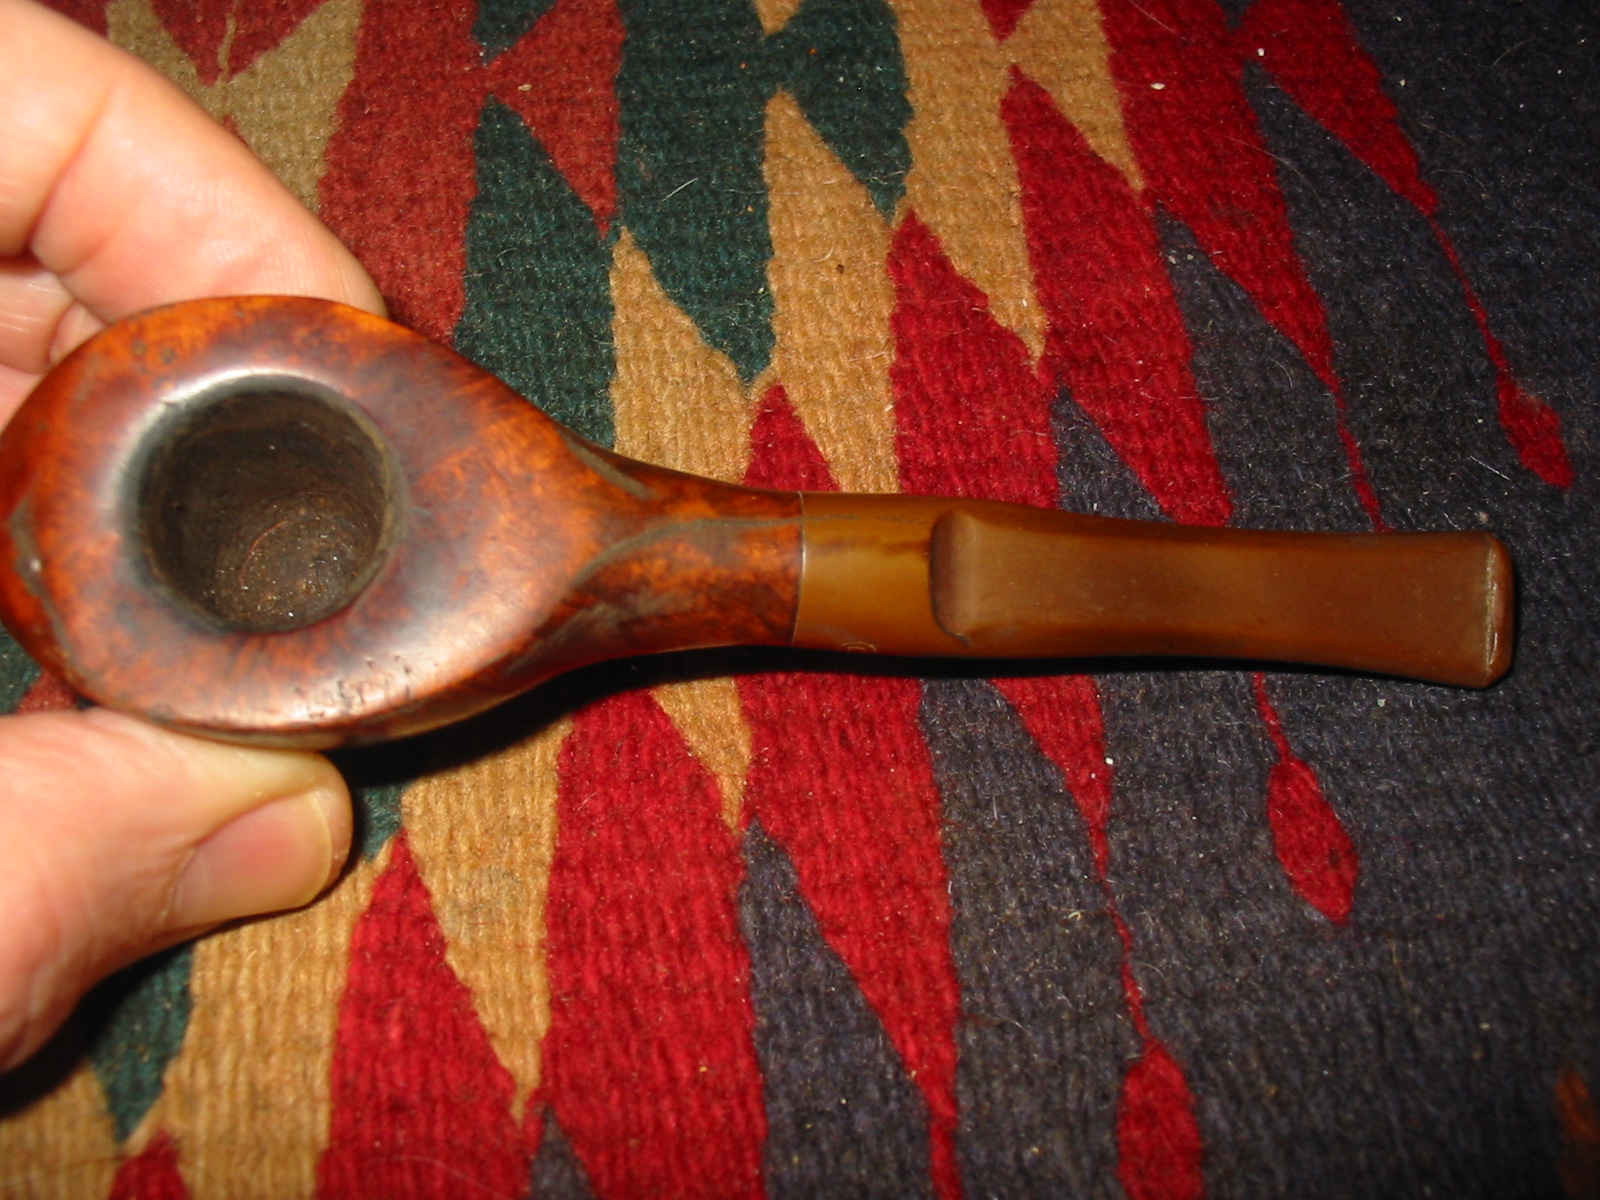
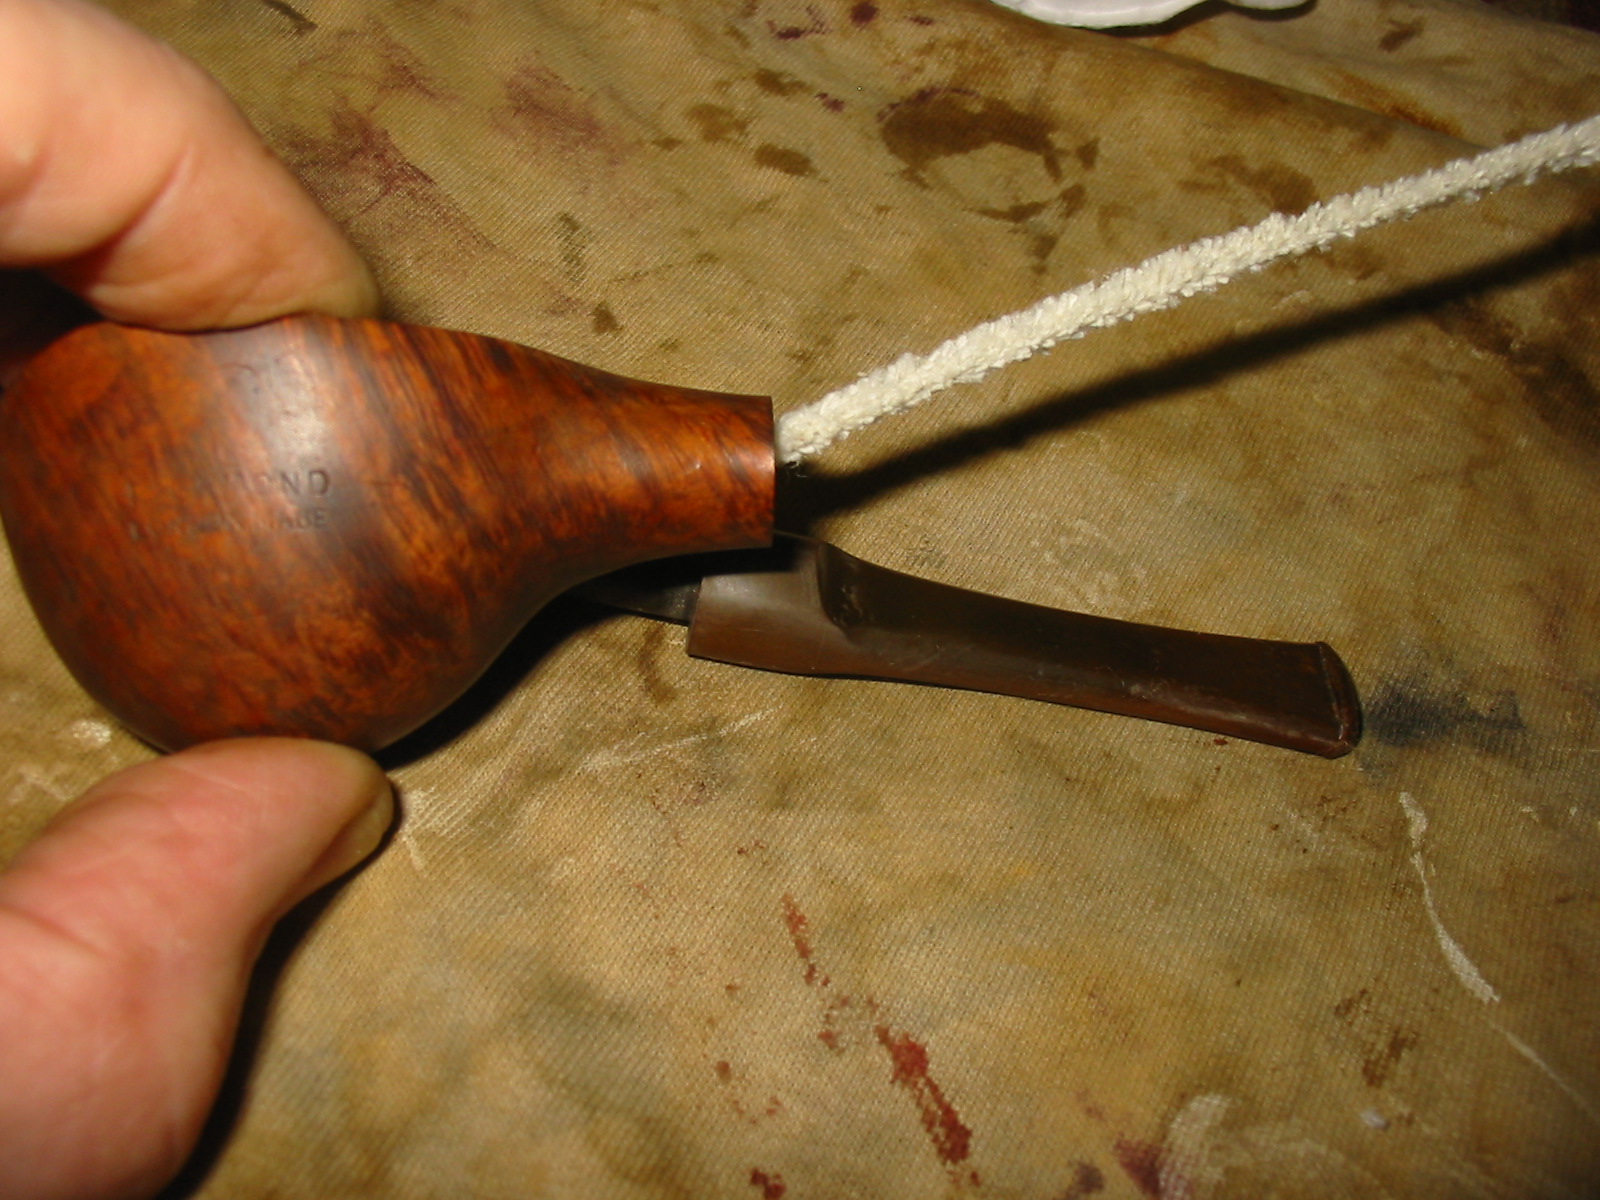
After the scrubbing I worked on the inside of the shank. I scrubbed it out with alcohol on pipe cleaners and then scrubbed the mortise with cotton swabs dipped in isopropyl alcohol. The two photos below show the angle of the drilling from the shank to the bottom of the bowl. The drilling started at the bottom edge of the mortise and came out at the centre of the bottom edge of the bowl. It is a well drilled pipe.
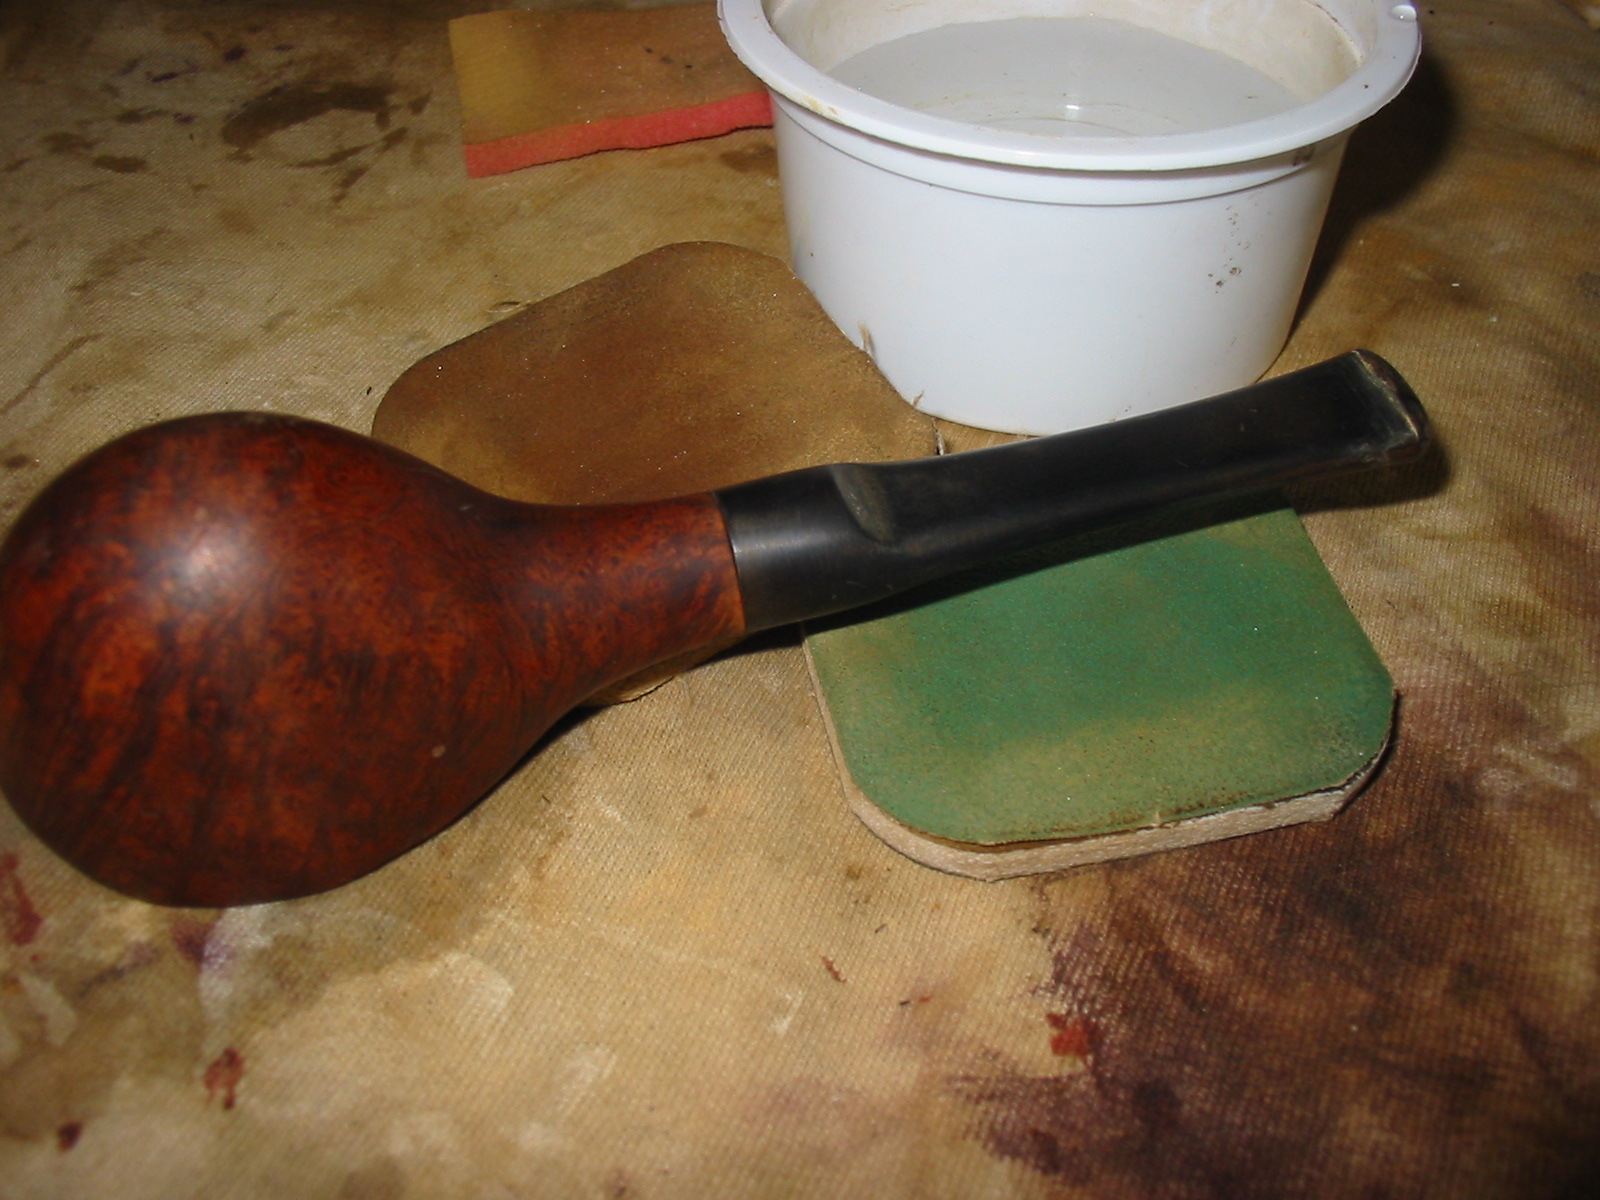
The next three photos show the bowl after I had scrubbed it. I also used the Murphy’s on the stem to remove some of the surface oxidation. I wanted to preserve the Circle R stamping on the stem so I carefully worked around that area.
The next four photos show the stem after I had scrubbed it with the oil soap and then polished it with the Maguiar’s Scratch X2.0. The majority of the surface oxidation came off. What remained was deeply embedded in the stem and would require more work.
At this point I worked on the remaining oxidation on the stem using the micromesh sanding pads. The next series of six photos show the process. I wet sanded with 1500 and 1800 grit micromesh and then polished the stem with Maguiar’s Scratch X2.0 polish.
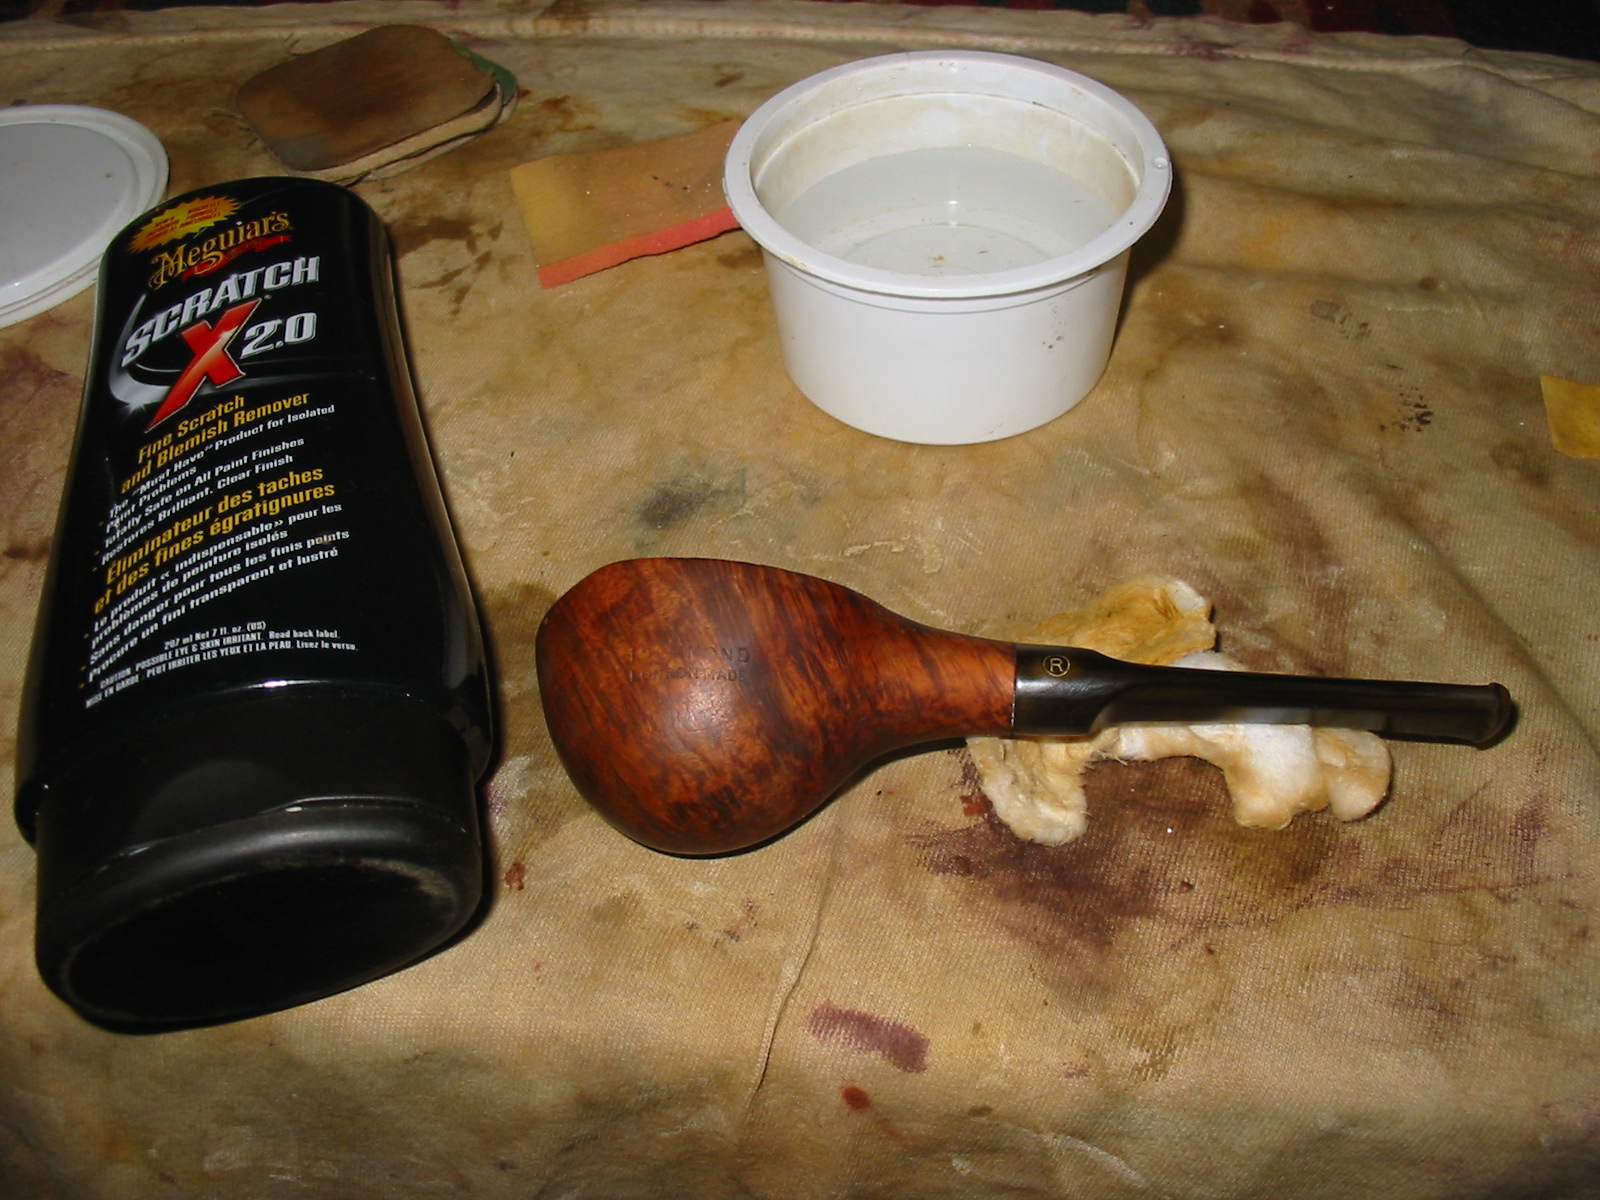

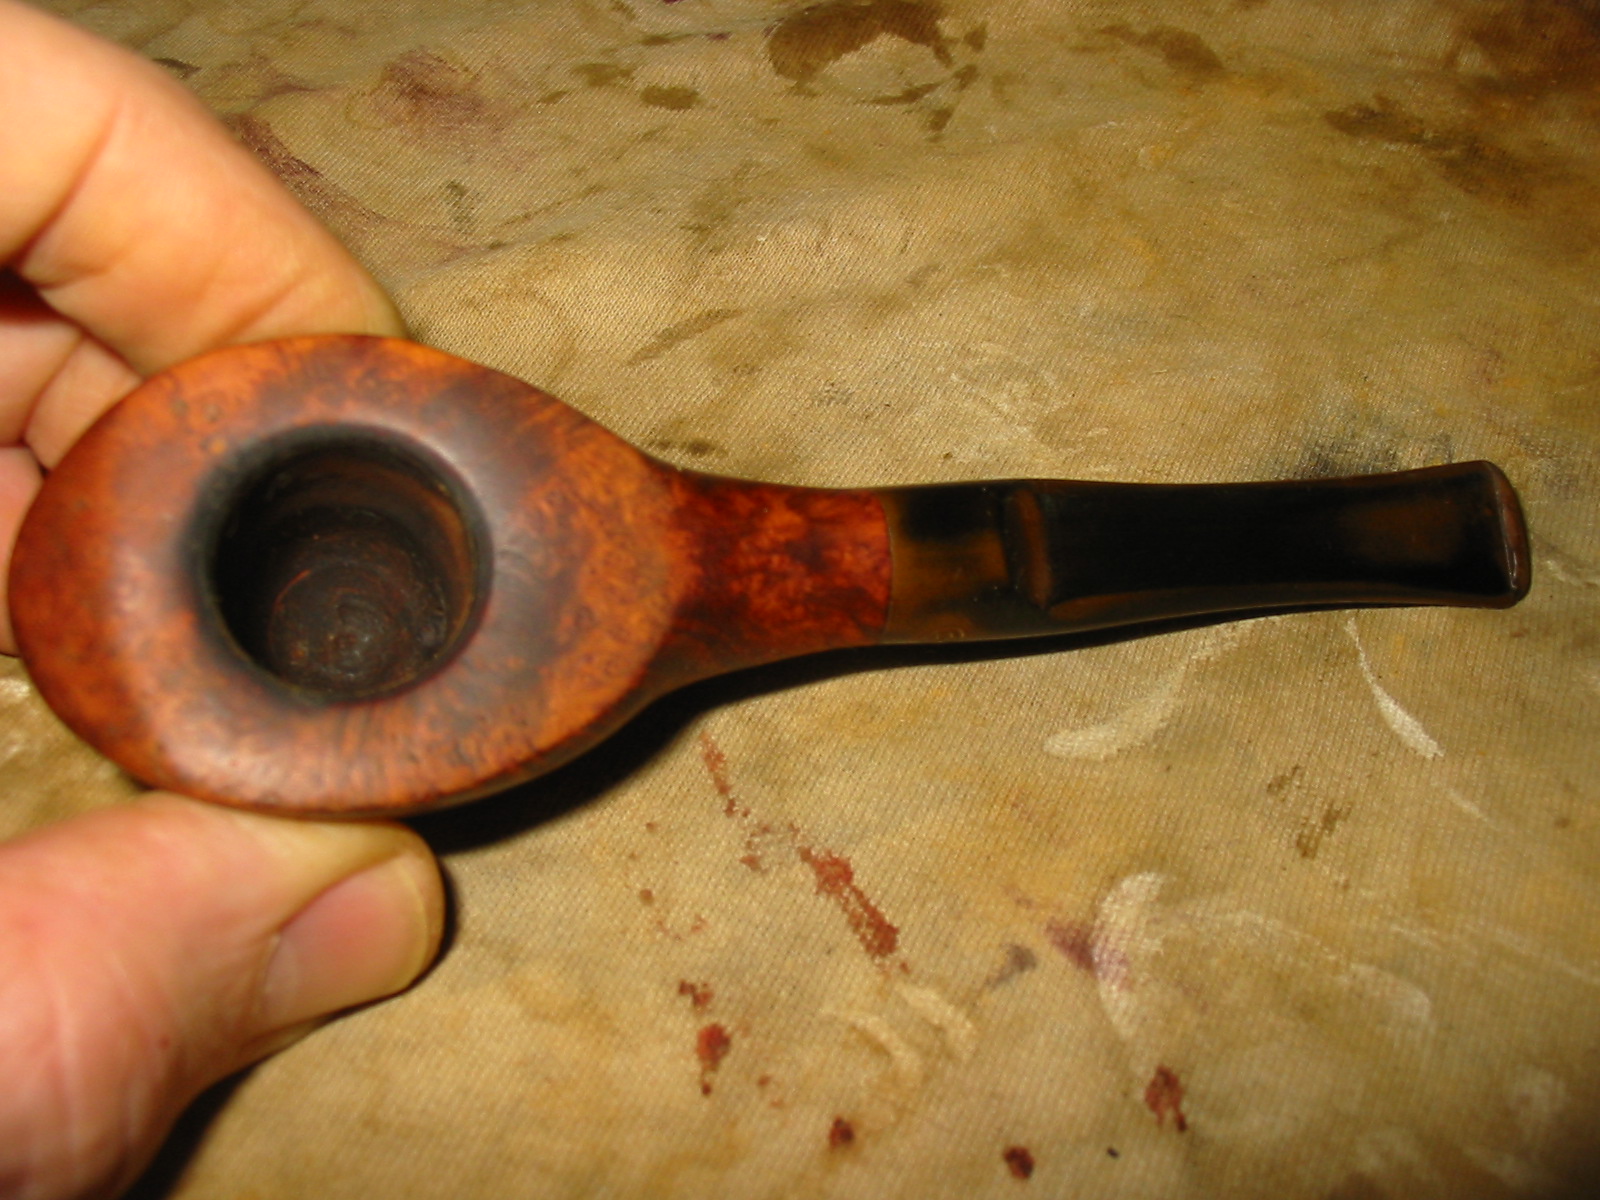
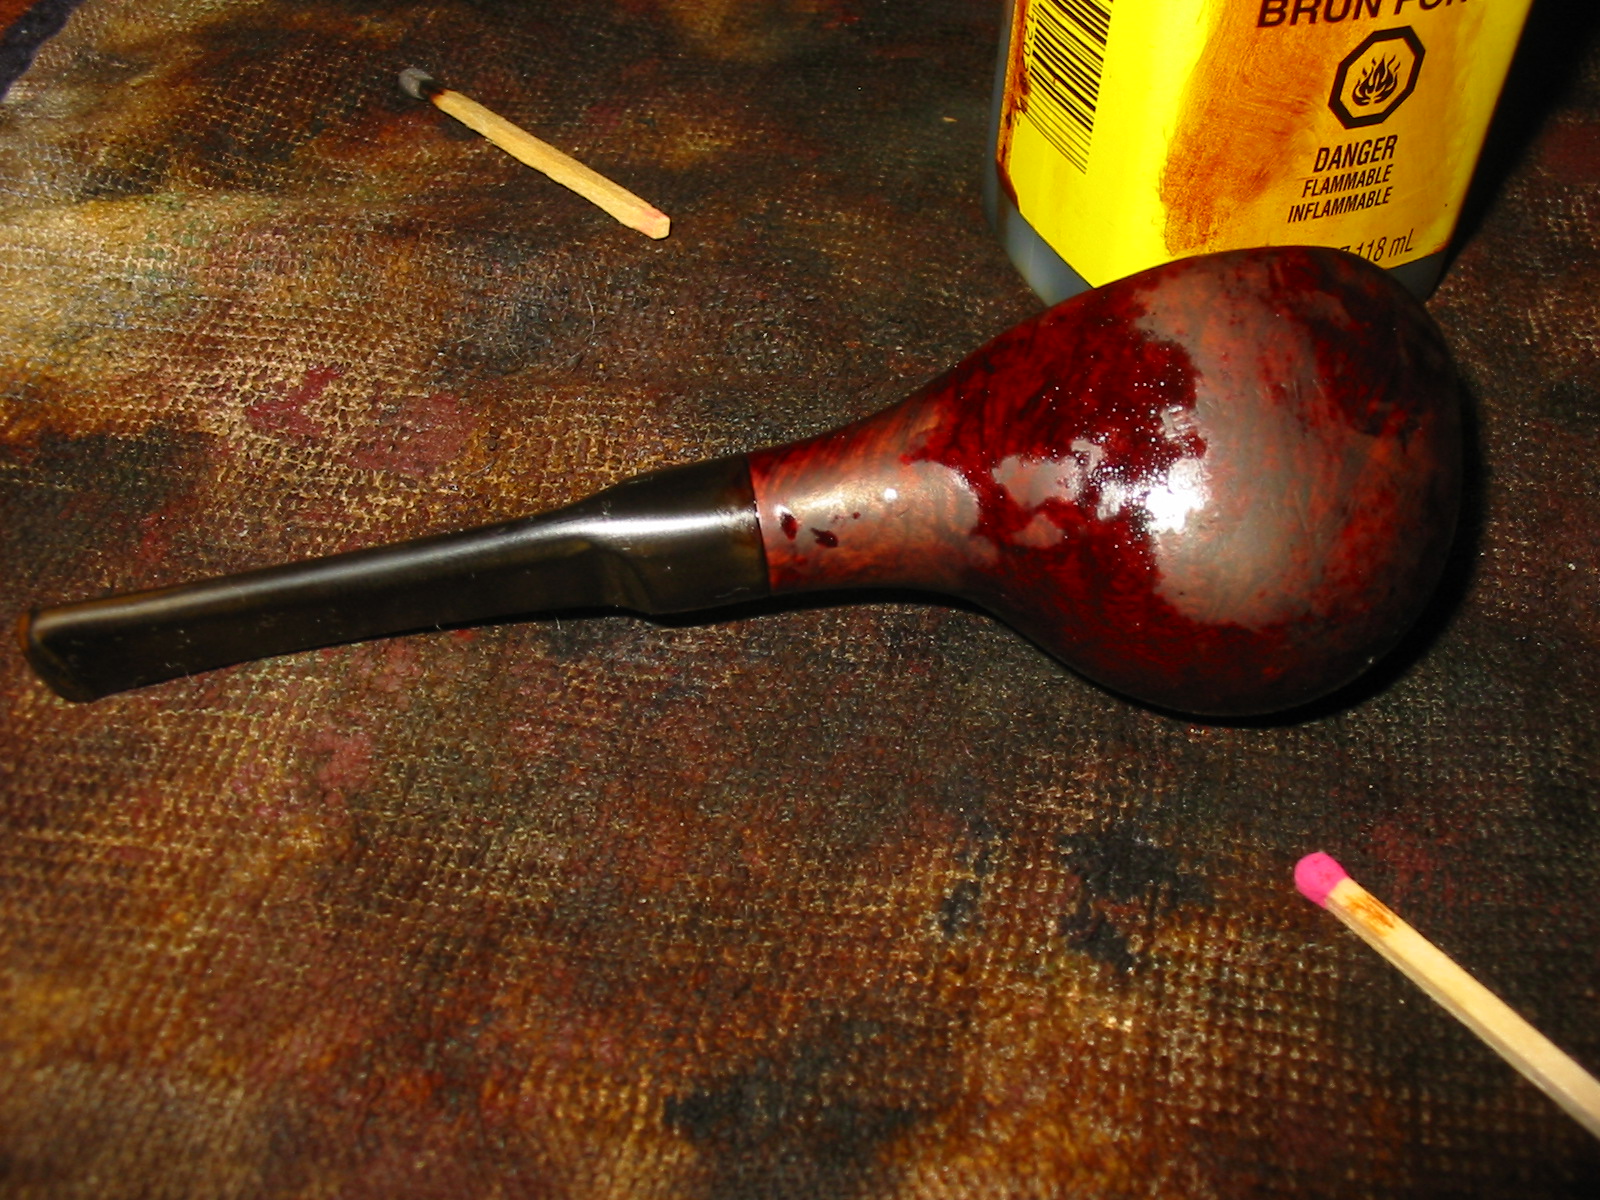
After polishing I stained the bowl with a dark brown aniline stain mixed 2:1 with isopropyl alcohol to restore the finish to the bowl. I stained it, flamed it, restained and reflamed it to set the finish coat. The first two photos below show that process. I took it to my buffer and gave it a buff with White Diamond. The next three photos show the pipe after I had buffed it.

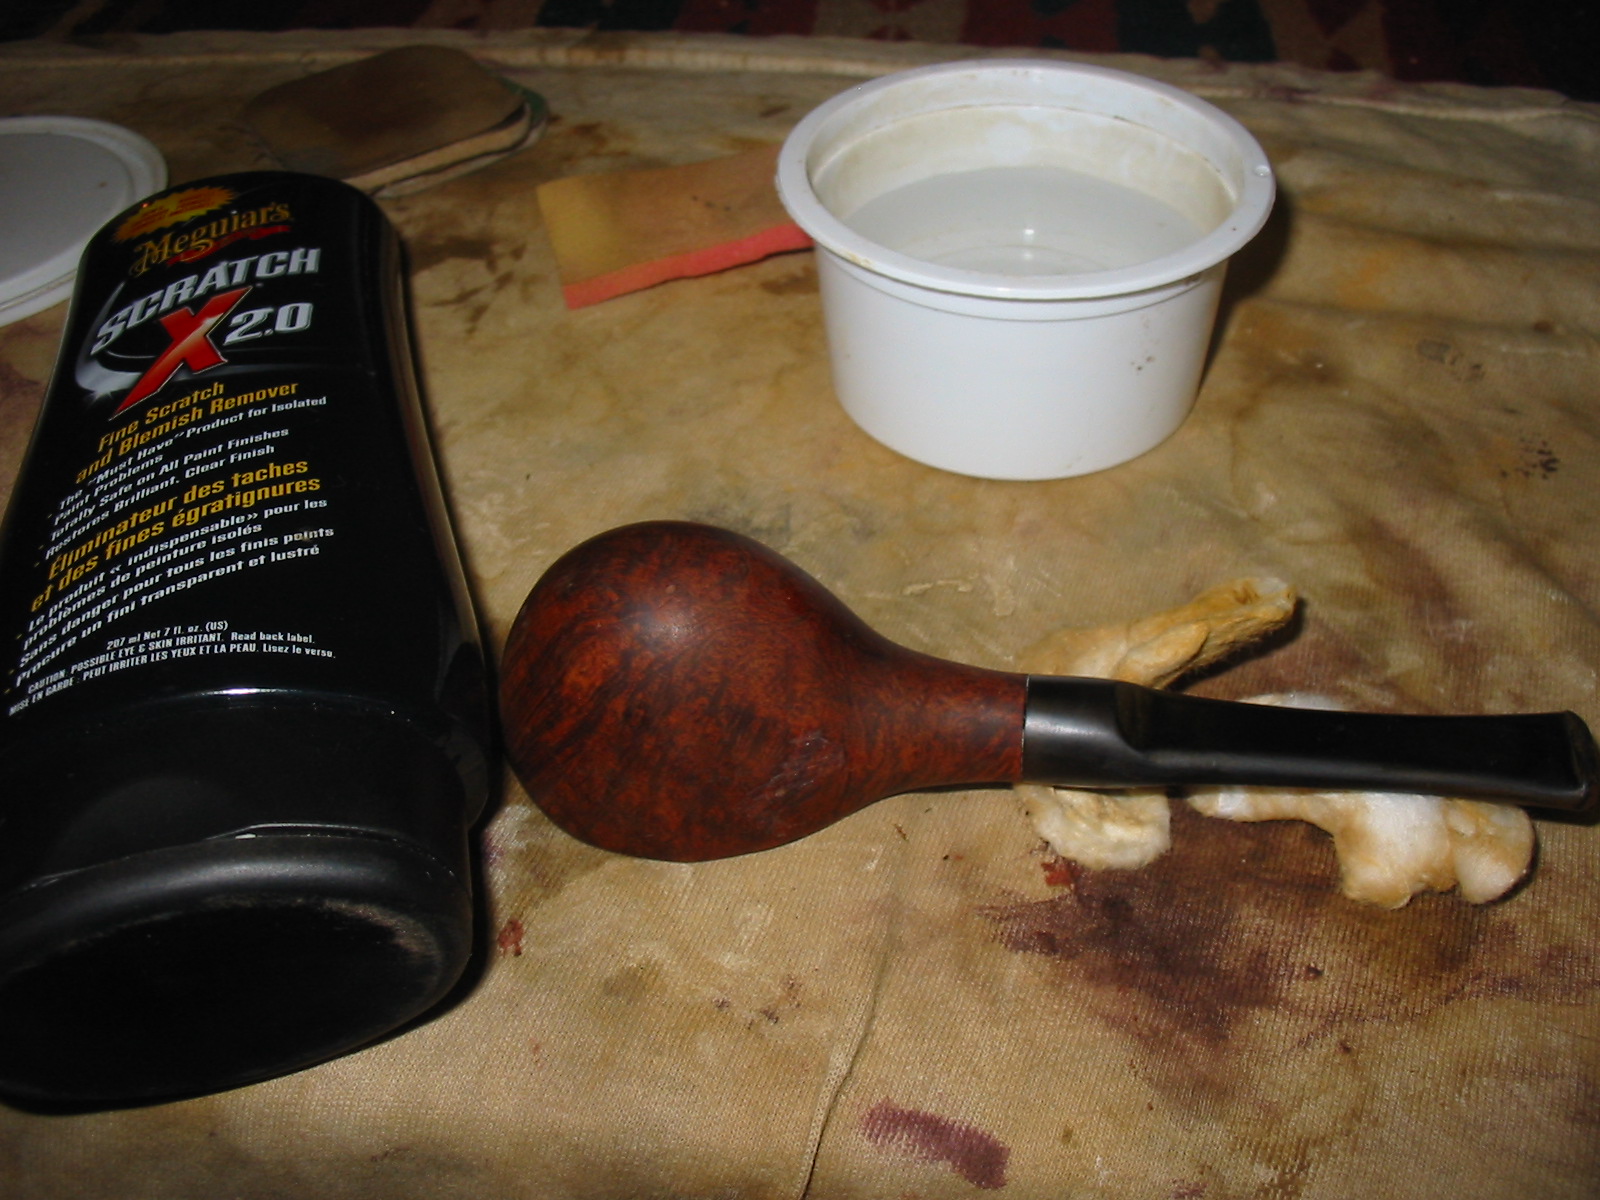
The finished colour was too dark to my liking and obscured the grain rather than highlighting it so I used acetone on cotton pads to reduce the intensity of the colour. The next series of three photos show the new look to the colour after wiping it down with acetone. Note the stain on the cotton pads in the photos.


I took the pipe to the buffer again and buffed it with White Diamond. The next series of photos show the finished look of the stain at this point. They also show the ongoing work on the oxidation on the stem using the further grits of micromesh. I dry sanded with 2400-12,000 grit micromesh to finish polishing the stem. After I had finished with the micromesh I used the Maguiar’s again to do a final hand polish. I rubbed the stem down with some Obsidian Oil.

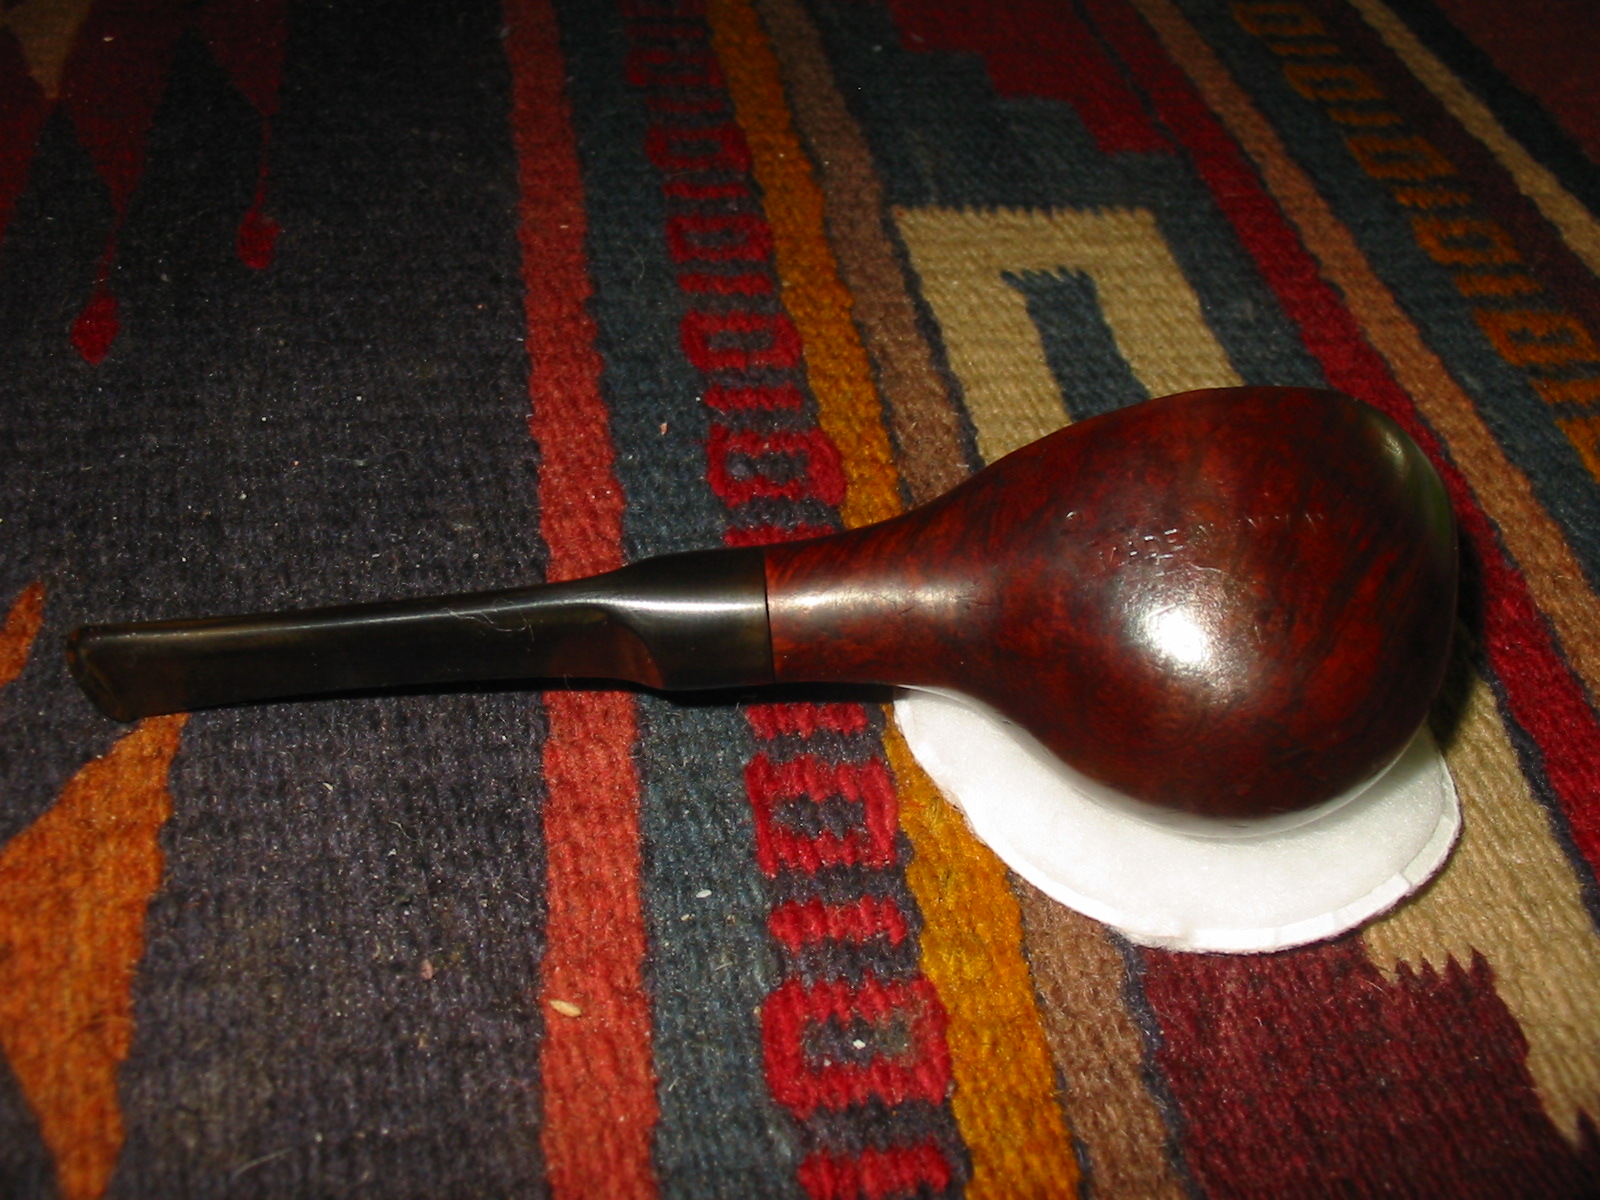
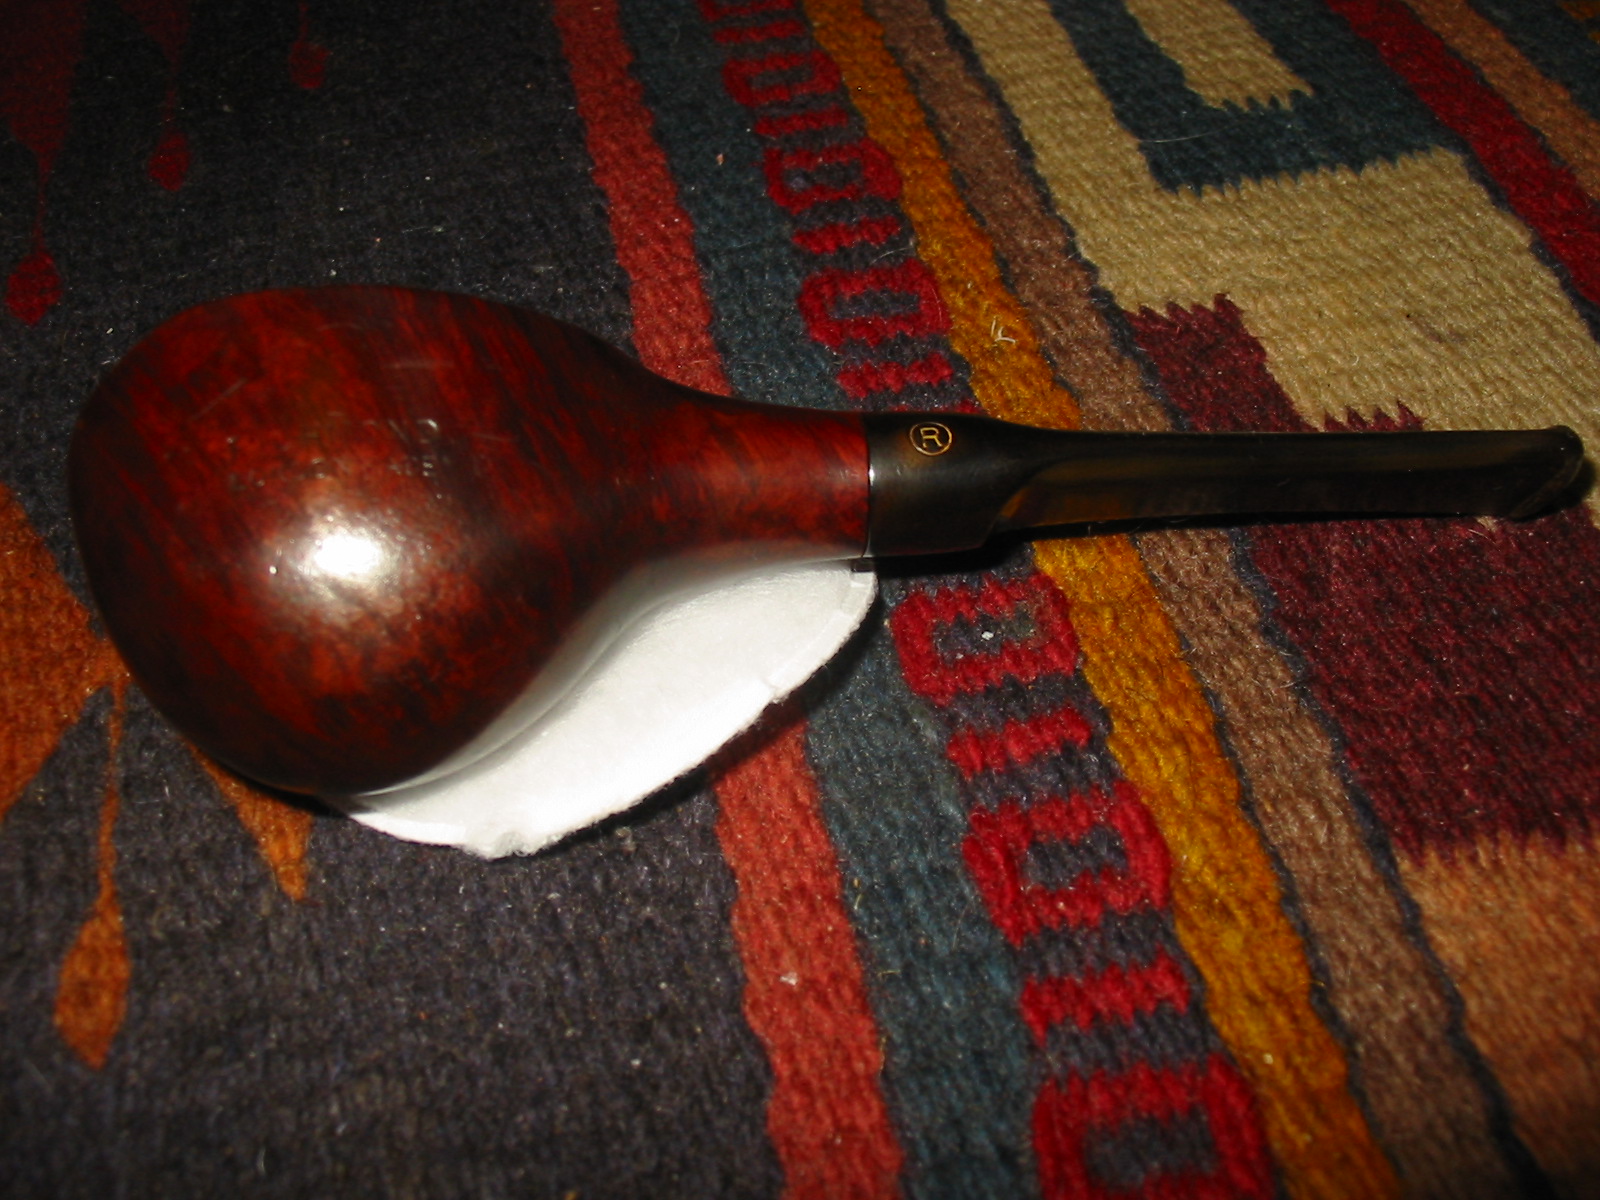
The next five photos show the finished pipe. I took it to the buffer a last time and buffed the stem using White Diamond. I also lightly buffed the bowl. I gave the stem and bowl several coats of carnauba wax and buffed it lightly with a soft flannel buff to bring up the shine. You will note a little oxidation remaining around the logo on the stem. I decided to leave that and not damage the stamping on the stem.