Blog by Greg Wolford
Greg is one of the blog’s readers and comments often on various posts. He contacted me about writing an article for the blog. He sent me the following article. I want to thank Greg for documenting his work on this old Kaywoodie Handmade. It is great to be able to read and see what others are doing as they work on restoring old pipes to their former glory. Here is a brief biography of Greg that he has written. (I invite others who have been reading the blog to do the same. Send us pictures and documentation of the work you have done and are doing.)
In June of last year I saw a bunch of old pipes, filthy and dirty, wasting away in an antique store. Thoughts of my former hobby of working with wood flooded my brain, as did the romantic idea of bringing new life to these old relics. I purchased the whole lot of 25-30 pipes and pieces and began to research how one goes about restoring these wonderful pipes to at least enjoyable and useable condition, if not to their total and complete former glory. Much help and advice has been shared with me in this short period of time; I have learned a tremendous amount from this blog, its founder and contributors. I am honored to have the opportunity to share some of my work here and to, hopefully, repay some of the kindness shown to me when I began and as I continue to learn this restoration-side of our pipe hobby.
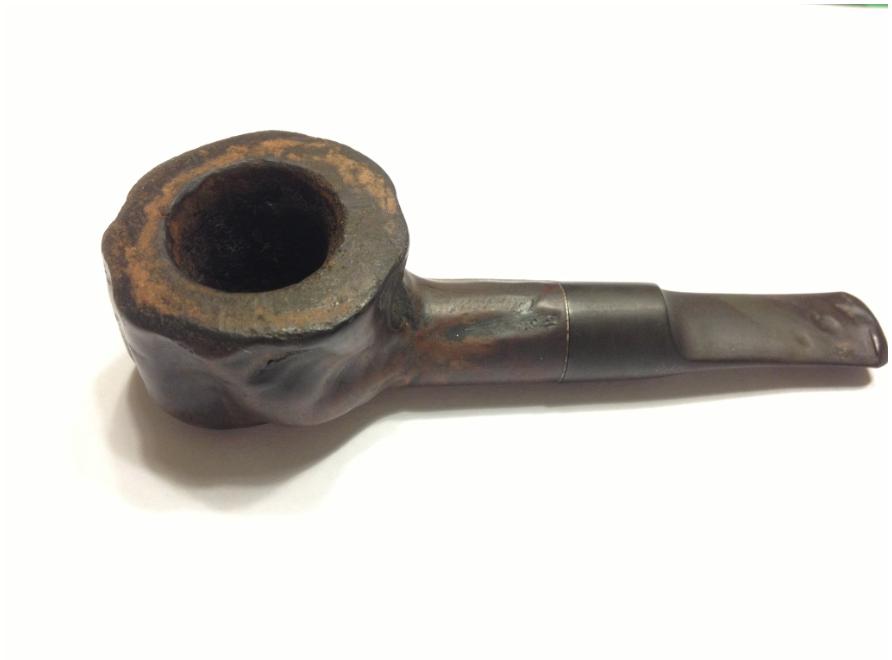
I picked up this old Kaywoodie last month at an antique mall. It was in poor, filthy shape when I found it but I knew her potential. The stamping is not very strong but identifies it as a Kaywoodie Handmade, which I’ve seen and owned before. But this is one of the oversize models, a style that I’ve not yet had.
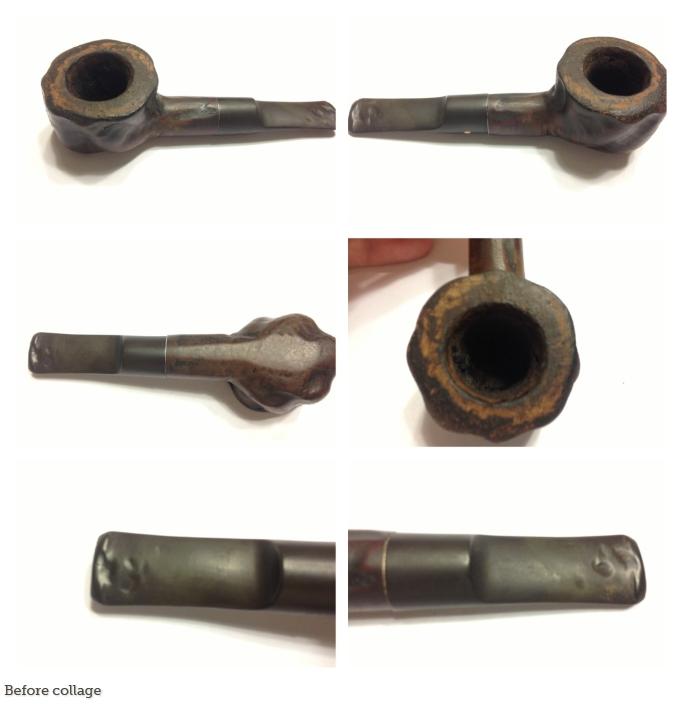

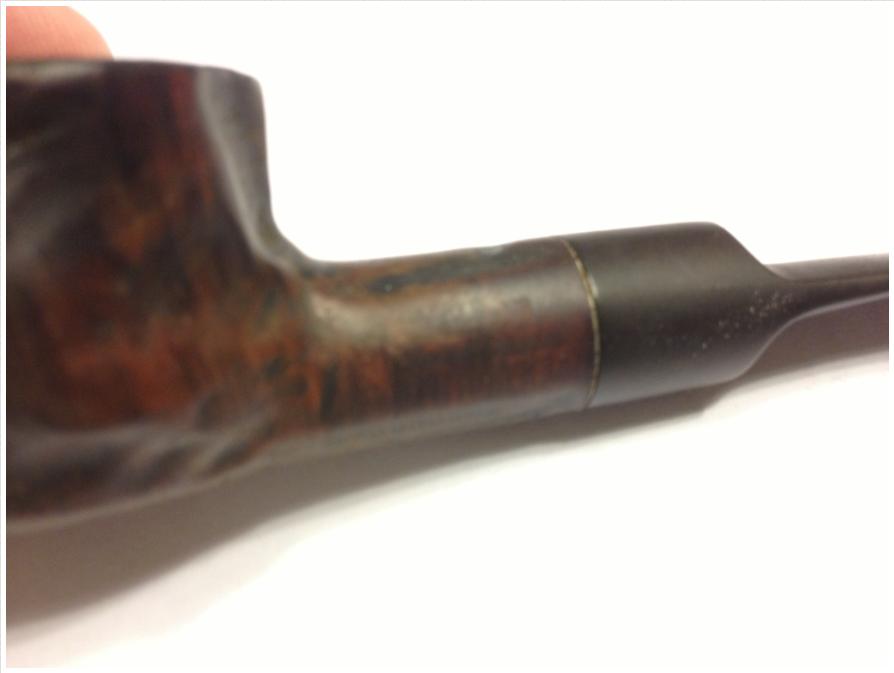
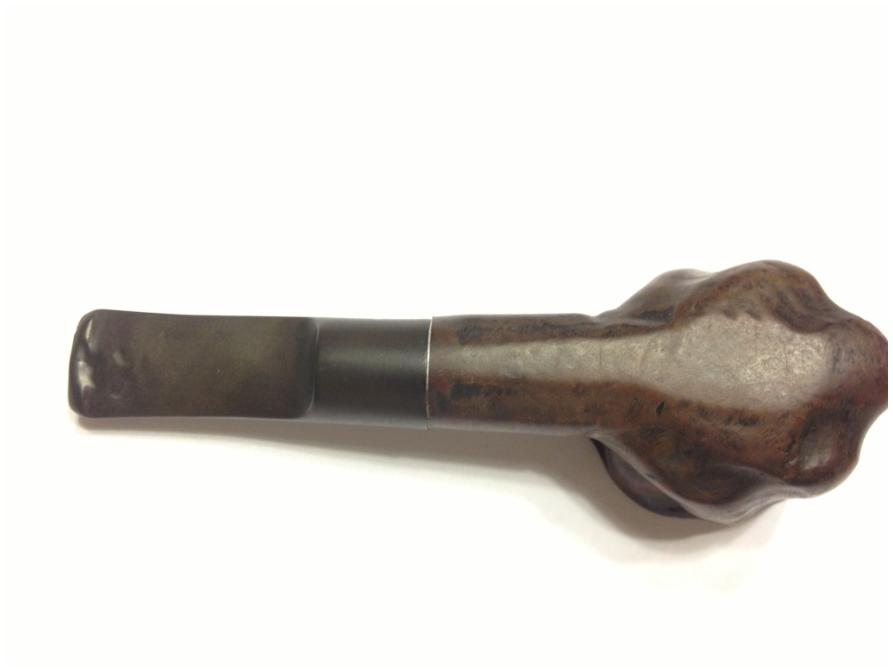
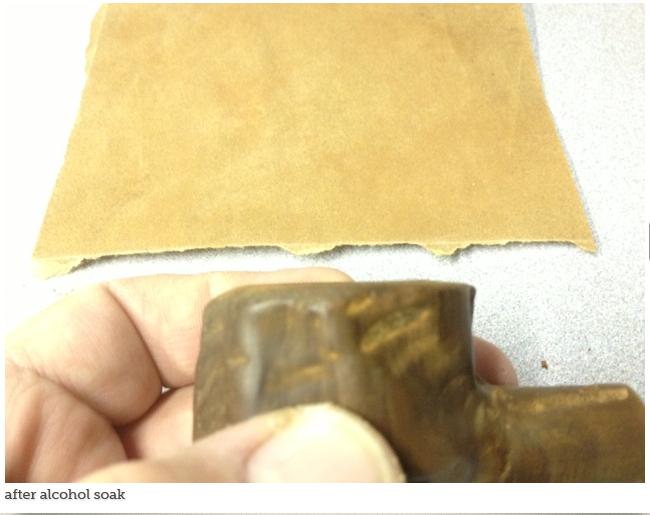
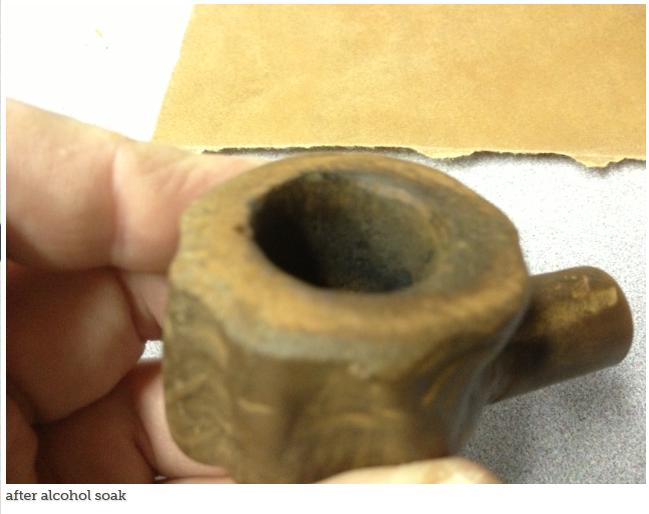
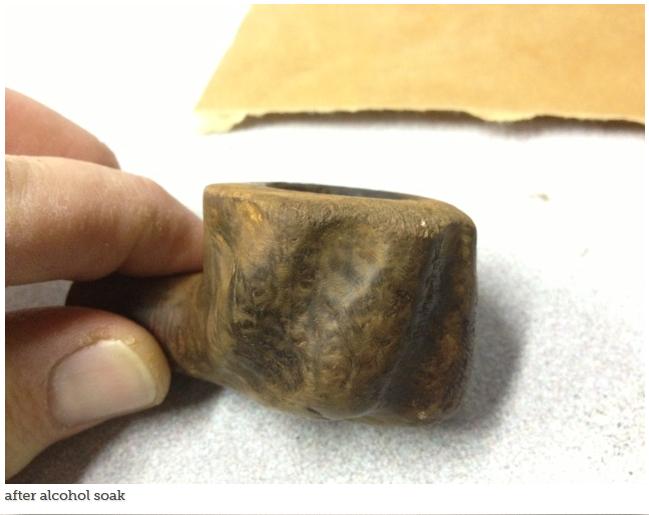
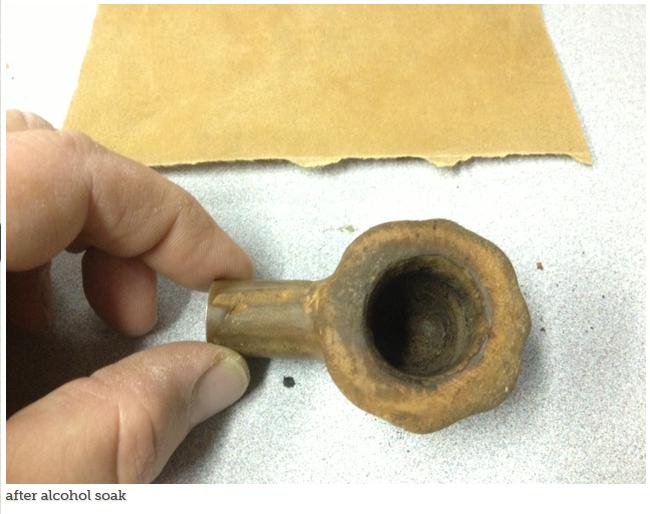
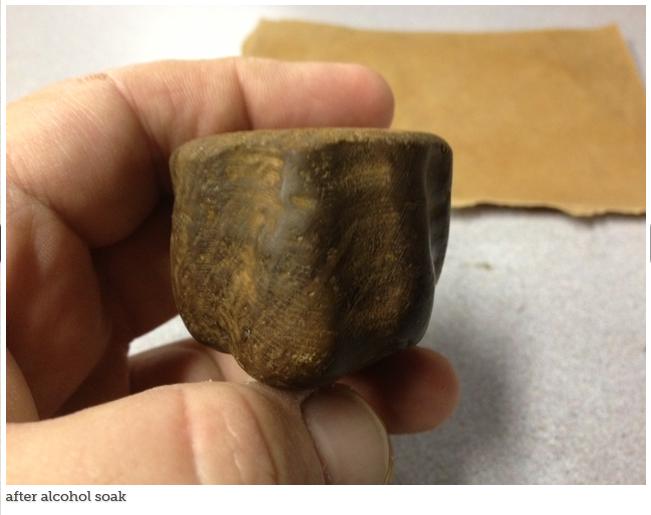
I began with an overnight alcohol soak and allowed a few hours dry time before I began working in the briar. She had a few scratches and a bit of whitish “mold” that I wanted to get rid of.
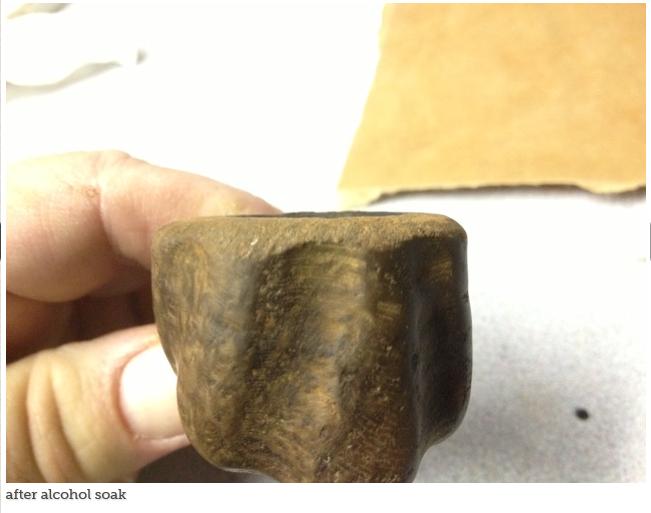
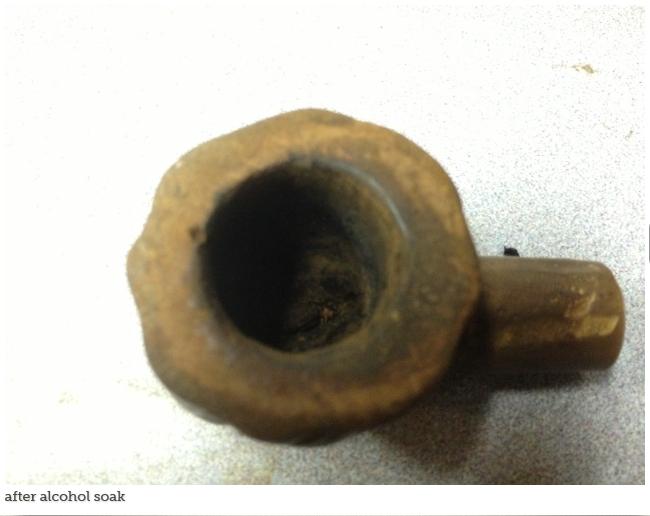
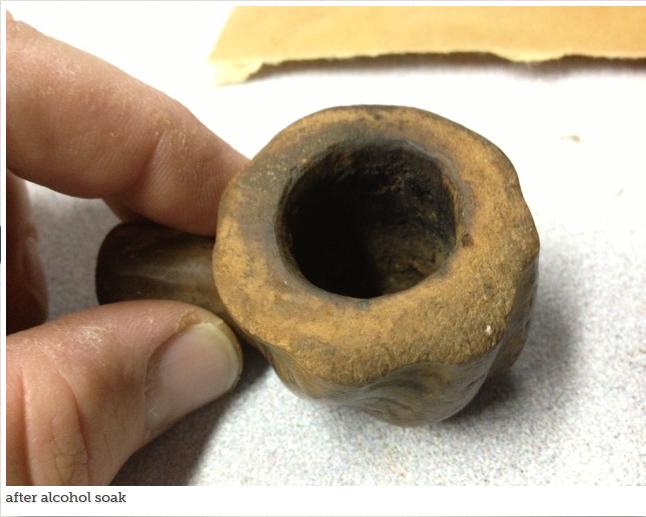
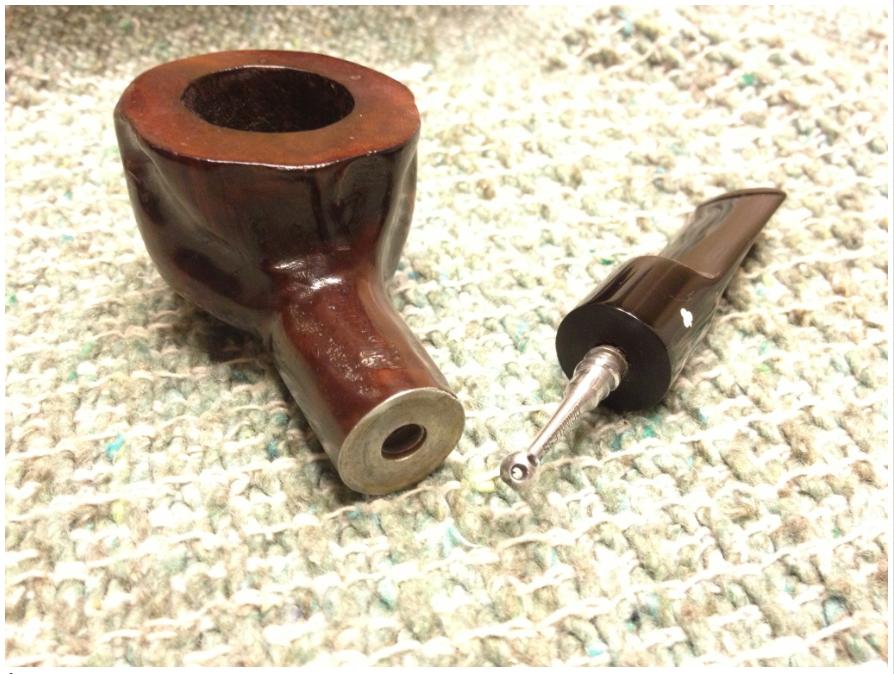
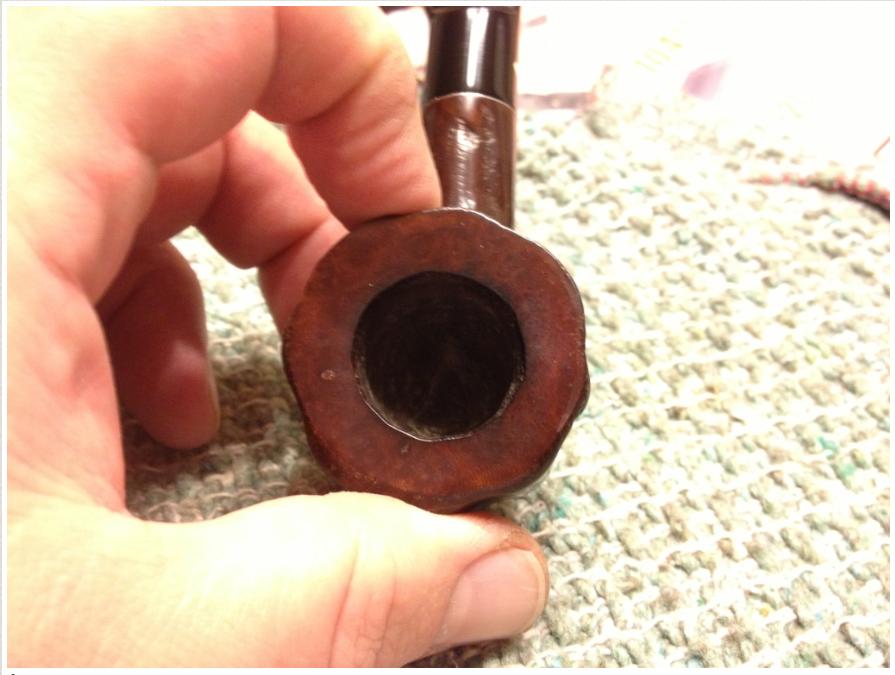
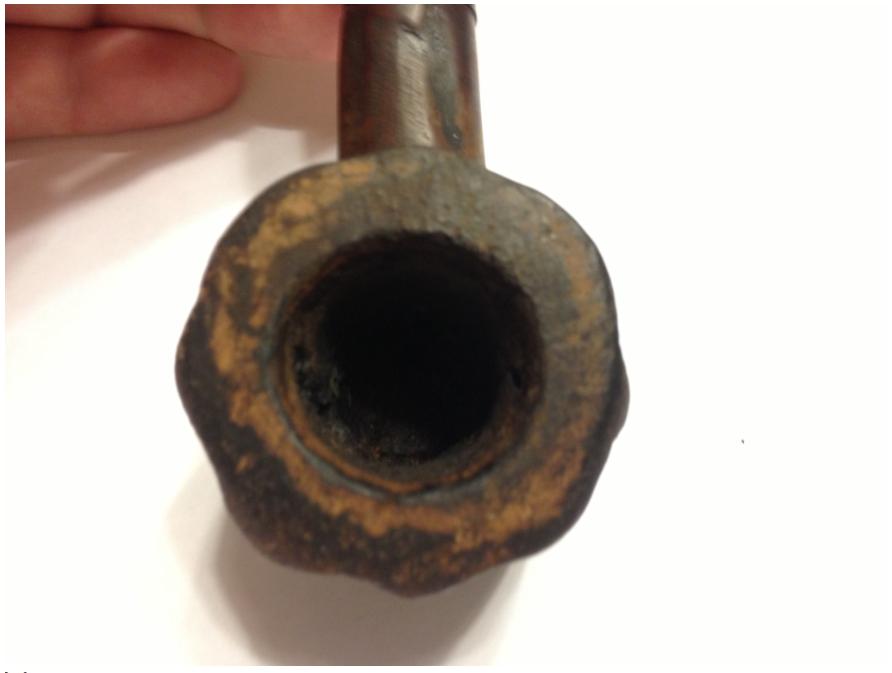
The previous owner must have had the dreadful habit of knocking the rim of the bowl to empty the pipe on a hard surface; the front was beaten down by probably 1/8th of inch, give or take a bit, giving it a terrible “frontal slope” (visible in the photos above and below). This seemed like the best place to start working on the briar. Before starting, I put the stem in a warm OxyClean soak so it would be ready when I was.

It took a lot of steaming and some topping to get the bowl back to even. I alternated steaming and topping until I was happy with the shape. The only thing I was unhappy with was finding a sand pit in the new top of the rim; I filled it with briar dust and dropped a little Super Glue into it to make a fill. The fill is somewhat visible but should fade with use as patina develops (I hope).

For the scratches and left over “mold”, I lightly sanded with 400 grit wet dry paper. It didn’t take too long on the scratches since they weren’t deep. The carved areas where the whitish substance was took more time but came off fairly easily. I then stained it with Fiebing’s Dark Brown leather dye, cut about 50/50 with 91% isopropyl alcohol. I applied, flamed, buffed with an old t-shirt by hand and repeated. Then I took the pipe to the buffer for a treatment with Tripoli, white diamond, and finally a few coats of carnauba wax. For the final buffing I used my cordless drill with a “mushroom” buffer attachment. I find the shape of the mushroom allows me to get into every crevice with relative ease. Lastly, I cleaned with stinger by buffing it with blue rouge several times, bringing it back up to a nice, new shine. I then set the bowl aside to work on the stem.
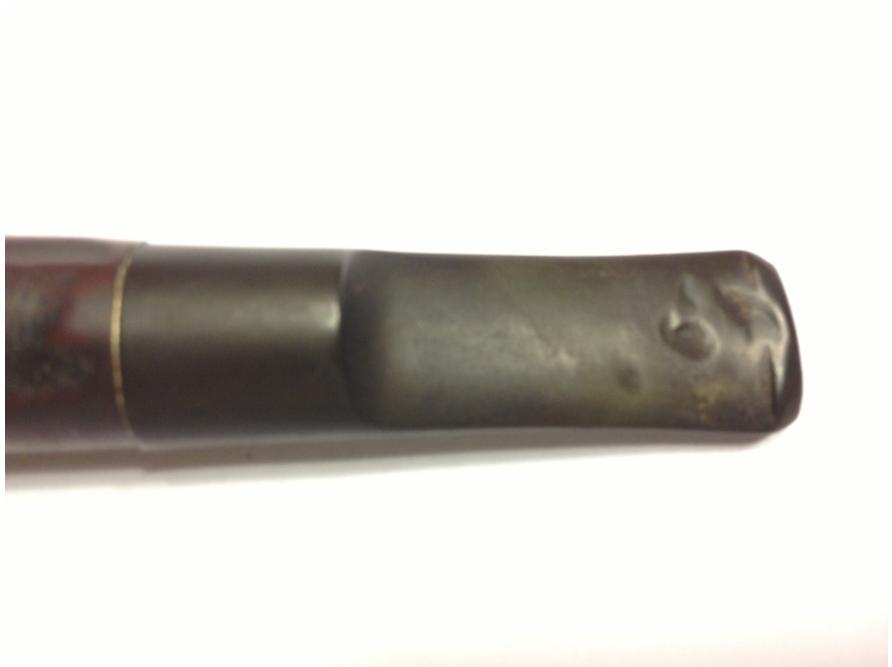
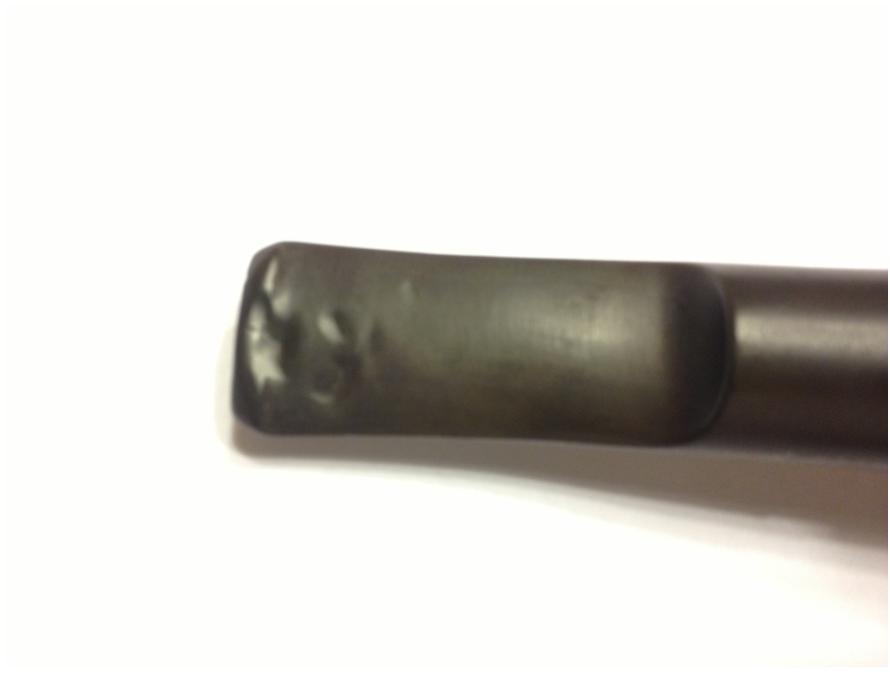
When I took stem out of its bath I rinsed it well and used a Miracle Eraser to remove some of the loosened oxidation. To my surprise I found that the bit was cracked under all the crud, something I had not dealt with before. I then took a fluffy pipe cleaner and dipped the first 1.5 inches or so into Vaseline and then inserted it into the stem. I dripped some Super Glue into the crack and let it sit a while until it had hardened through. (This was my first time fixing a crack with super glue and was happy with the outcome and learning curve.) The stem was really deeply marked dents and scratches and took a lot of time and work. I began with some heat from a candle to raise what I could of the dents. Then I used various needle files, wet/dry sand paper in grits from 220-800, micro mesh 1500-4000, plastic polish and carnauba wax on it. I actually started over twice, at different points, to get it as nice as possible.
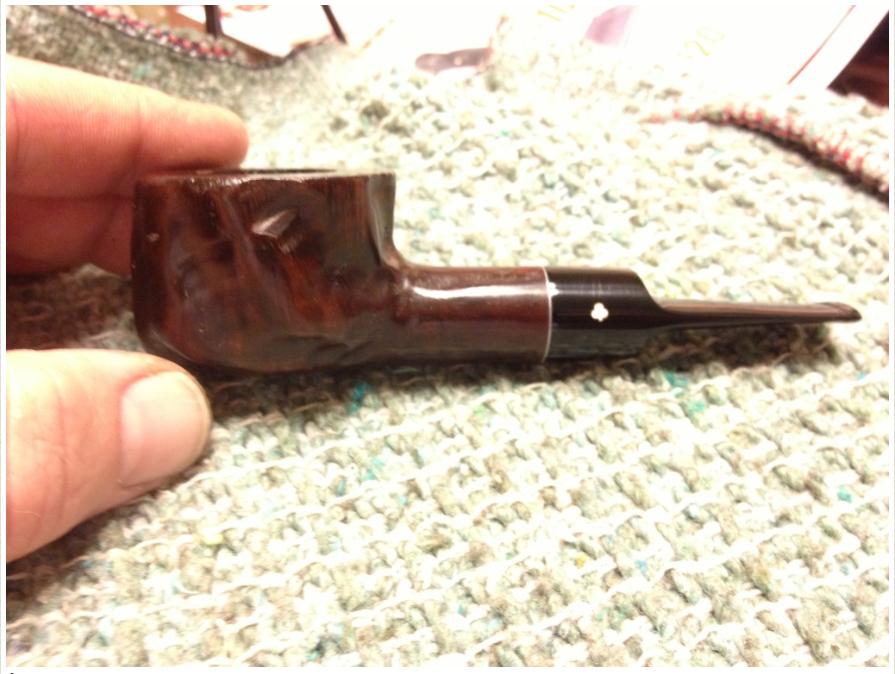
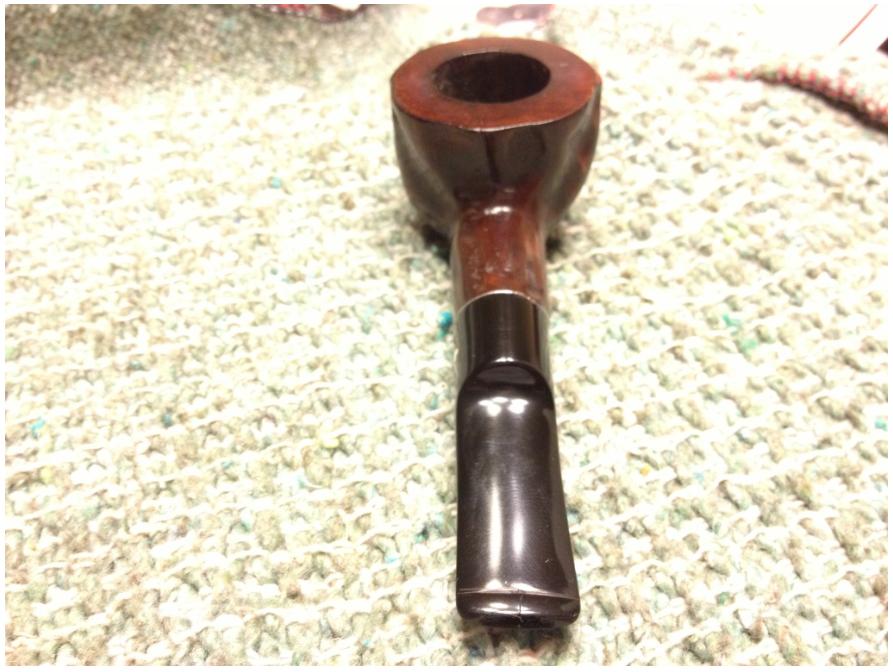
Here are photos of the finished pipe.