Daily Archives: February 15, 2013

Italian Made Pot Refurbished and Reborn with a New Look


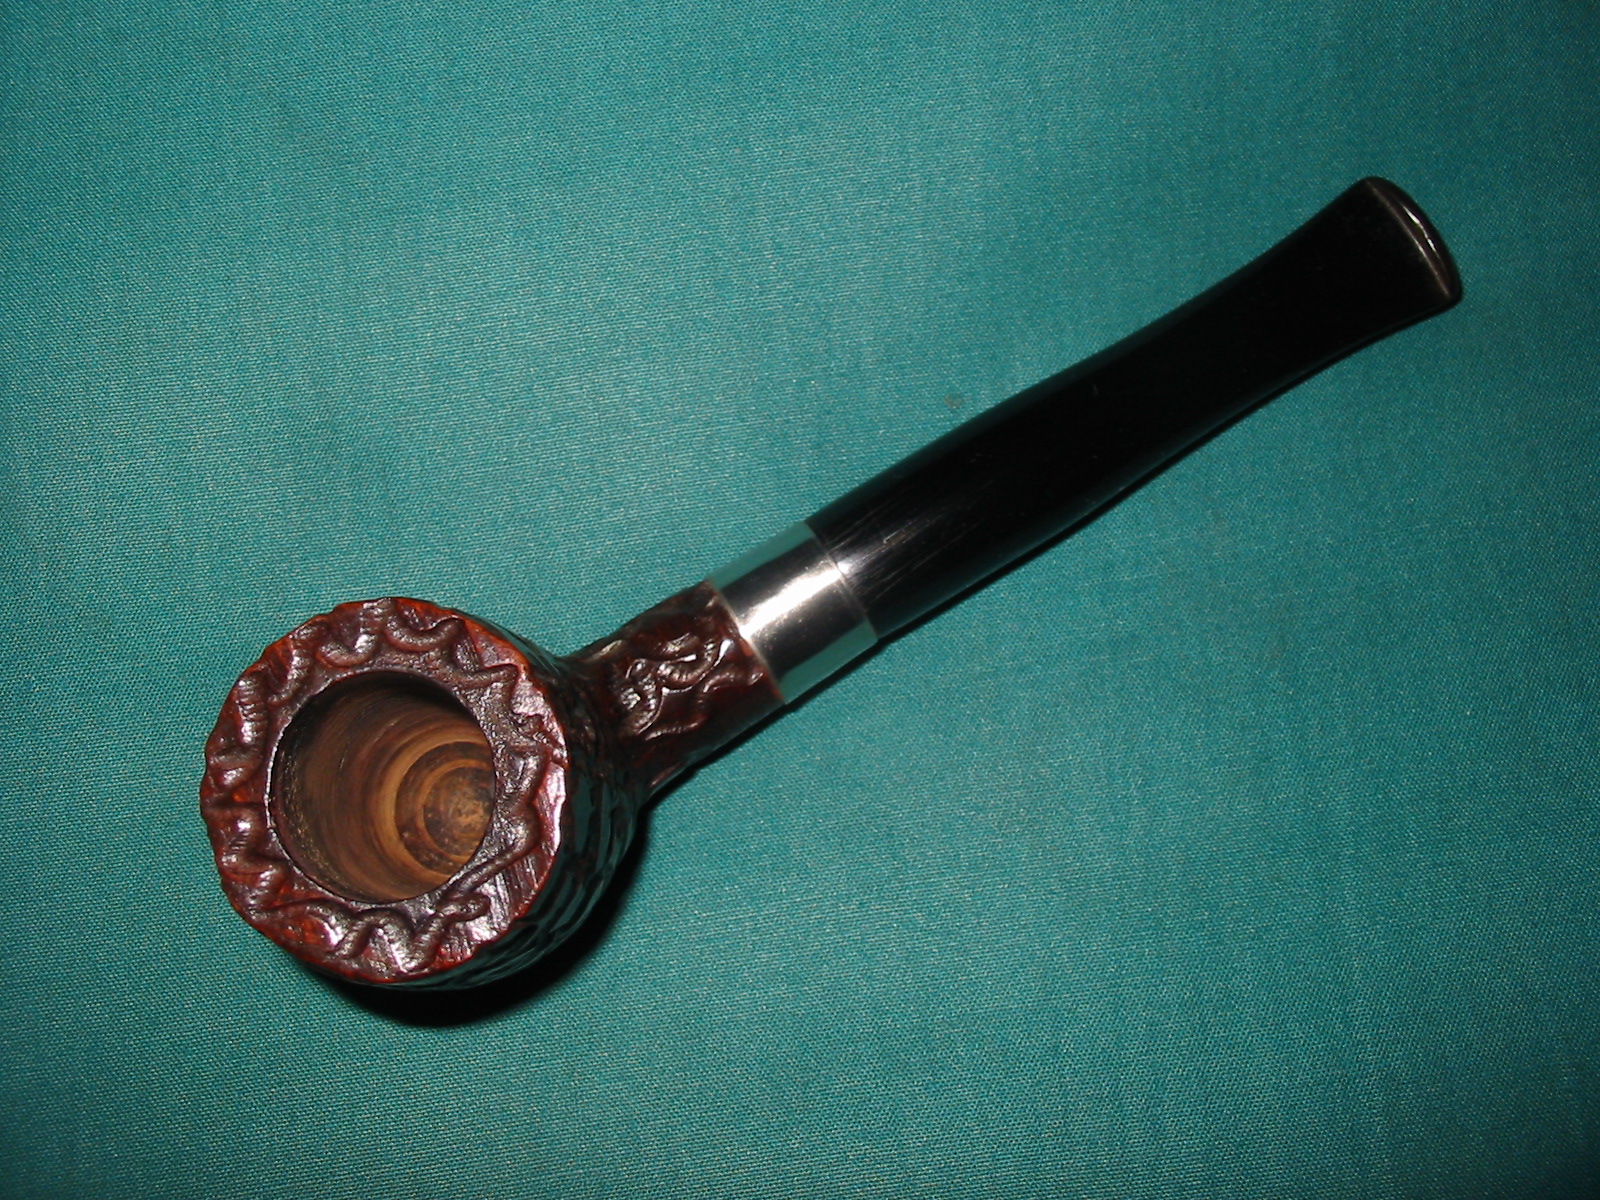
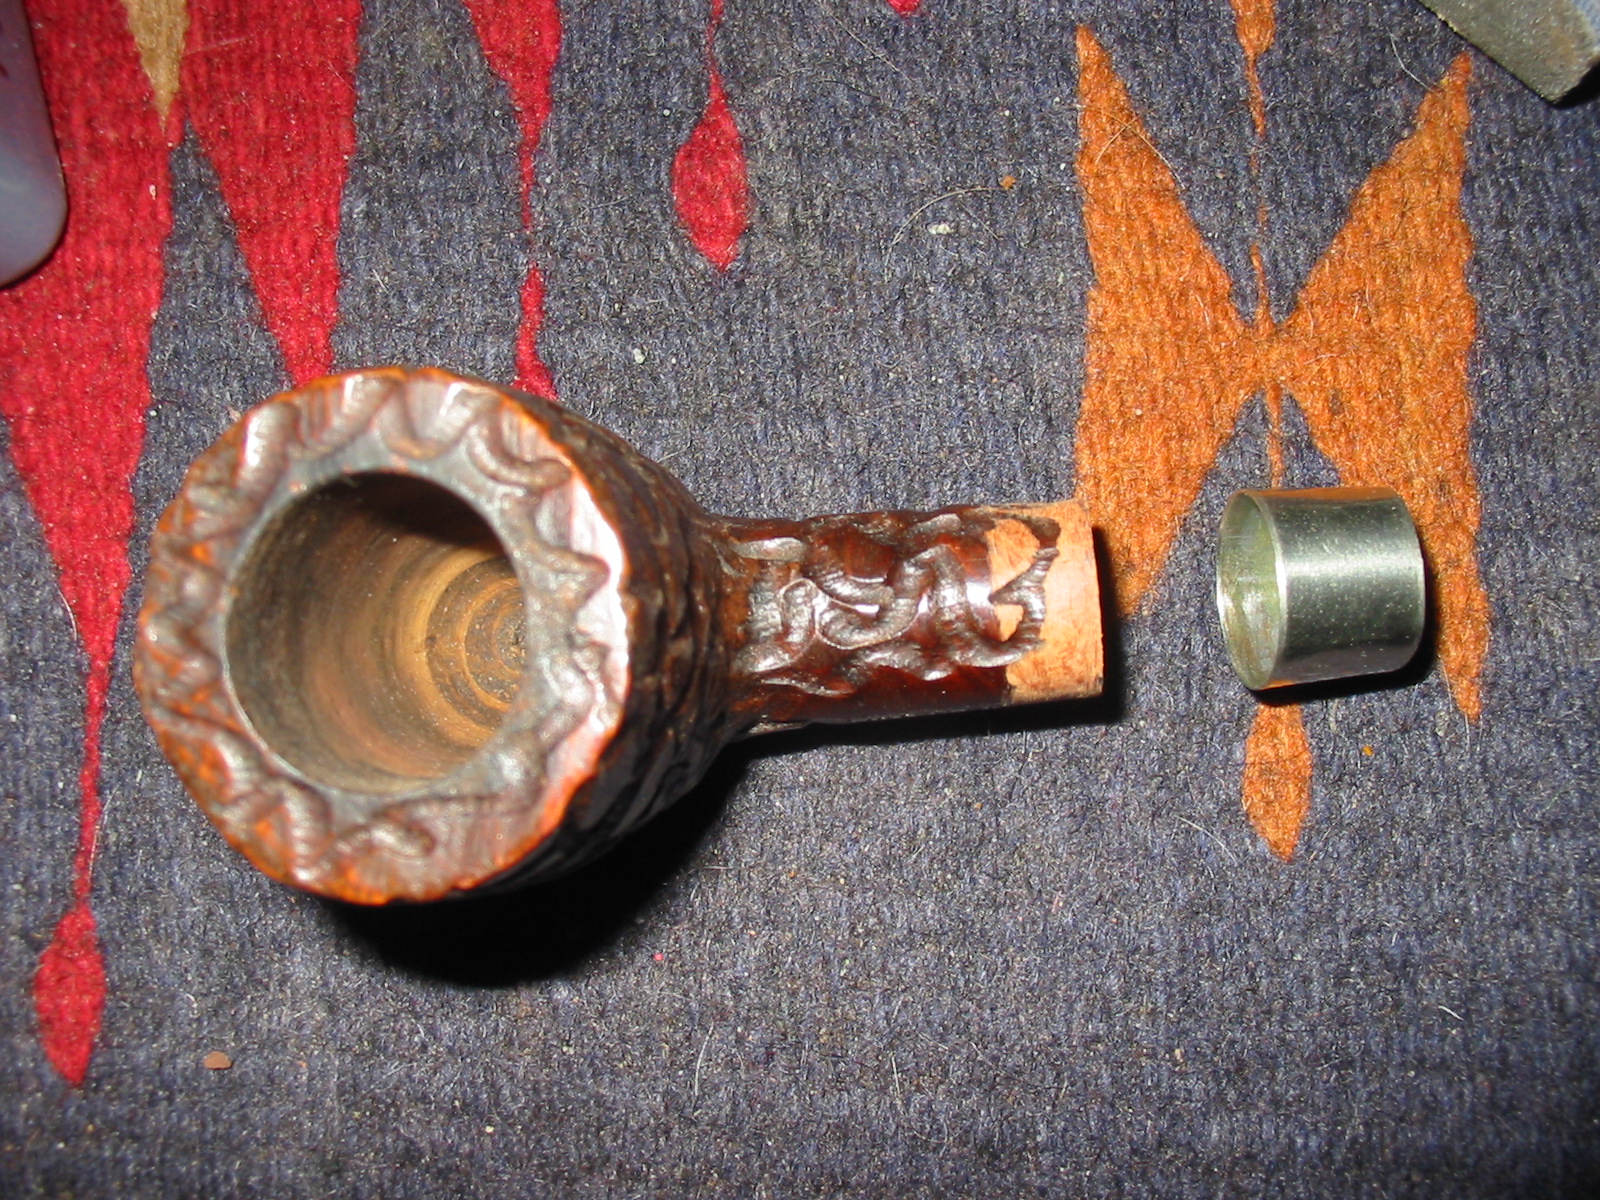
This was one of the stummels from a box of pipes without stems that are all that are left of a big lot of pipes I was gifted by a friend. There are about 30 left, I have restemmed many of them over the past year and given away many more. This one is a no name Italian Made that is stamped Real Briar in italics and stamped on the left side of the shank. It is a rusticated bowl and as can be seen in the picture below had a cracked shank. The stem that is in the pipe is one that I recycled from my can of stems. It needed to be cut down to make the diameter of the shank match the diameter of the stem. I also needed to band the shank to do a repair to the crack.

Image

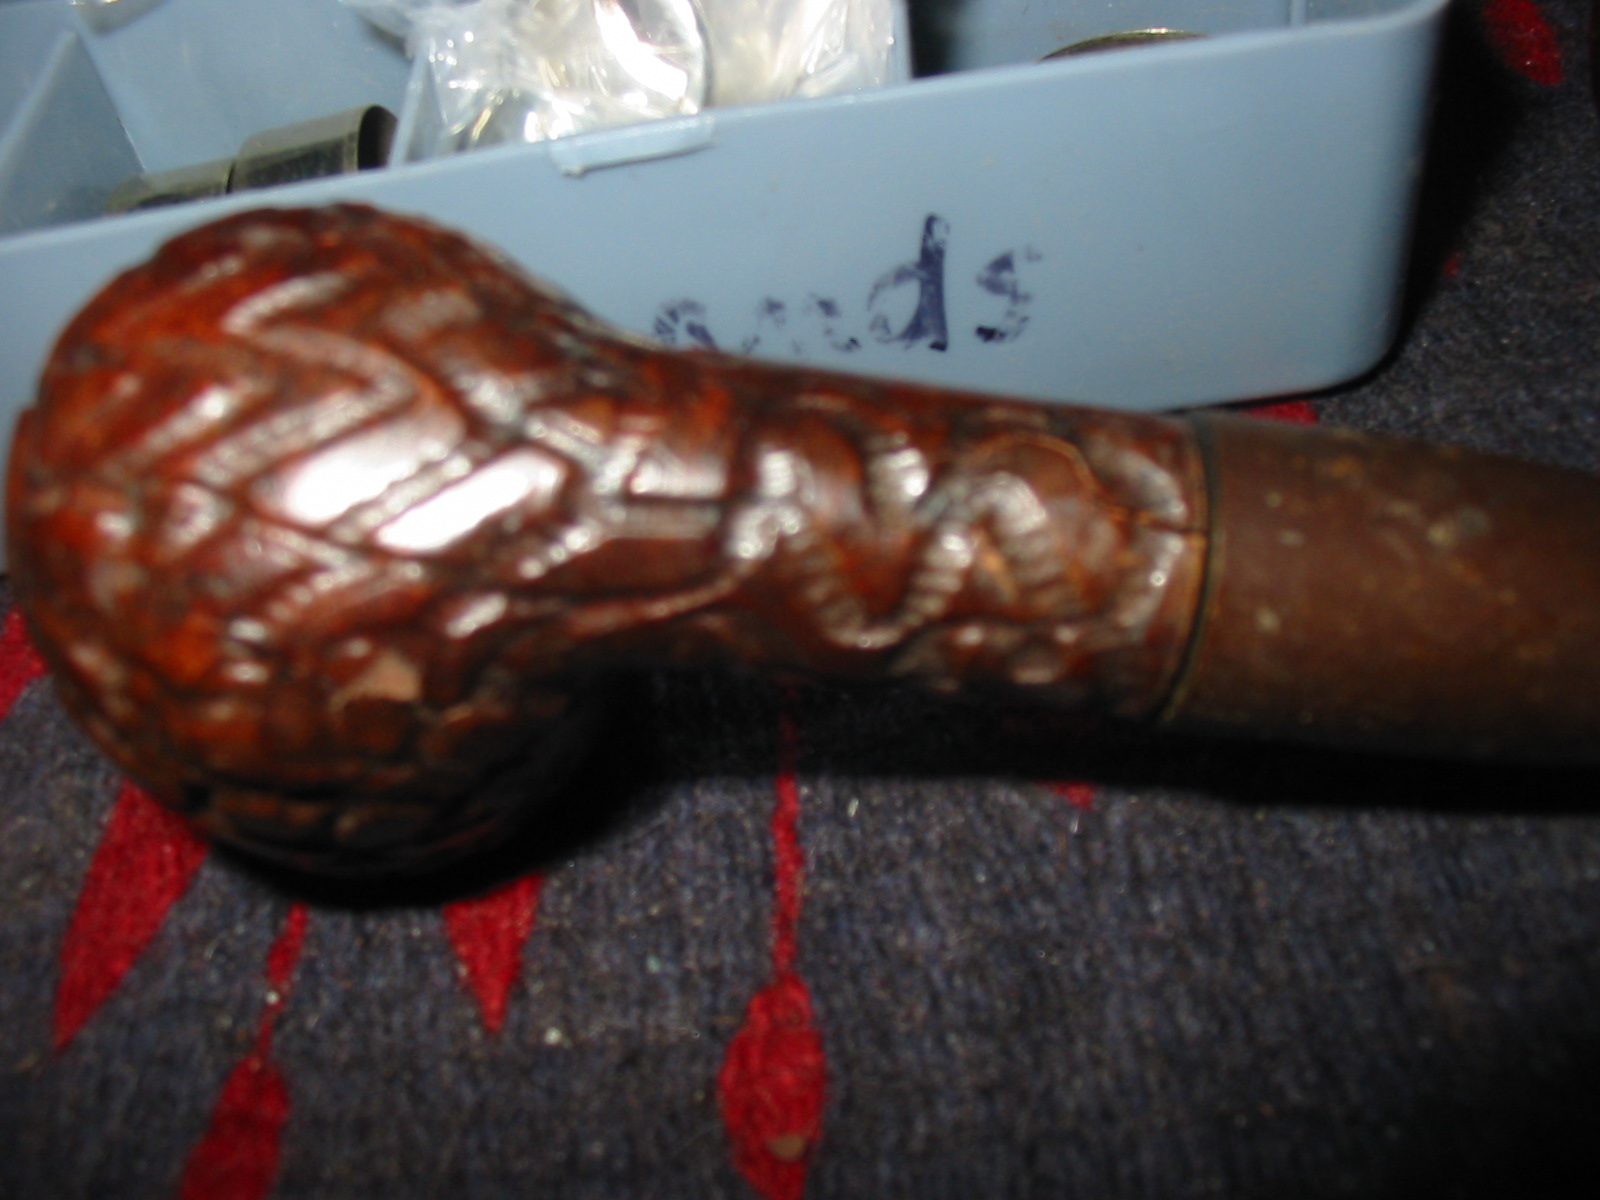
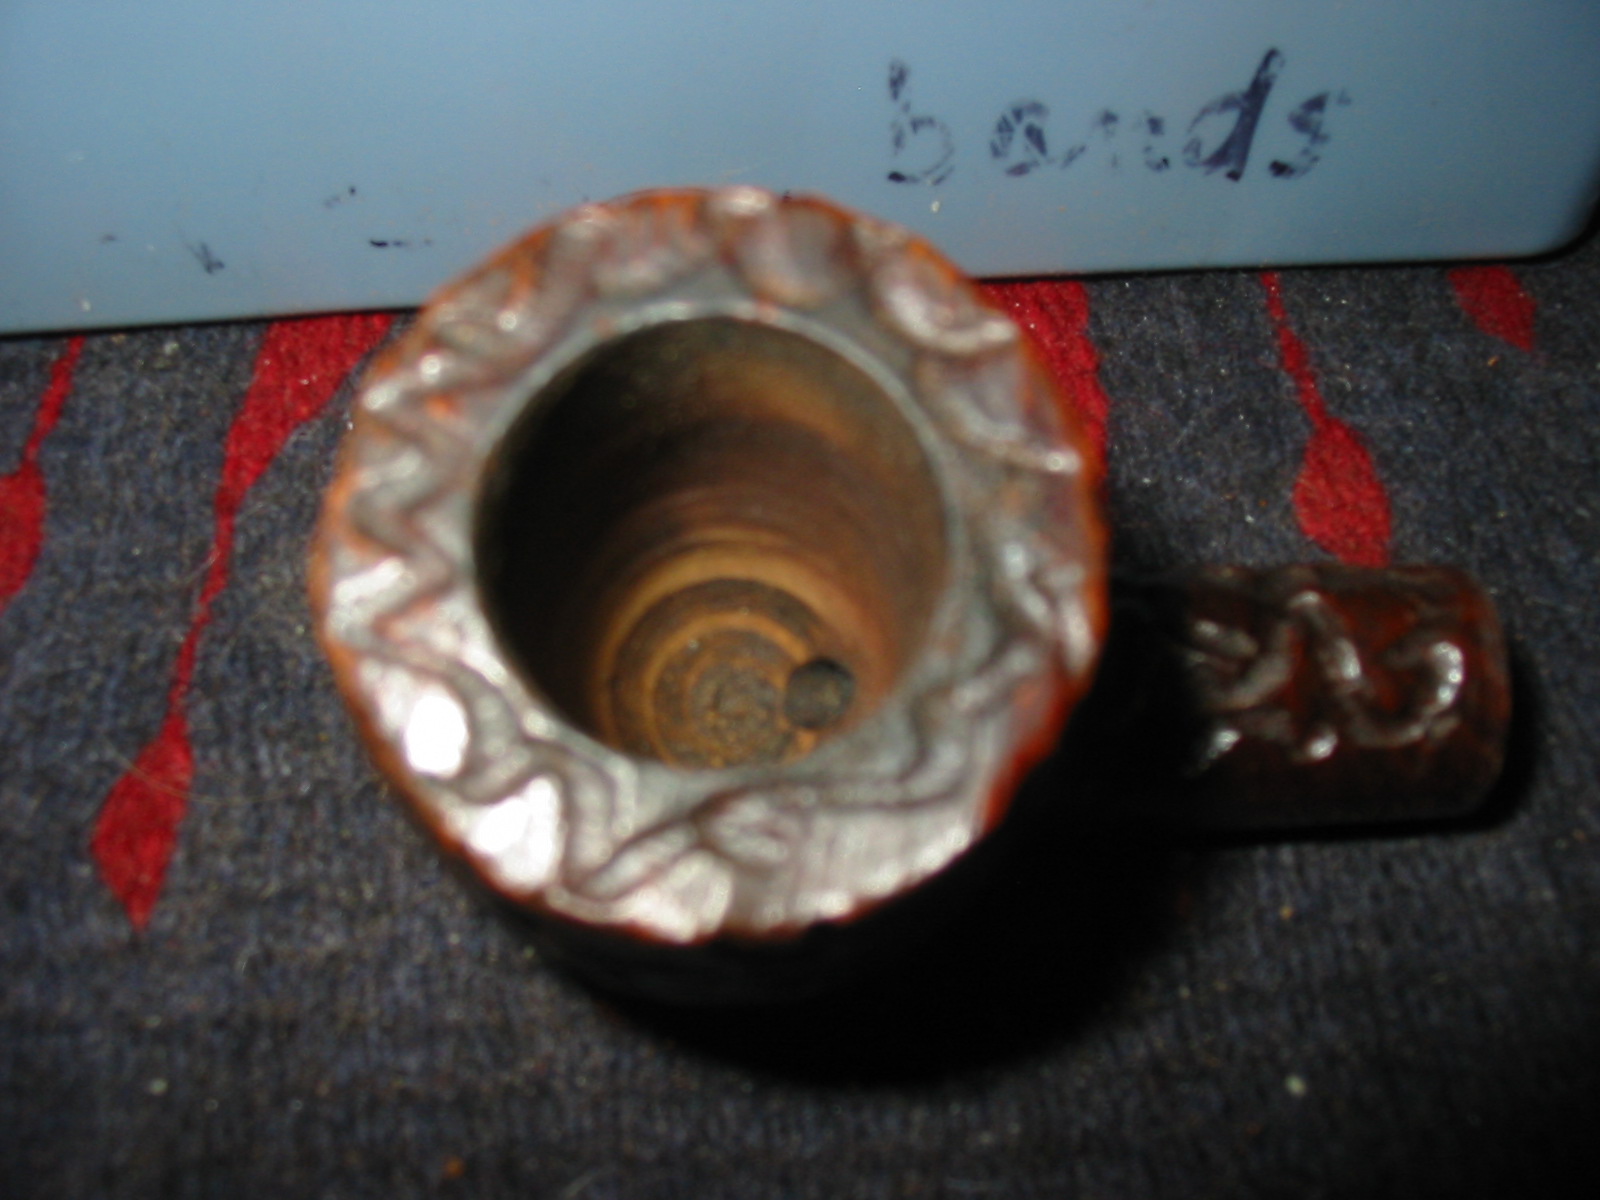
The picture below show the bowl as it came to me. It had been reamed with something that scored the bottom of the bowl and left marks. It was however very clean. The rim had slight darkening but was otherwise clean as well. The inside of the shank was clean and fresh. The pipe took very little prep other than repairing the cracked shank to ready it for the new stem.

Image

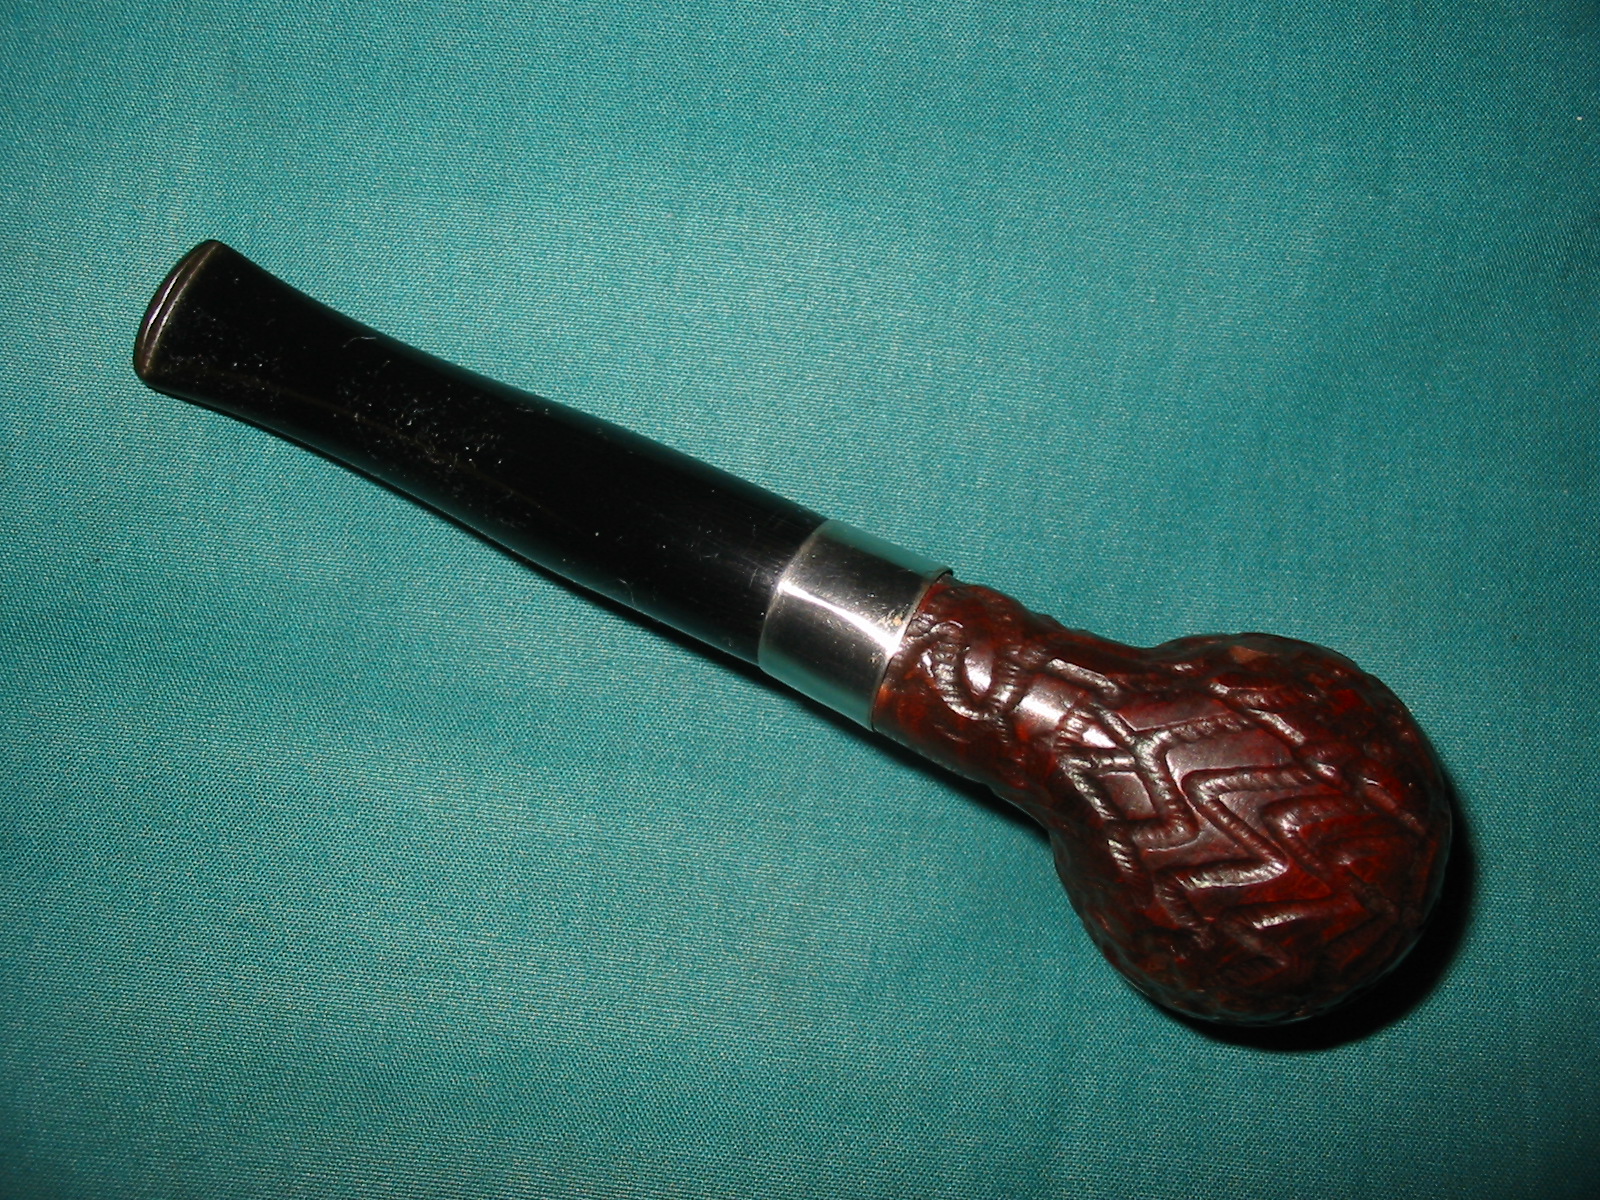
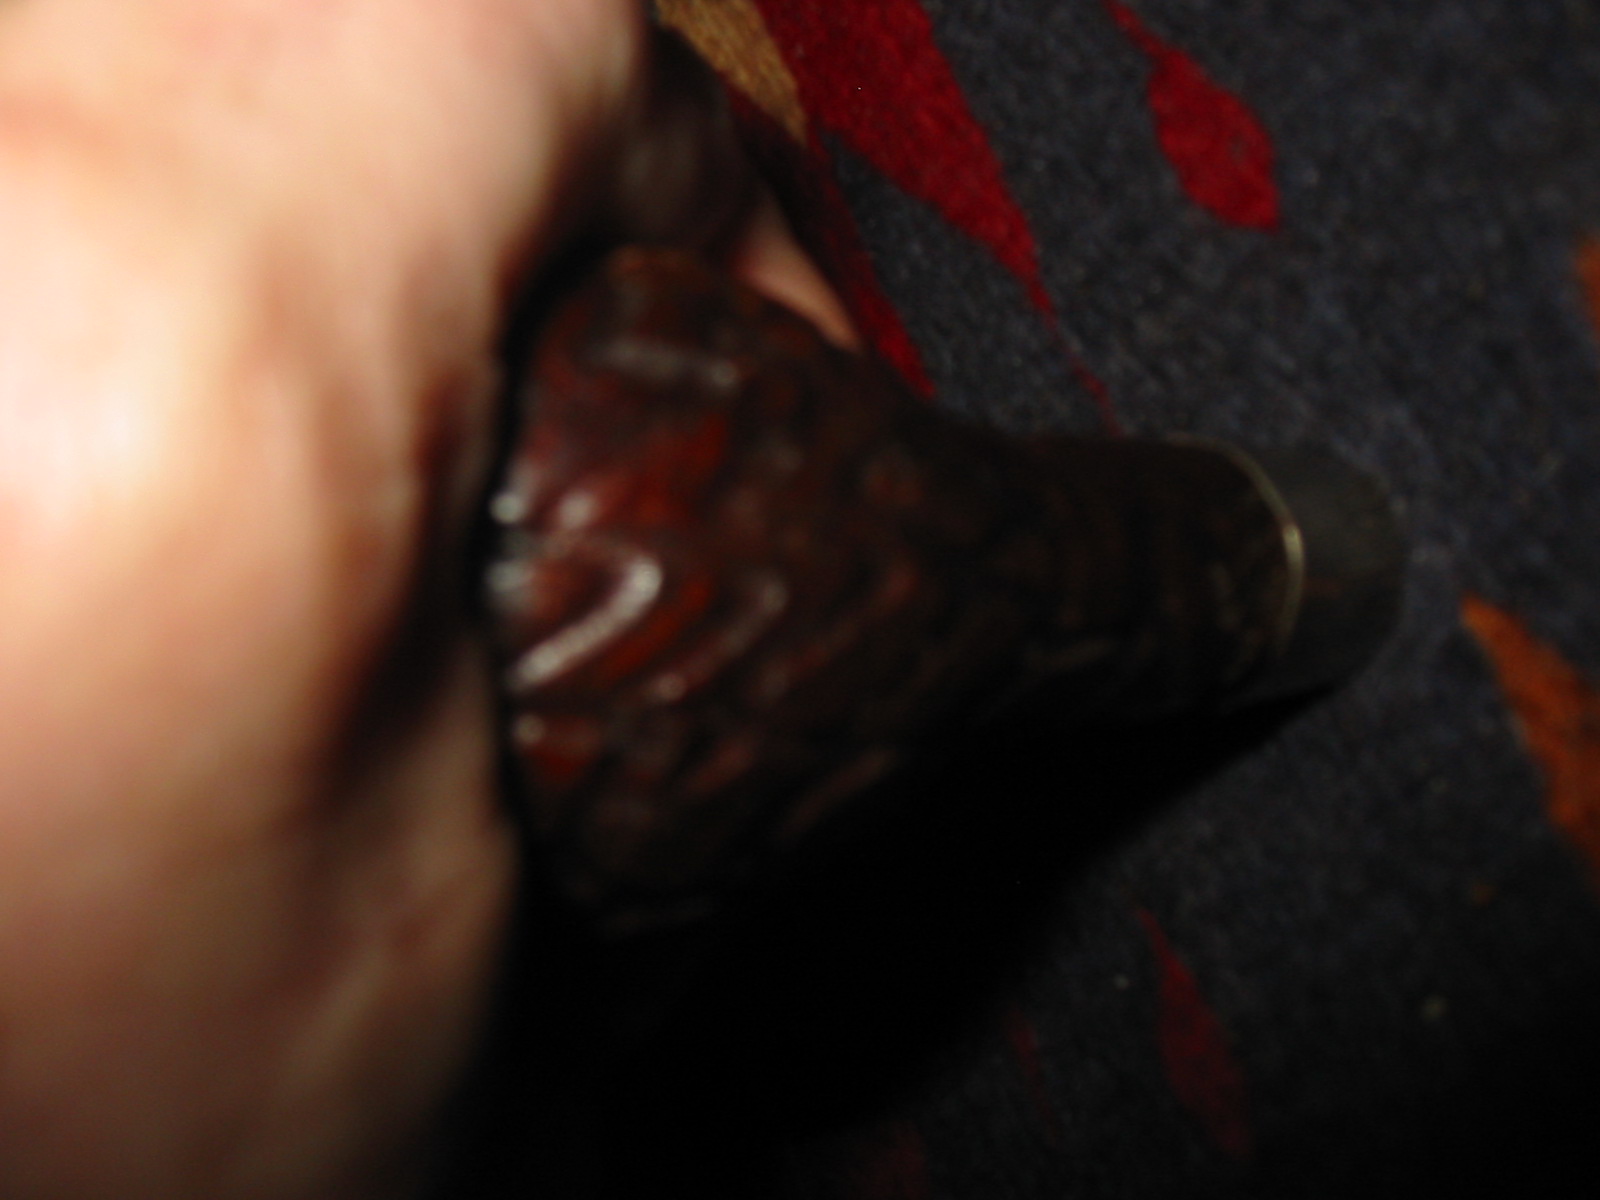
To prepare it for banding I checked through my box of bands to find one that would give a good tight fit when pressure fit to the shank. I found one that would work but also found that the carved grooves in the finish of the pipe made a tight fit to the shank virtually impossible to obtain. I used my dremel to remove some of the grooves to the depth of the band width. I checked the band fit several times and took off enough of the briar to obtain a tight fit. I was able to step down one size in bands and got a perfect fit. The next two photos show the shank prepared for the fitting of the band. I also used some superglue to repair the crack in the shank. I pried it open with a dental pick inserted in the shank and applied pressure to open the crack enough for the superglue. I dripped the glue into the crack and squeezed it shut until it dried. IMG_9869

Image

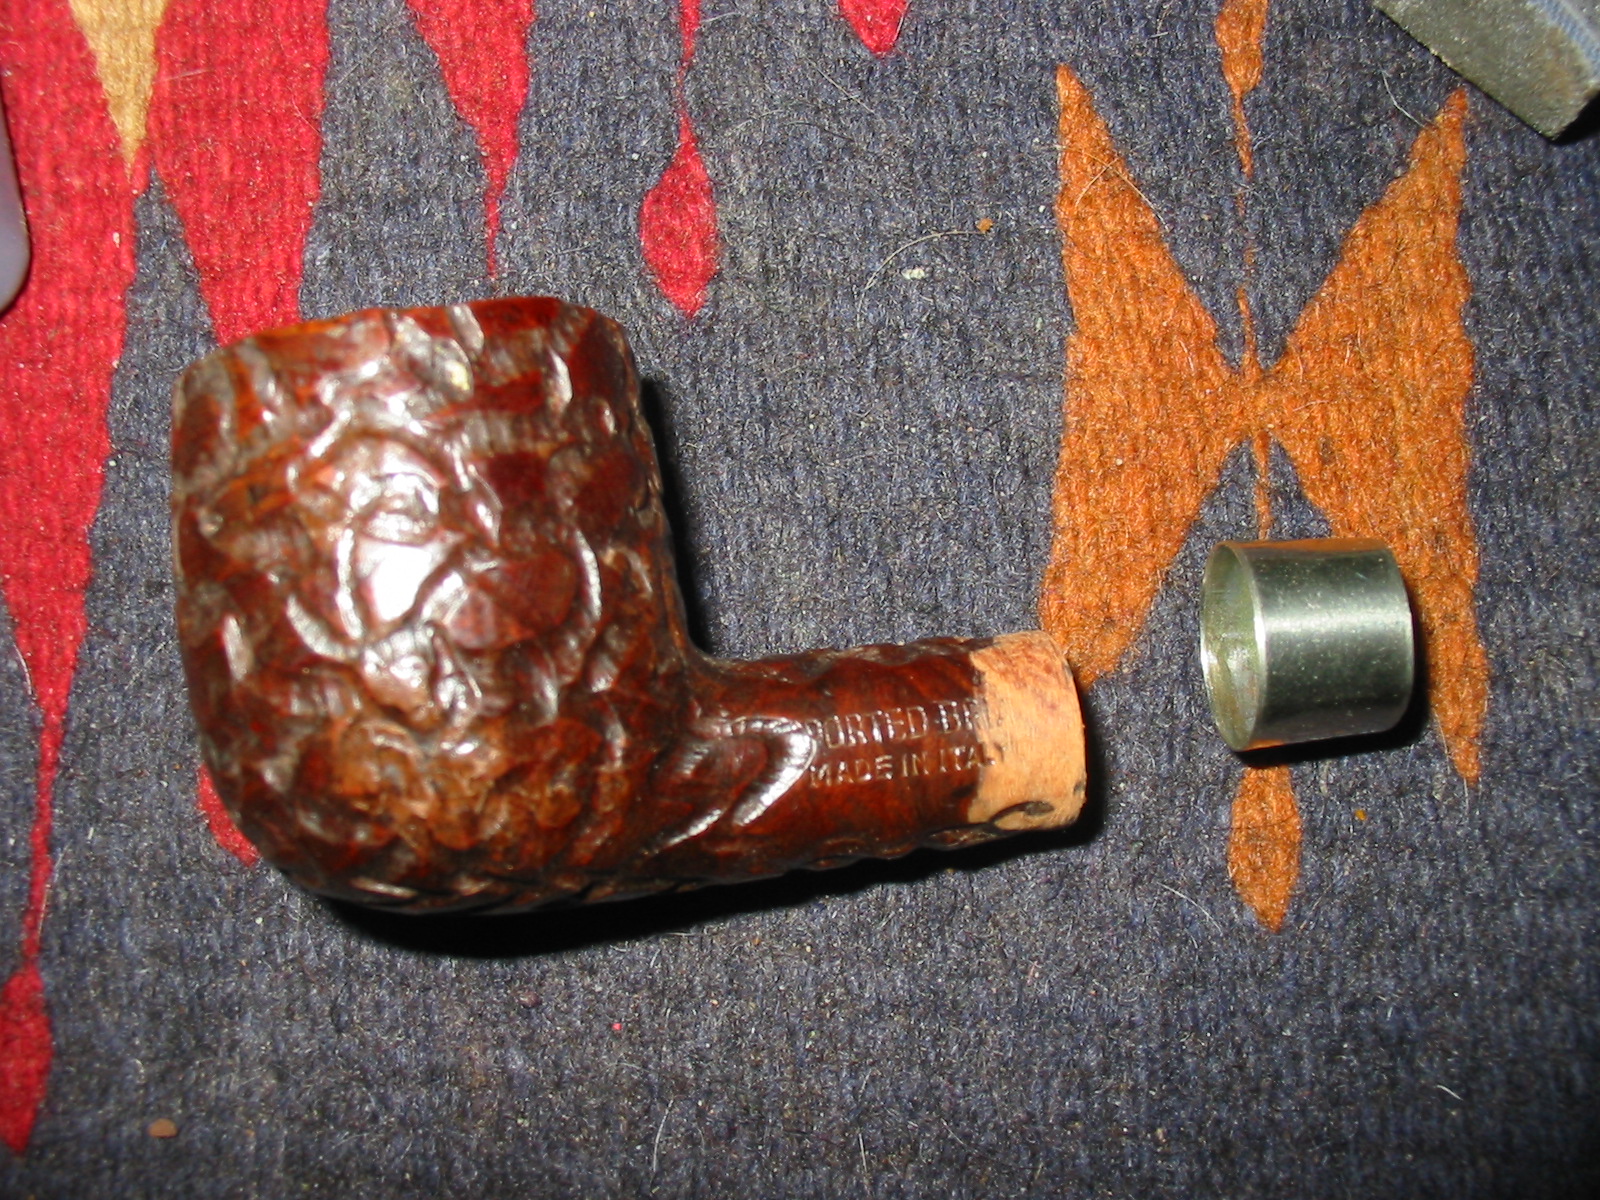
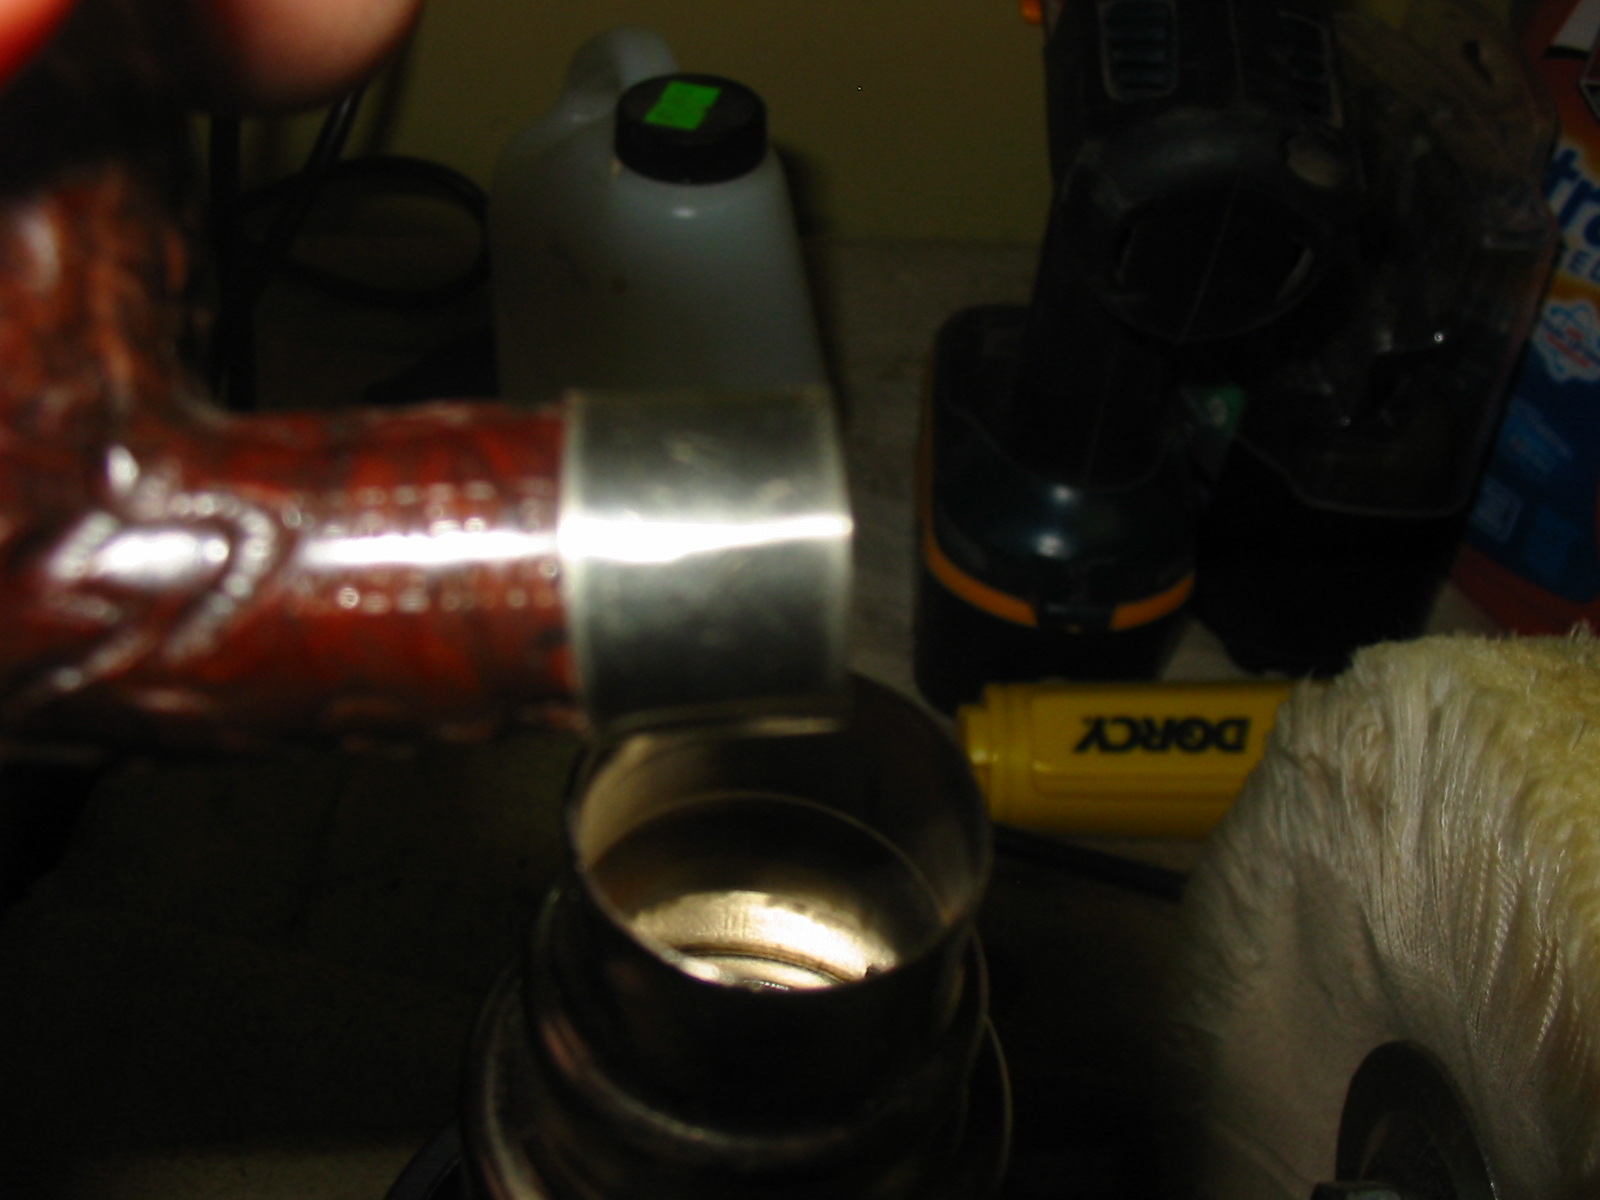
I slid the band on to start the fitting and then took it to my heat gun. I heated the band on the shank and then pressed it into place. I repeated the process until the band was properly placed on the shank. The next two photos show that process – I heat the band and then press it on using the piece of carpet on my work table.

ImageImage

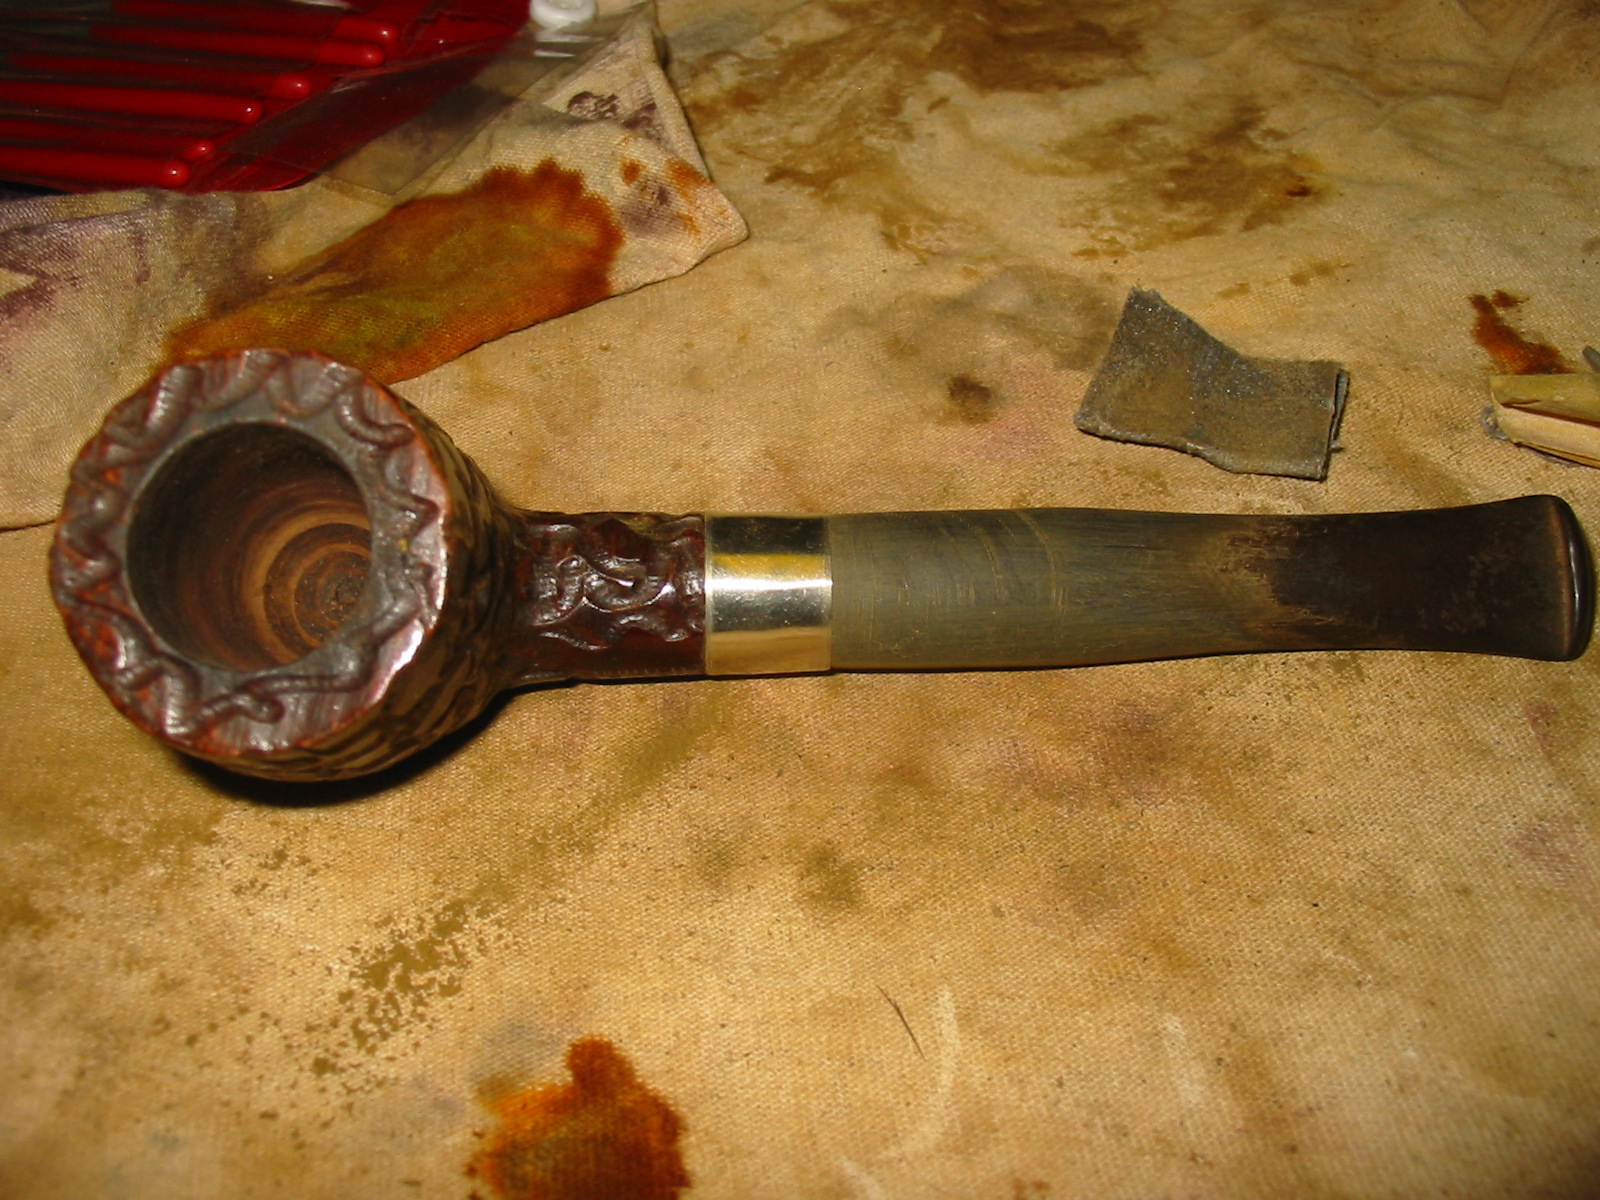
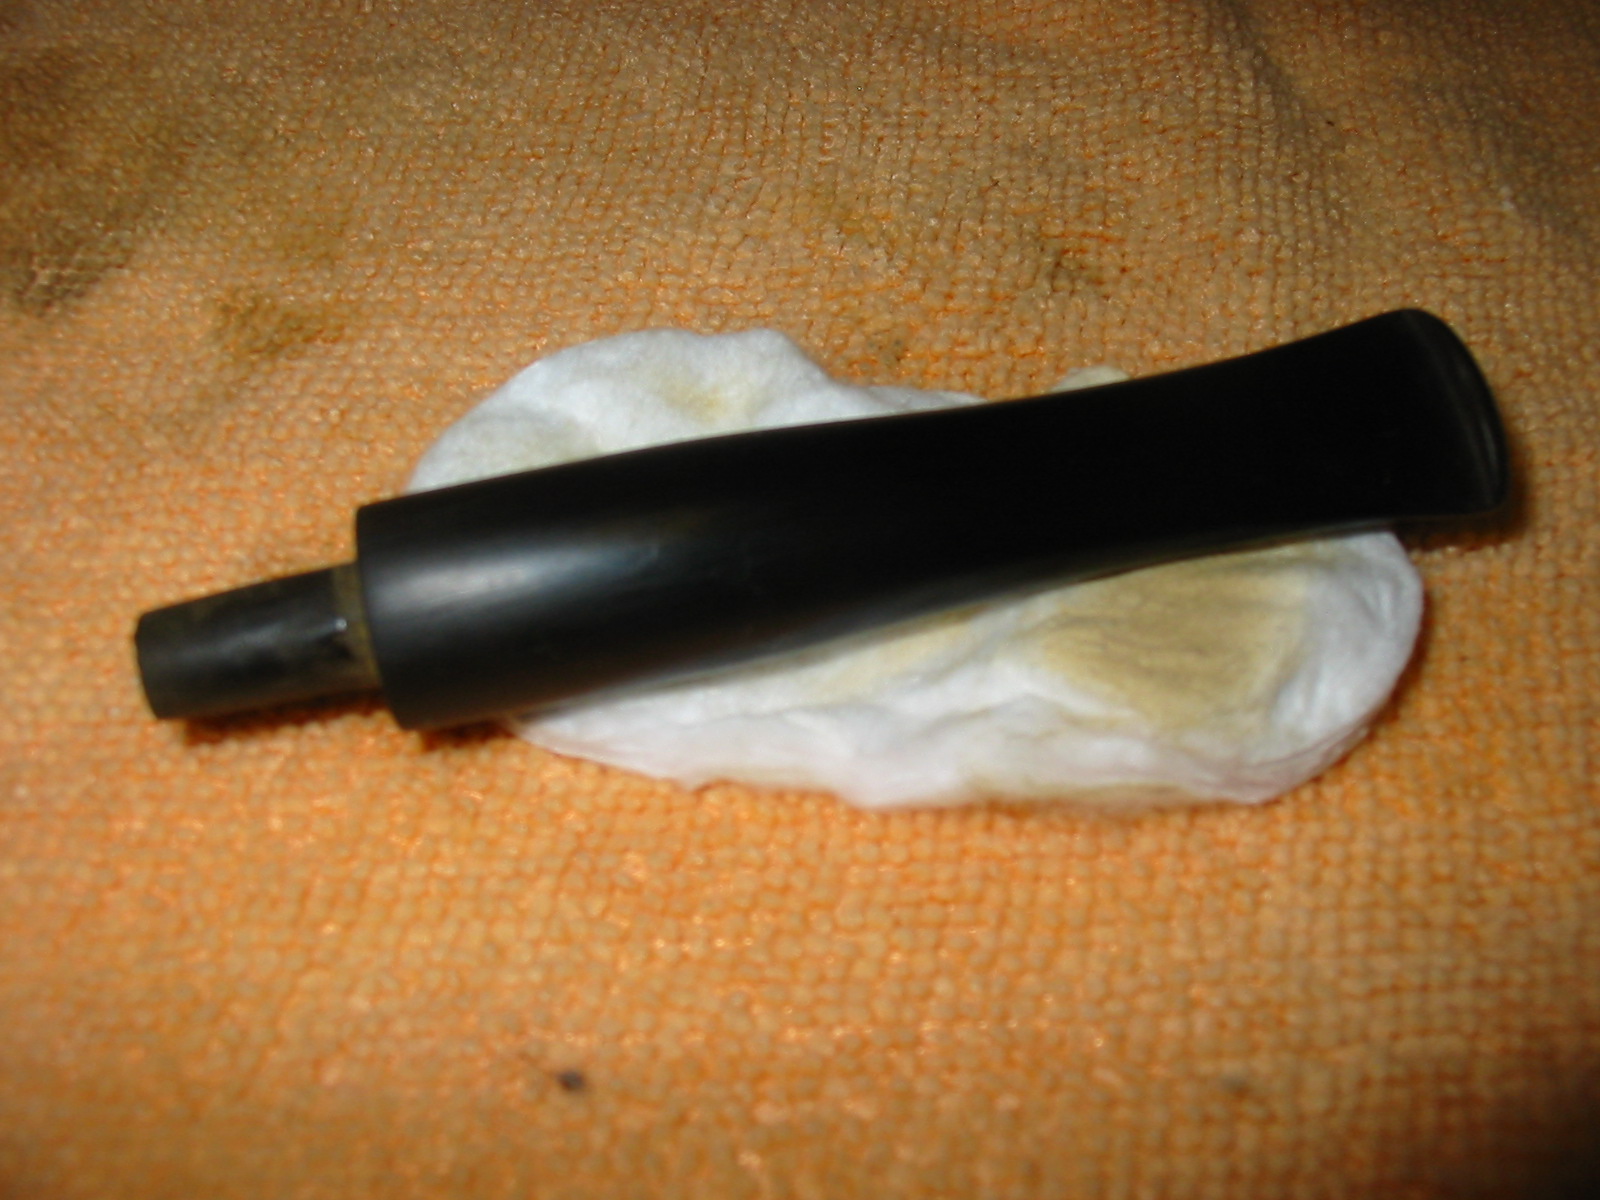
Once the band was in place I used my Dremel on the stem to remove the excess material on the diameter of the stem. I have found that if I run it at a medium speed I can control the sanding drum and not cut gouges in the vulcanite. It requires a steady hand and patience to get the work done without cutting too deeply into the stem and causing gouging that takes a lot of sanding to remove. After I cut away the necessary excess I also sanded the tenon for a proper fit in the shank. Once I had banded the pipe it no longer fit as easily. I wanted a smooth and snug fit but not one that would damage the shank. The picture below shows the stem after I have started sanding the stem with medium grit emery cloth to sand out the scratches and fine tune the fit against the band.

Image

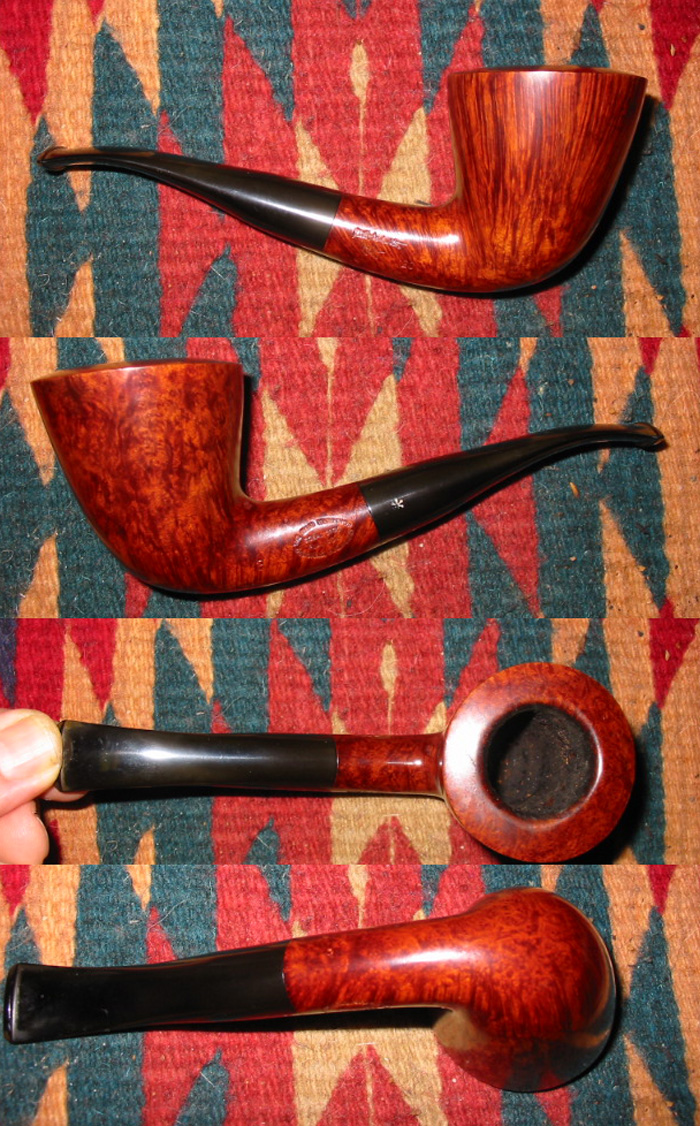
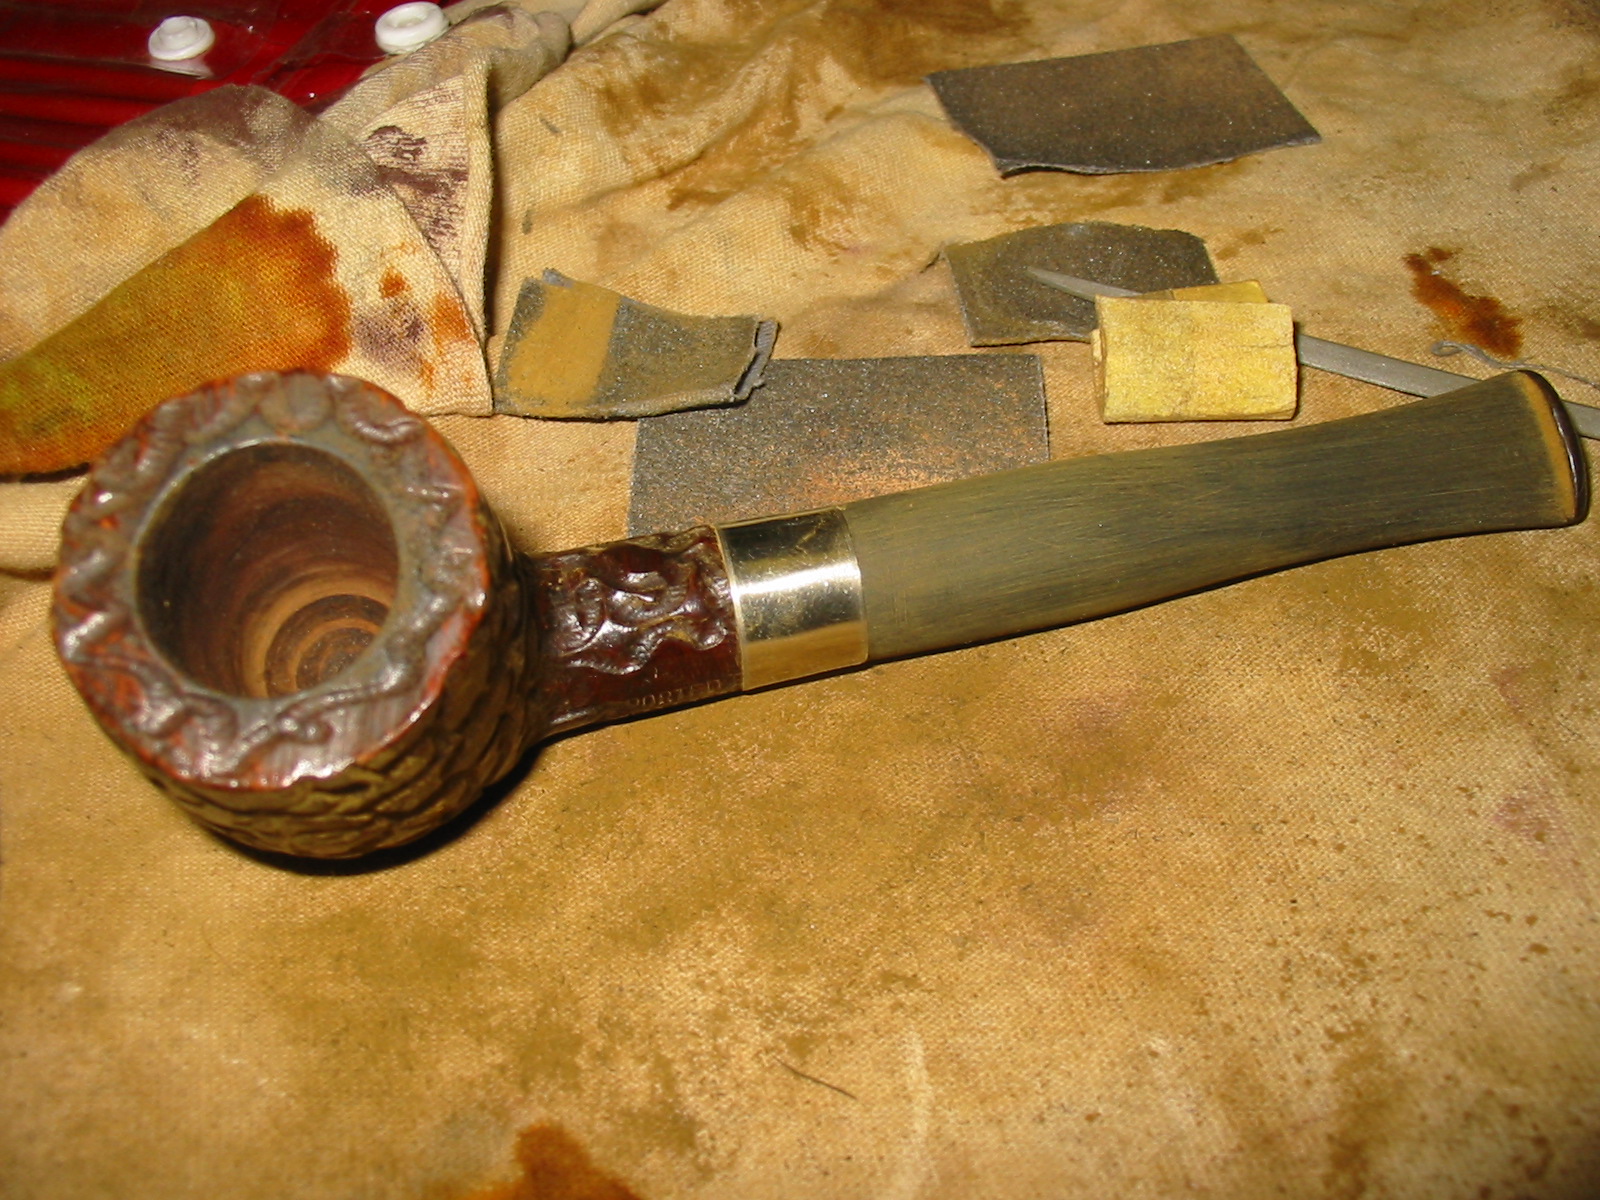
I continued sanding with the emery cloth until the fit was what I wanted. The next two photos show the pipe with its new look. The band is in place and the stem fits. It is a nice chunky stem that I think matches the shape and flow of the bowl and shank nicely. I still had a lot of sanding to go. I continued with the emery cloth to remove the build up and oxidation around the button area. I decided to rework the entire stem and then polish it to a shine.

ImageImage

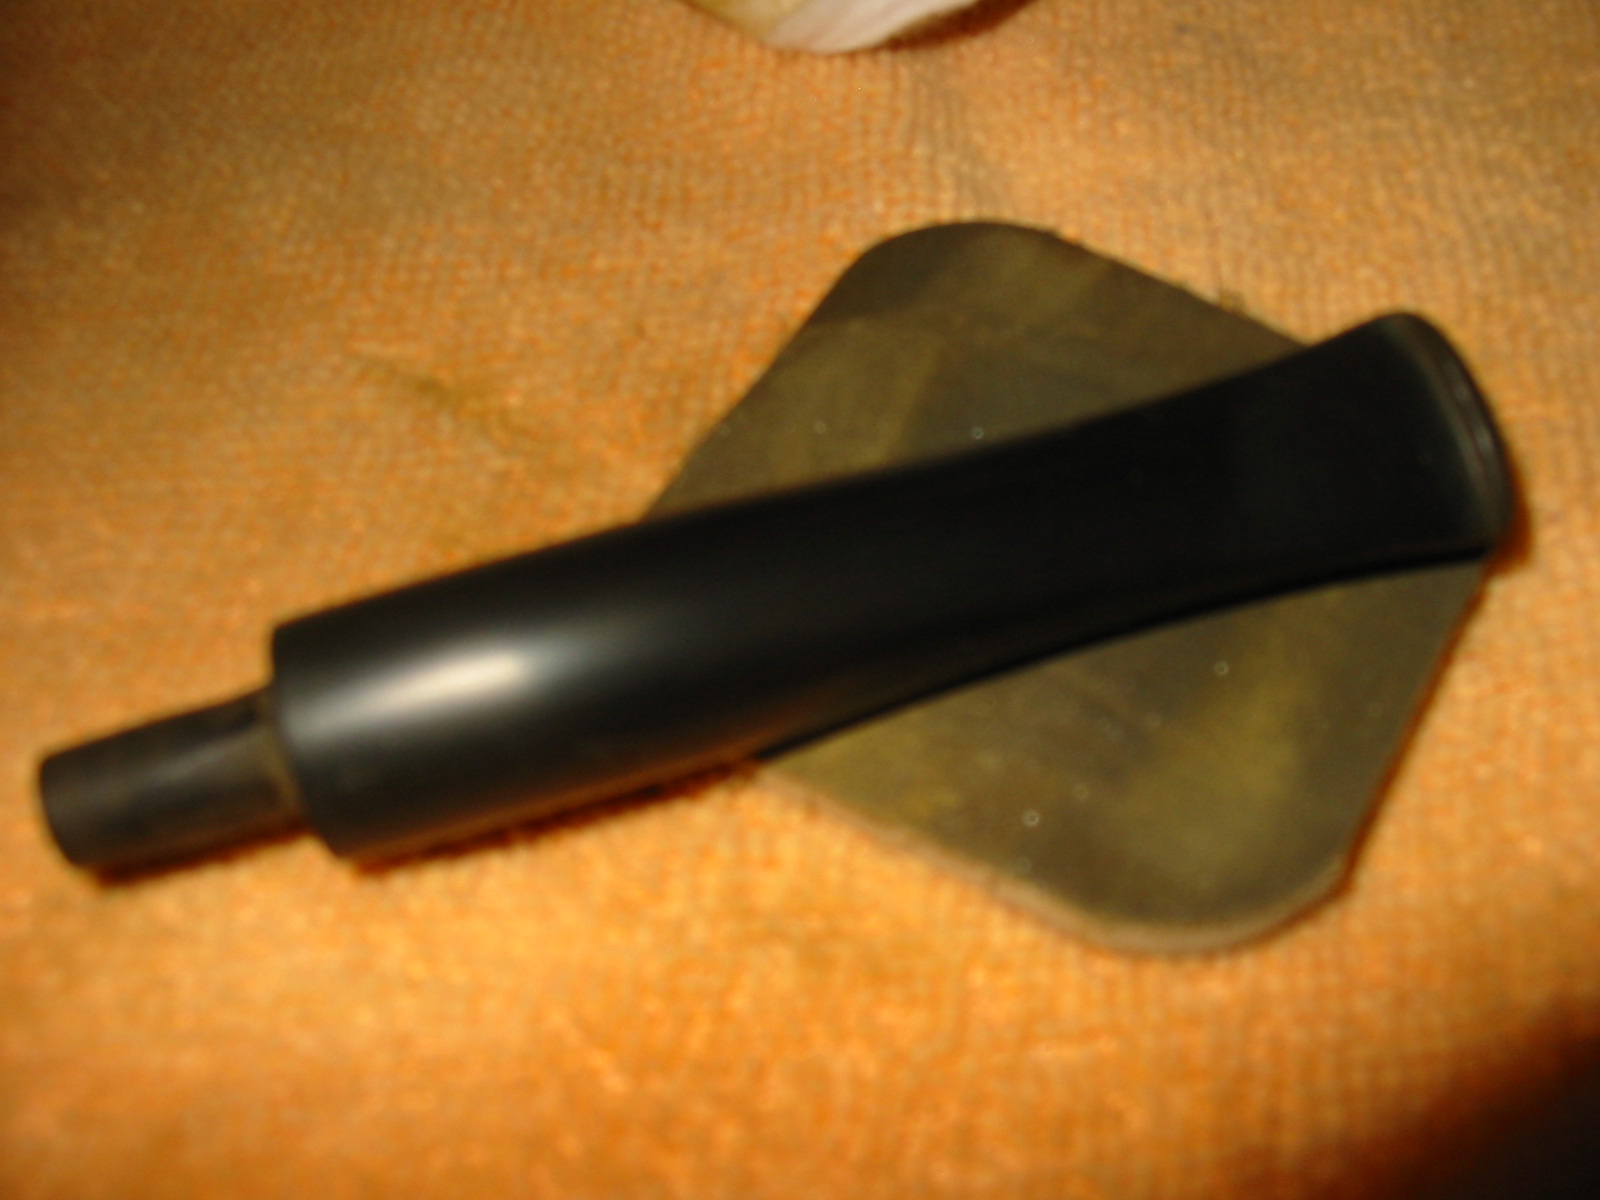
The next series of two photos show the progressive work on the stem. In the background of the pictures are some of the tools that I used in the work – a flat file, emery cloth and some 280 grit sandpaper. When I had finished the stem to this point all that remained was to work on it with some 320 grit and some 400 and 600 grit wet dry sandpaper before moving on to sanding it with the micromesh sanding pads.

ImageImage

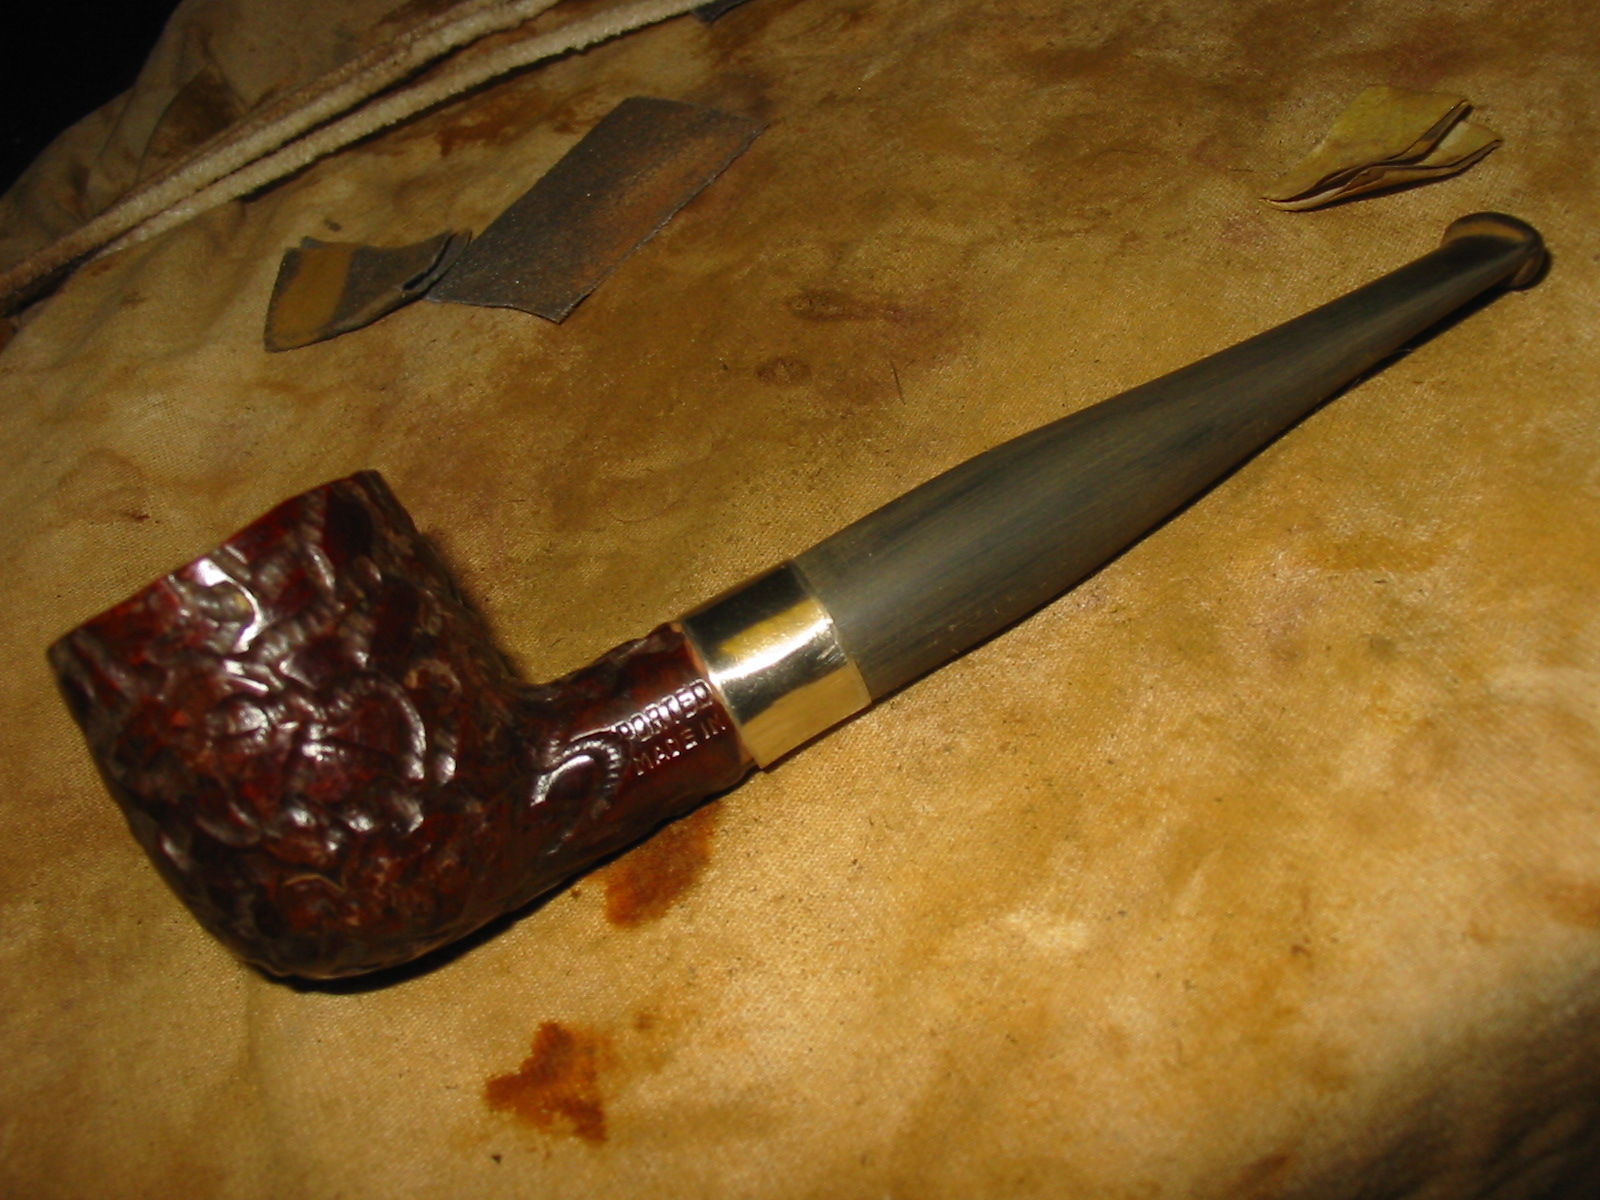
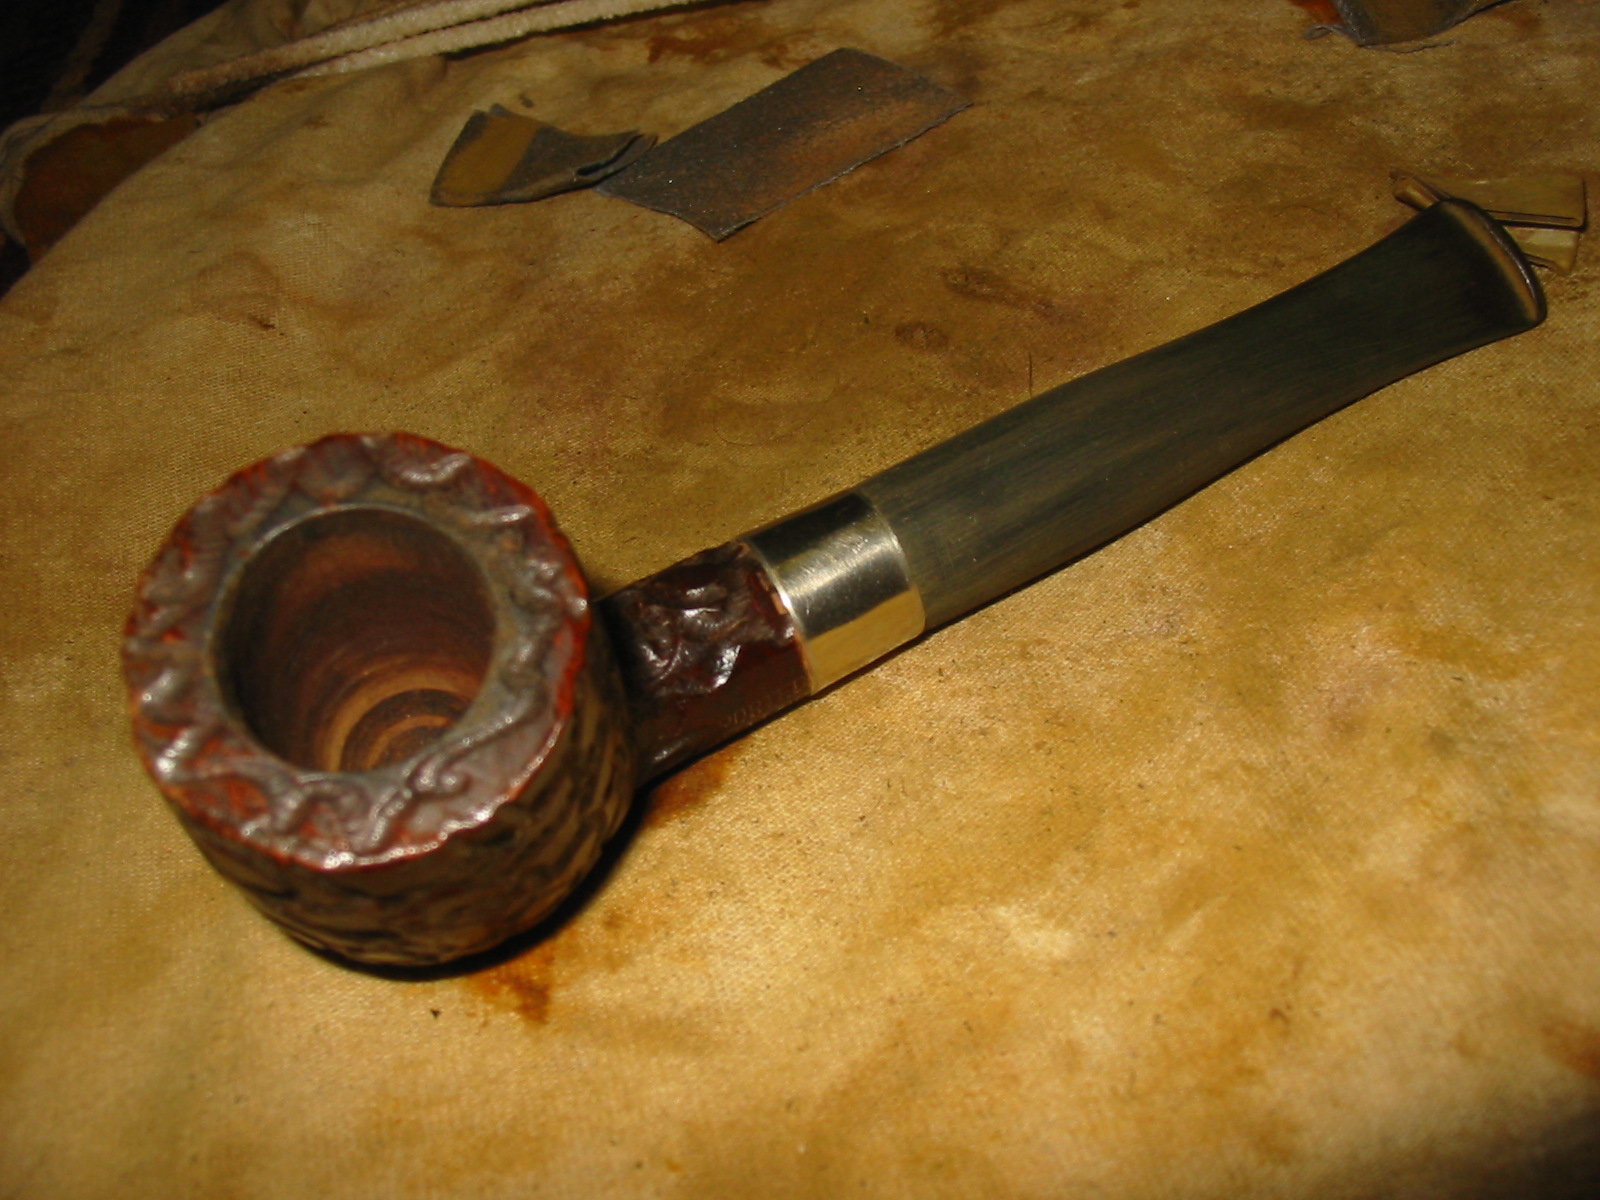
At this point I decided to take a break from sanding – the old fingers were getting a bit sore. I used a brass tire brush to clean off the remnant of tars on the rim and then restained the pipe with a dark brown aniline stain thinned 2:1 with isopropyl alcohol. I applied it with a dauber and then flamed it and restained a second time and flamed it again. I then took it to the buffer and buffed it with Tripoli and White Diamond to give it a shine and remove the excess stain from the high spots on the briar and lend a little contrast to the darkened grooves. The next two photos show the restained bowl.

ImageImage

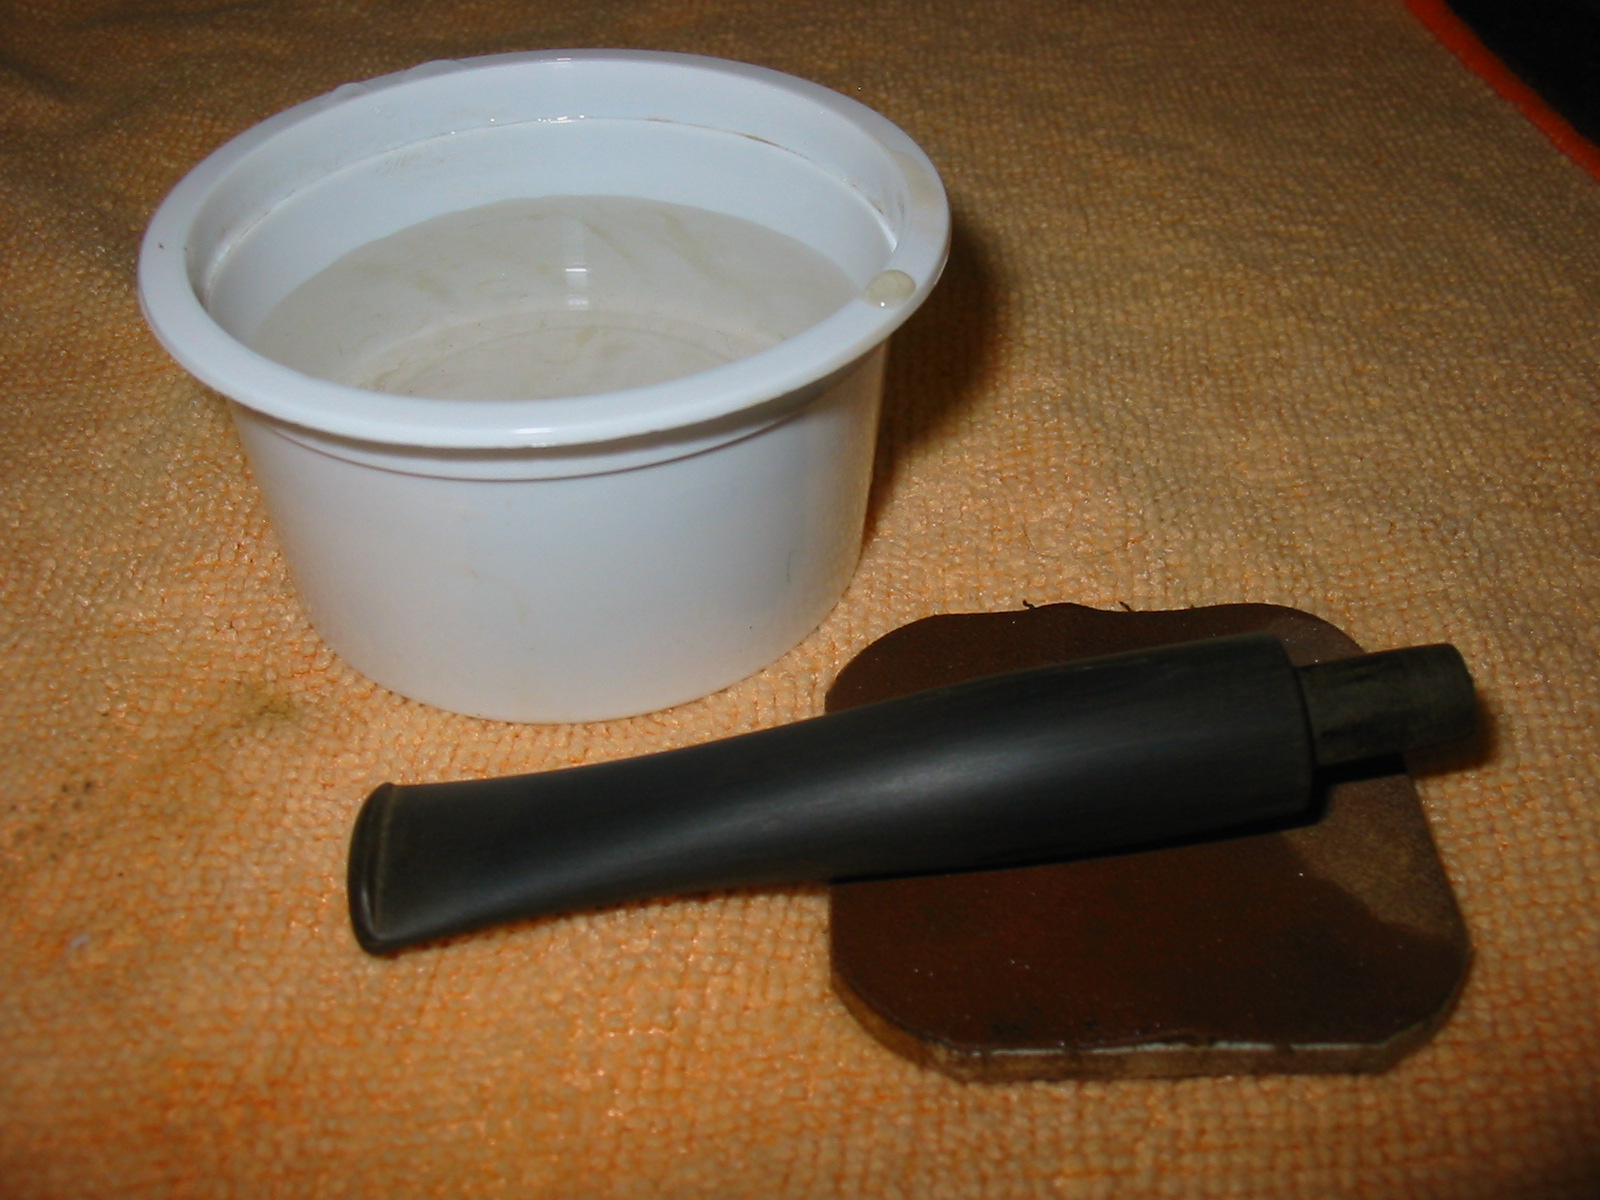
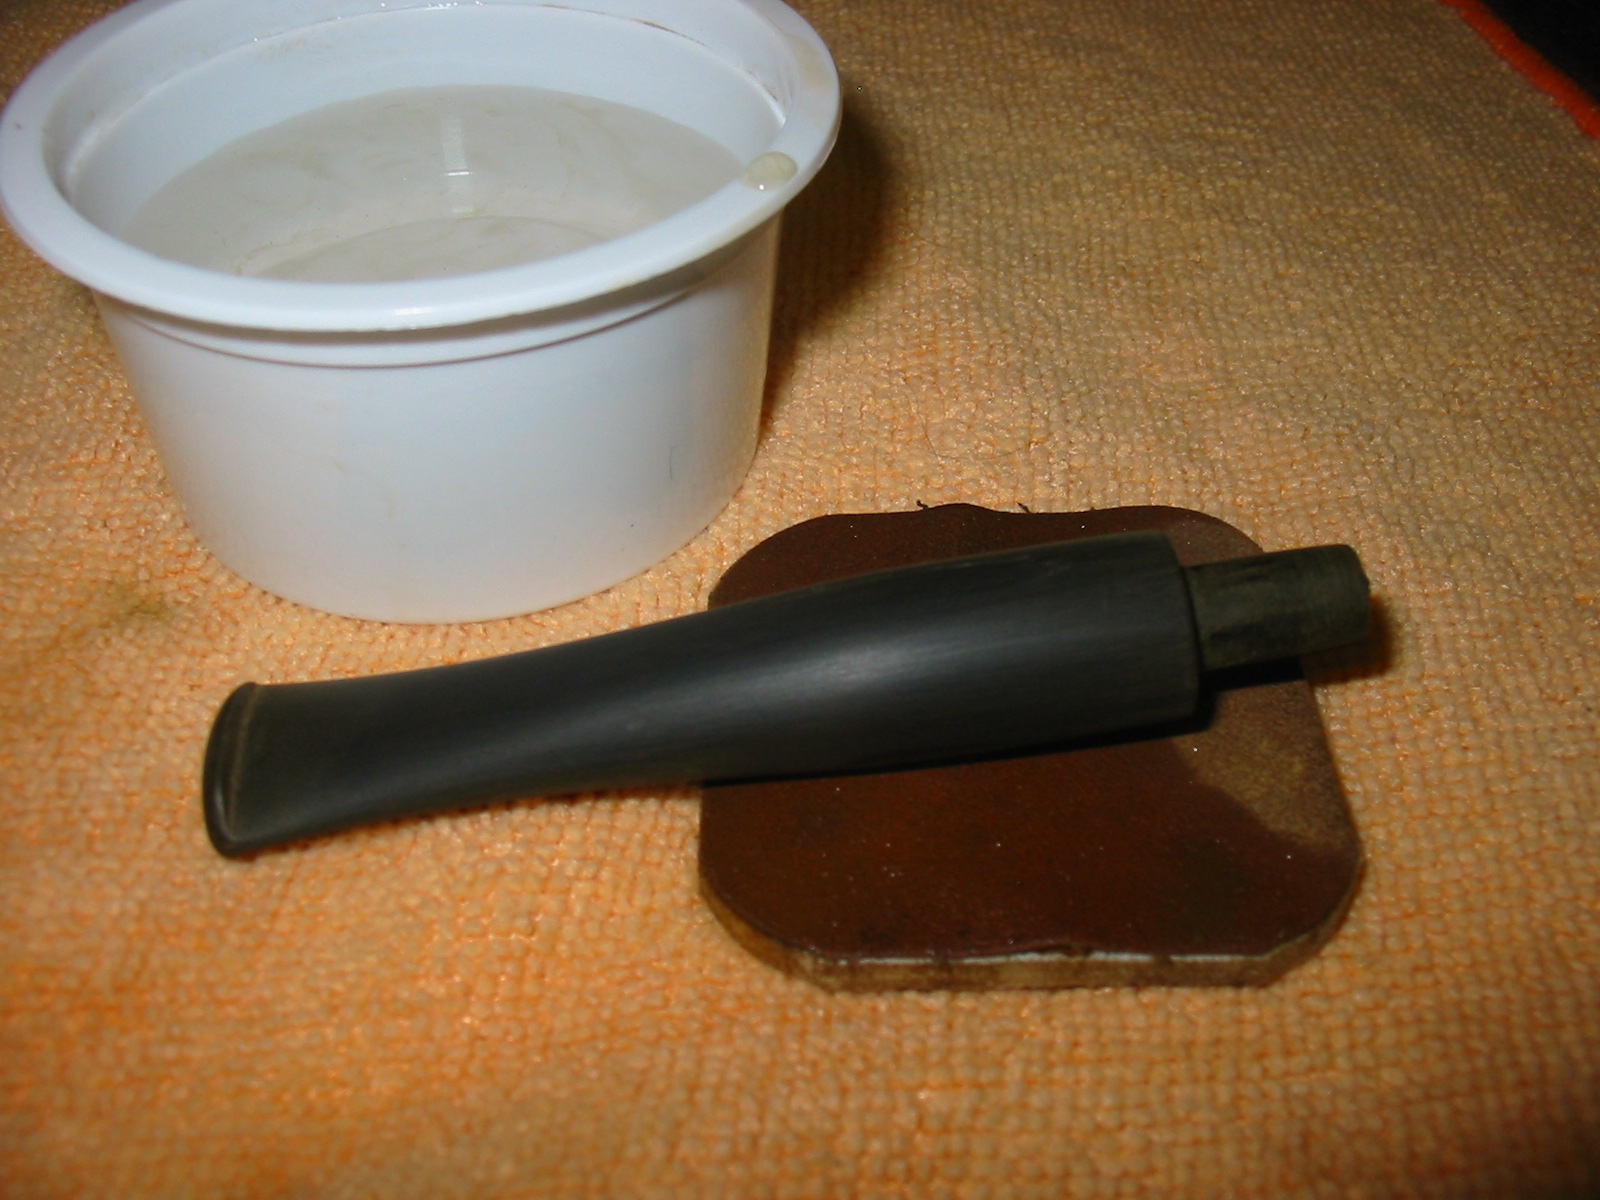
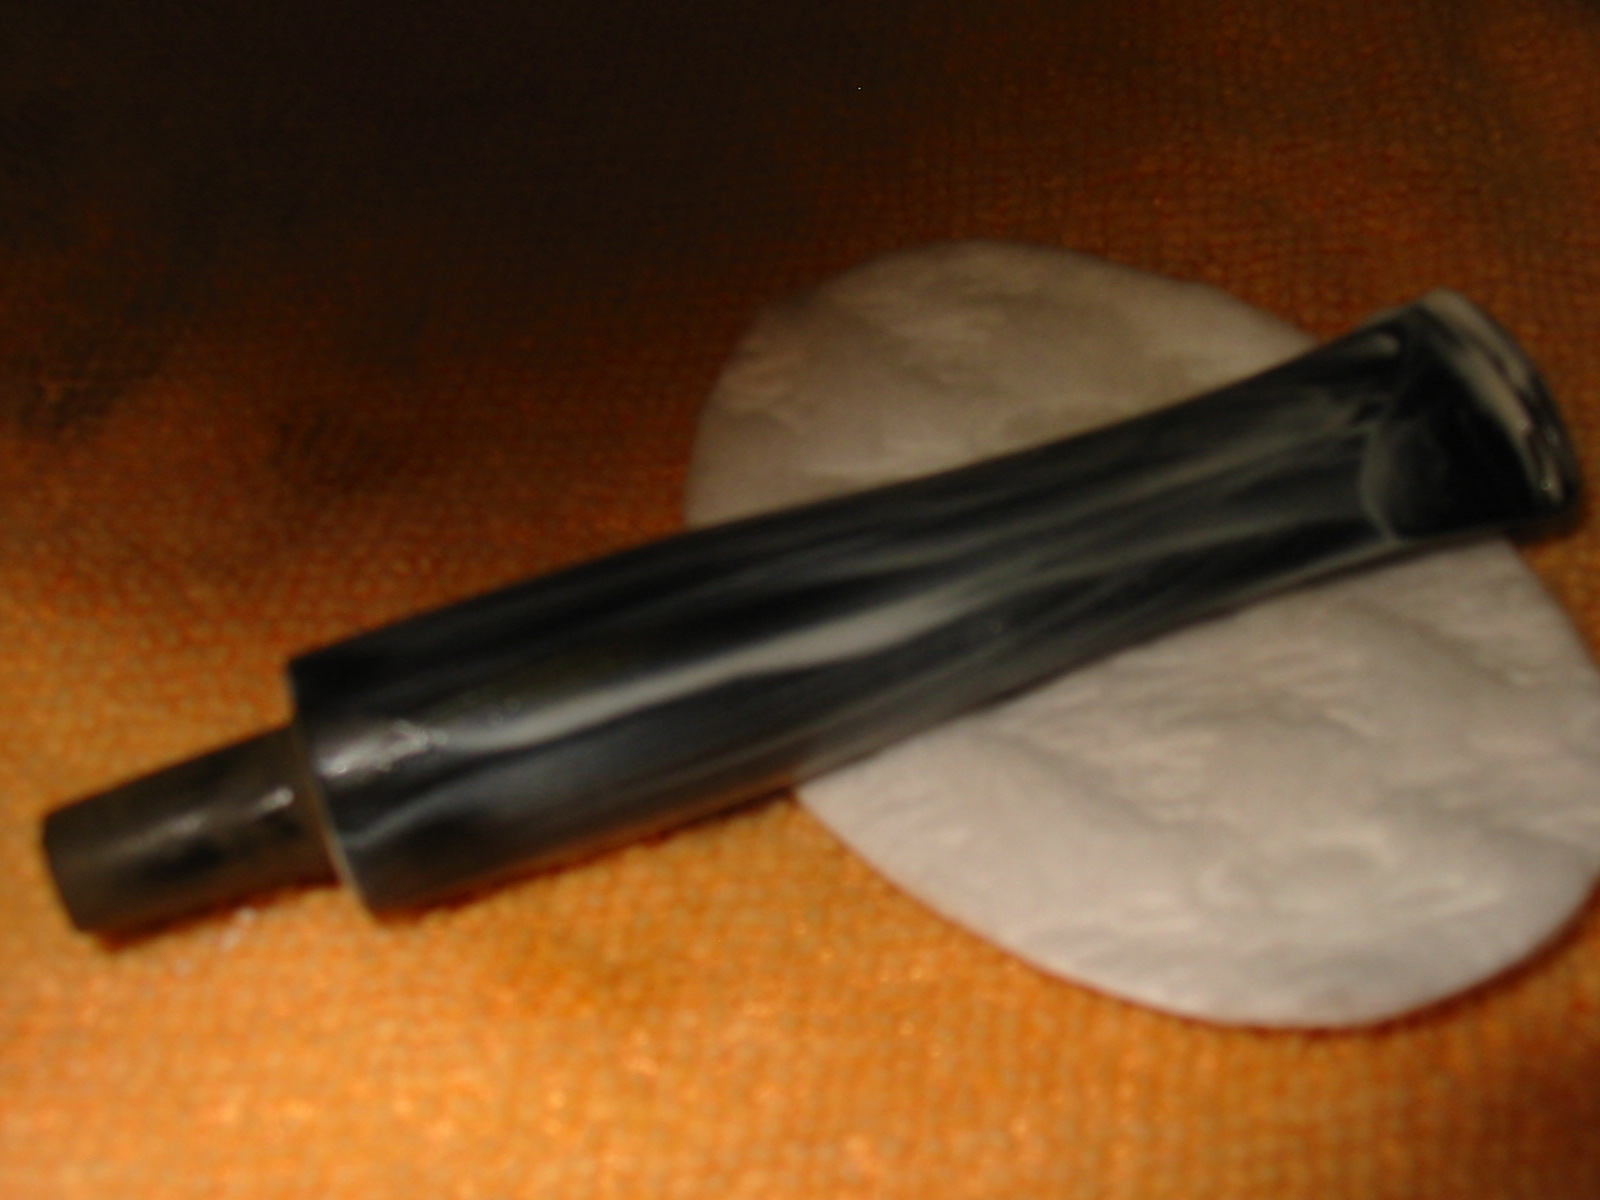
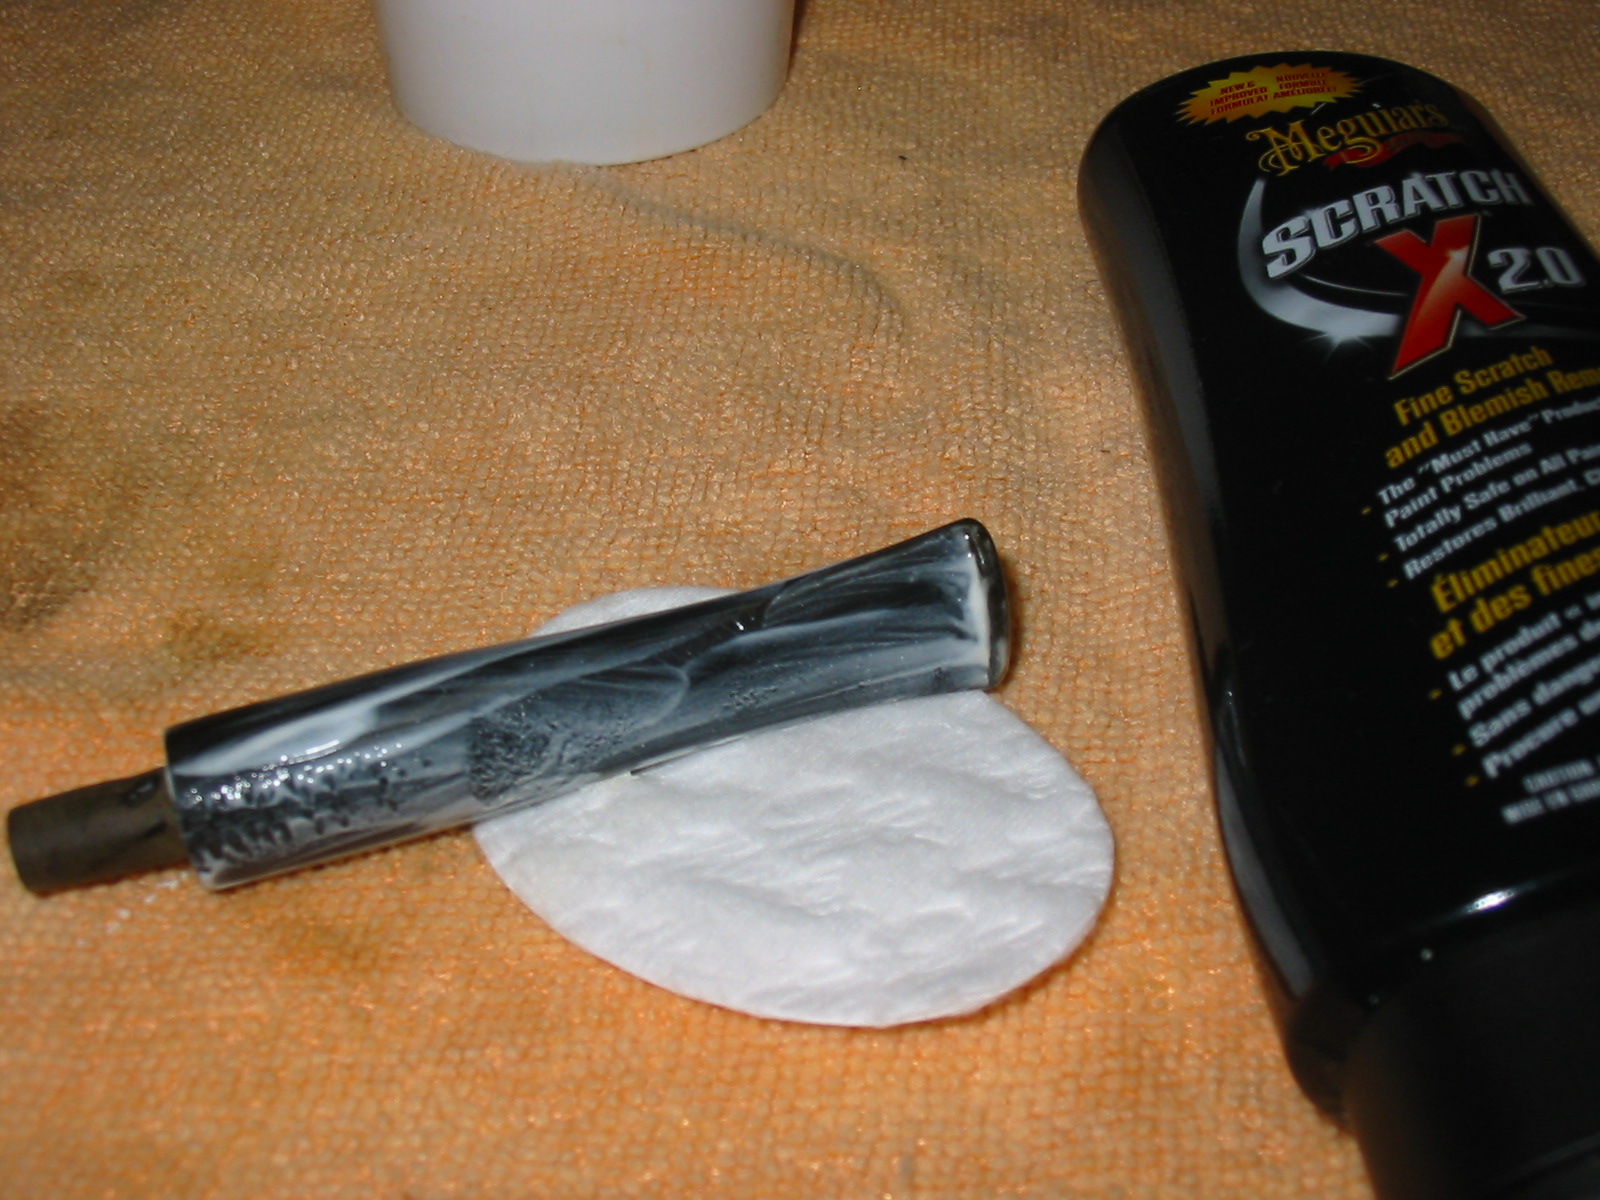
I filled my water bowl with warm water and took out the micromesh pads and began to sand the stem. I began by wet sanding with 1500, 1800 and 2400 grit micromesh pads that I wet with water and then sanded the stem. Between each pass on the stem I would wipe it dry to see how the scratch removal was progressing. The next three photos show the stem after sanding with the 1500 grit micromesh. The scratches are beginning to disappear. Before moving on to sanding with the 1800 grit I decided to polish the stem with Maguiars Scratch X2.0 I applied it by hand and the scrubbed it off with a cotton pad. The next four photos show that process with the applied polish and then the stem after wiping it off.

ImageImageImageImageImageImageImage

After wiping the stem down a final time I wet sanded it with 2400 grit micromesh sanding pads. I wanted to continue to remove the surface scratches from the vulcanite and begin to move toward a polish.

Image

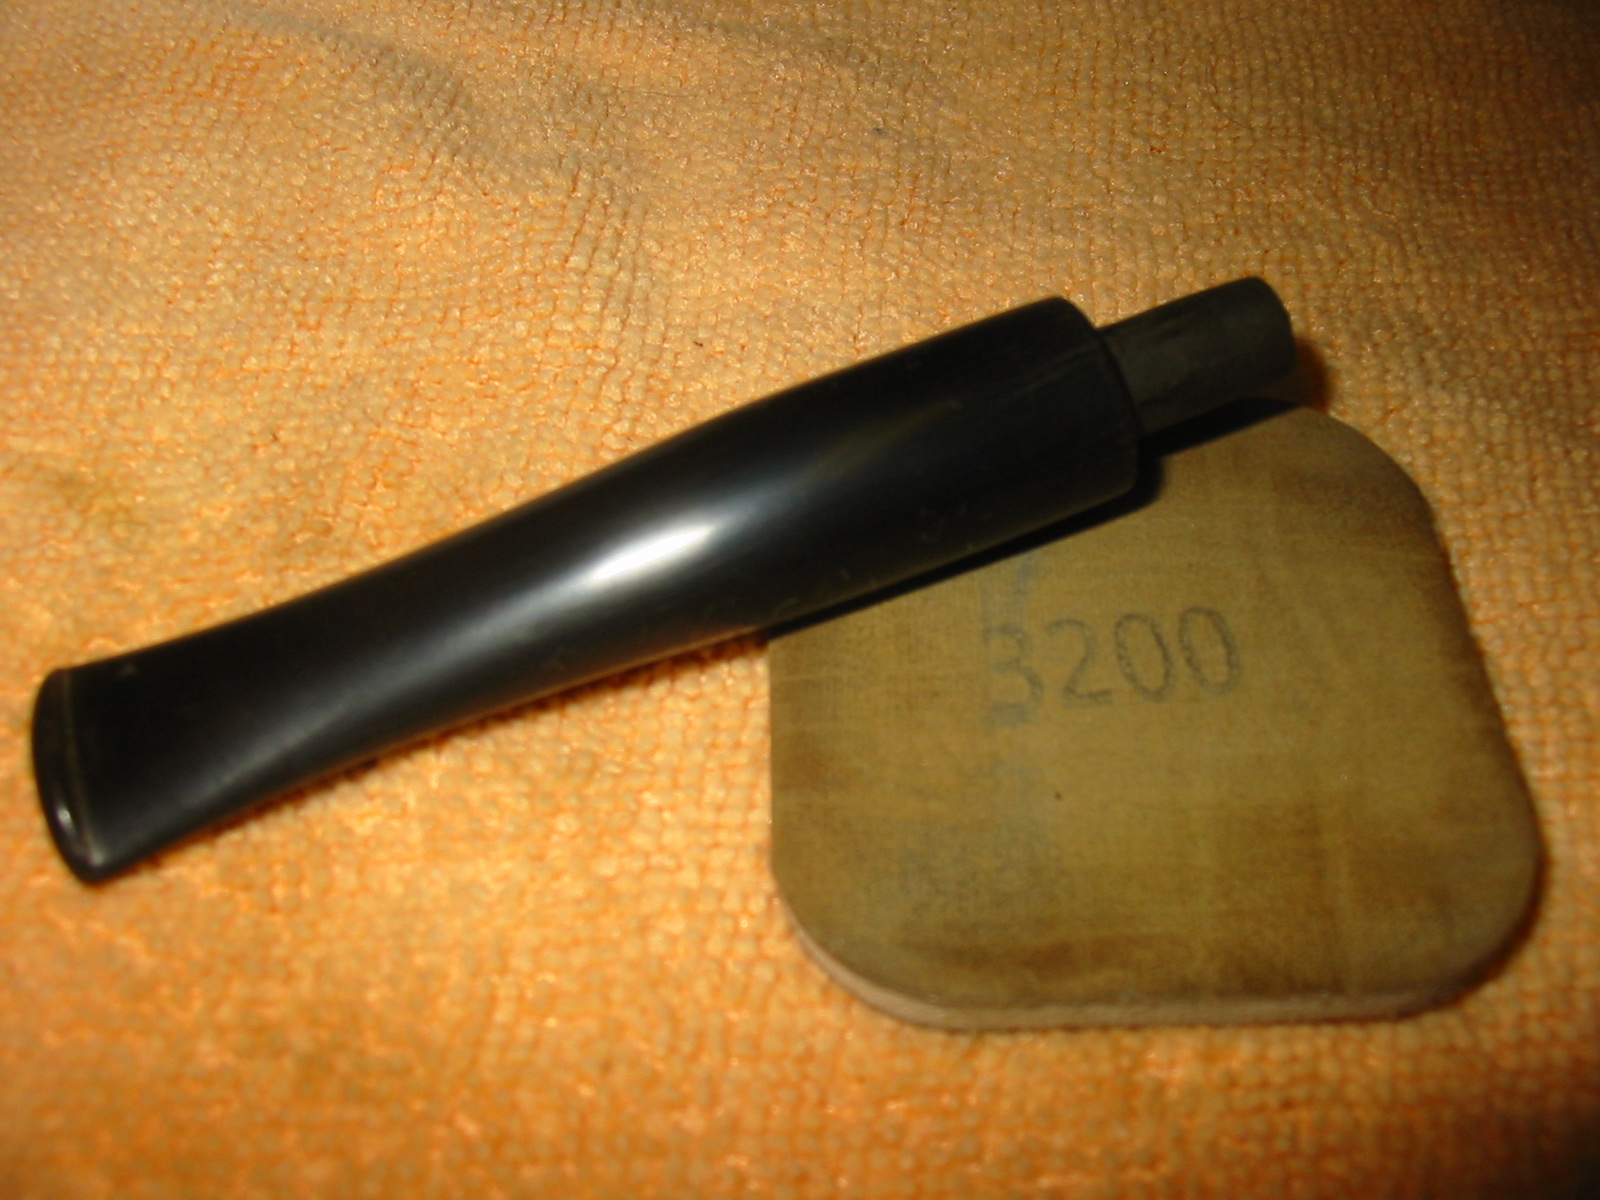
The next photo shows the stem after dry sanding with 3200 grit micromesh. The shine is deepening in the finish of the stem.

Image

I then shifted to dry sanding with 3600, 4000 and 6000, 8000 and 12,000 grit micromesh sanding pads. I sanded and wiped them down between each grit change. By the time I got to the 6000 the shine was visible and the finish was very smooth. The difference after sanding with the 8000 and 12,000 is remarkable.

ImageImage

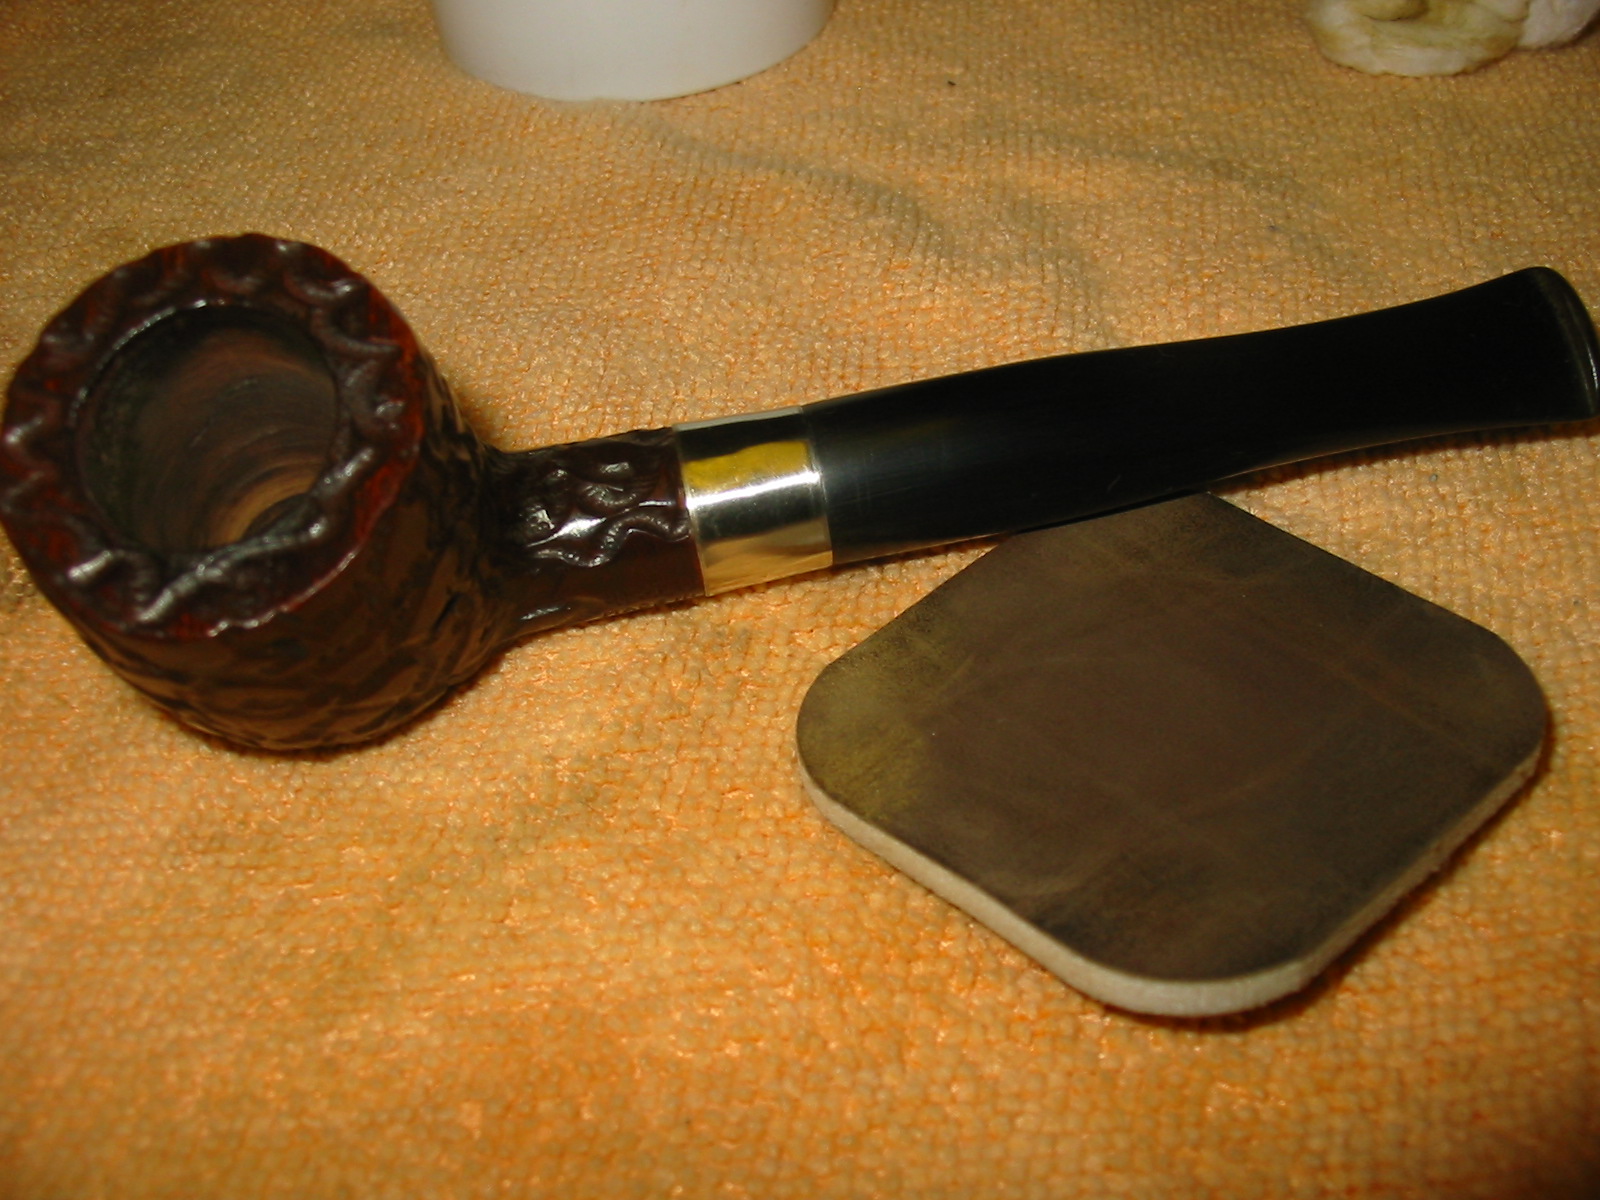
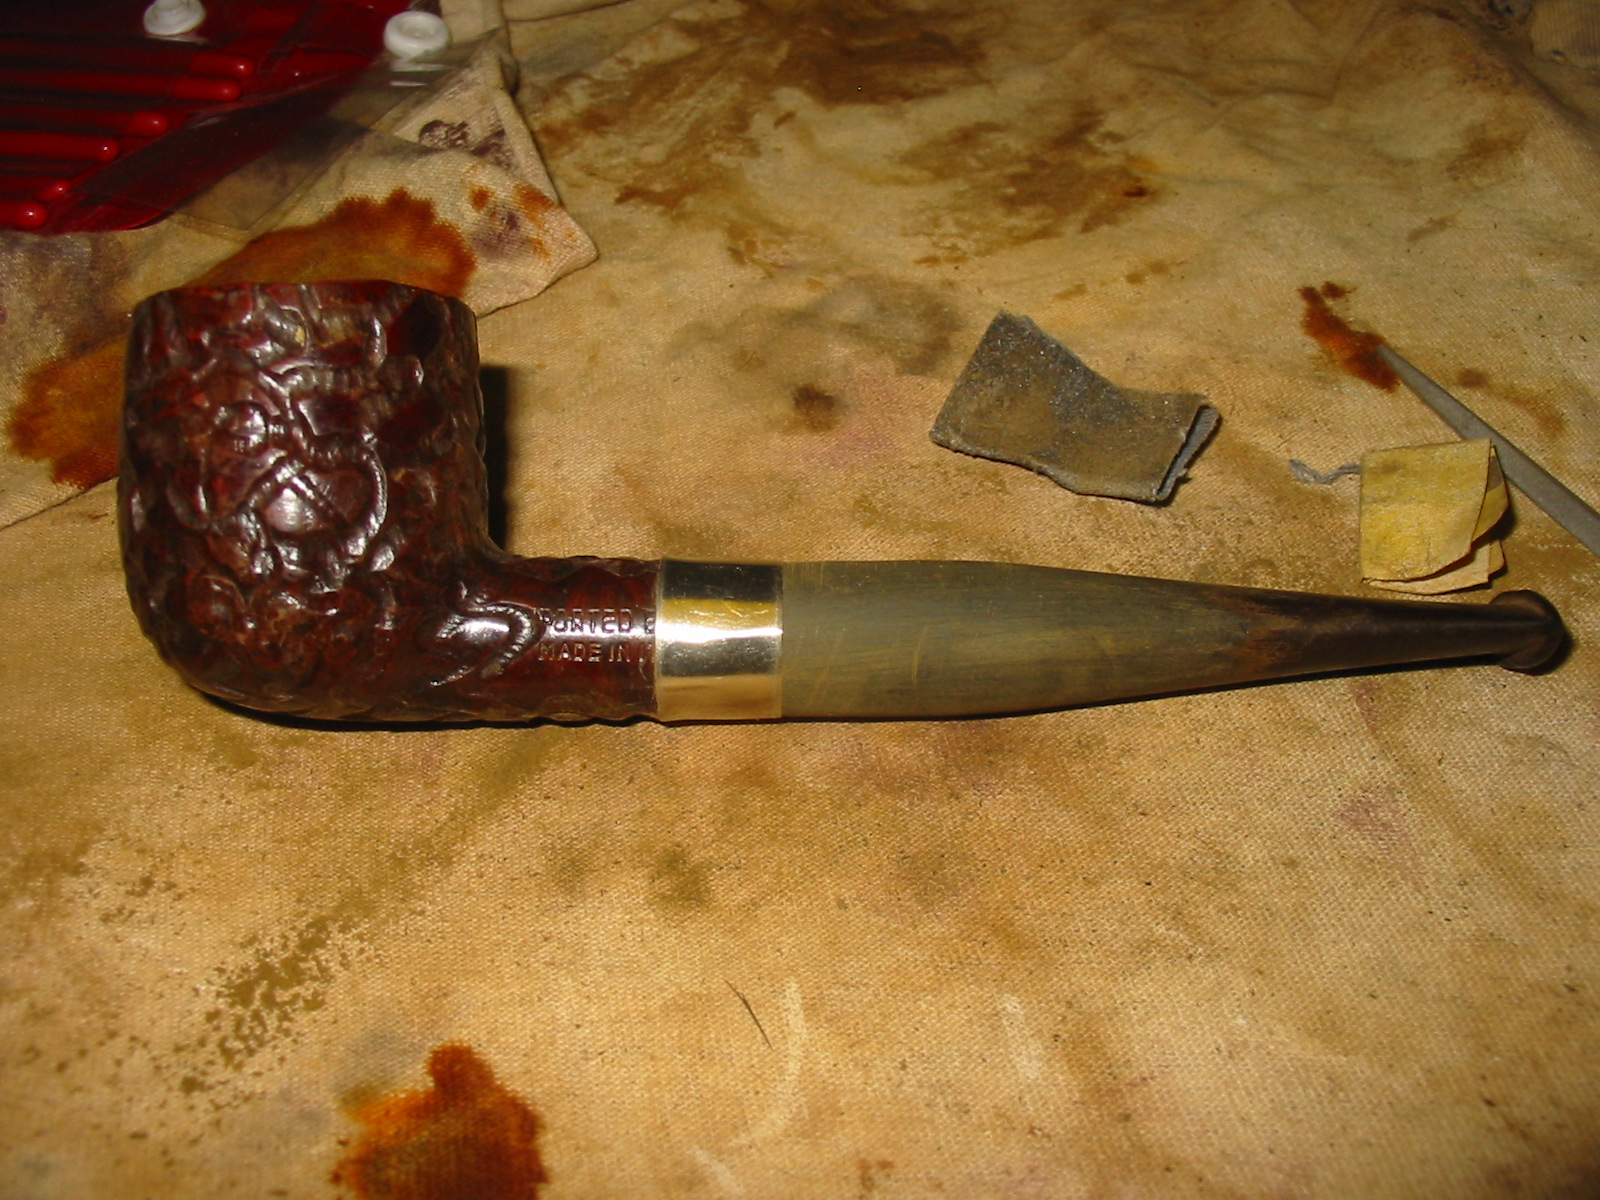
The final four photos below show the finished pipe. Once I had finished sanding it I gave it a final polish with the Maguiars and then took it to the buffer for a buff with White Diamond. I then rubbed it down with Obsidian Oil and finally gave it several coats of carnauba wax and a buff with a soft flannel buffing pad. The newly born Italian pot is ready to smoke and has a new streamlined look that I really like.

ImageImageImageImage

Review of a Nachwalter Dublin


I picked this Nachwalter pipe up for a good price from Mike at Briar Blues many years ago now. It seems that the older I get the faster time seems to spin. It is a nicely shaped Dublin. The pipe came with a cloth pipe sock in black velevet. (I am not sure this was one Mike threw in or whether it came that way from Nachwalter). The workmanship on this pipe is very nice. I have smoked it quite a bit over the years since I got it. It has been through at least two moves during that time and has survived both of them with a time of storage between them both. This is a third review I am writing today since I had the day off. The length of the pipe is 5 3/4 inches and the bowl height is 2 ¼ inches. The outer diameter of the bowl is 1 ¾ inches. The chamber diameter is 1 inch and depth is 1 1/2 inches. It is a large bowled pipe and is light for its size. It sits well in the nook of the hand formed by the thumb and index finger on either hand. The stamping is on both sides of the shank. It is stamped on the left side in an oval. The outer ring of the oval is stamped THE BRIAR WORKSHOP on the top of the oval and DESIGNERS/PIPEMAKERS on the bottom side of the oval. In the centre of the oval it is stamped CORAL SPGS over FLA. USA. On the other side of the shank it is stamped in script Elliot Nachwalter and under that is stamped his signature.

Image

The pipe has a smooth finish and the staining choice highlights the great grain. The bowl is surrounded by flame grain/straight grain. The top of the bowl cap and the bottom of the bowl and shank has some beautiful birdseye grain. This pipe is larger than it looks and with the 1 inch diameter bowl, holds a lot of tobacco. Regardless of the size it fits well against the thumb and rests comfortably in hand. The stain appears to be made up of several coats. There seems to be a dark understain that makes the grain stand out. Over this is a coat of reddish brown, it is not an oxblood but more of a mahogany looking stain. The rim is crowned, almost a reversed chamfer. The inner edge is beveled into the bowl and the out edge is sharp to the sides. The crowned top gives the pipe slightly curved top look from the side.

The stem is a well-made taper crafted from ebonite or vulcanite. It is a softer feel in the mouth and on the teeth than acrylic. The stem tapers gradually back to the button and is just the right thickness at the portion that rides in the mouth – not too thick or too thin. It is also durable and is made of quality material as it has not oxidized in the years I have had it and appears to have remained black for the previous owner as well. The snowflake logo that is on Nachwalter pipes is faded slightly but the impression is still visible on the left side of the stem. The tenon is an integral part of the stem and is chamfered/ countersunk and well-polished. The button is well shaped – thin at the edges with a very slight rise to the centre top and bottom, forming an eye shaped end view. The lip on the button is very slight but still fits well behind the teeth for a comfortable feel. The draught hole in the end of the button is also funneled to deliver a mouthpiece that has the same diameter from start to finish. Comfortable and well executed. A pipe cleaner passes easily through the pipe with no obstruction.

Internally, the pipes made by the Briar Workshop that I have had over the years, have all had exceptional mechanics. The bowl chamber on this one is large – drilled to a 1 inch diameter. The inner edge of the bowl us beveled to the rim. The outer edge is sharp and clean. The outer edges are slightly sanded so that the edges where the top and sides meet are not sharp but gently rounded. This pipe was purchased as an estate but I don’t believe that the bowl was coated with any bowl coating. When I bought the pipe it was still barely smoked and the walls on the lower part of the bowl were still clean briar. The cake built up on the bowl very easily. The draught hole is centered at the bottom of the bowl and seems to have a slight funnel leading into the shank and stem. There is a very easy and open draw to the pipe. The fit of the stem to the shank is excellent – smooth and tight with no light showing at the joint. The tenon fits well in the mortise and seems to sit deep in the mortise against the bottom. The airway is in the centre of the mortise and aligns with the airway in the tenon. The edges of the tenon have been polished and rounded and the airhole countersunk so that it meets the airway in the mortise. The pipe does not whistle or gurgle when smoked. Looking at the airways with a flashlight it is clear to see that they are smooth and polished with no rough edges.

I have smoked this pipe many times since I received it from Mike at Briar Blues. Because of the large bowl I do not reach for it as often as I used to because I tend to favour smaller bowls at present. I have found that it is a good flake pipe. It is one I used when I folded and stuffed flakes. It smokes cool and easily and delivers good flavor with the Virginias that I choose to smoke in it.

Review of a Ronson Centenary Bulldog


Blog by Steve Laug

I picked this pipe up for a really cheap price on EBay. It came in a beautiful handmade wooden box lined with dark blue velvet on the inside of the box and the lid. The lid also has the golden Ronson logo. Ronson is famous for the lighters that they make but after receiving and smoking this beauty I would also say they make a fine pipe. The pipe came with a leather pipe sock and a certificate of authentication for the Centenary version of the pipe. The workmanship on this pipe is very nice. I have smoked it quite a bit since that time and it is a great smoke. Since I had the day off today I decided to also write a review on this one. The length of the pipe is 5.8 inches and the bowl height is 2 inches. The chamber diameter is .8 inches and depth is 1.8 inches. It is a large pipe but weighs 78 grams. It is a good fit in the hand. The overall shape is something like a bent bulldog. There is a sterling silver band on the shank with sheaves of laurels. The stamping is on the sides and the bottom of the triangular shank. It is stamped on the left side Ronson using the Ronson logo type and on the right side 47. On the underside of the shank it is stamped RONSON over CENTENARY over 1896-1996 and surrounded by Laurels. That dates the pipe to 1996. It came to me unsmoked.

Image

The finish on the outside of the pipe is smooth and has some great grain. The bowl is surrounded by flame grain/straight grain. The top of the bowl cap and the bottom of the bowl and shank has some beautiful birdseye grain. This is a big looking and feeling pipe but it is comfortable in the hand. The carvers have achieve a carving that fits equally well in both the right and the left hand. The double rings turned into the bowl to separate the bowl from the bulldog cap are really nicely cut. The band is integrated into the shank and has a smooth band on the shank side and the stem side with sheaves of laurels cast or carved into the centre space of the band. The stain appears to be multilayered with a black understain to highlight the beautiful grain on the briar and then topped with a light brown and possible an orange over stain. I believe it is also topped with a shellac coat to give it a great shine.

ImageImage

The stem is a well made half saddle stem handcrafted from acrylic. The blade of the stem is well tapered, quite short and thin without sacrificing durability. The saddle meets the blade on the top surface at a 90 degree angle and has been polished to a shine. The logo insert on the stem is a steel circle with an orange centre that matches the stain on the briar. The triangular shape of the stem to the saddle is nicely done and almost pinched looking where it sits against the band.Image

Interestingly the shank and stem are the same dimensions on all three sides. From the 90 degree saddle the blade is flattened and curved toward the edges giving it a very refined look. It tapers very gradually back to the button. It is a comfortable bit in the mouth. The tenon is an integral part of the acrylic stem and is chamfered/countersunk and well polished. The button thin at the edges with a very slight rise to the centre top and bottom, forming an eye shaped end view. The lip on the button is very slight but still fits well behind the teeth for a comfortable feel. The draught hole in the end of the button is also funneled to deliver a mouthpiece that has the same diameter from start to finish. Comfortable and well executed. A pipe cleaner passes easily through the pipe with no obstruction.

ImageImage

The internal mechanics of the pipe are very well executed. The bowl chamber is drilled to a ¾ inch diameter. The inner edge of the bowl us straight and clean to the rim. The outer edge is sharp and clean. The top rim is smooth and nicely covered with birdseye. The side of the cap taper perfectly to the double rings carved into the bowl. The sides taper up to meet the double rings. The bowl was coated with what appeared to be a carbon coat not sure if it is water glass or an organic coating. I do recall that the first smoke did not have any residual taste coming through from the bowl coating. The cake built up on the bowl very easily. The draught hole is centered at the bottom of the bowl and seems to have a slight funnel leading into the shank and stem. There is a very easy and open draw to the pipe. The fit of the stem to the shank is excellent – smooth and tight with no light showing at the joint. The band is applied in a unique way as can be seen from the picture below. It is cast with a centre ring that encloses the mortise area and then truss like sides leading out to the edges of the band. The look leads me to think that it is a strongly made connection. I really like the way the shank was cut to house the banding structure. The band is thus an integral part of the shank rather than just an appliqué. The tenon sits deep in the mortise against the bottom. The airway is at the top of the mortise rather than centered in the middle of the mortise but does not seem to inhibit the use of a pipe cleaner during the smoke. The fit of the tenon is smooth and tight. The edges of the tenon have been polished and rounded and the airhole countersunk so that it meets the airway in the mortise. The pipe does not whistle or gurgle when smoked. The airways are smooth and polished with no rough edges.

ImageImage

I have smoked this pipe many times since I received it from EBay. It was nice to be the one who smoked the inaugural bowl in this pipe. I chose to smoke English blends in it as it delivers a very full and flavourful smoke that allows the intricacies of Latakia to really come through. I really like smoking Blue Mountain in this pipe as I get to taste the dimensions of that tobacco really well with the pipe. The tobacco packs easily and burns well after the second light. It ends up being a pipe that I sit and enjoy on the porch. It is heavy in my mouth so I sit and hold the bowl and enjoy the sights and sounds of the neighbourhood as smoke it. The draught on the pipe is superb delivering a smoke that is uncomplicated and effortless. The Italian carver who made this pipe for Ronson did a superb job and delivered a beautiful Centenary pipe for the company to sell to its customers. I am glad to have acquired this beauty.

Image