Daily Archives: February 10, 2013

Review of a Hand Made Larrysson Apple


Blog by Steve Laug

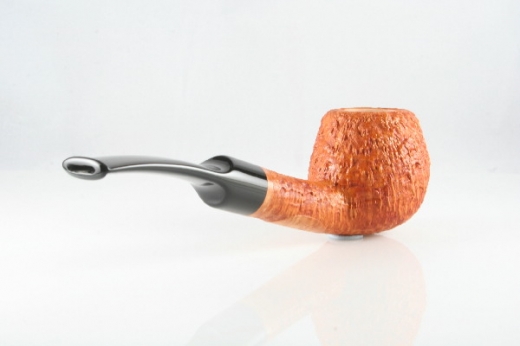
For quite some time I had wanted a pipe crafted by Paul Hubertt, a Larrysson pipe. Have a look at his website and you will see some of the beautiful pipes he has made and sold and those still remaining for sale http://www.larryssonpipes.com/index.php Several years ago I saw this one on his website and took the plunge. I have been smoking it since that time, enjoying it and thought it was about time to write a review. It is a beauty to be sure. The length of the pipe is a nice short 5 inches and the bowl height is 1 3/8 inches. The chamber diameter is 3/4 inches and depth is 1 1/8 inches. It is a perfect size for me, and feels great in the hand. The overall shape is something like a ¼ bent apple. The stamping is in a smooth oval on the underside of the shank. It is stamped Larrysson in script over HAND MADE over CORNWALL over ENGLAND and underneath all is the date stamp – 72-09 which I believe means the 72nd pipe of 2009.

ImageImage

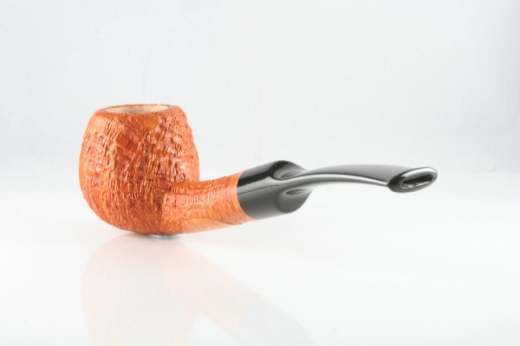
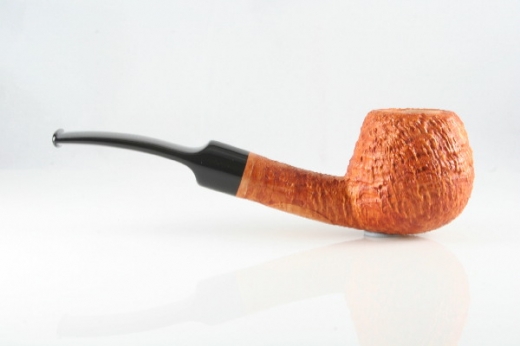
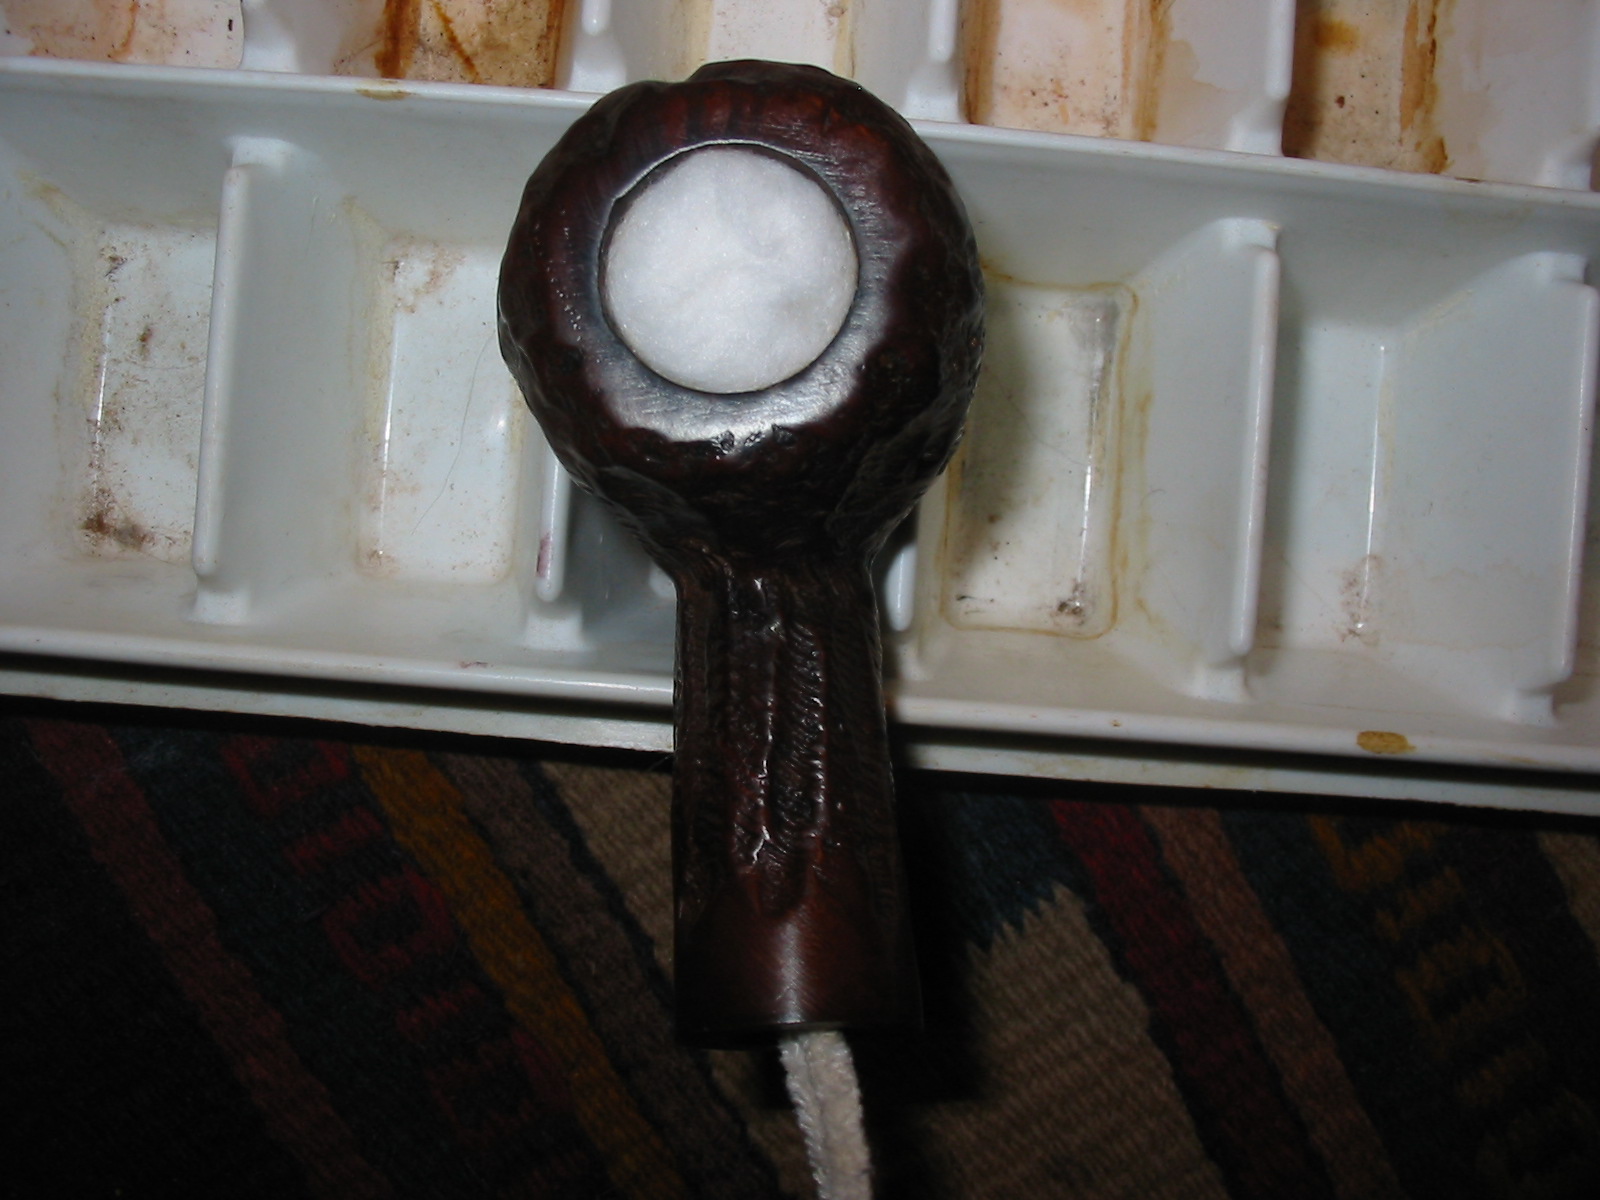
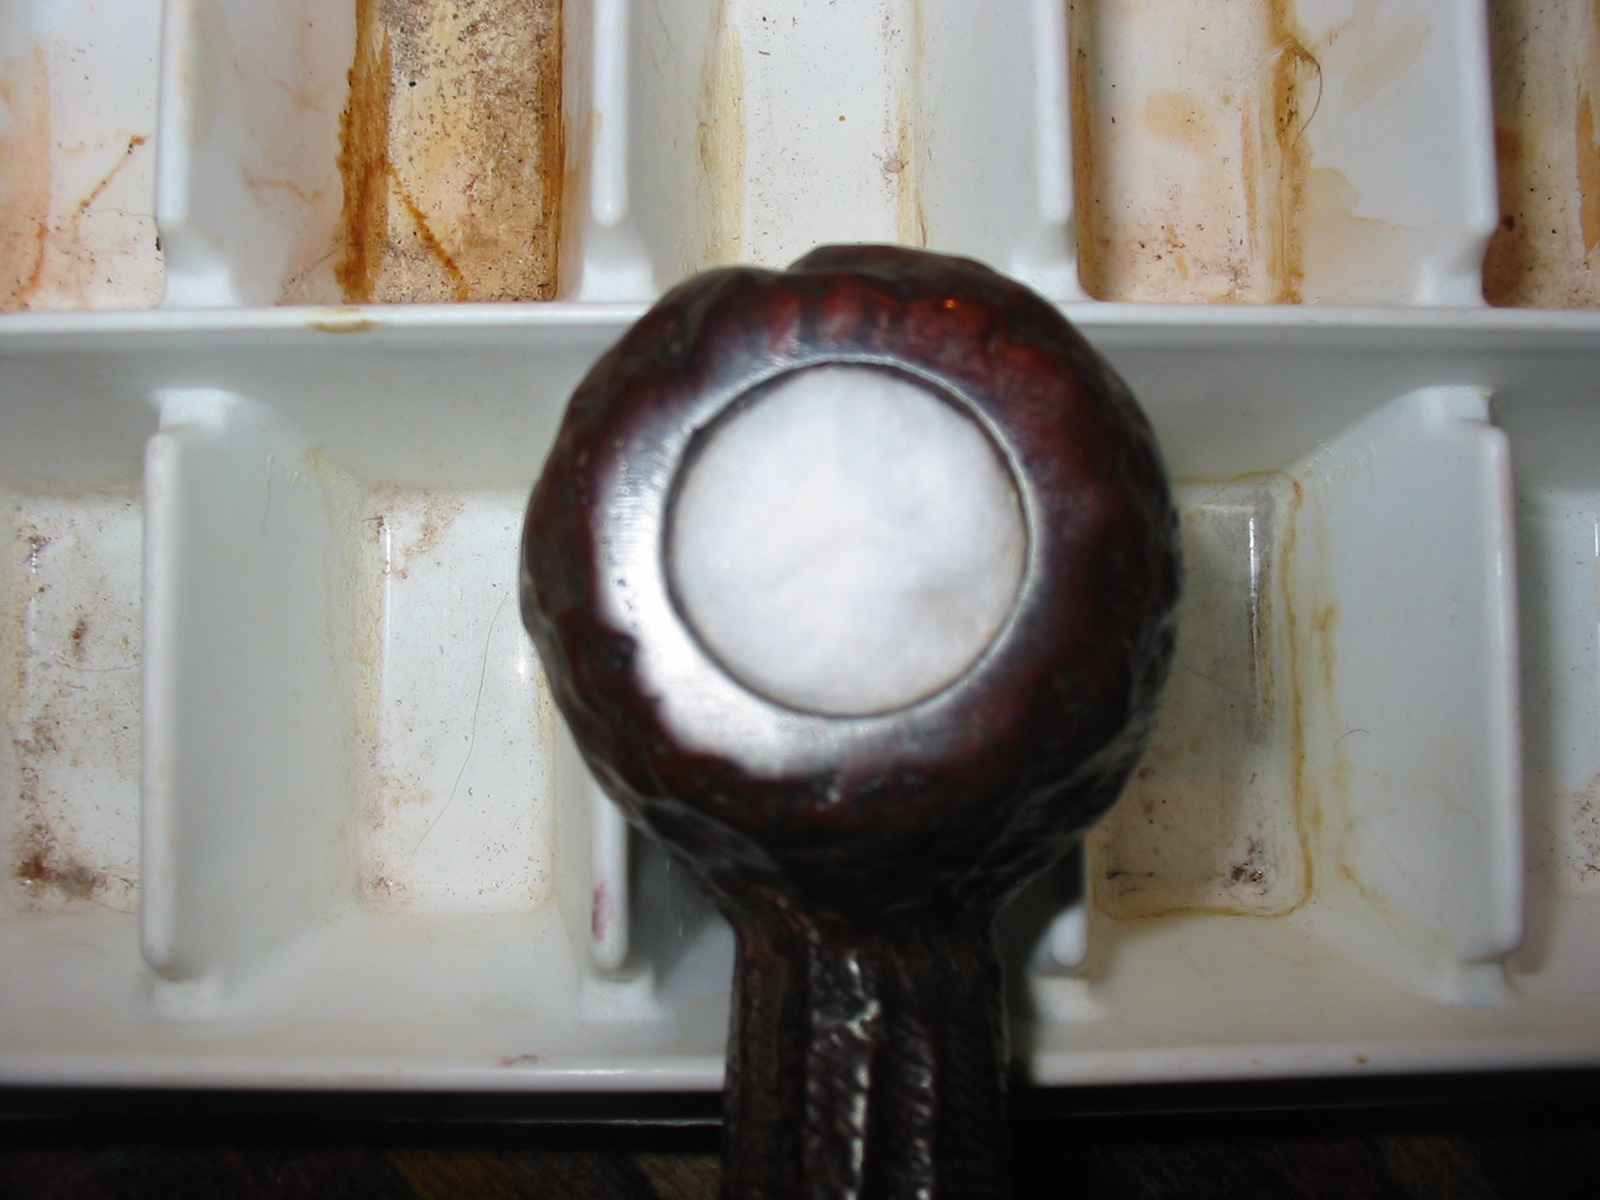
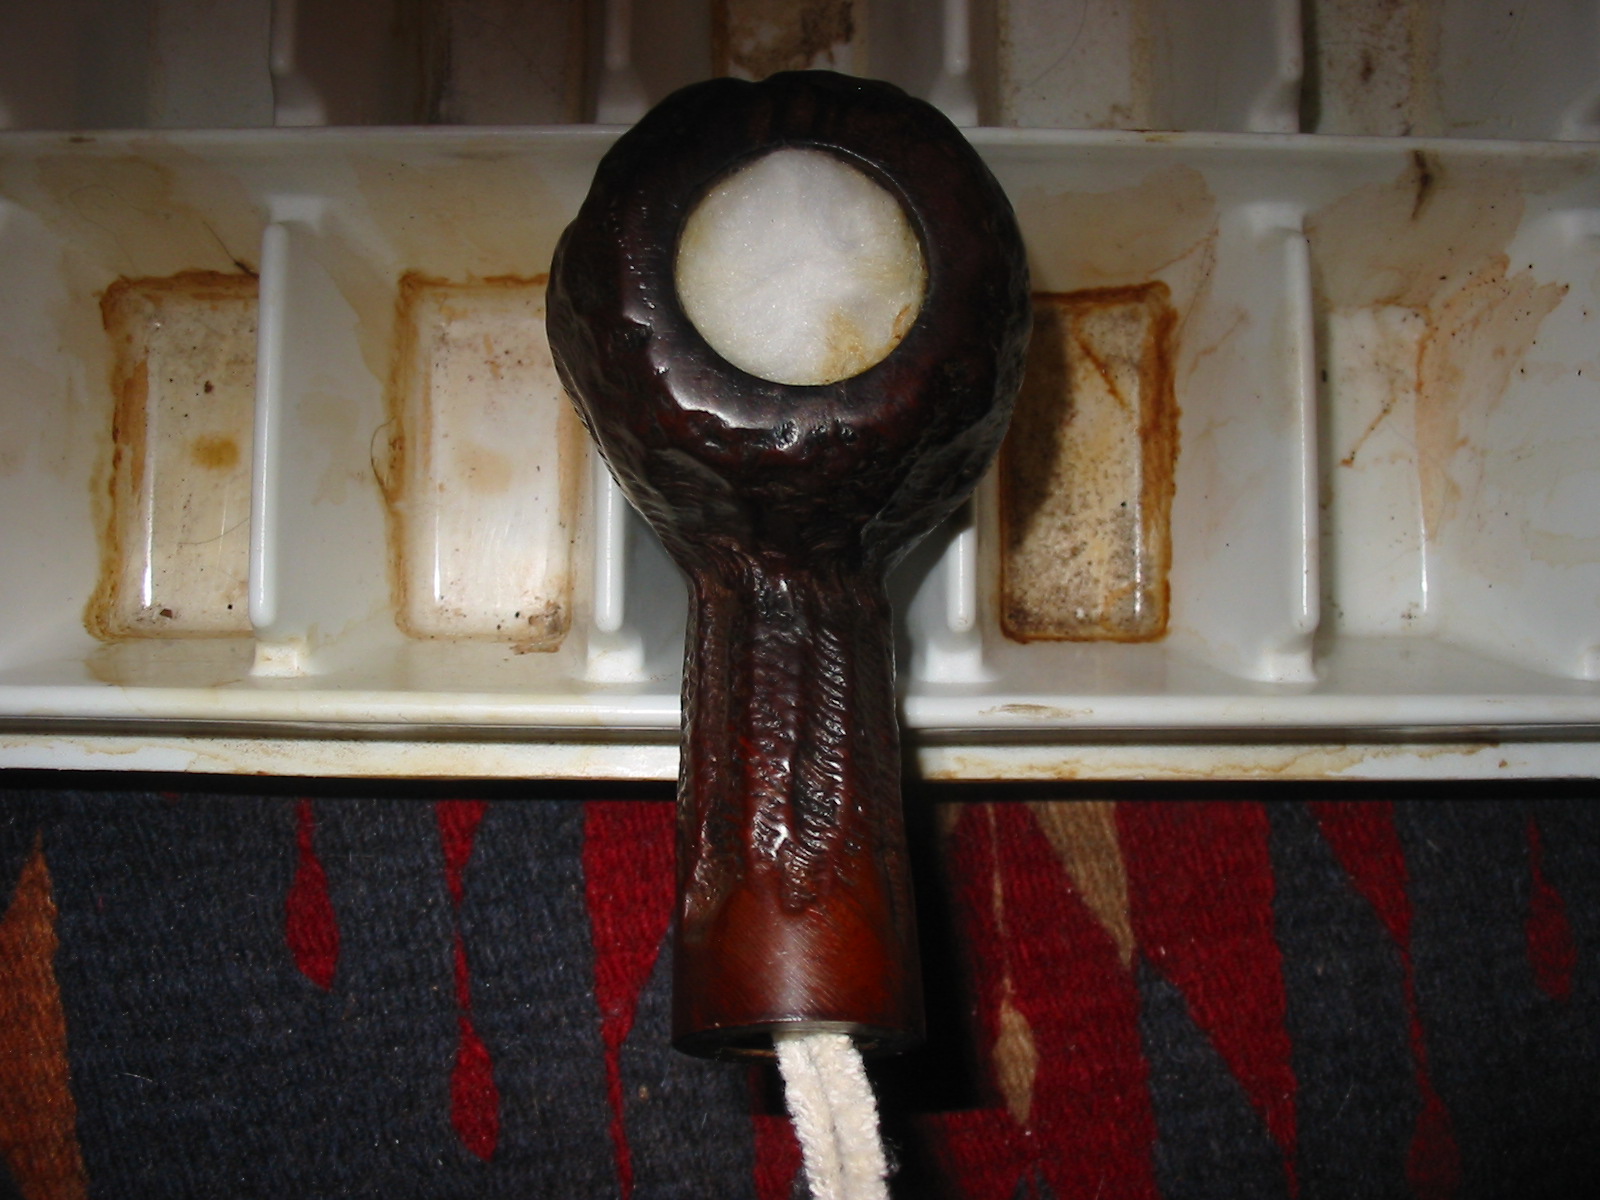
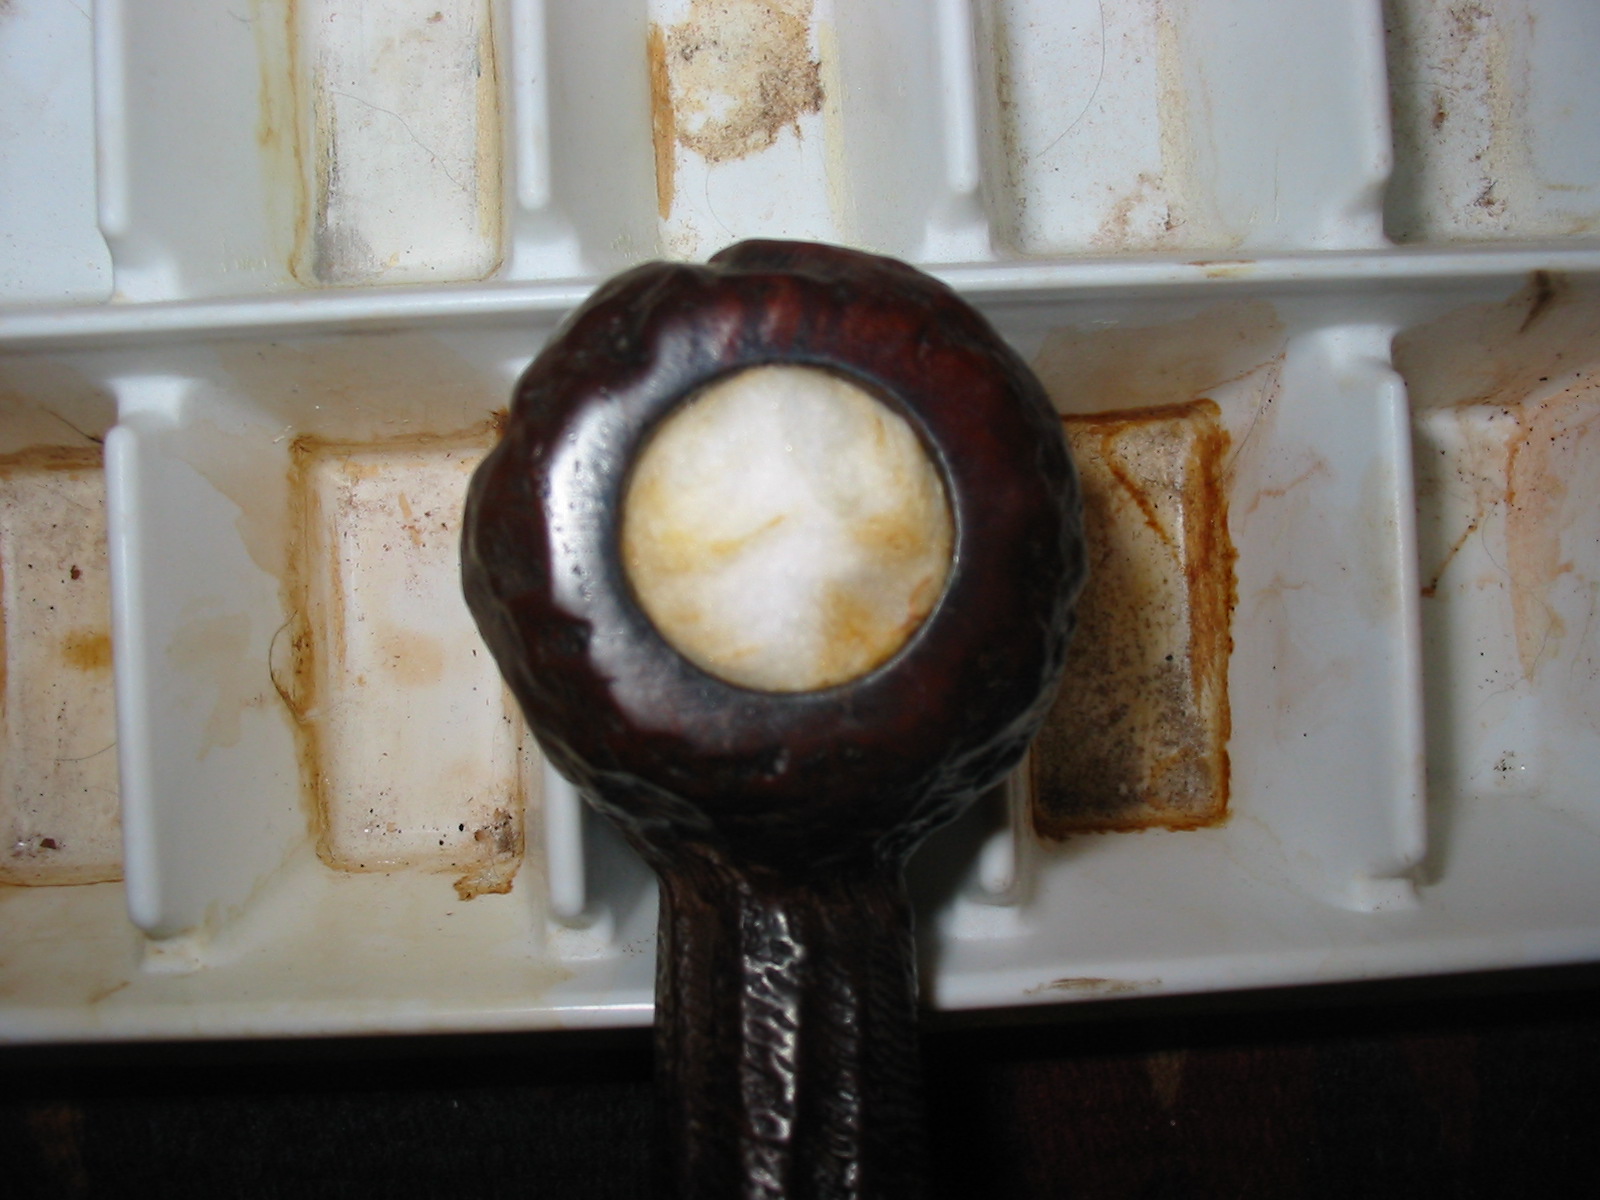
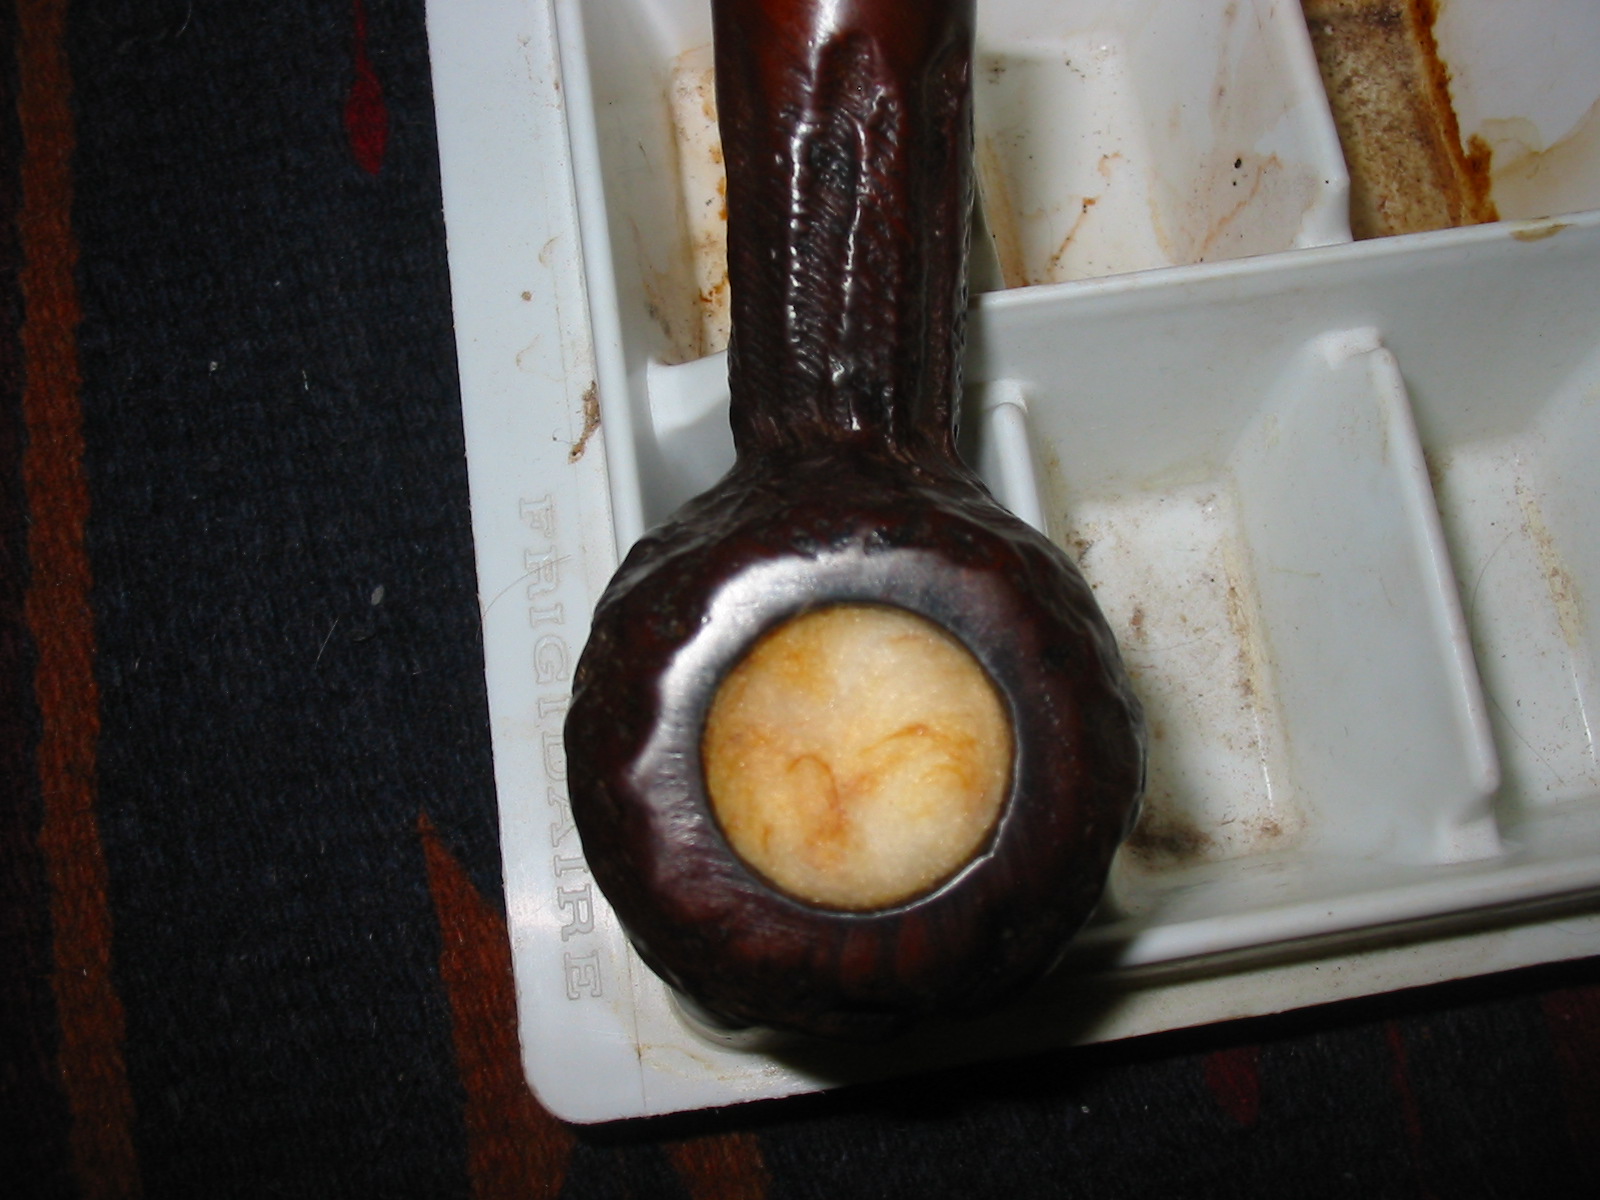
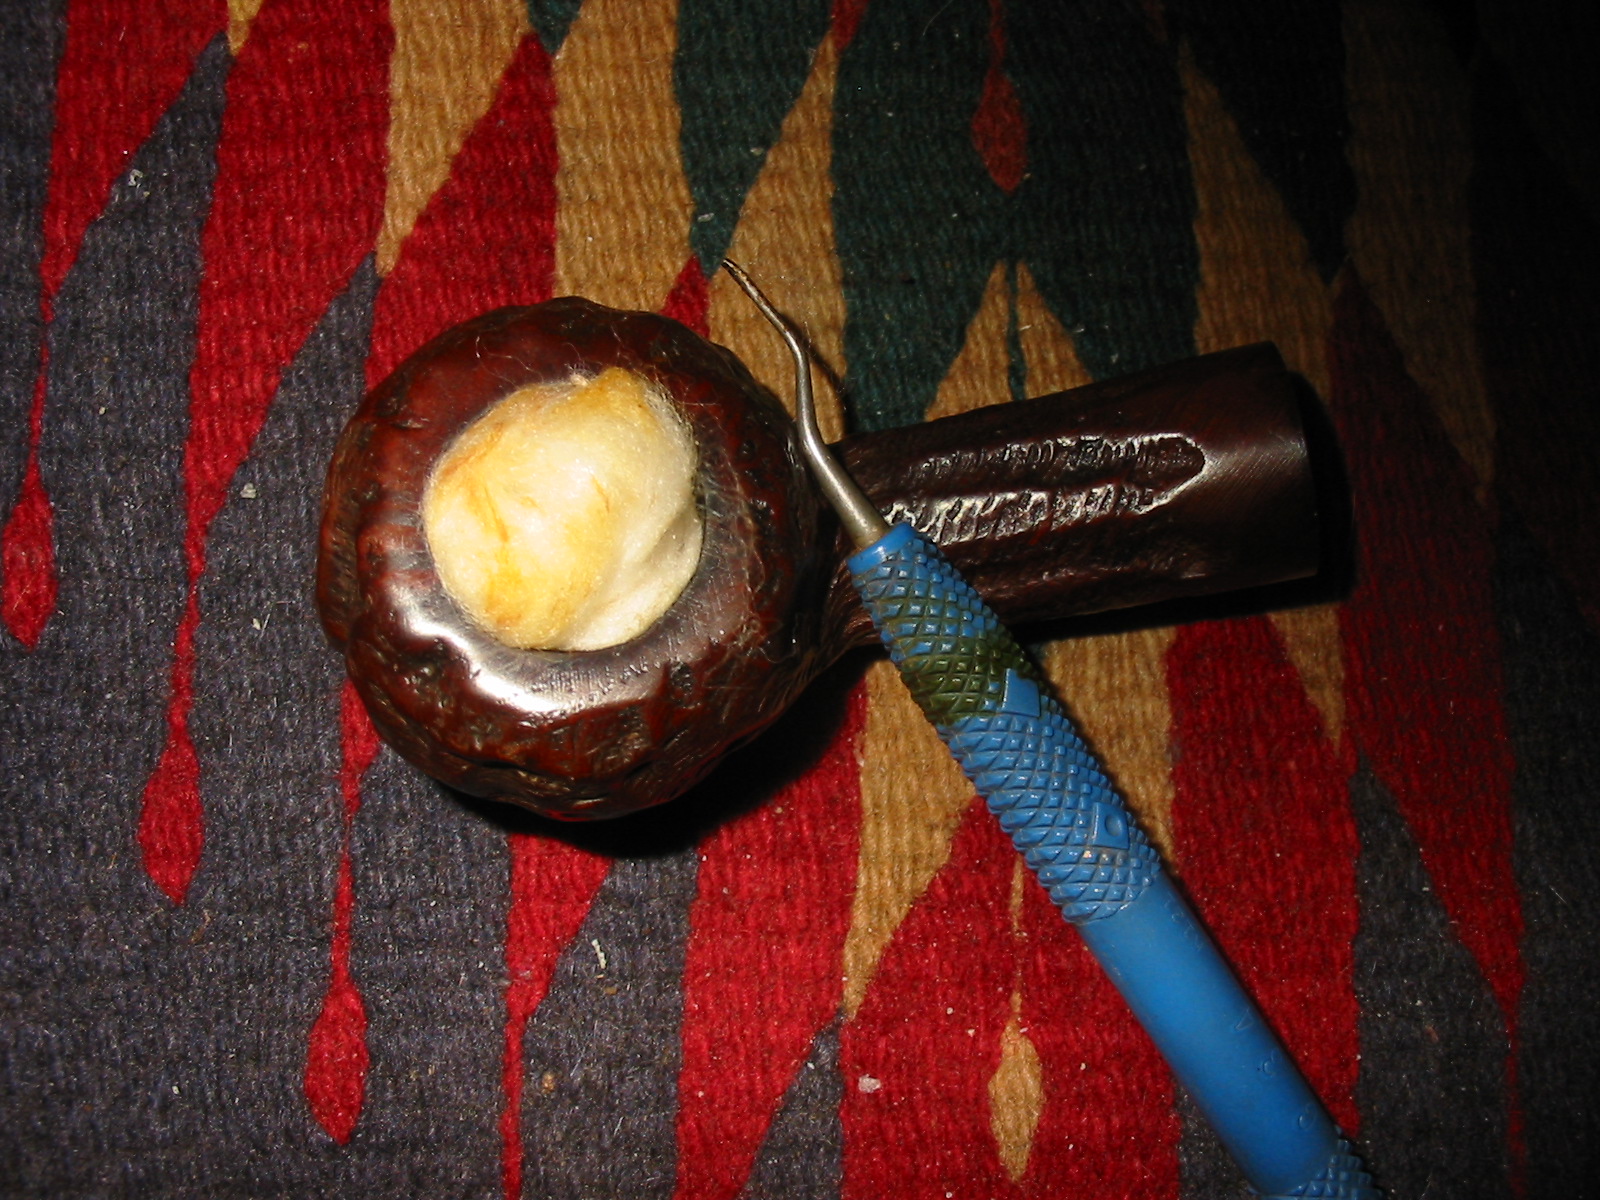
The finish on the outside of the pipe is a beautiful sandblast that highlights the ring grain on the pipe. There is a tactile feel that adds to the beauty of this particular sandblasted pipe. On the shank Paul continued the blast but left a smooth band near the stem shank junction and in an oval on the underside of the shank for the stamping. The rim and underside of the bowl obviously had a birdseye grain and the blast highlight that as well with small pits and whirls. The staining on this appears to use a contrasting series of browns to highlight the blast. There is a medium brown undertone that is interesting and over that is a lighter brown or almost tan overstain. The combination works very well and as I have smoked it the variation is developing depth. The stem itself is a well made saddle stem handcrafted from acrylic. The blade of the stem is well tapered and thin without sacrificing durability. The design along with the slight bend makes it fit very comfortably in the mouth. It also rests well enough that it can be clenched quite easily. The tenon is delrin and is countersunk at the end for good mechanics. The button is exactly the way I like them – thinner on the edges with a gentle rise at the centre top and bottom. It fits well behind the teeth for a comfortable feel. The draught hole in the end of the button is also funneled to deliver a mouthpiece that has the same diameter from start to finish. Comfortable and well executed. A pipe cleaner passes easily through the pipe with no obstruction.

ImageImage

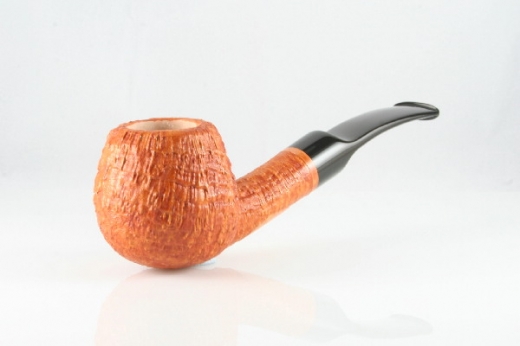
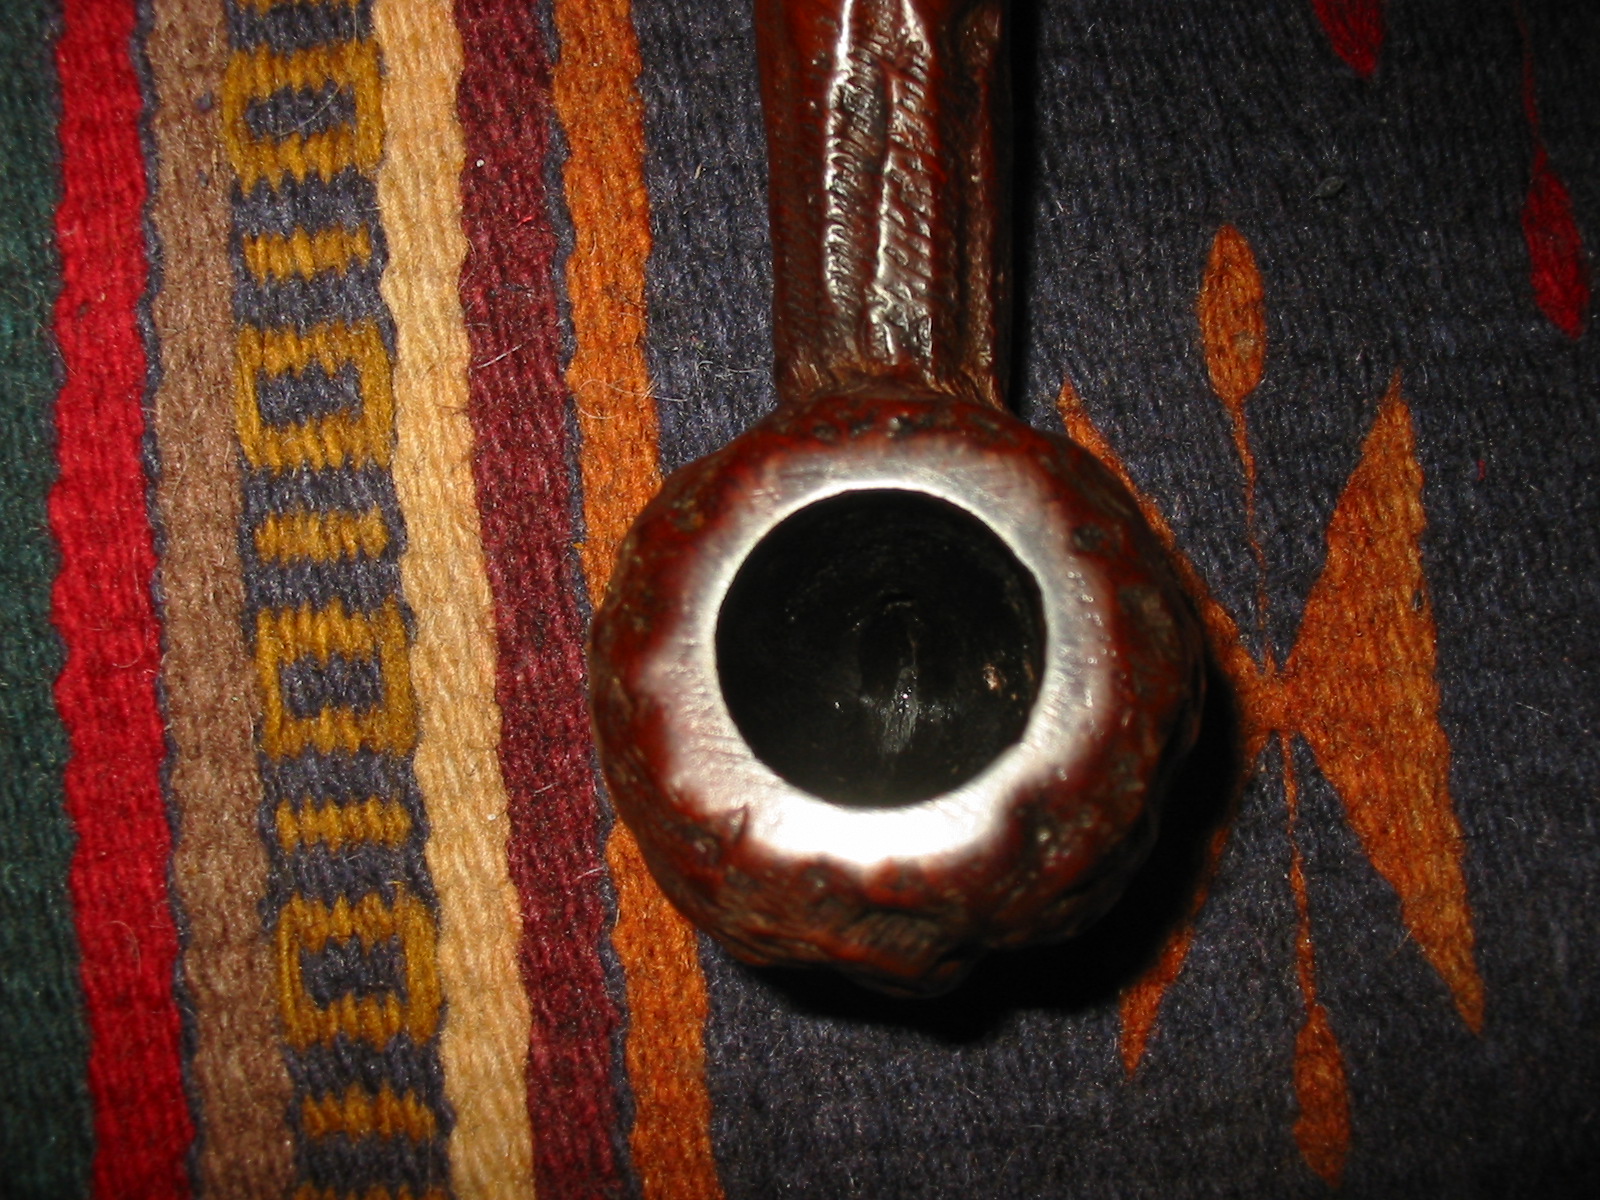
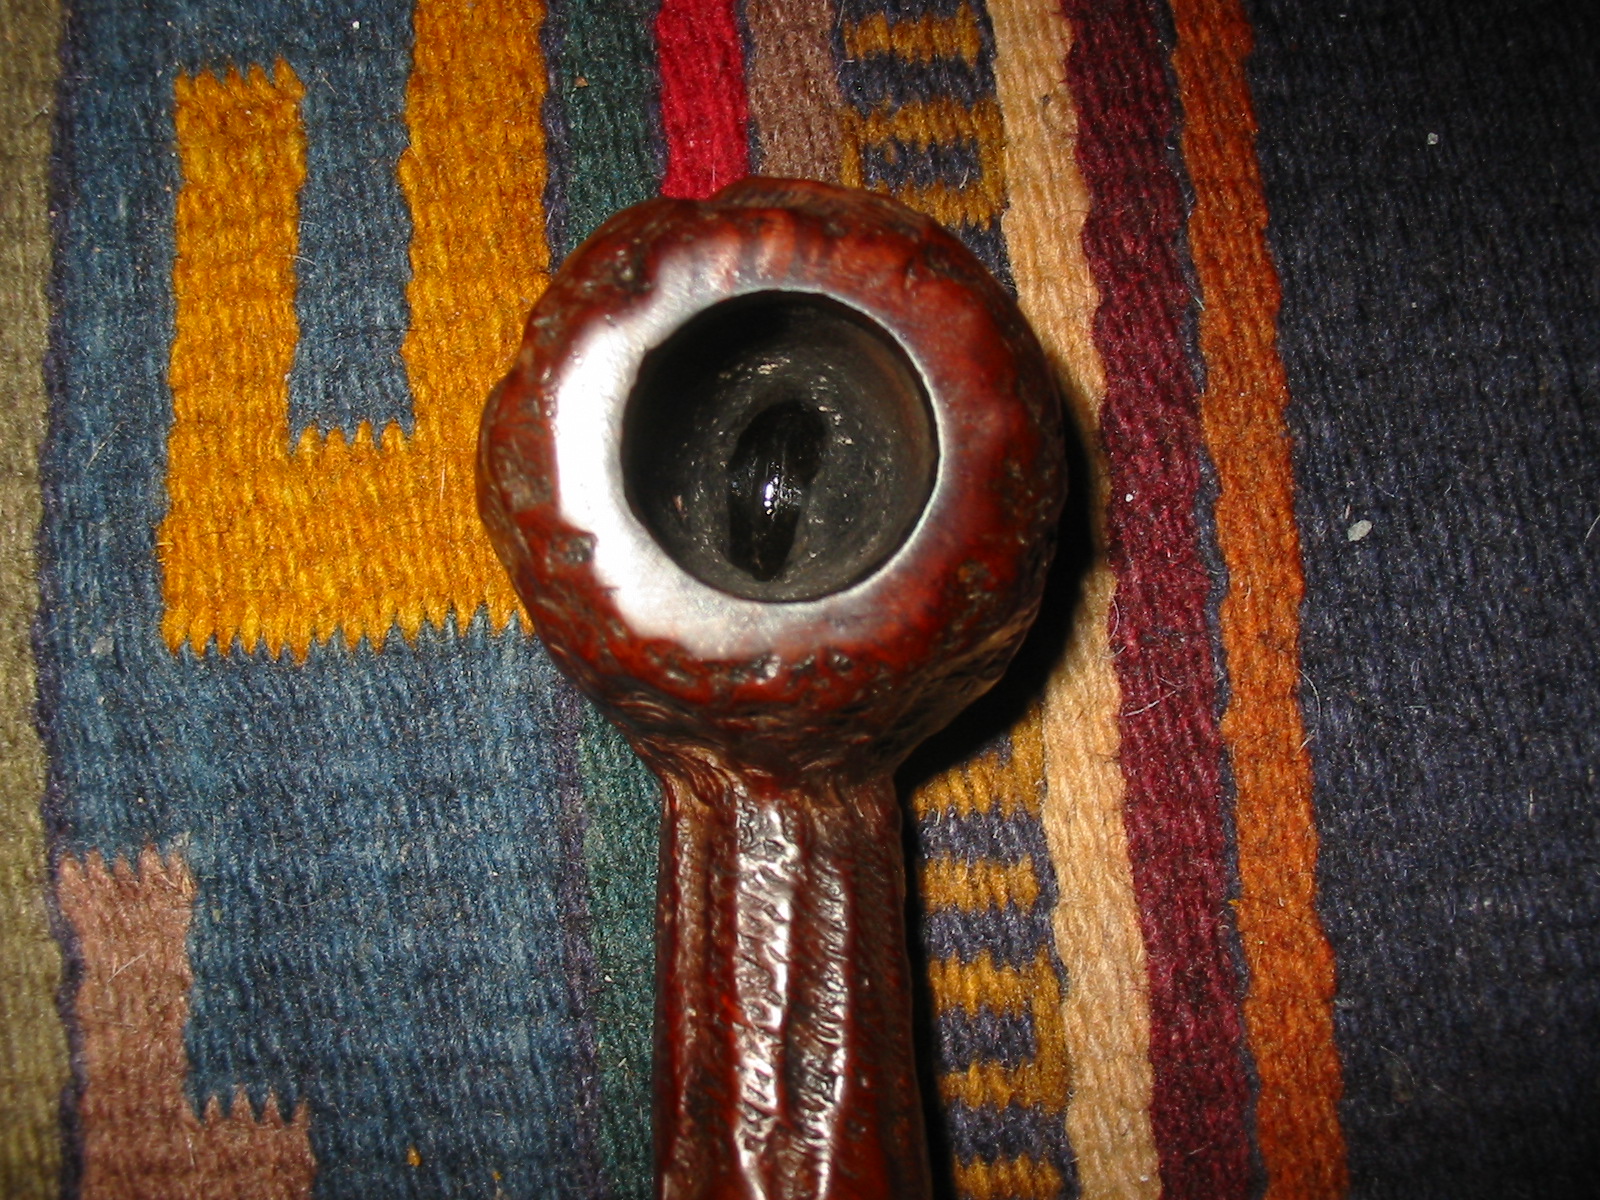
The internal mechanics of the pipe are well executed. The bowl chamber is drilled to a ¾ inch diameter. The inner edge of the bowl us straight and clean to the rim. The outer edge is rounded down to the edges of the bowl with the blast coming right to inner edge. The bowl is not coated with a bowl coating and the raw briar was sanded smooth and very clean. There were no flaws or visible pits in the interior. The draught hole is centered at the bottom of the bowl and seems to have a slight funnel as well – like a shallow Y- leading into the shank and stem. There is a very easy and open draw to the pipe. The fit of the stem to the shank is very good – smooth and tight with no light showing at the joint. The tenon sits deep in the mortise – if not exactly the same length then impressively close! The fit of the tenon is also smooth. The drilling of the draught in the shank is straight and centered in the back of the mortise. The air pulls clearly through the pipe with no whistling at all. Using a light to shine through the various airways reveals smoothly executed airways on the inside. Paul’s mechanics are very well done.

Today I smoked it when I went for my walk. I loaded a bowl of aged McClelland’s 5100 and took a walk in the neighbourhood. The tobacco packed very easily and lit well. The draught on the pipe was superb. The smoke was uncomplicated and effortless. From the first bowl many years ago now until today this bowl smoked incredibly well. It always has delivered a flavourful and effortless smoke. I am looking forward to another bowl later this afternoon.

Thanks Paul for a well made pipe that smokes as good as it looks!

ImageImage

Sweetening a Pipe – An Alternative to the Salt and Alcohol Treatment


Blog by Steve Laug

After writing the post about using the salt and alcohol treatment to sweeten sour pipes or estate pipes I decided I would also write about an alternative method that I have used and still continue to use at times. The process is much the same as the salt and alcohol treatment and the effect is much the same. In some sense the cotton bolls are easier to work with and there is certainly no leaching of salts or such into the briar of the bowl. The cotton bolls are neutral and work quite well. They are easy to remove. The only difference I find is that the alcohol does not dissipate into the air as well with the cotton and they are still damp when I remove them from the bowl the next morning.

The tools

Image

Cotton bolls

COTTON BOLLS– I buy cotton bolls in bulk at pharmacies, variety stores or the local dollar store down the street from my house. I find that the cheaper ones work as well as the more expensive. The difference is in the number of bolls that it takes to fill the pipe bowl. There are several features of the cotton boll method that endear it for me. The first feature is that it is easy to stuff in the bowl of the pipe and is readily available. The second, like the salt method, is that it provides multiple surfaces onto which the leached out oils and tars can migrate. Like the salt treatment, I have used the cotton boll method for many years. And over the years I have never had a problem with it. I have never had a shank or a bowl crack or split after it has been cleaned using this method. So ultimately the choice is yours to make. Experiment with both and see which one you favour and continue to use it to your advantage.

Image

Isopropyl Alcohol 99%

ALCOHOL – As before with the description of the salt and alcohol treatment, I use the highest percentage isopropyl alcohol that I can get through my local pharmacy. Most of the time I am able to purchase 99% Isopropyl alcohol or Rubbing Alcohol but have also used 91% Isopropyl with no ill effects. I just purchased a bottle of Everclear while traveling and will be trying it out as well. The water content in the 99% Isopropyl is 1% and I find that it evaporates quite quickly and does not saturate the briar. Much has been written about using an alcohol that is not a human consumable form. Many have spoken of the danger of using it in the pipe bowl or in cleaning the stem of a pipe that is going to be put in the mouth. However, I have found that once the cotton bolls and alcohol have been removed from the bowl and the pipe air dries there is no remaining alcohol in the bowl. With the removal of the cotton bolls I have found that there is always some residual alcohol in the bowl after I take out the cotton. It seems to keep the alcohol longer than the salt did. To remove the last of it I use a match and light the inside of the bowl to burn off any remaining alcohol. It quickly burns the alcohol and does not harm the pipe bowl. Once that is done the bowl is dry to the touch. From my experience the alcohol burns off and any remaining in the briar dries out quickly over the next few hours that the pipe sits.

ImageEAR SYRINGE – I use the same ear syringe to fill the bowl with alcohol as I explained in the previous post. It truly is an indispensable tool for my refurbishing kit. I use it in this process and also in the process of removing excess water from the bowl when I am making a pipe mud patch. It is rubber and works incredibly well at keeping the alcohol off the outer finish of the pipe. By squeezing the bulb you can draw alcohol into the syringe and then be squeezing it again over the bowl of the pipe the alcohol is poured into the bowl quickly and without a mess. The syringe is resilient and durable. I have had mine for a long time.

The method

I remove the stem from the bowl and then stuff several cotton bolls into the bowl. An average sized bowl will take two or three cotton bolls pressed down tightly into the pipe. I press them tightly as I do not want them to spring up when I fill the bowl with the alcohol. I want them inside the bowl and not overlapping and touching the rim of the pipe. The photo below shows the bowl ready to be filled. The second photo below shows the bowl stuffed with the cotton bolls and the alcohol ready to be loaded into the syringe and then put in the bowl. When I pack the bowl with cotton bolls I try to leave it a bit below the edge of the bowl. I also insert a folded pipe cleaner in the shank and airway to close off the airway and provide a bit of a plug for the alcohol. It also acts as a wick and draws the tars and oils from the airway.

Image

Tools needed for the cotton boll alcohol treatment – Photo 1

Image

Tools needed for the cotton boll alcohol treatment – Photo 2

The next photos below show how I fill the bowl with alcohol. I have found that the cotton absorbs more of the alcohol than the salt does and it takes several syringe loads to fill the bowl. I pour Isopropyl alcohol into the cap of the alcohol bottle and get the ear syringe and the bowl ready for work. The first photo shows the loading of the syringe. The second photo shows the filling of the bowl from the syringe. I do this by putting the tip of the syringe in the top of the bowl and squeezing it until the bowl is filled with the alcohol.

Image

Loading the ear syringe with alcohol

Image

Putting the alcohol in the bowl of the pipe

Once the bowl is filled I place the loaded bowl in the ice tray that I use to keep the pipe upright while the alcohol and cotton do their work drawing out the tars and oils. The process works quite quickly and the salt begins to darken with the oils and tars within a few moments. The photo below shows the newly filled bowl as it sits on the ice cube tray.

Image

The treatment has begun

The next series of photos shows the cotton turning brown beginning with the edges and working toward the centre of the bowl. The first photo below is taken after the bowl had been sitting for 2-3 minutes. At this point the cotton is beginning to darken at the edges but it is barely visible in the photos.

Image

After sitting 2-3 minutes

The photo below was taken after the pipe bowl had been sitting 15 minutes in the tray. The brown colouration is moving around the edges and in toward the centre of the bowl.

Image

After 15 minutes

After the bowl sat for a half hour, I took the picture below to show the movement of the brown tars and oils toward the centre. On this pipe I had cleaned the shank with many pipe cleaners before getting to this point so there is very little leaching of tars and oils into the pipe cleaner.

Image

After 30 minutes

Forty five minutes later I took the photo below and then tamped the cotton bolls down with my thumb. Then I set the pipe aside for the night to let the treatment do its work.

Image

After 1 hour and 15 minutes

This morning the cotton was darkened and the alcohol was evaporated. I used my dental pick to remove the cotton bolls from the pipe and threw them away. I removed the pipe cleaner from the shank as well. I used several pipe cleaners to wipe out the inside of the shank and several folded pipe cleaners to wipe out the inside of the bowl. The bowl was still wet from the remaining alcohol so flamed it with a lighter to quickly burn out the alcohol. The four photos below show the extent of the tars and oils removed in the brown cotton bolls and the dental pick I use to remove the cotton bolls. The final photos show the clean bowl. The pipe smells clean and fresh. When I have finished cleaning the pipe I set the bowl aside and let it dry for several days before smoking it.

Image

The next morning

Image

Removing the cotton bolls with a dental pick

Image

An empty and clean bowl – still wet with alcohol

Image

After flaming