by Steve Laug
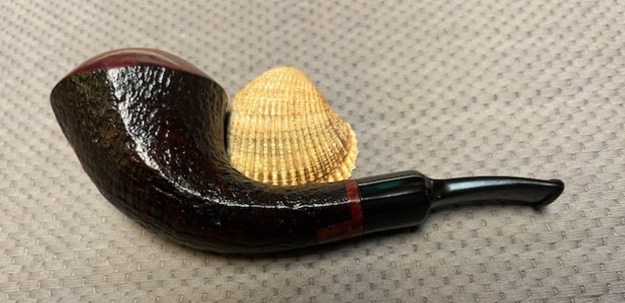
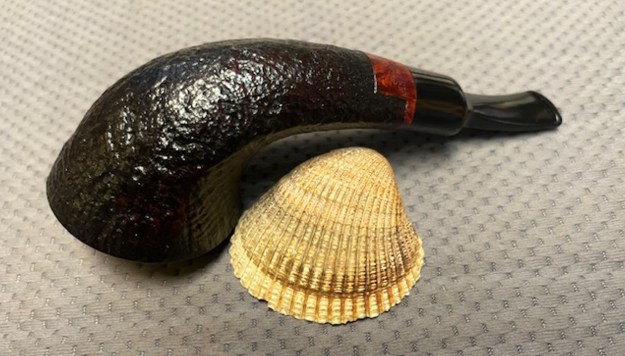
One of the things I love about Stanwell other than being great smokers is that they were able to draft some of the world-renowned Danish Pipe Carvers to design pipes for them and some how machine their equipment to make the shapes in duplicate. This is one of those interesting pipes that was designed by S. Bang, in other words Per Hansen and Ulf Noltensmeier. It is a sandblast horn that is stamped on the underside of the shank and clearly reads Stanwell [over] Made in Denmark. On the top of the shank it bears a brass oval that is stamped S. Bang. We purchased this pipe on 05/22/2024 from a friend in Denmark. The pipe was in good condition in terms of the finish on the bowl. The bowl had a thick cake on the walls and the rim cap had some lava overflow. The inner edge had lava buildup and also was out of round from either burn damage or reaming damage. Otherwise it was a beautiful pipe. There 9mm acrylic saddle stem was in good condition with light tooth chatter but no deep tooth marks on the surface. Jeff took photos of the pipe before he started his clean up to capture the condition of the pipe when it arrived. It is a real beauty.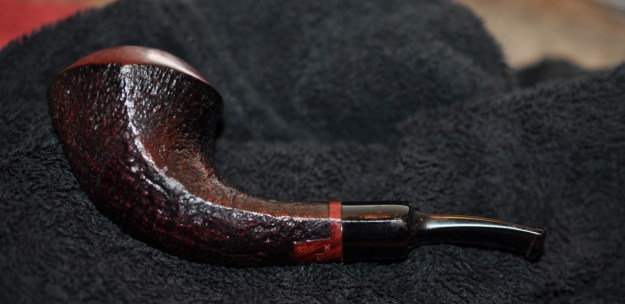
 He took photos of the bowl and rim top to show the damage on the top and inner edge of the bowl. It looks like a combination of burn damage and over reaming damage on the front and back mid bowl. The stem was very dirty with grime and sludge build up from the button forward on both sides of the stem.

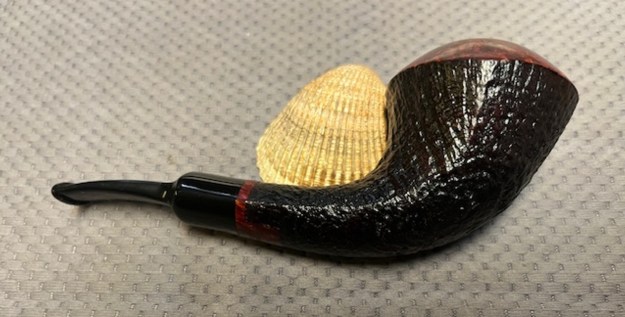
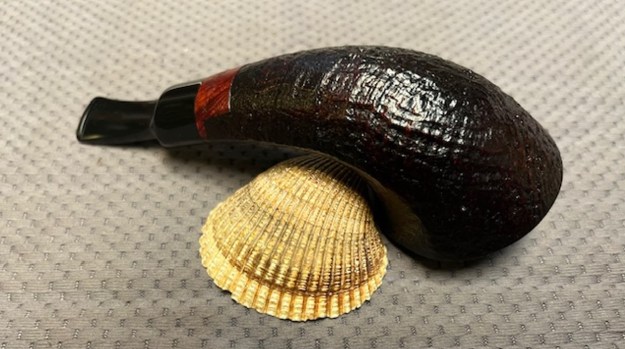
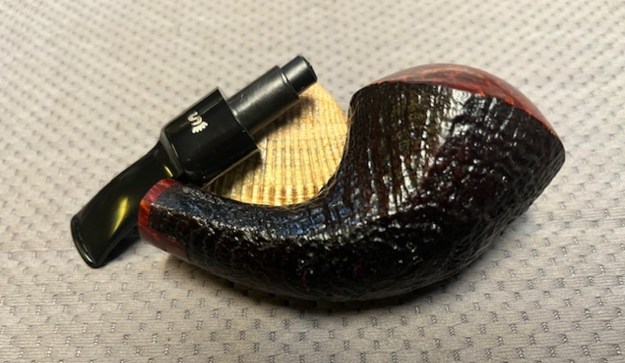
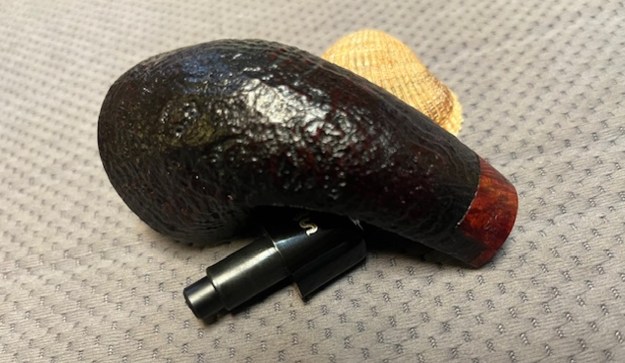
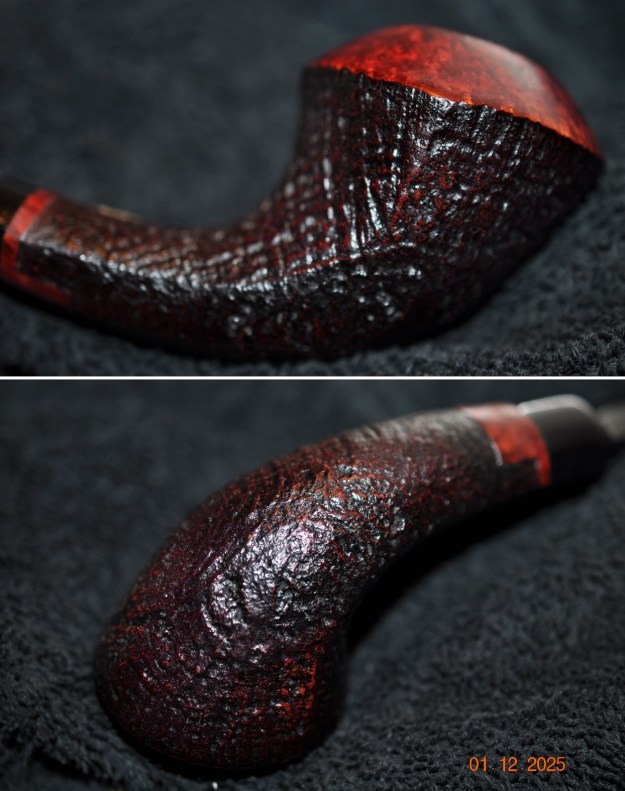
 Jeff captured the sandblast finish around the bowl sides of the horn and it is stunning. There is a smooth rim cap and a smooth band around the shank end. The stamping is on the smooth panel on the underside of the shank end.
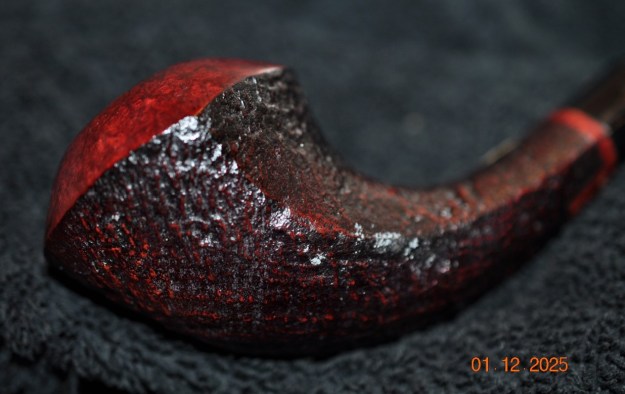
 He captured the stamping on the underside of the shank. The stamping is clear and readable. It read as noted above. He took a photo of the brass S. Bang emblem on the topside.
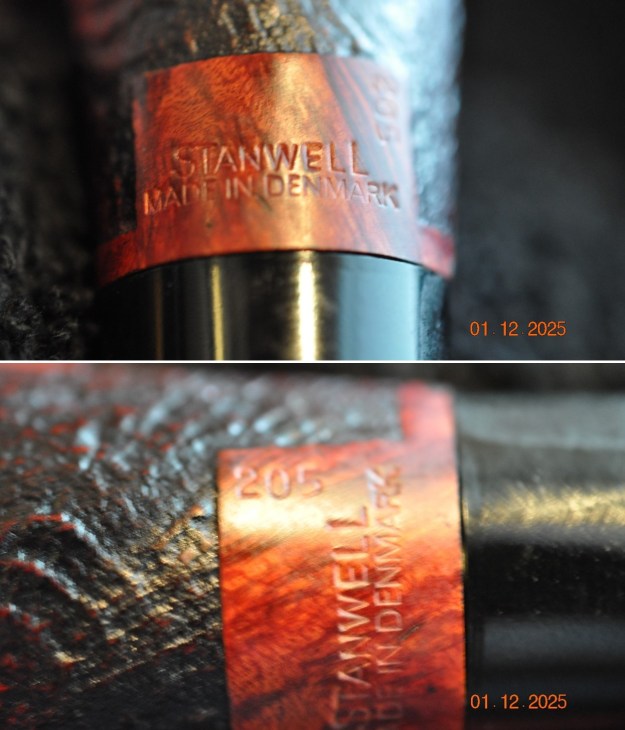
 Armed with that information I turned to work on the pipe itself. Jeff had done a great job cleaning up the pipe as usual. He cleaned up the inside of the bowl with a PipNet reamer and a Savinelli Fitsall Pipe Knife. The bowl walls looked very good. He scrubbed the interior of the bowl and shank with pipe cleaners, cotton swabs and alcohol to remove the tars and oils. He scrubbed the exterior of the pipe with undiluted Murphy’s Oil Soap and a tooth brush to remove the grime from the finish. He worked on the rim top lava and darkening with the soap and tooth brush. He scrubbed the inside of the stem with alcohol and pipe cleaners. He scrubbed the stem exterior with Soft Scrub and then soaked it in Briarville’s Pipe Stem Deoxidizer. He washed it off with warm water to remove the deoxidizer. The pipe looked far better. I took photos of the pipe when I received it before I started working on it.
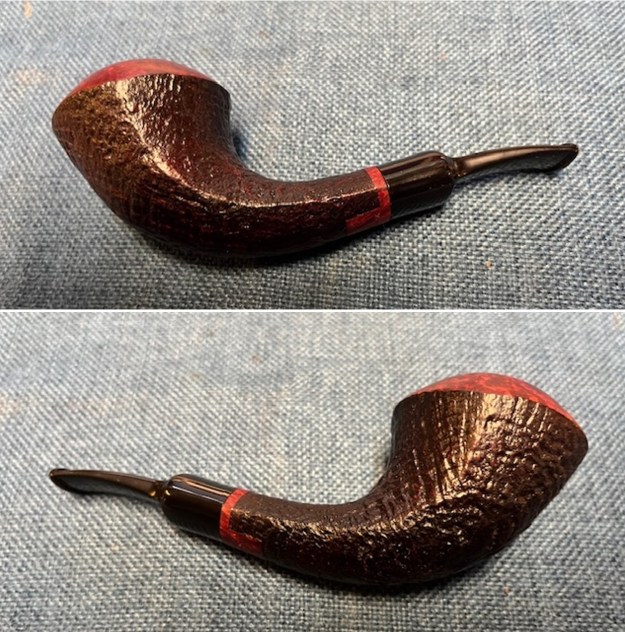
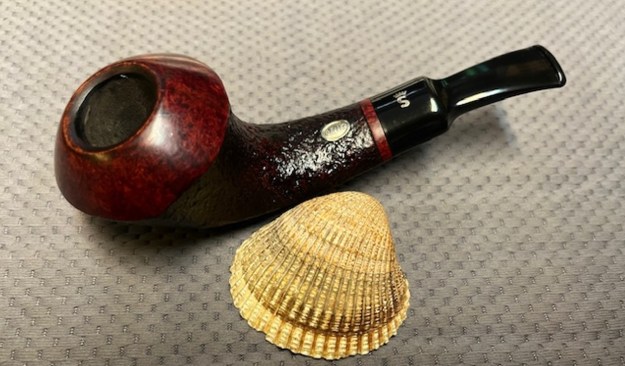
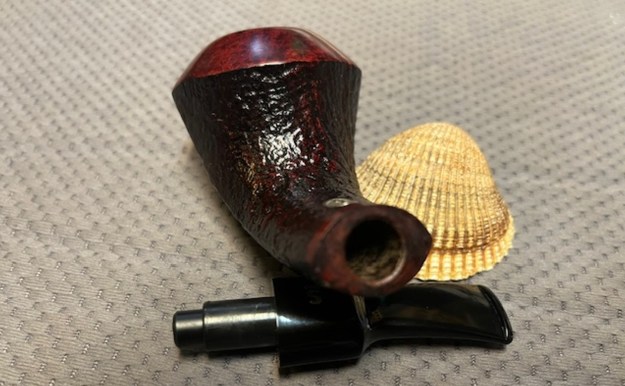
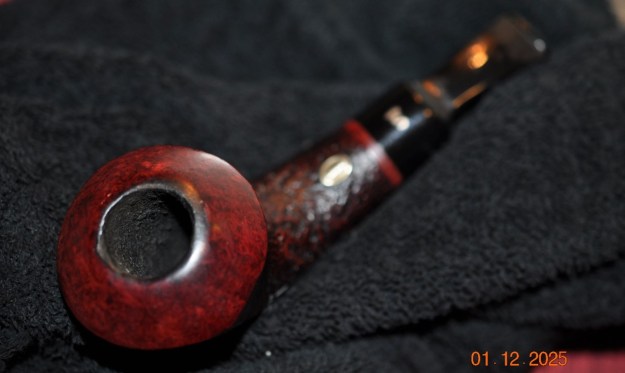
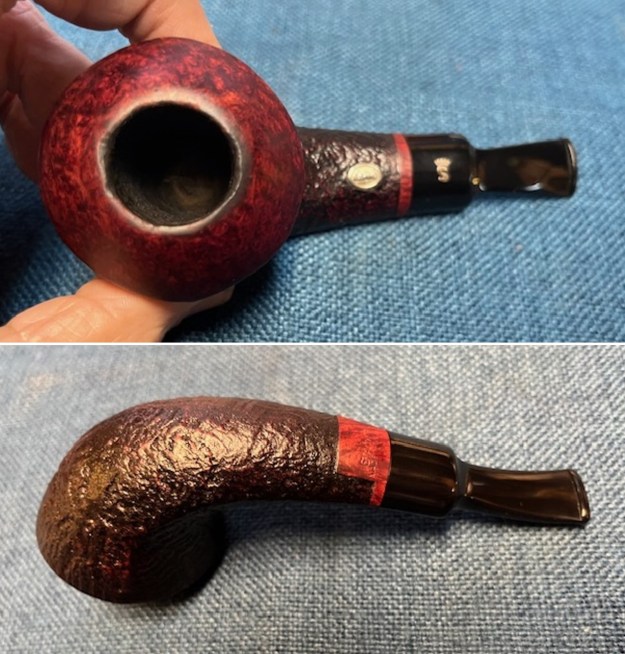 I took photos of the bowl and rim top to show how clean it was. The top and the inner edge of the rim show the damage that I mention above. It definitely has burn damage and also reaming damage on the front and back inner edge. The stem looks clean of debris and grime. The tooth chatter more or less disappeared with the cleaning.
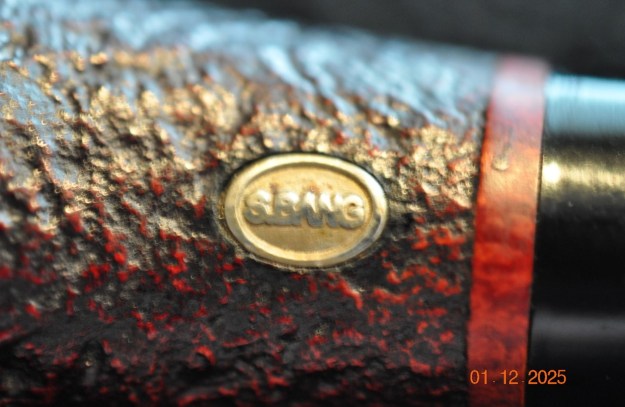
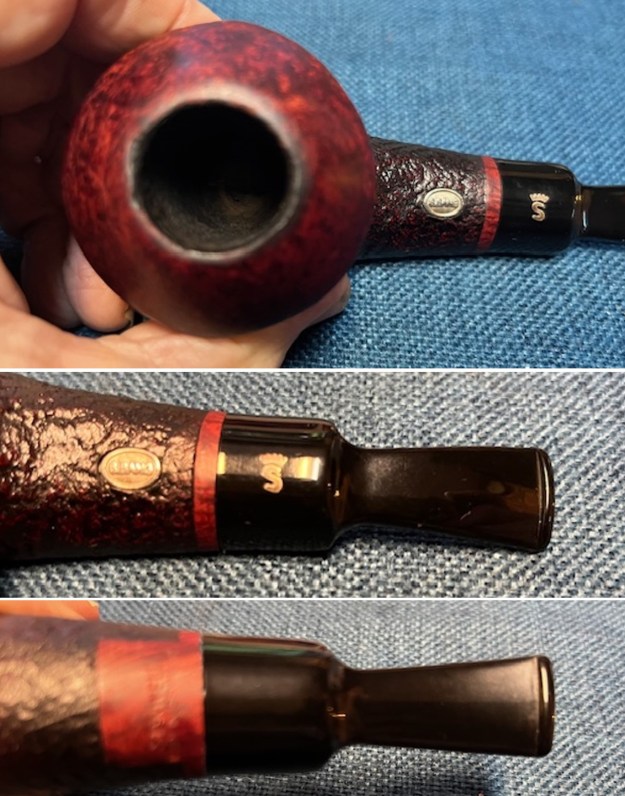 I took photos of the stamping on the underside of the shank – it was clear and read as noted above. The second photo below shows the S. Bang logo on the topside. It is also very clear and undamaged.
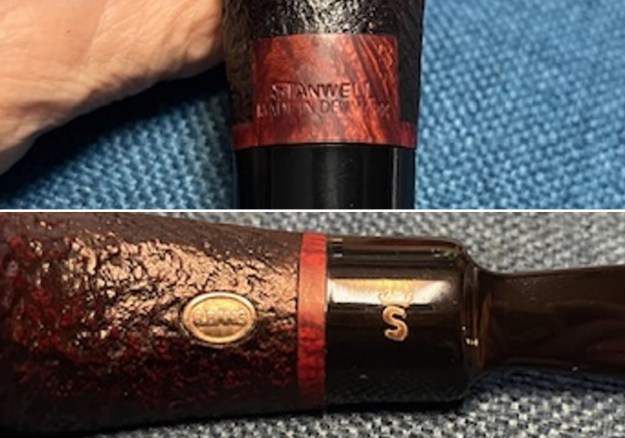 I removed the stem from the shank to show the look of the pipe and to also show the 9mm tenon on the stem.
 I started working on the pipe by addressing the rim edge and top damage first. I started using a folded piece of 220 grit sandpaper to smooth out the inner edge and remove the nicks and chips. I topped the rim top lightly on a topping board with 220 grit sandpaper.
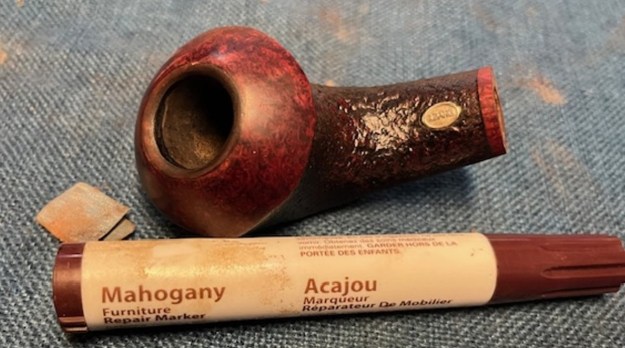
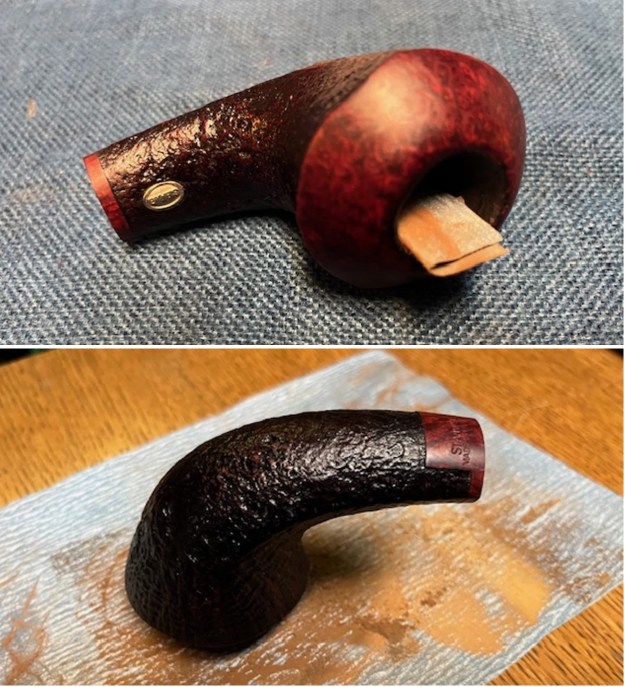 I used a small sphere and a piece of 220 grit sandpaper to work on the inner edge of the bowl. It preserves and cleans up the inner bevel on the rim edge. I used a Mahogany stain pen to touch up the rim edge to match the rest of the rim cap.
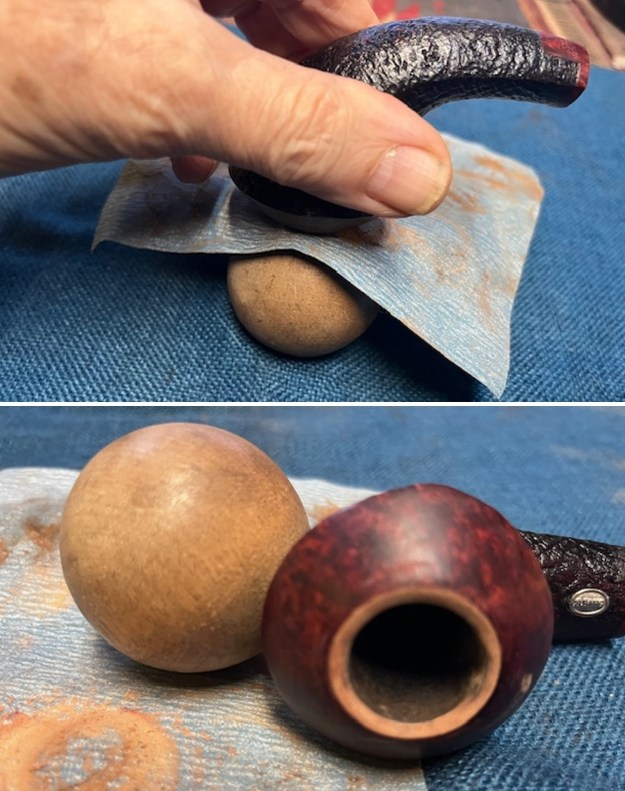
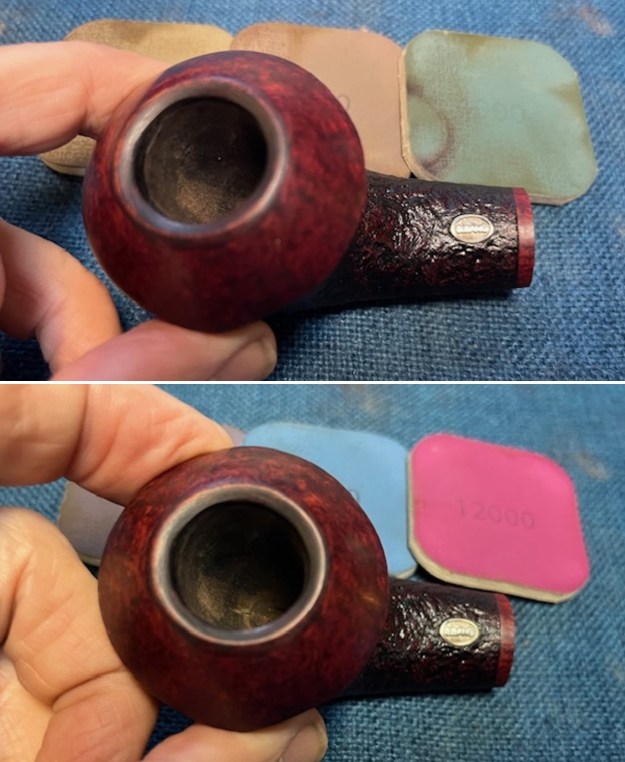
 I polished the rim cap and top with micromesh sanding pads. I dry sanded it with 1500-12000 grit pads. I wiped it down with a damp cloth after each sanding pad. It looks very good now and the bowl is back in round.
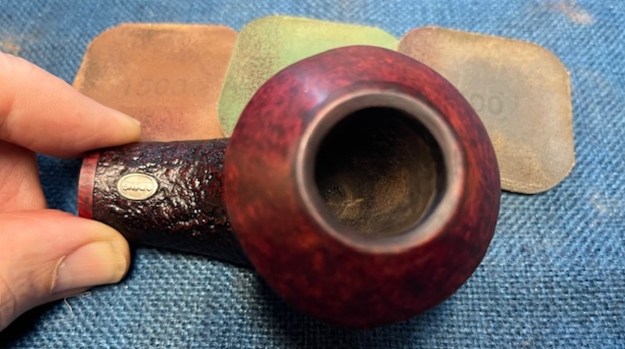
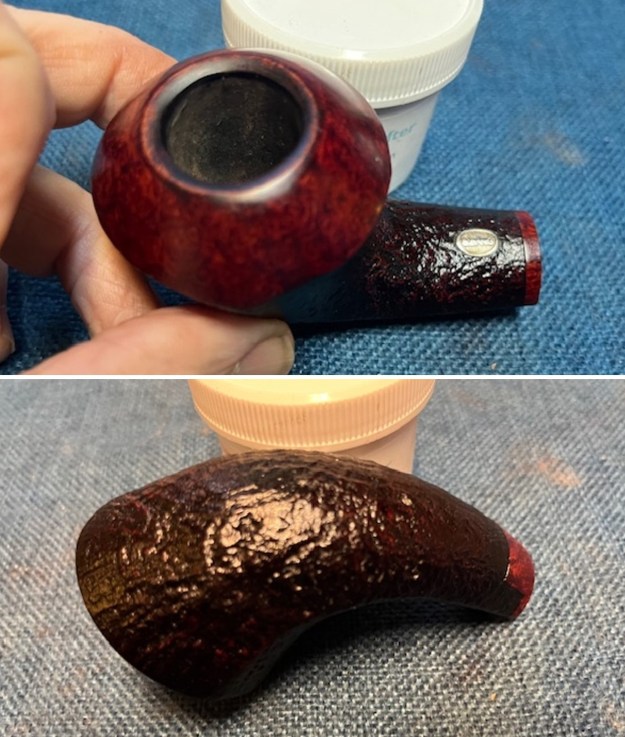
 The pipe was clean and free of debris. I rubbed the bowl and smooth cap down with Before & After Restoration Balm. It is a paste/balm that works to deep clean the finish, enliven and protect the briar. I worked it into the briar with my finger tips and a horsehair shoebrush to make sure that it covered every square inch of the pipe. I set it aside for 10 minutes to let it do its work. I buffed it with a cotton cloth. The briar really began to have a deep shine. The photos I took of the bowl at this point mark the progress in the restoration.
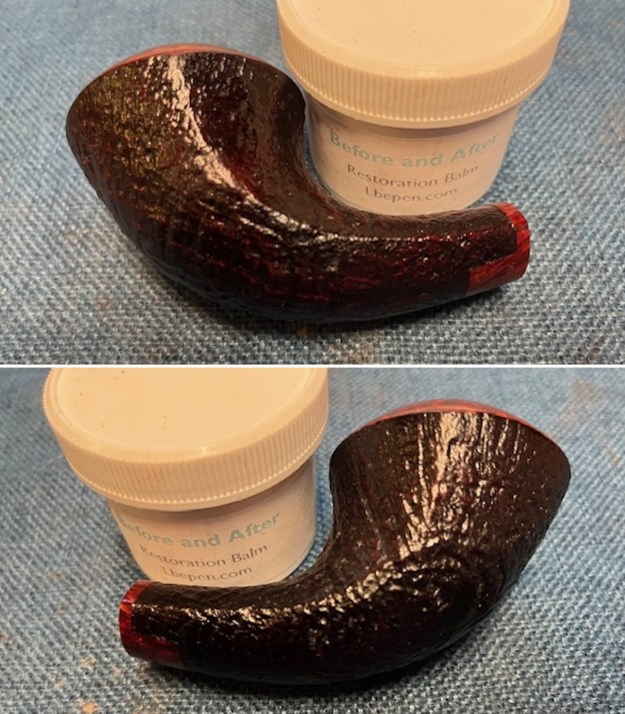
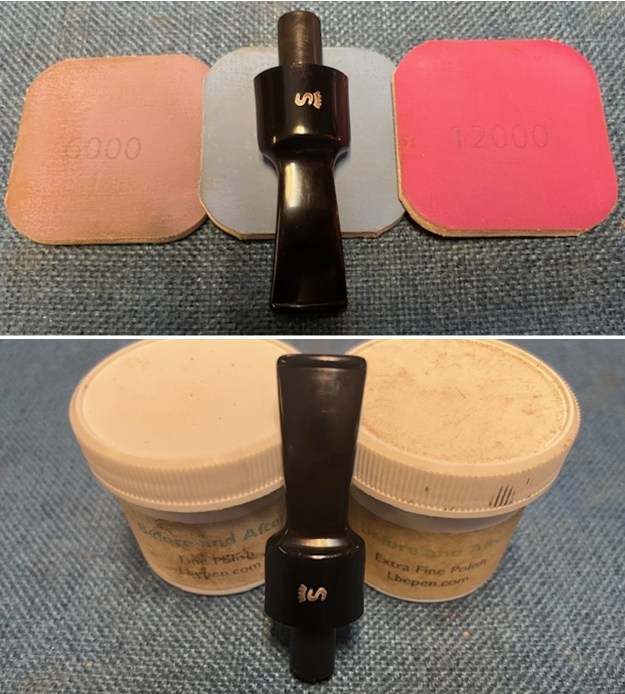
 I polished the stem with micromesh sanding pads – dry sanding with 1500-12000 grit pads. I wiped the stem down after each sanding pad with Obsidian Oil. I polished it with Before & After Pipe Stem Polish – both Fine and Extra Fine. Once I had finished the polishing I gave it final coat of Obsidian Oil and set it aside to dry.
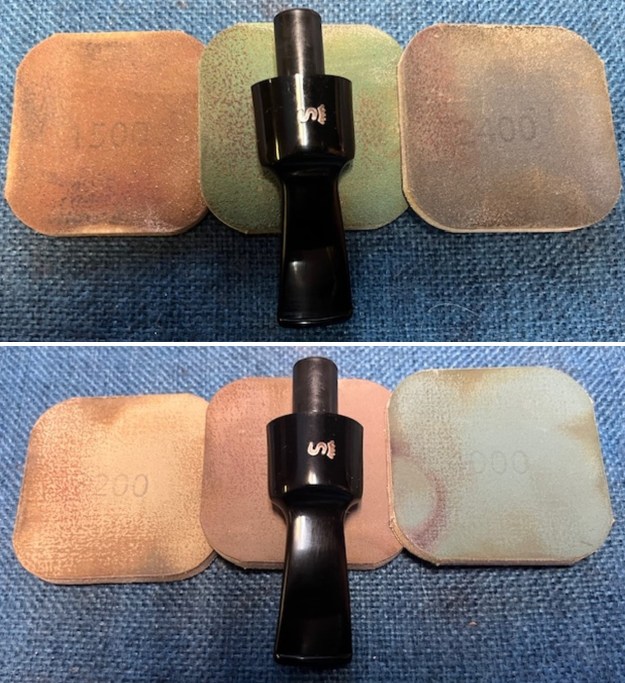
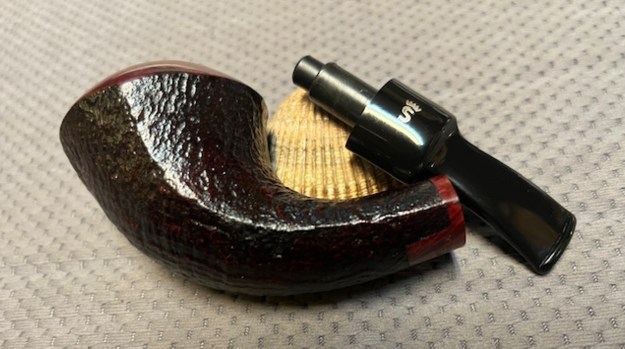
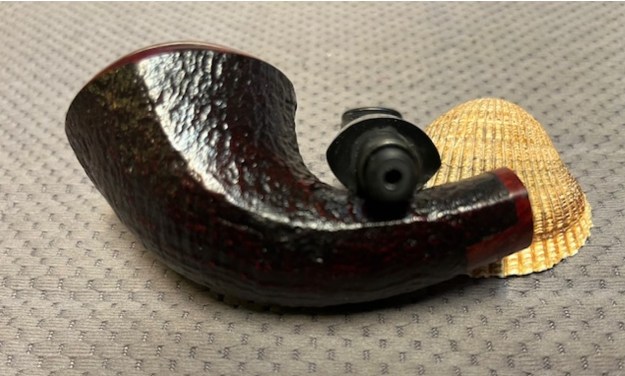
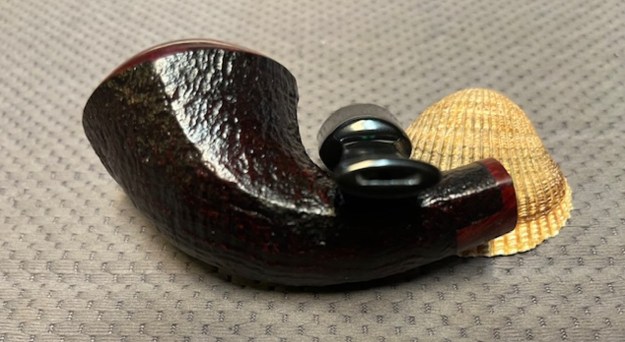
 I fit the stem with an adapter to convert it from a 9mm tenon to a regular tenon. It is removable so it can be used either way – filter or with the adapter. The adapter is Delrin and slides into the tenon and is held by the ring in the middle.
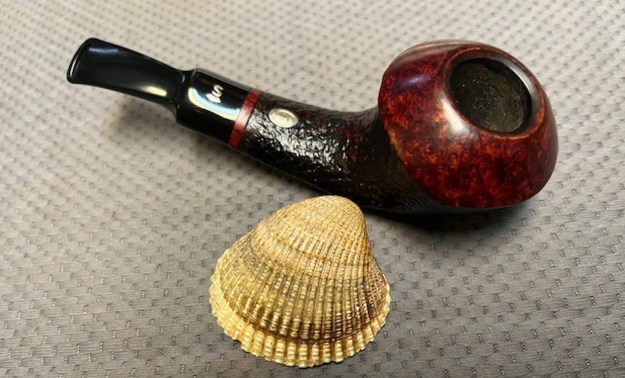
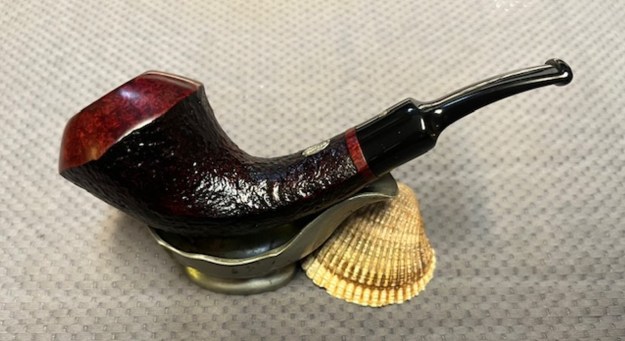
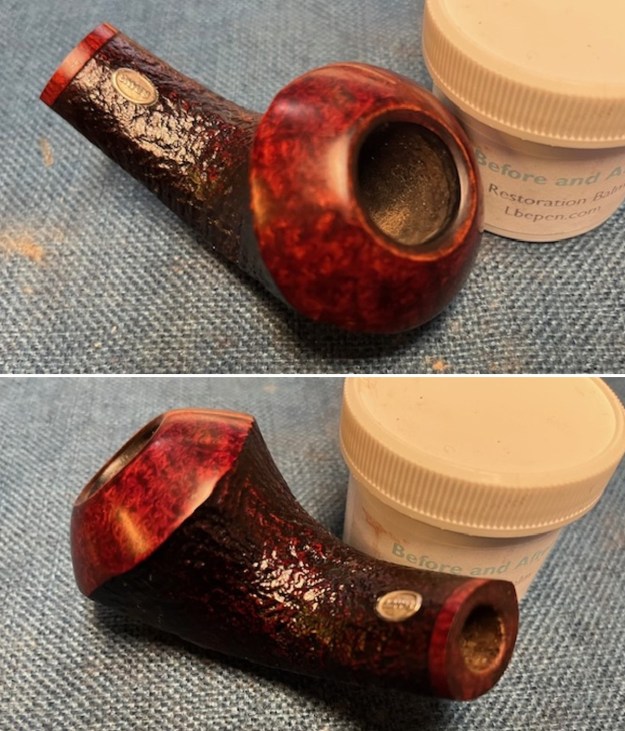
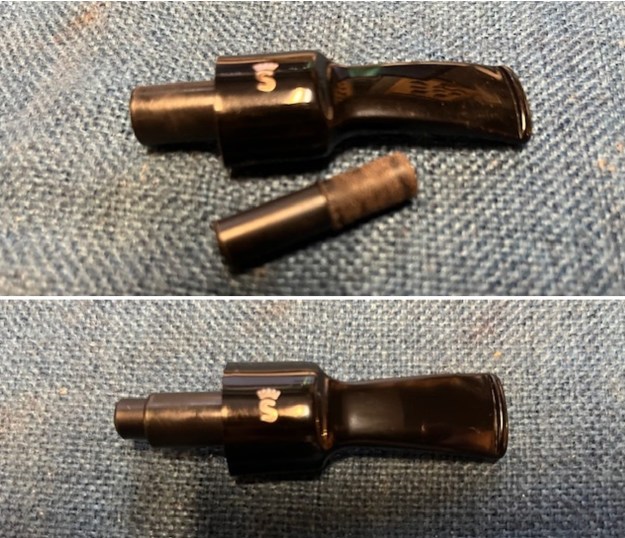 This S. Bang Design Stanwell 205 Horn with a 9mm Acrylic Filter Stem has a beautiful, classic sandblast finish that highlights the grain. The polished black acrylic saddle stem adds to the mix. I fit the saddle stem with an adapter that allows it to be either a 9mm filter stem or a regular stem. I put the stem back on the bowl and buffed the pipe with Blue Diamond on the buffing wheel being careful to not buff the stamping. I gave the bowl multiple coats of Conservator’s Wax and the stem multiple coats of carnauba wax on the buffing wheel and followed that by buffing it with a clean buffing pad. I hand buffed the pipe with a microfiber cloth to deepen the shine. The finished Stanwell Made in Denmark 205 Horn is quite nice and feels great in the hand. Give the finished pipe a look in the photos below. The dimensions of the pipe are Length: 5 ½ inches, Height: 2 ¼ inches, Outside diameter of the bowl: 2 inches, Chamber diameter: ¾ of an inch. The weight of the pipe is 2.29 ounces/65 grams. Thanks for walking through the restoration with me as I worked over another beautiful pipe. I will be adding it to the rebornpipes store in the Danish Pipe Makers Section. If you would like to add it to your rack let me know.
As always, I encourage your questions and comments as you read the blog. Thanks to each of you who are reading this blog. Remember we are not pipe owners; we are pipe men and women who hold our pipes in trust until they pass on into the trust of those who follow us.