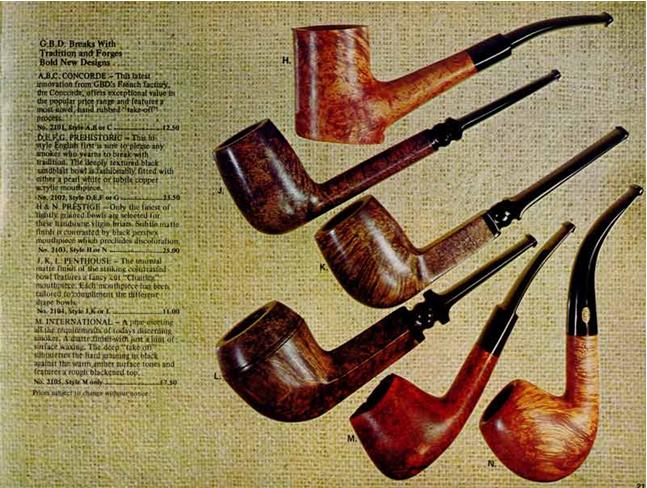
While scanning EBay for interesting old pipes to work on I came across a pipe for sale with the stamping Penthouse. There was little other information on the advert regarding the pipe but it looked interesting to me. The chairleg type stem made me think of the series of pipes that Al (upshalfan) has restored so I put a bid in for the pipe. I contacted Al and he sent me the following picture from a Tinderbox catalogue showing that indeed the pipe was a GBD line. (NOTE: The GBD catalog page came courtesy of Jerry Hannah. Jerry created the GBD Shapes/Model page that I frequently use for reference. I’m not sure if he reads this blog, but if so, thanks!) The headline on the page says that GBD breaks with tradition and forges bold new designs. Pipes marked J, K, and L in the picture below are all Penthouse pipes. I have no idea where they took the name but let imaginations rest, the pipes are stunning and the stems are uniquely beautiful.
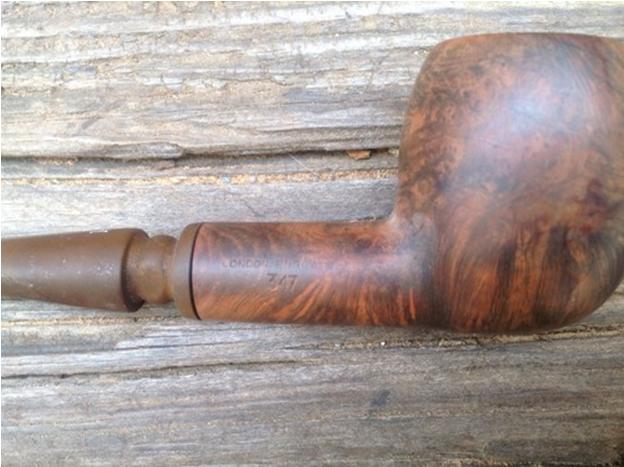
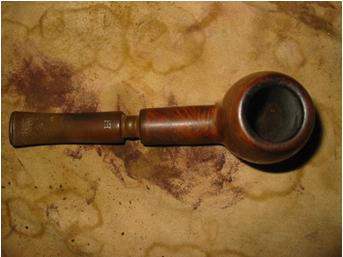
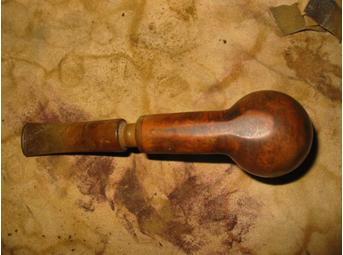
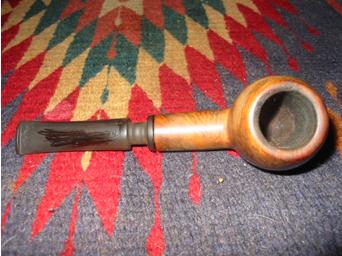
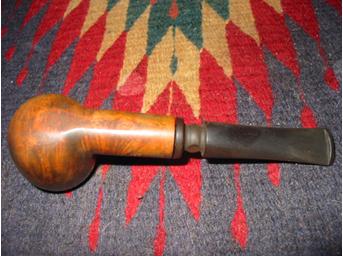
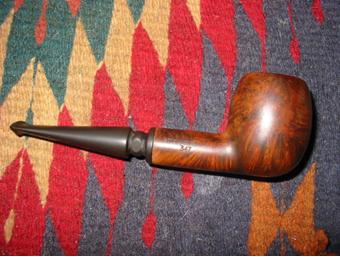
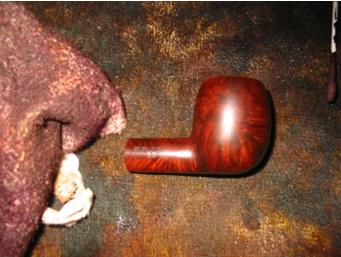
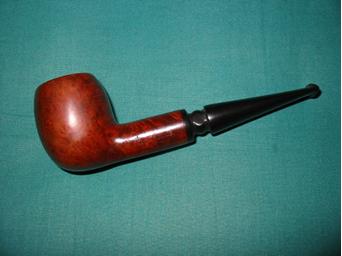
The Penthouse pipe that I bid on and subsequently won is an apple shape. The first six photos below are the seller’s pictures. It was these pictures that tempted me to place my initial bid on this pipe. As it turned out I was the sole bidder. The stem was badly oxidized and had some tooth chatter at the button. The stamping showed up but was not as deep as it appears in the photos. The rim appears to be darkened but not charred in the photos and the finish appeared to be dirty but not dented or scratched deeply. It was stamped on the left side- Penthouse in script over Made in England in block letters. On the right side it was stamped London England over 347. Now the wait began.
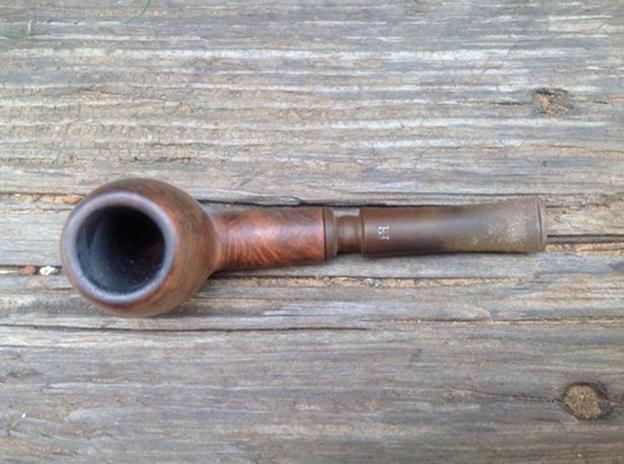
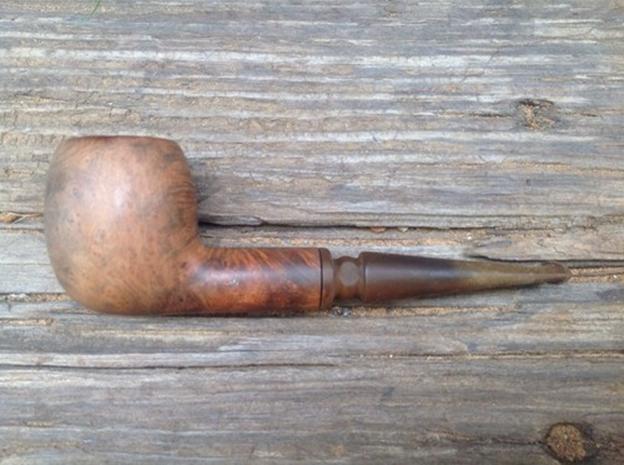

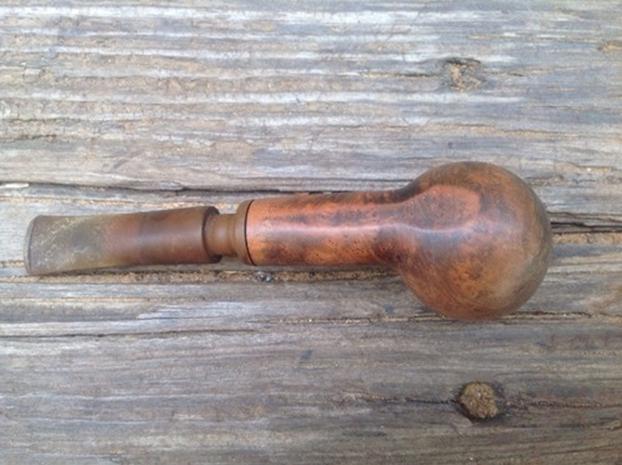
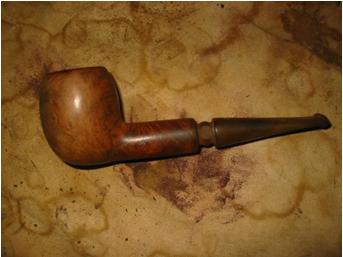
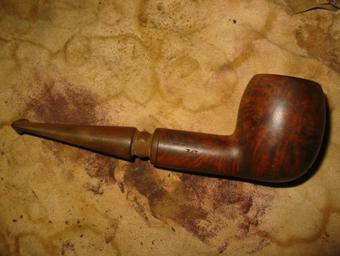
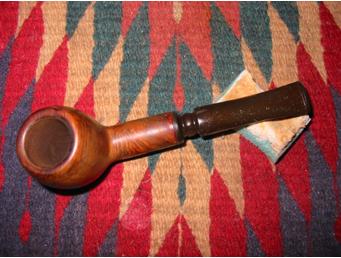
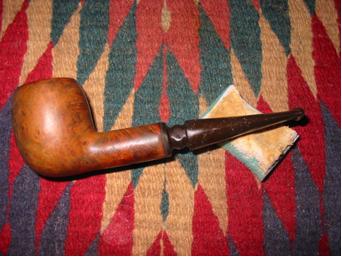
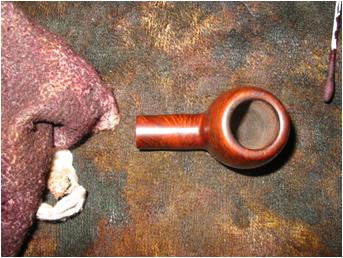
When the pipe arrived it was much as the pictures had shown. I am never sure what to expect when I bid on these old pipes as I have been utterly surprised both ways – they have shown up in much worse shape than the photos showed or in much better shape. The next four photos show it as it appeared when I removed it from the box.
The finish was actually quite dirty. Many of the dark areas of the finish were actually grime and grit and not the understain on the pipe. I wiped the pipe down with acetone to remove the grime. I also used a battery terminal brush to clean out the remaining cake remnants in the bowl. Then I dropped the bowl in the alcohol bath and the stem in a bath of Oxyclean. The bowl sat for about an hour in the alcohol bath and the stem sat in the bath overnight. When I removed them I cleaned out the shank and the inside of the stem until the pipe cleaners and cotton swabs came out clean. I wiped the entirety with a soft cotton pad and acetone to remove any remaining grime and the next series of four photos show the state of the pipe at this point in the process. The alcohol bath and acetone had successfully removed the remaining finish and the grime on the surface of the pipe. The Oxyclean had done a great job on the oxidation. You will notice the shiny areas on the top of the stem – I had run my fingernail across the surface to show how the oxidation had softened. It was ready for the next step in the process of cleaning the stem.
The next two photos show the stem after I had scrubbed it with a Magic Eraser. The stem was wet and shiny and you can see the oxidation on the Magic Eraser under the stem. I continued to scrub the stem with the Magic Eraser until it came out clean.
The oxidation was greatly decreased at this point but there was more work to be done on the stem. The hard points on the stem were obviously around the chairleg section. The grooves were difficult to get to with the Magic Eraser. I decided to use some Meguiar’s Scractch X 2.0 which is a scratch and blemish remover for auto paint finishes. I used soft cotton pads (makeup removal pads) with a spot of the Scratch X 2.0 on them to scrub the grooves and the area around the button as well. The next series of three photos show the stem after the scrubbing with X 2.0. The oxidation is further removed but still evident.


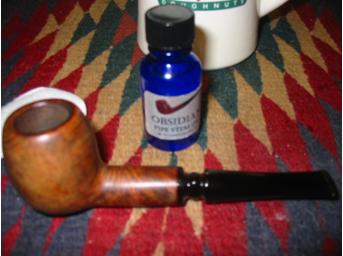
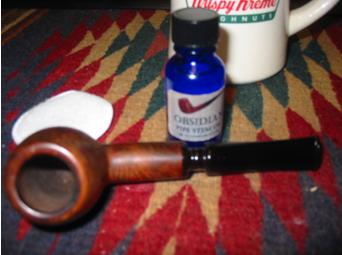
At this point I continued to scrub with the X 2.0 until the stem was once again black. I buffed the stems with White Diamond on my buffer once that was finished. The next two photos (please forgive the blurry focus) show the stem after the application of Obsidian Oil to the clean stem. I left the Obsidian Oil on the stem until it was absorbed and then coated the stem with an initial coating of carnauba wax to protect it while I went to work on the bowl.
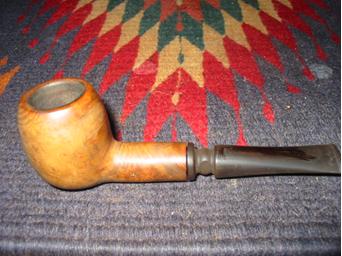
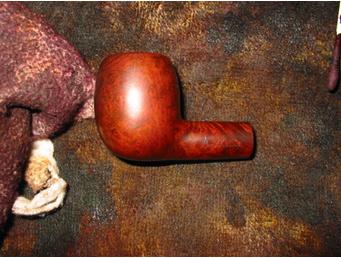
I coated the bowl with an oxblood aniline stain. The next two photos show the coated bowl before I flamed the stain to set it in the grain. The stem appears to be brown again but I had coated it with wax and left it to dry while I worked on the bowl.

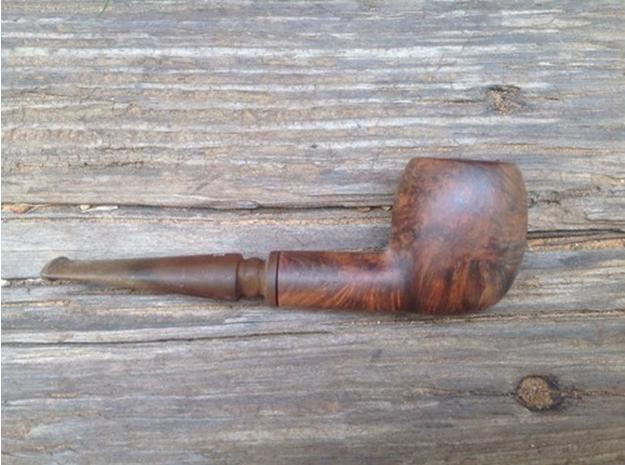
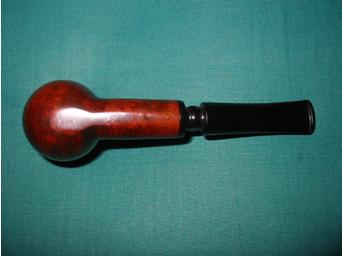
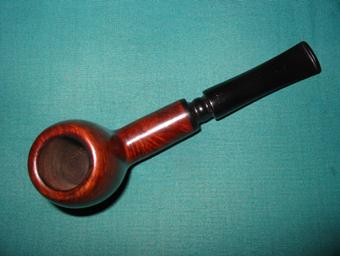
I buffed off the stain with a soft flannel cloth that is pictured below. I wanted to highlight the variety of grain in the pipe so that is why I chose the stain I did. It also shows that the black understain that appeared in the original photos still remained and makes the grain very visible in the pictures below.
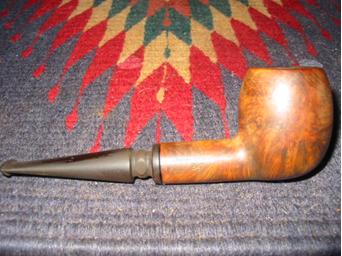
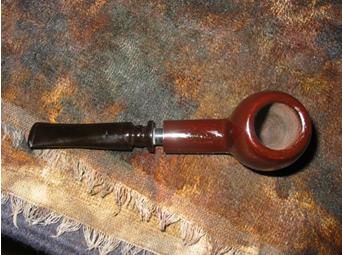
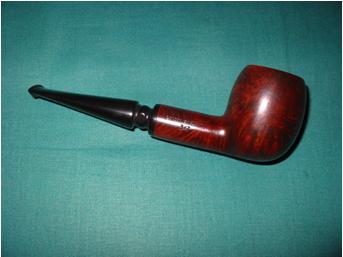
Once the stain was dry I put the pipe back together and took it to my buffer. I buffed the stem and bowl with White Diamond until is shone. Then I moved on to a soft flannel buff with carnauba wax and a final polishing buff with a clean soft flannel buff. The finished pipe is pictured below. All that remains is to fire it up and enjoy a bowl in the “new” Penthouse pipe. The stamping on the stem is still present and not harmed by the work but it is light and will not hold any whitening product.

I’m relatively new to pipe restoration and have learned so much from reading (and enjoying) your reports. When you mention the “alcohol bath” do you use isopropal or grain alcohol?
LikeLike
I use 91-99% isopropyl.
LikeLike
Oh, I forgot to add: The GBD catalog page came courtesy of Jerry Hannah. Jerry created the GBD Shapes/Model page that I frequently use for reference. I’m not sure if he reads this blog, but if so, thanks!
LikeLike
Thanks for the update on that Al. I will include it in the above text as an edit. Much appreciated.
LikeLike
Welcome to to the Chair-Leg appreciation club! What a nice piece of briar. That deep finish is quite handsome. Good thinking on using the plastic polish on the stem grooves. I used a folded piece of 2000 grit wet sandpaper, but that took a lot of work.
I can see you now, enjoying that one down in the Grotto!
LikeLike