Blog by Steve Laug
Yesterday afternoon I went with my eldest daughter to Walmart here in Vancouver. Across the street is a bargain shop that sells lot of movie set items and other things that are collectible and antique. I have found quite a few good pipes there over the years. I went to the shop while she was in Walmart and looked over the lot they had this time. There were quite a few pipes in the case and most of them while interesting just did not capture my attention. Then I moved a few of them out of the way and underneath was this little P-lip apple. I could tell it was a Pete and an older one because of the thick shank and stem. I held it up to the light and my guess was confirmed. It was a Peterson. It was marked $28 and I offered $25 for it. They accepted the offer and I paid the bill and put the pipe in my pocket. I picked up my daughter and headed home to check it out.
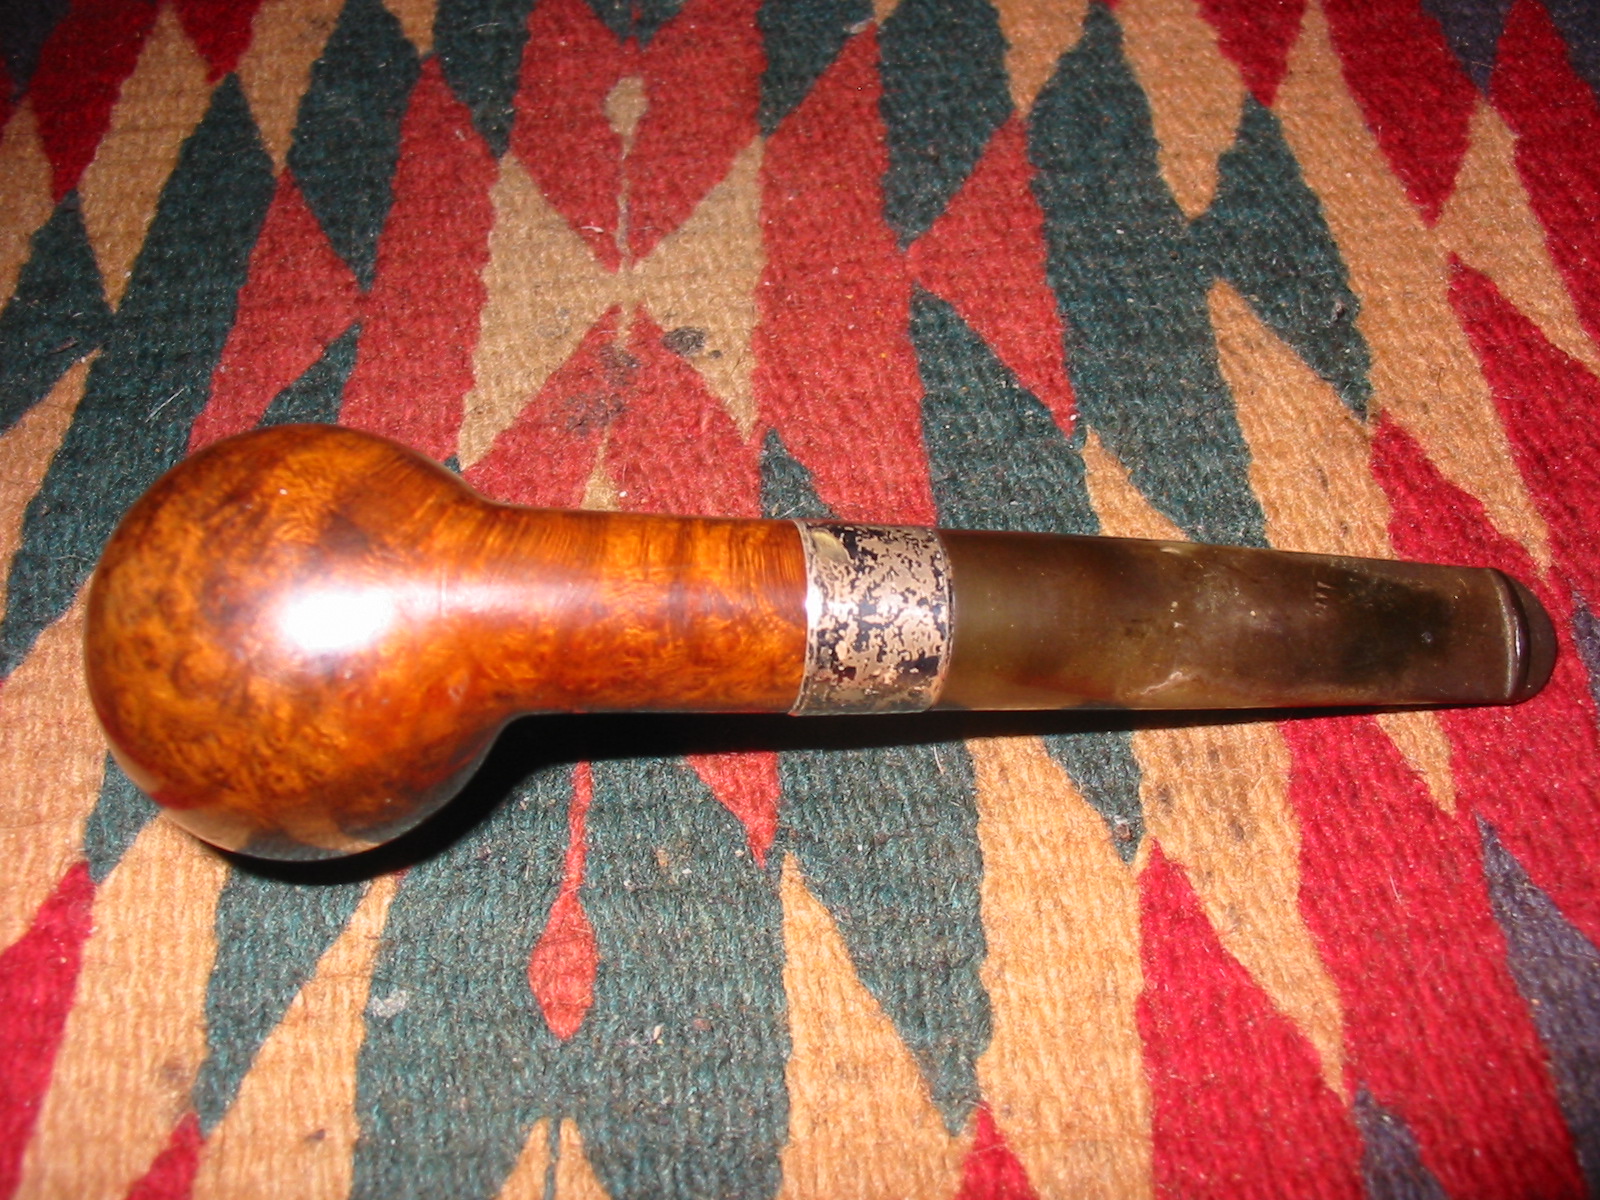
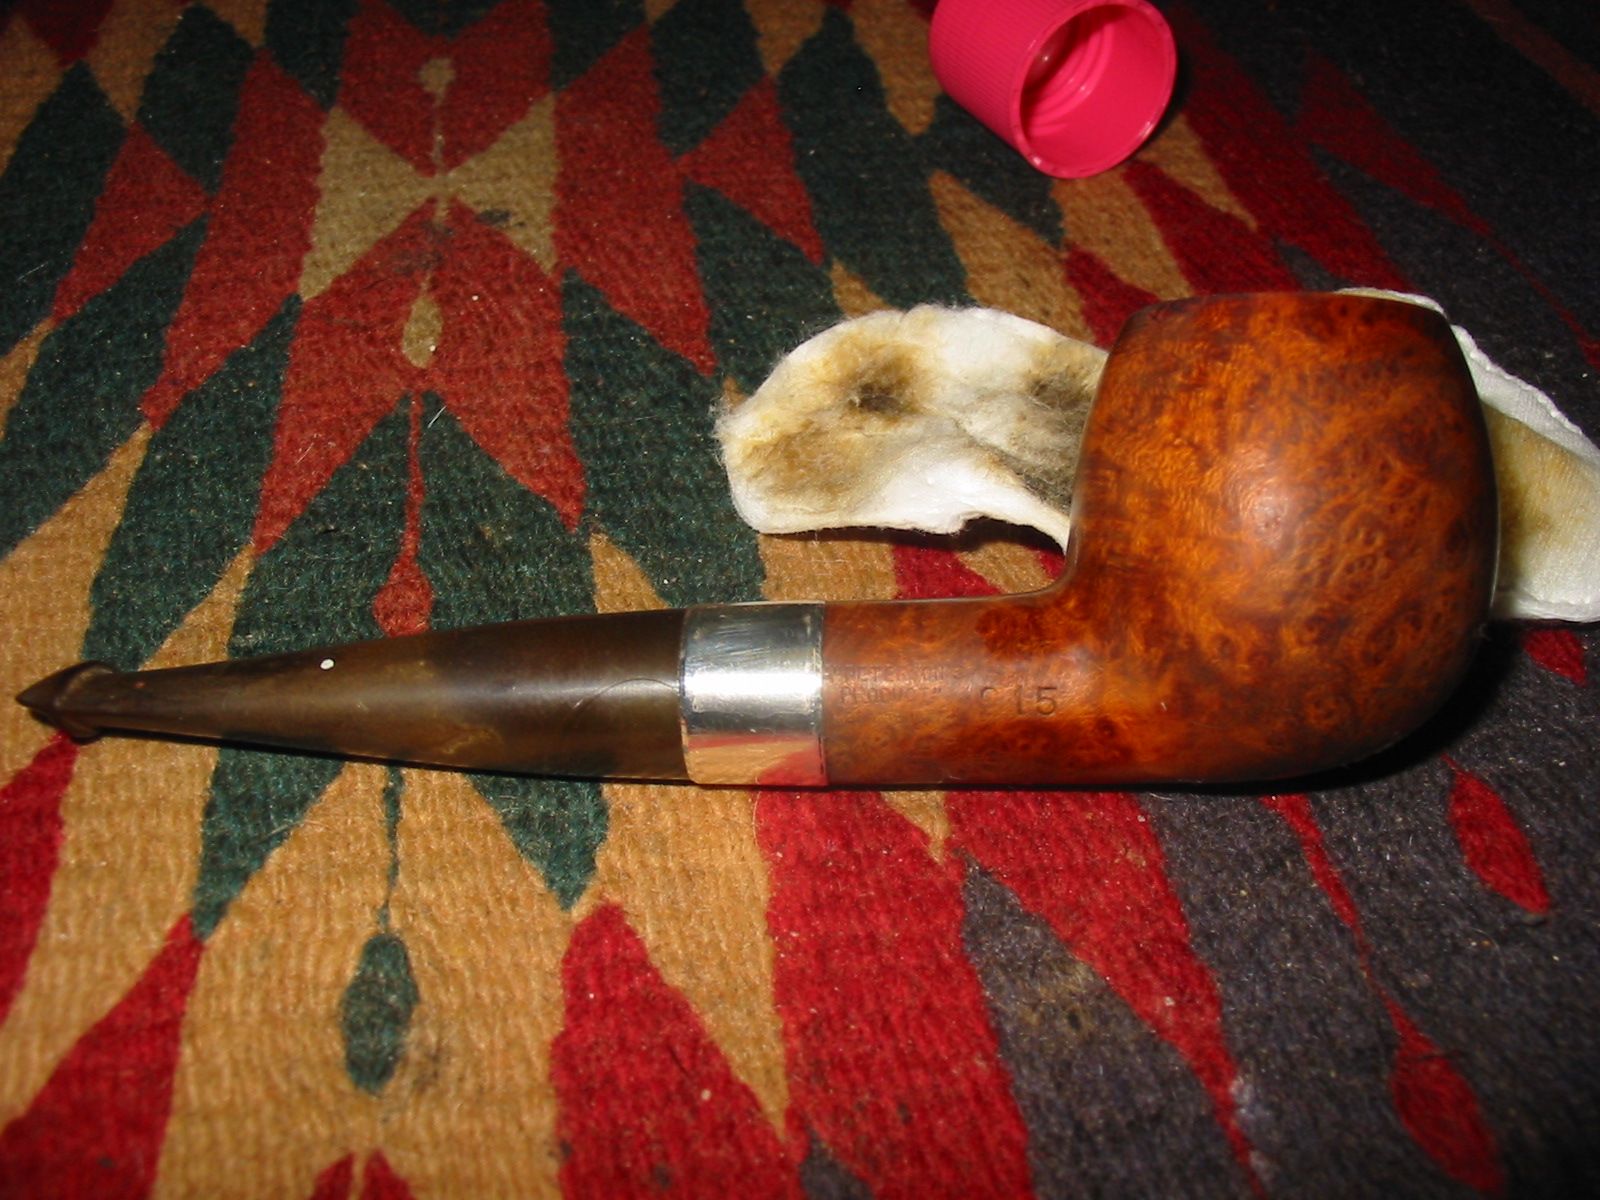
I wiped off the shank with a cotton pad dampened with saliva and found that it was stamped K&P LONDONMADE on the right side of the shank. On the left side it was stamped 215 and A “PETERSON’S PRODUCT” Made In London. So I had found an English made Peterson’s shape 215 pipe. The band was silver and was badly tarnished but I could see from the hallmarks that it was also stamped with English hallmarks. The first was an anchor which told me that the band was made in Birmingham. The second was a reclining lion which is the stamping for Sterling silver. The third mark was hard to see with the grime and tarnish but looked like an animal face in the cartouche. Closer examination would have to wait until I had cleaned up the tarnish.
The pipe was in fair shape. The bowl had nicks in the sides in several places as well as a very rough rim. It looked as if it had been hammered about and was damaged. It would require topping to remedy that problem. The bowl had been reamed and was slightly out of round and then smoked again for some time – long enough to build up an uneven cake with most of the cake at the top of the bowl and the bottom of the bowl was bare wood. The silver band was loose and had turned about a quarter turn clockwise. The stem was very tight in the shank – which thankfully had kept the band in place on the pipe. The stem had many bite marks and tooth dents up the shaft from the button for about an inch. It looked as if the individual who had smoked it held it far back in his teeth. Both the underside and topside of the stem were damaged with tooth marks and a series of grooves from a tool. The button itself and the ledge on the underside were in very good shape. The round opening in the button was elongated from years of pipe cleaners.
I was able to carefully remove the stem and the inside of the shank was darkened with tars but not terribly dirty. The end of the tenon is stepped down and the fit in the shank was very snug. After cleaning the stem would fit well. There was no stamping on the oxidized stem and appeared to be no remnant of stamping. The oxidation on the stem was heavy at the shank stem union and also around the button on the top and bottom.


I wrote about the stamping to Mark Irwin who is my Peterson’s go to contact for information on Peterson pipes. He is a wealth of information that I have been unable to find in other places. He was on the road but sent me the following information. “…The “Peterson Product” indicates the pipe is a lower line. They began using this stamp in the 1930 catalog for their “K” pipes, but if it was this, you should’ve seen a “K” on it. There were several “200” series shapes, but the “215” is not in a catalog I have here. The London factory was much smaller than the Dublin, but I’ll have to ask Gary about the hallmarks, as I’m unfamiliar with the Brit system. Best my guess tonight is that the pipe dates anywhere from 1920-1940. I have photos of a thick-shanked and thick-stemmed straight apple hallmarked Dublin 1920–I can send you a .gif when I get home if this sounds like the pipe. If so, the shape itself goes back to at least that year.”
That was helpful information on the dating of the pipe. I sent Mark the photos last evening and then this morning received this reply concerning the pipe. “… Gorgeous! Yup, it’s the same shape as the photo I have, which means the shape itself goes back to at least 1920.” In the mean time I had cleaned up the band with silver polish and scrubbed it with a soft cotton pad. I reset it with white glue on the shank and examined the hallmarks under a bright light with a jewelers loop. It became clear that the last of the hallmarks was not an animal but rather a letter in the cartouche. It was well worn but from the outlines on the mark it appeared to be the letter “T” which dates the pipe to 1943.

I reamed the bowl with a PipNet reamer using the smallest cutting head and the next size as well. I removed the cake back to the wood to even out the broken cake. I cleaned out the shank with cotton swabs to remove all the tars and oils in the shank. Once I had cleaned out the shank I also cleaned the stem with pipe cleaners. I used Everclear with cotton swabs on both. When it was finished I put the stem back in the shank and the fit was snug.

I topped the bowl with my usual method – 220 grit sandpaper on a flat board and turned the bowl clockwise as I pressed the rim into the sandpaper. I sanded the top until the damaged portion of the rim was removed. One side benefit of the process was that it also removed some of the damaged inner rim as well bringing the bowl back into round.


To prepare the bowl for restaining I wiped it down with acetone on a cotton pad. I wanted to remove as much of the finish as possible so that I could more easily blend the new stain on the rim with the stain on the bowl. I have found that if I thin down the original stain on the bowl I can generally make a good match with the rim when I stain the entire pipe. The rim always takes several more coats of stain than the bowl but the match comes out very well. I wanted to end up with a stain colour that matched the original stain colour as much as possible. Between each coat of stain I flamed the stain to set it in the grain of the briar. The stain I used was an aniline stain in a dark brown that I thinned 2:1 with isopropyl alcohol. Once it was dry I hand buffed it with a shoe brush to blend the colours of the stain and give me a clear look at the stain to make sure it was evenly applied.


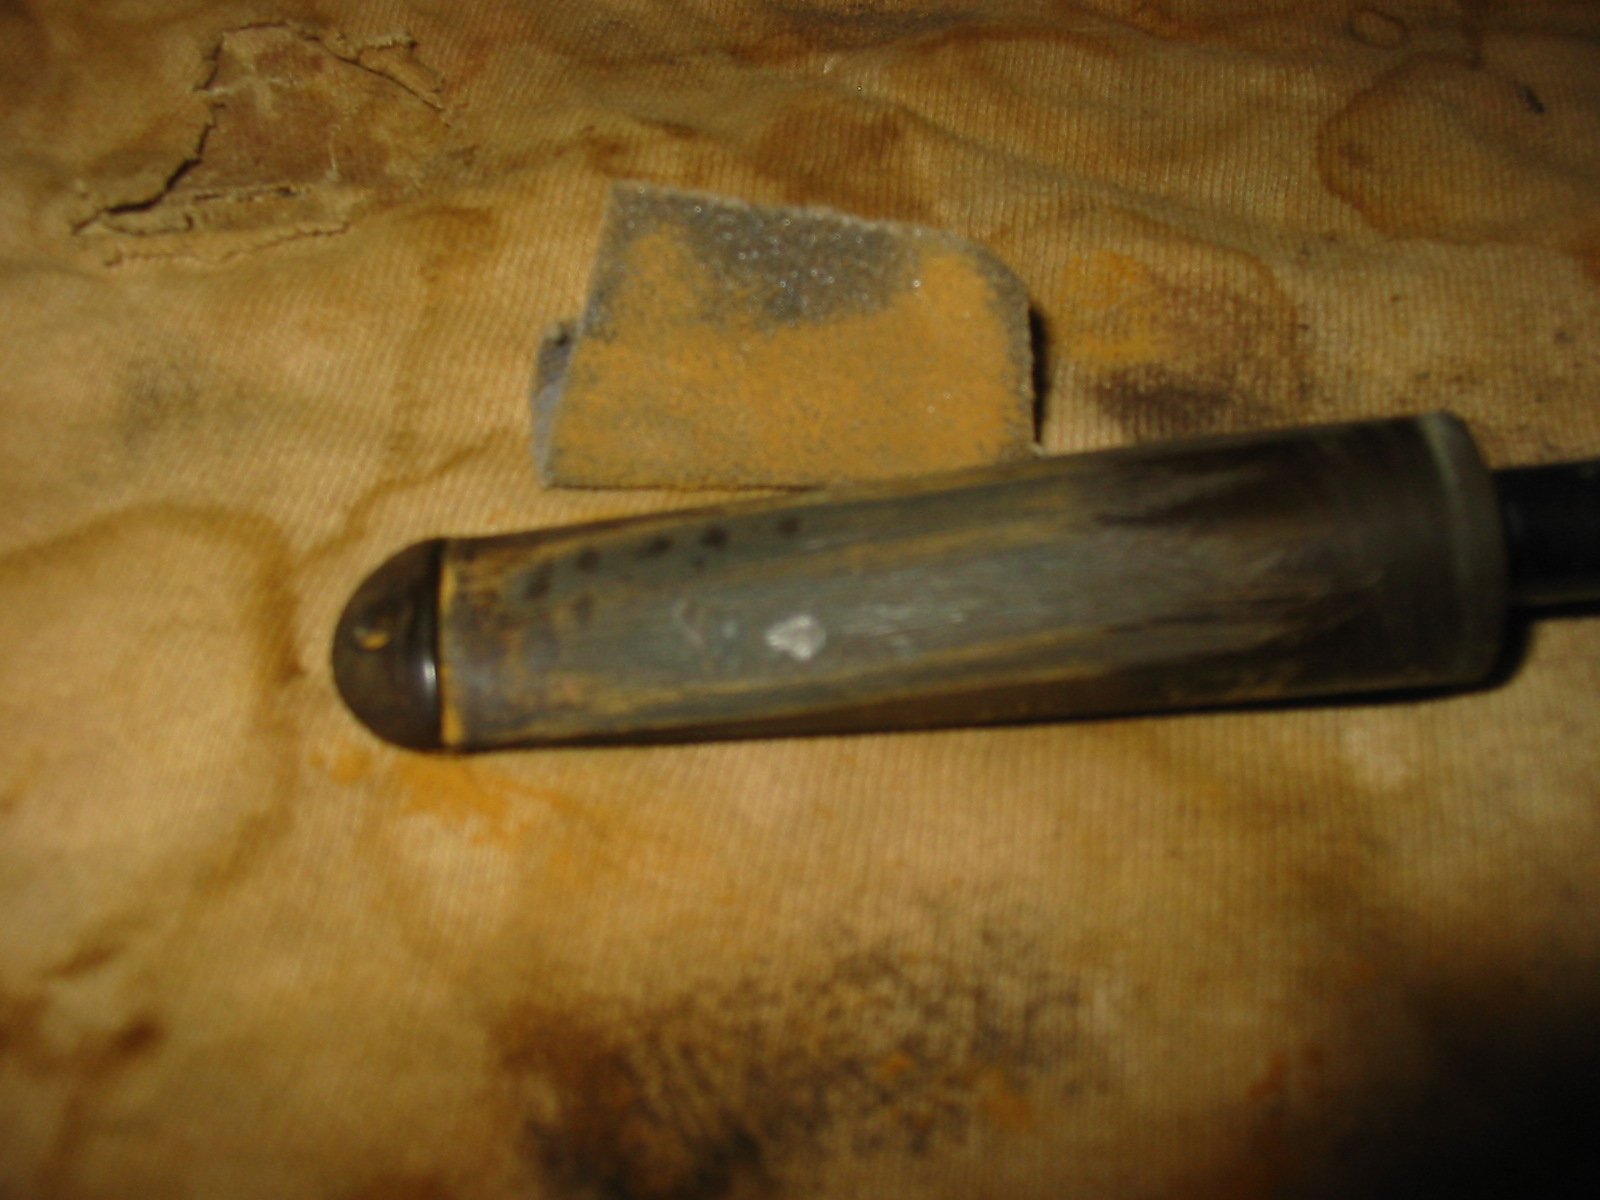
I set the bowl aside and worked on the stem. I sanded the stem with medium grit emery paper to remove the oxidation and also clean up the vulcanite around the tooth dents. Once clean, I heated the dents by passing the flame of a lighter across the tooth marks. The heat of the flame lifts the dents to the surface. The key is to keep the flame moving quickly and not allow it to sit in one place too long or the stem will burn. The first photo below shows the tooth marks on the top side of the stem. There were matching tooth marks on the underside. The second photo shows the stem after the heating with the flame. I sanded the stem with 220 grit sandpaper and also a fine grit sanding sponge to remove the scratches and remnants of the dents. I filled the two remaining dents with super glue, sanded the glue down to match the surface of the stem and then finished the sanding with micromesh sanding pads from 1500-12,000 grit (Photos 3 – 5).


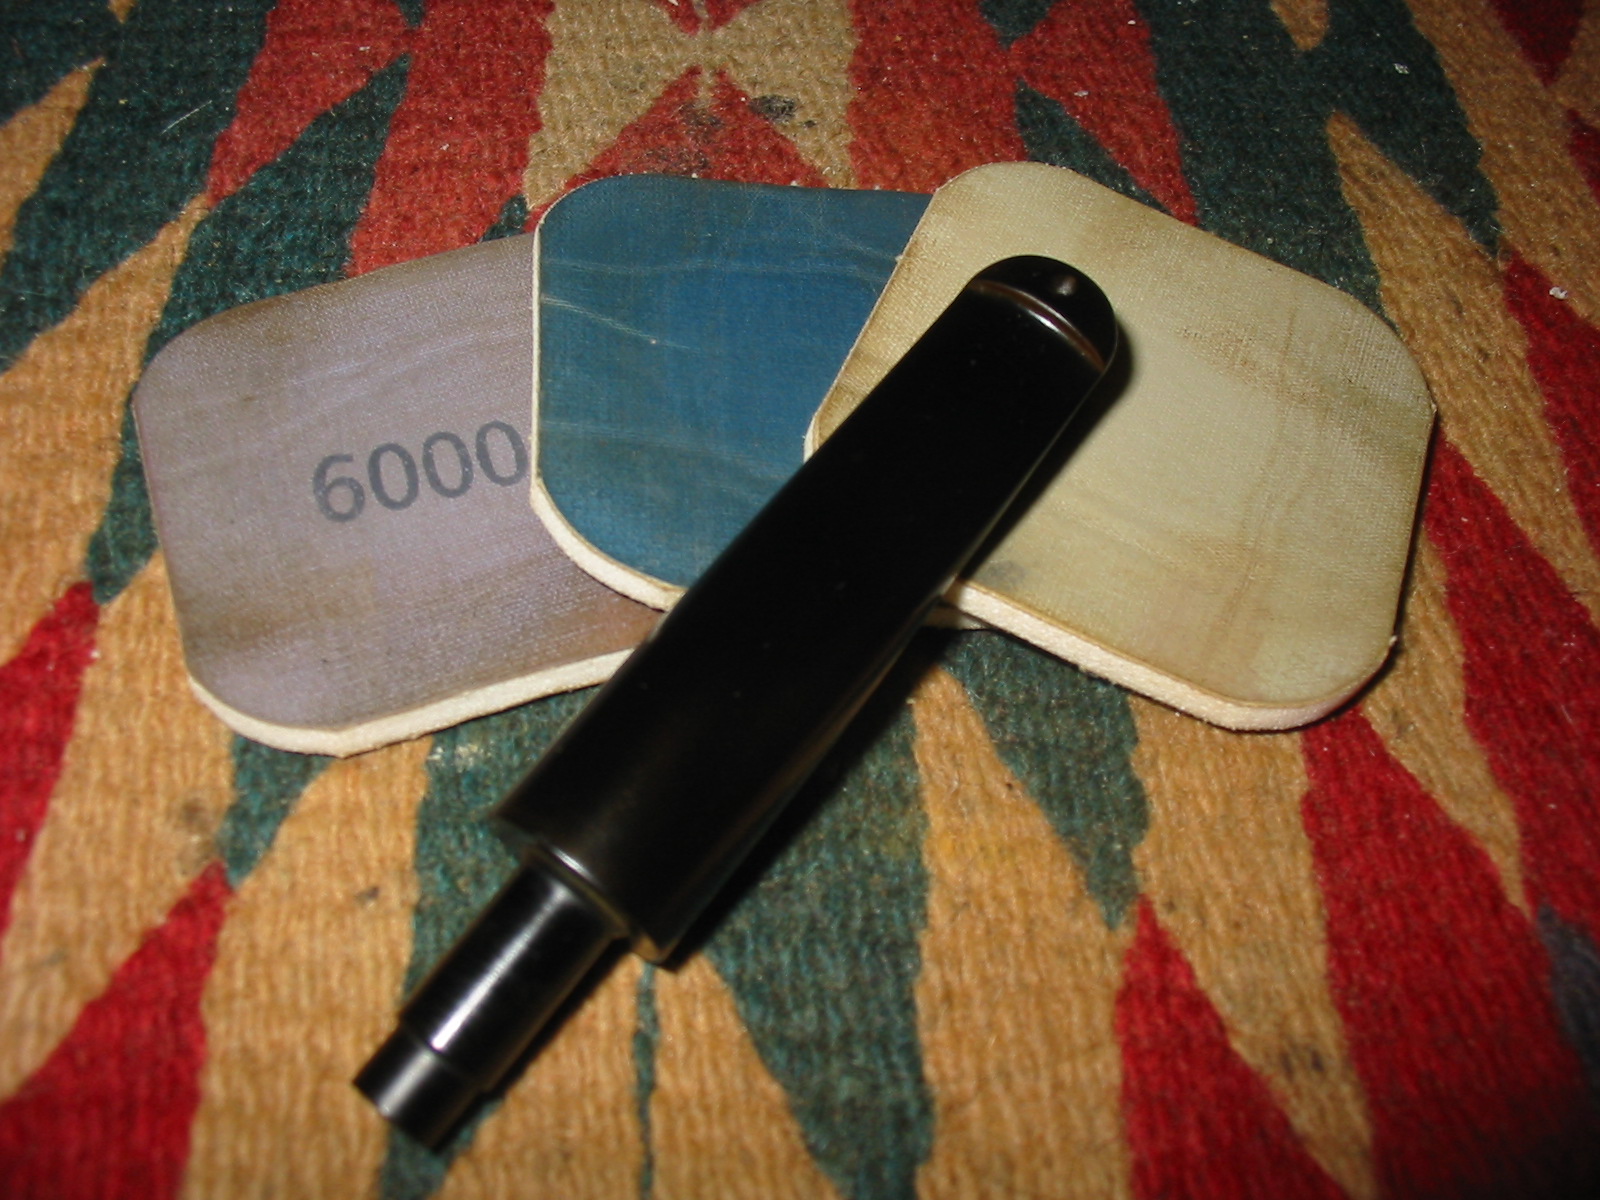
Once the stem was sanded with the 12,000 grit micromesh pad I wiped it down with Obsidian Oil and when dry rubbed it into the stem. I gave the stem several coats of wax and returned it to the bowl. I polished the silver band a final time and also waxed that. I buffed the pipe lightly with White Diamond and gave it multiple coats of carnauba wax and buffed it with a clean flannel buffing pad. The finished pipe is pictured below. It has some beautiful grain on it. There are also some flaws in the briar that I chose to leave as I find they add character to the pipe.


I’ve been reading every single post you’ve made all day long. Your work is amazing. You are a very gifted individual and have inspired me to try my hand at restoring some pipes. I restore old motorcycles so I share your passion for bringing old works of art back to life.
LikeLike
Thanks so much. Great to have you here.
LikeLike
What a great find for $25! Good job on the detective work dating the pipe, Mark Irwin is also a terrific Peterson resource. The bowl top blended in nicely. She looks ready for another 70 years of enjoyment!
LikeLike
What a find! Came out a real beauty, too.
LikeLike
Another fabulous save! Excellent rim blending. Drool…
LikeLike
Great resto as always Steve.
LikeLike
Thanks Ted.
LikeLike
What a great find.. And such a great job …
LikeLike