Tag Archives: sanding a bowl

Undressing a Stanwell Black Diamond


Blog by Greg Wolford

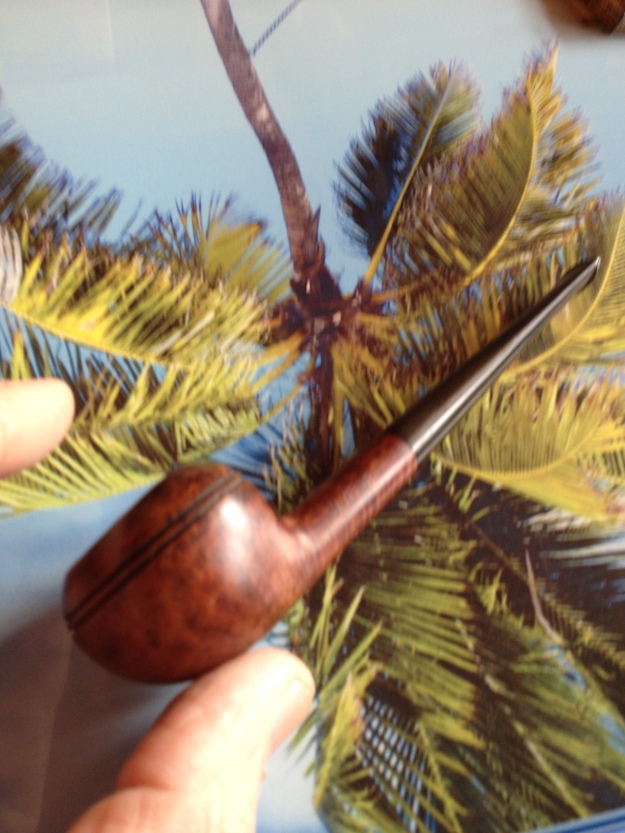
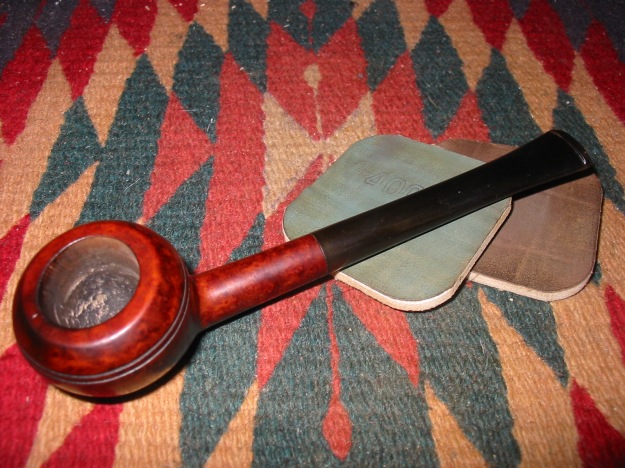
A few days ago I received a Stanwell Black Diamond shape 185 in the mail, gifted to me from an Instagram friend. It was a pipe he’d bought as an estate and hadn’t touched. When it arrived it was a “dress black” pipe, covered with a matte black opaque finish that needed some TLC: the rim was a bit uneven from being bumped or tapped out, the finish was “thin” in a few spots, with the briar peeking through, and needed to be cleaned internally. I thought I was going to do a quick clean up and smoke it but the story developed into something more soon. So I didn’t plan on all that I ended up doing and didn’t take photos. I even forgot to take a before picture so I’m using a “stock” picture of this model.

I cleaned the bowl, stem and shank first. This pipe had almost no cake and was not very dirty at all; it took only half dozen or so pipe cleaners to get it done. As I said before, I thought this was be a really fast job when I saw how little use the pipe had had. But it, of course, didn’t turn out quite so simple.

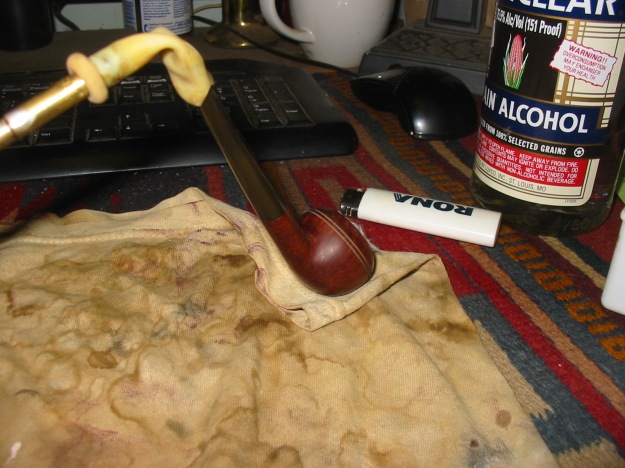
I wiped the stummel down with alcohol to clean off the surface and prepare it for a treatment with a new idea I had: colored wax. Some time back, Steve had mentioned to me about a product that Hobby Lobby carried that was a rub on/rub off wax that comes in different colors and might be good to highlight stem or shank nomenclature. I picked up a tube of black and have tried it once or twice with less than great results. But I thought it might be just the thing to touch up the black finish on this pipe and shine it up, too. The alcohol removed a little of the black coat but not too much as I cleaned it so I knew the finish was removable at this pint, in case the idea didn’t work. After the briar dried I rubbed the ebony wax onto the pipe, let it haze and buffed it off by hand. I did about three coats of the wax and wasn’t really thrilled with the pipe, even though the color “took”.

The bumpy rim was irritating to me and I knew it would continue to be a distraction. Although I was worried about what lay under the opaque finish, I decided to top the bowl and go from there. The newly smooth rim pleased me and I couldn’t help but wonder what was under that black coat. So I began to sand the black away to see.

The coating was fairly thick and took some time to remove. I sanded with 220 grit paper until the black was mostly gone. It was a pleasant surprise that no fills were under that coat. In fact, the grain was pretty nice. So I moved on to 400 grit paper and then buffed the briar with tripoli to see how it looked; it was nice and the black would make a great contrast stain. I wiped the pipe down with alcohol again to remove the wax and dust and started sanding with 600 grit paper. After I was happy with the smooth surface of the pipe I removed the tape I’d applied earlier to the stamping to protect it and began to work gently around the black patches under the tape to make as little damage as possible to the nomenclature but break up the black.

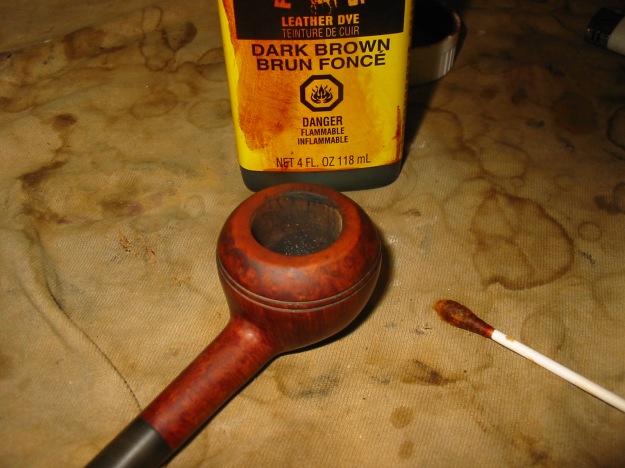
I mixed up some Fiebing’s dark brown leather dye with isopropyl alcohol in a 1:3 ratio. I applied and flamed the stain several times to get a nice, even coat. Then I wiped the bowl down with alcohol wetted pads until I removed enough due to see the grain well. I moved to the buffer where I buffed with tripoli and white diamond before laying the stummel aside to deal with the stem.

The stem on this pipe is acrylic and was in good shape; there were no major scratches or tooth dents so I polished it with plastic polish and then reassembled the pipe. Then the entire pipe got several coats of carnauba wax and buffed to a shine on a clean flannel buff and then a bit more by hand with a microfiber cloth.

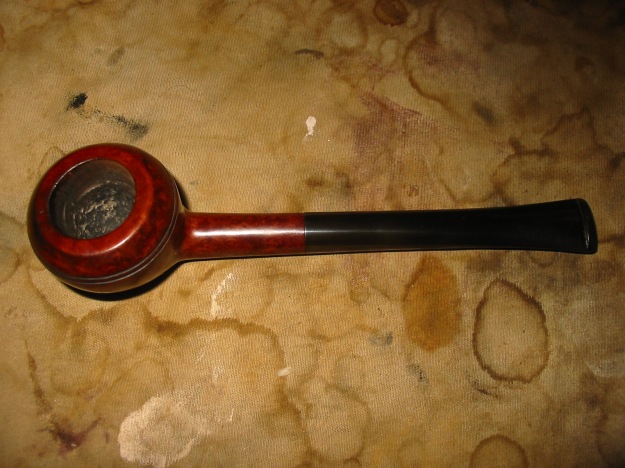
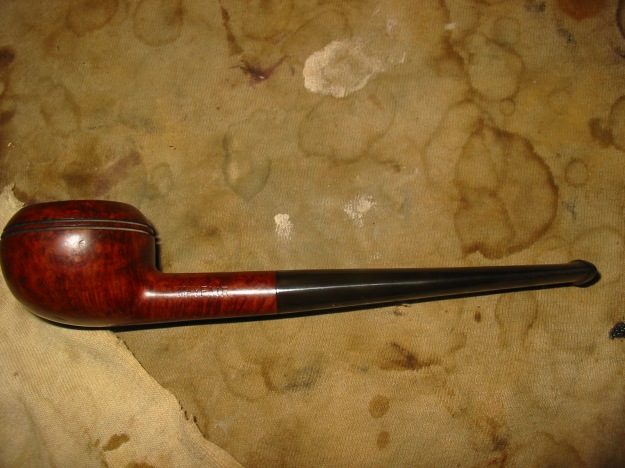
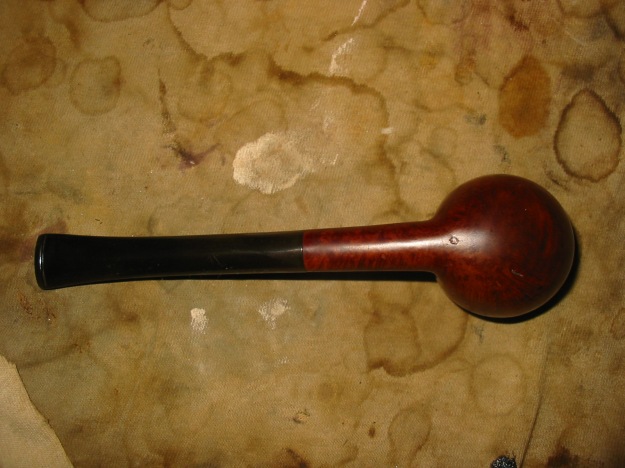
I’m really pleased with the “undress” pipe. And I’m relieved that the briar under the “coat” was as nice as it is. This large, heavy pipe will now have a spot on my rack, to be used and enjoyed, something that it hasn’t had much of in its life. IMG_0986.PNG

IMG_0982.JPG

Beautifying a Sasieni Mayfair


Blog by Steve Laug

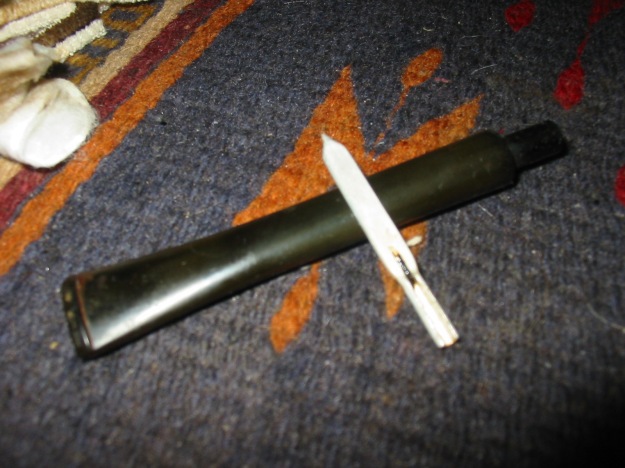
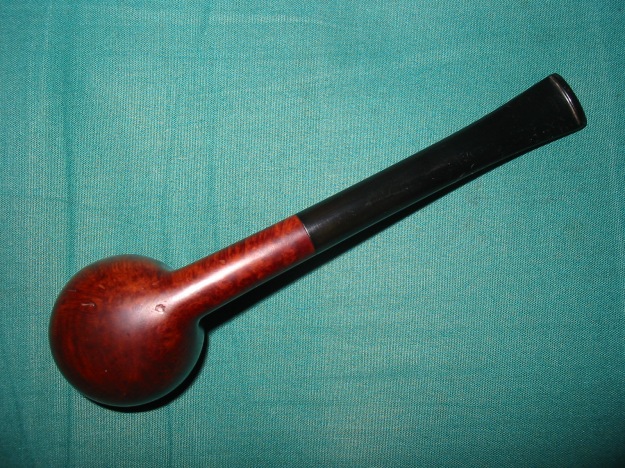
Yesterday I picked up this beautiful little Sasieni Mayfair. It is stamped Mayfair on the left side of the shank and London Made on the right side. The bowl was tarry with a sticky aromatic and the top had been burned on the front side and then poorly topped to get rid of the burn. This left the bowl slanted toward the front side where the burn had been. The rim was also covered with the aromatic goo. The stem was tight but I was able to remove it from the bowl at the shop and found the typical stinger apparatus intact. It was a flat metal blade that ended in a round tube that inserted into the tenon. The tube was slotted to allow the smoke to pass into the airway of the stem. The stem was slightly oxidized and had a tooth mark on the top and the bottom of the stem. Other than those things it was a nice piece of briar and the finish was actually in excellent shape. There were several small sandpits on the bottom of the bowl but they did not detract from the beauty. The shape is kind of a cross between a Prince and a Rhodesian. The shank is a pencil shank. Dimensions for this little pipe are: length 5 ½ inches, height 1 ¼ inches, bowl diameter ¾ inches, bowl depth ¾ inches, shank diameter 3/8 inches. The two photos below show the pipe as it was when I found it. We went for supper at a Mexican Restaurant and I took these photos on the table top.
IMG_0373

IMG_0374

This morning I went to work on it. I took the following photos on my work table. The first three show the externals of the pipe. The damage on the rim is visible as is the state of the bowl. In the third photo note the angle of the bowl top in comparison to the one above it in the second photo. The angles are different and the bowl top is slanted toward the left and the front of the bowl.
IMG_1101

IMG_1102

IMG_1103

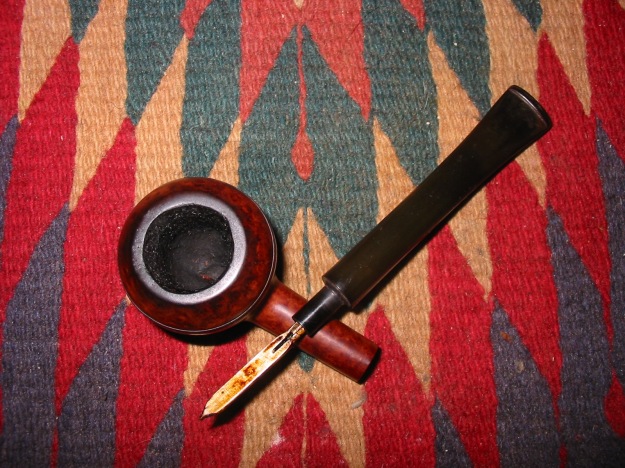
I took the pipe apart to check on the internals and remove the stinger apparatus. The next two photos show the top and bottom of the stinger. It is also clear in these two photos the damage to the right inside edge of the rim as well. It is slightly out of round.

IMG_1104

IMG_1105

I reamed the bowl with a PipNet reamer using two different cutting heads. I start with one size smaller than the diameter of the bowl to start the reaming. I then follow-up using the correct size cutting head in the bowl. I find that it is easier to cut the cake carefully and not do any further damage to the roundness of the bowl.

IMG_1106

Topping the bowl on this one was a bit tricky. I needed to take down the back left side of the rim and even out the back side of the rim without removing any from the front edge. I used the flat hard surface that I always use for topping. I held the bowl with the back side pressed into the sandpaper and the front edge off the paper. I move the bowl right to left across the sandpaper checking to see the effect (photo 1 below). I did not want to make the top worse than it already was. Once I had the back left and right sides even and the front and the back even I was ready to do a slight topping on the bowl to even it up neatly (photo 2 below).

IMG_1107

IMG_1108

At this point I sanded the top a little more to clean off the burn damage on the front of the bowl. Once I had that minimized I sanded the top with a medium and a fine grit sanding sponge until the scratch marks were gone. I also used the Dremel to even out the diameter of the bowl and bring it back into round.
I then removed the stinger apparatus and cleaned it with alcohol and cotton pads. I picked the slot clean with the dental pick. I did not intend to use it on the pipe once it was clean so I put it away in case I sold the pipe and the new owner wanted the stinger.

IMG_1109

IMG_1110

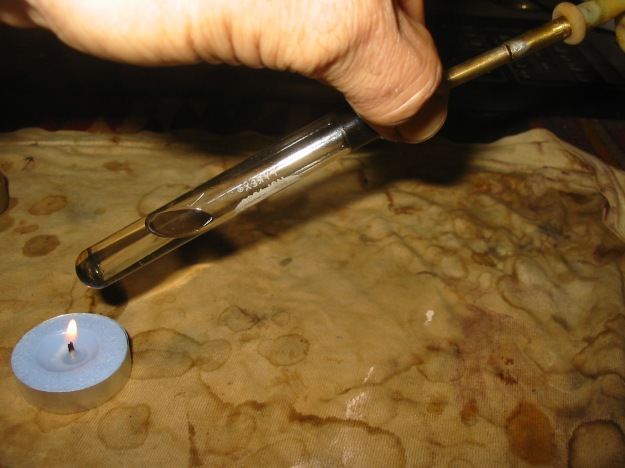
I set up the retort and filled the test tube with isopropyl alcohol and boiled out the inside of the bowl and stem. The next four photos show the set up and the process. I heat the alcohol with a tea candle and once the alcohol has cooled from the boil it returns back to the test tube and carries the oils and tars of the bowl and shank with it. I repeated this process twice.

IMG_1111

IMG_1112

IMG_1113

IMG_1114

I cleaned up after the retort with pipe cleaners and Everclear. Both the stem and the shank were cleaned of all the internal grime. The pile of pipe cleaners in the picture below show the sheer volume of pipe cleaners used in cleaning up after the retort. Once this was finished the interior of the shank and stem were clean and pipe cleaners came out pristine.

IMG_1115

It was time to work on the stem. I ran the flame of a Bic lighter across the tooth marks on the topside and bottom side of the stem until they lifted. I then sanded the stem with 220 grit sandpaper to remove the remaining signs of the marks. And then I sanded the entire stem with a fine grit sanding sponge to remove the oxidation and to deal with the scratch marks from the sandpaper.

IMG_1116

IMG_1117

IMG_1118

I stained the top of the bowl with dark brown aniline stain that I thinned 2:1 with isopropyl to match the colour of the bowl and shank. I flamed it and then repeated the process until the colour was an exact match to the rest of the pipe.

IMG_1124

IMG_1125

I took the pipe to the buffer and buffed the bowl with White Diamond to shine up the bowl and the newly stained rim. I also buffed the stem with Tripoli and White Diamond at the same time to further shine the stem. The four photos below show the buffed and polished bowl and stem after the White Diamond buff.

IMG_1128

IMG_1129

IMG_1130

IMG_1131

I took the pipe back to my desk and sanded the stem with micromesh sanding pads. I worked through the various grits of micromesh from 1500-12,000 to polish the stem.

IMG_1132

IMG_1134

IMG_1135

IMG_1136

I gave the entire pipe another buff with White Diamond and then gave it multiple coats of carnauba wax and buffed it to a shine with a clean flannel buff. The final four photos show the finished pipe.

IMG_1137

IMG_1138

IMG_1139

IMG_1140

Using steam to lift dents in briar


ImageIn the early days of our marriage, my wife and I bought a lot of used furniture. Today many would call them antiques but then they were just used furniture and were quite inexpensive. I bought a book on working with furniture called the Furniture Doctor by George Grotz in which he gave all kinds of helpful tips on restoring wood furniture. One of the tips that I used for years was a simple procedure for raising dents in wood. He explained a process of steaming the wood to lift the dents. I can’t remember his exact method any more as I have modified it and made it mine over the years so I don’t know where George leaves off and Steve takes off. It seems to me that it was a simple procedure of place a damp cloth on the dent and applying heat to the surface to make steam. I always used a steam iron from the laundry closet to do this. I would wet a cloth and place it on the dent and then apply the hot steam iron to it. There would be a resultant hiss and steam released. I would repeat the procedure until the dent was gone. Then I would refinish the piece with sand paper and stain it again to match.

When I got into refurbishing pipes I decided to try the same thing. I had not read about it anywhere, though since I have seen others speak of it. I tried the cloth and steam iron but found it too cumbersome to use the big iron on a small dent on a smaller pipe. The iron just over shadowed the pipe. I tried using just the tip of the iron and it worked quite well but I wanted a bit more of a vantage point when I was doing the steaming. I wanted to see that I was actually placing the heat on the dent. So I tried a few methods from the tip of a soldering iron to a lighter to try to accomplish the same thing.

Then one day I was frying a couple of eggs on our gas stove and the lights came on. I laid aside the frying pan and ran down to my work bench for a pipe I was working on to put my idea to the test. I wet a dish cloth (shhh don’t tell my wife!) and then took one of the butter knives from the cutlery drawer. I heated the tip of the blade over the gas flame for a few seconds and then applied it to the wet cloth on the dent in the pipe. Viola! It worked exceptionally well. I repeated it several times on the dents on the rim and around the sides of the bowl and was amazed at how I could put just a bit of the wet cloth and the hot tip of the knife exactly on the spot. It really left little to work out once I was finished. The wet spot under the towel quickly dried and the finish was only left with a matte look to it. I took it to the buffer and within moments the matte area was polished and the pipe was as good as new.

Over the years now I have used this method on lifting dents in the shank area of pipes, on the sides of bowls and on the rims with great success. I have refined it a bit from those early days of experimentation so now I use a small piece of cotton cloth and a “not so new” butter knife that I requisitioned from the kitchen cutlery drawer. I love the control you have over the field of repair. To be able to directly target the spot of the dent and not put the wet cloth on the entire side of the bowl is amazing. I keep using it and reworking it to find other ways to do the work but I come back again and again to the kitchen stove, fire up the gas burners and work on the dents. I have learned, by and large, to do this when the kitchen is not occupied by my wife or daughters as they go about their preparations for dinner – you see, you can teach the old dog new tricks!

Give the trick a try, experiment with it and post here to let us know how it works for you.